Good morning! Hope you’re all having a great week so far! Today, I thought I’d share a really simple DIY fleece blanket that’s perfect for sewing newbies!
To make these, you really only need two pieces of fleece and some thread. That’s it. You can make your blankets as large as you want, just be sure to include at least an inch all around for seam allowance.
I didn’t really measure the fabric, I just laid out two yards of each one and then cut them into a square.
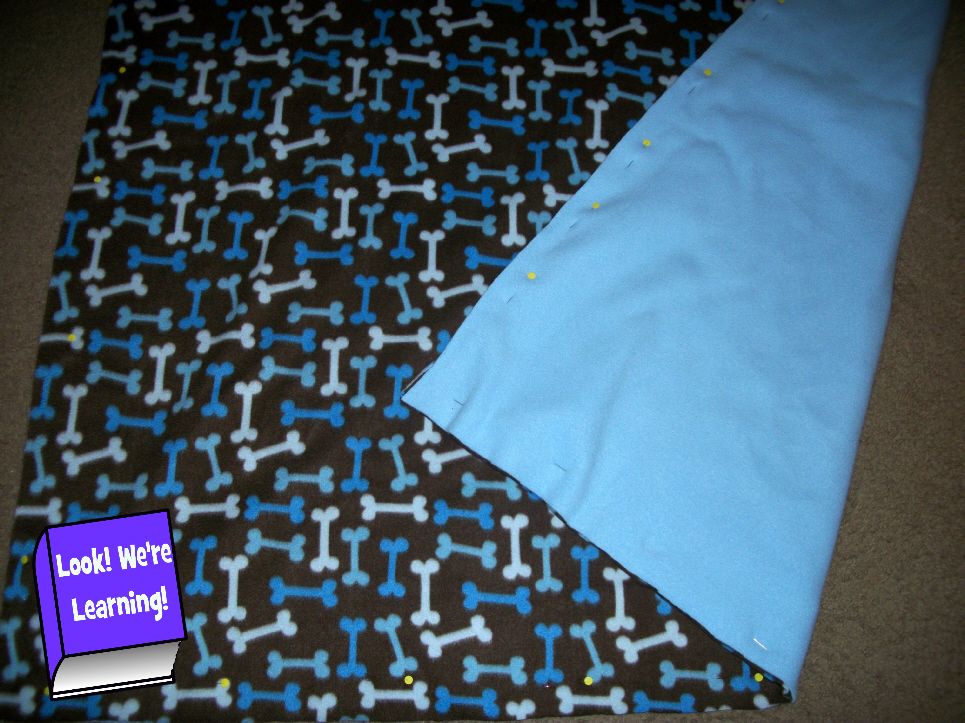
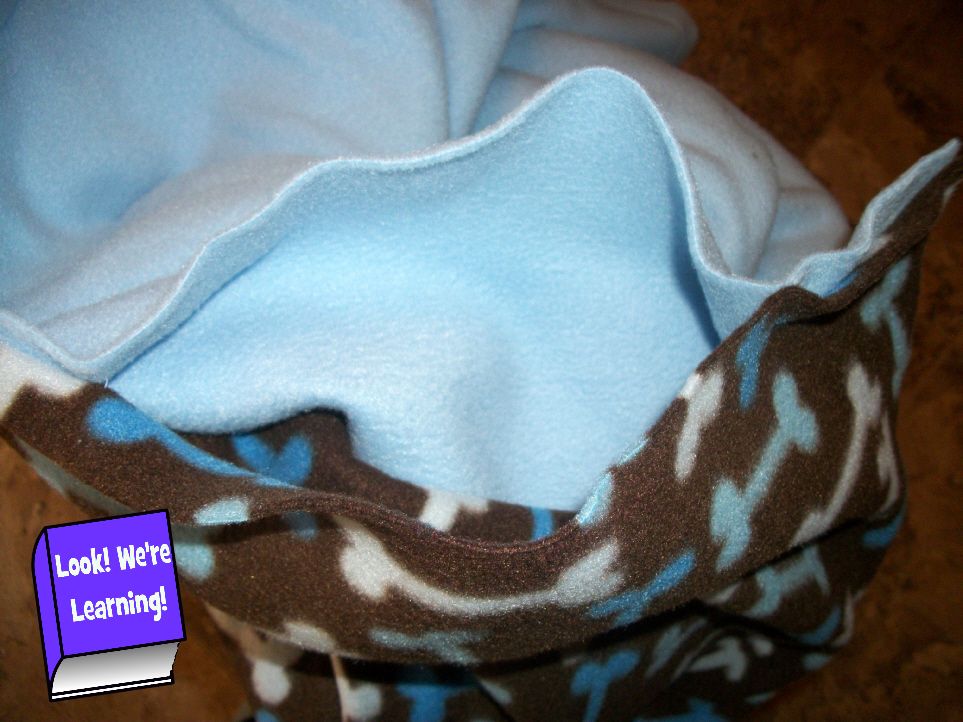
I ended up making these out of two pieces of fleece – a printed pattern for the top and a solid blue for the back. Lay the wrong sides (or the sides you don’t want to show) of both pieces of fabric together. Pin the whole blanket all around the square.
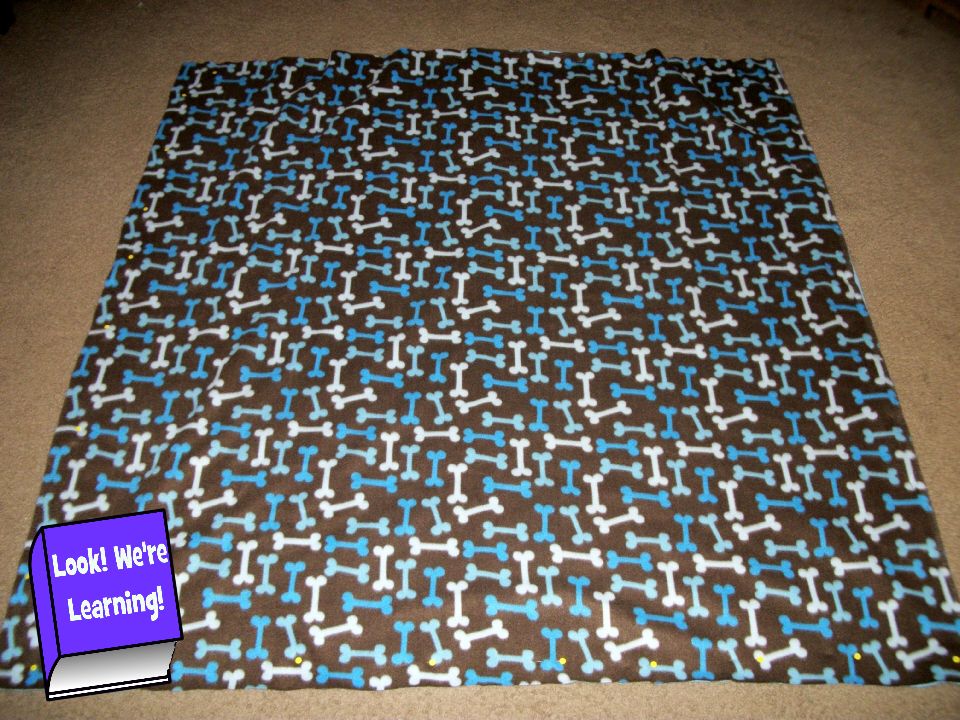
I let the boys choose their own print fabric for the blankets. Roo chose this one.
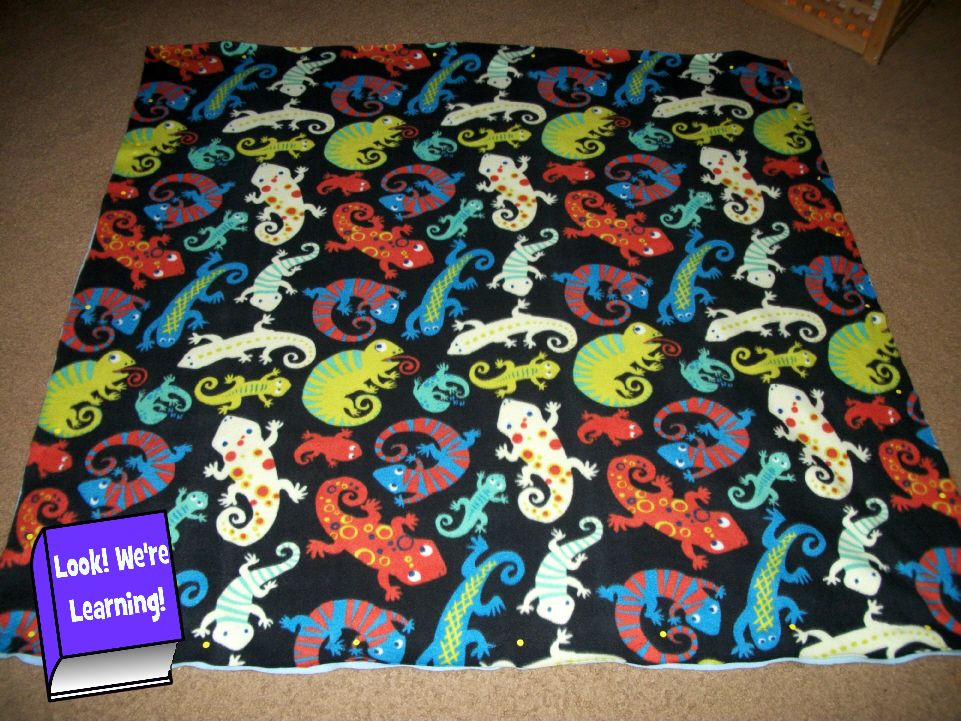
This one is Pooh’s. (I made his the very same way.)

This is my sewing machine. It’s a Brother XL2600I Sew Advance Sew Affordable 25-Stitch Free-Arm Sewing Machine![]() and it’s usually about $80 on Amazon. I bought it back in 2008 and I’ve never had an issue with it, so if you’re new to sewing, you might want to start with an affordable machine like this one.
and it’s usually about $80 on Amazon. I bought it back in 2008 and I’ve never had an issue with it, so if you’re new to sewing, you might want to start with an affordable machine like this one.
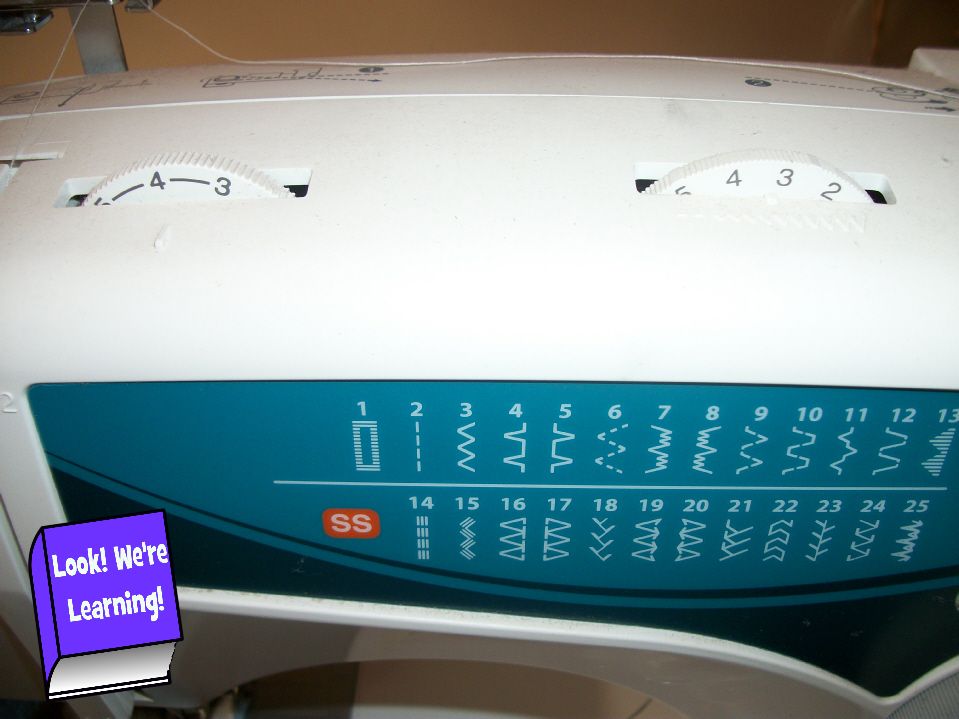
As far as the machine settings, I keep the tension around 4 and the stitch length around 3.5. I just use the straight stitch for the whole project, but, of course, you might want to use some of the fancier ones.

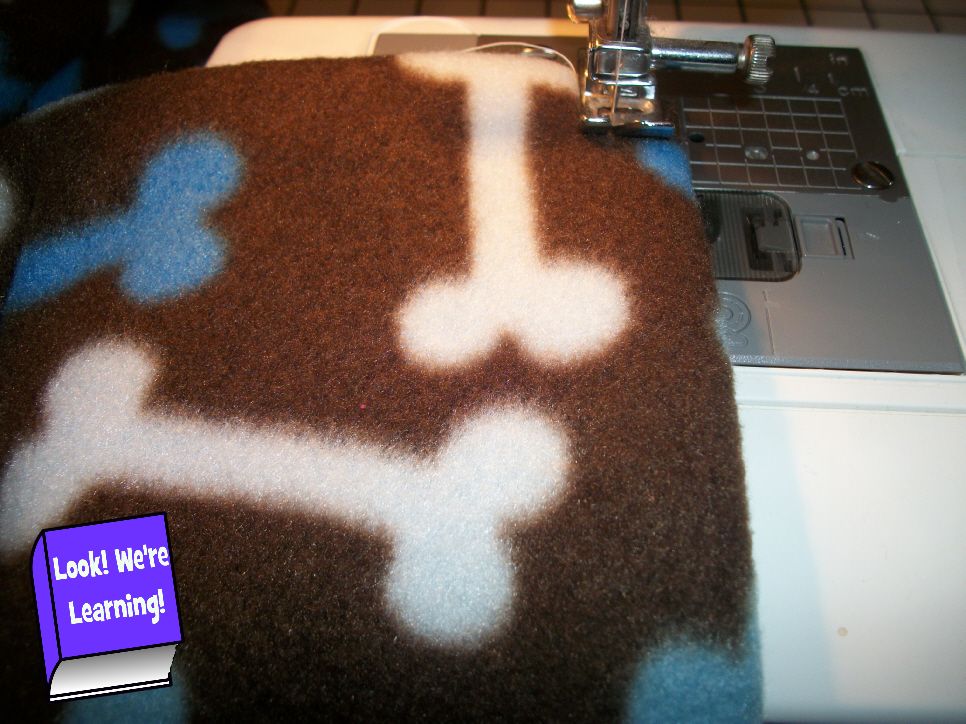
Okay. All we’re doing is stitching a line around the entire thing. (You might want to stop and make absolutely certain that you’re sewing on the wrong side of your fabric. We’ll be turning and topstitching, which means that your initial sewing should be done on the fabric side you don’t want to show.)
I just start at one of the corners at about a half-inch from the end with a one-inch seam allowance. Then just sew a straight line down three complete sides of the blanket. On the fourth side, sew most of the side, then break the thread and skip about five inches. Start stitching again after the break and continue until you’re back where you started.
After you finish this first part, you’ll have a stitched blanket with a five-inch “hole” in one side. Don’t worry! This is a good thing.
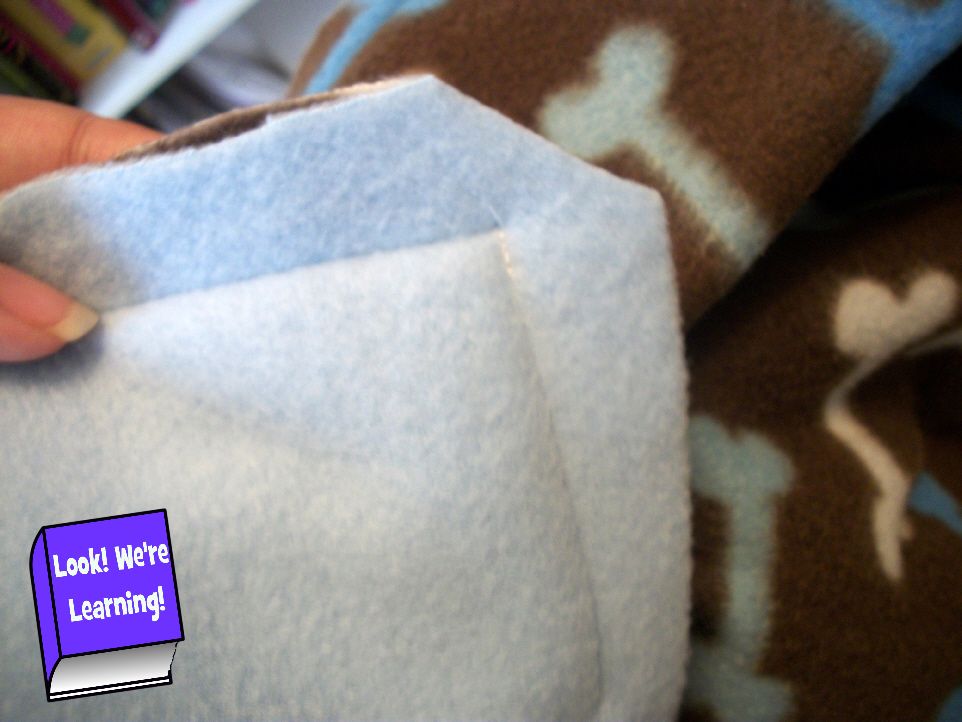
Take a pair of scissors and cut the points off all four of your corners. You want them to look like the picture above when you finish. It seems strange, but this is also a good thing. 🙂

Now comes the turning. All you do is reach your hand into the five-inch hole and grab the farthest end of the blanket. Now pull it inside out through the hole until the entire blanket has been turned inside out. You’ll finally get a look at the “right” side of your fabric!

Once the fabric has been turned completely, go back and use your fingers (or a pencil) to push the corners all the way to the end. Since you clipped the points off on the wrong side, they’ll have a nice pointed shape on the right side.

Your blanket is basically done now. All that’s left is to close the turning hole and then stitch around the whole thing. I usually start with the turning hole first.

To fix that, just turn the edges down about half an inch and pin them together. Stitch them closed. Now you can breathe a little sigh of relief, because you just have to sew the rest of the blanket around again.
Since you stitched the wrong side with about a one-inch seam allowance, you’ll want to keep the right side stitching, or “topstitching”, at about a half-inch. This is the stitching that will show, so make sure it looks the way you want. Once you’ve sewn around the whole thing, you’re done!
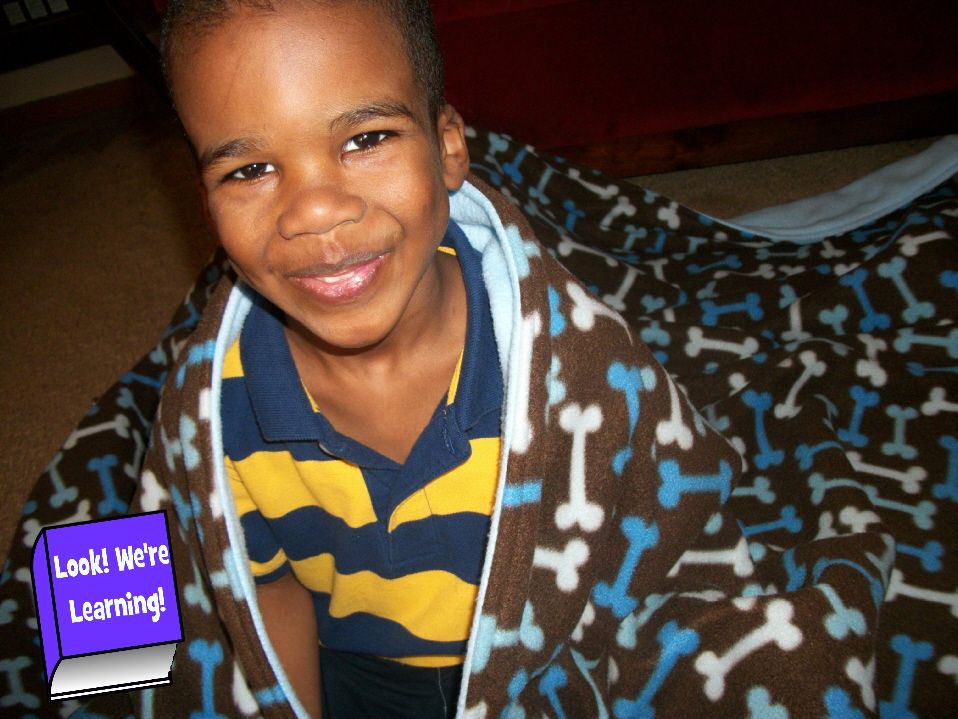
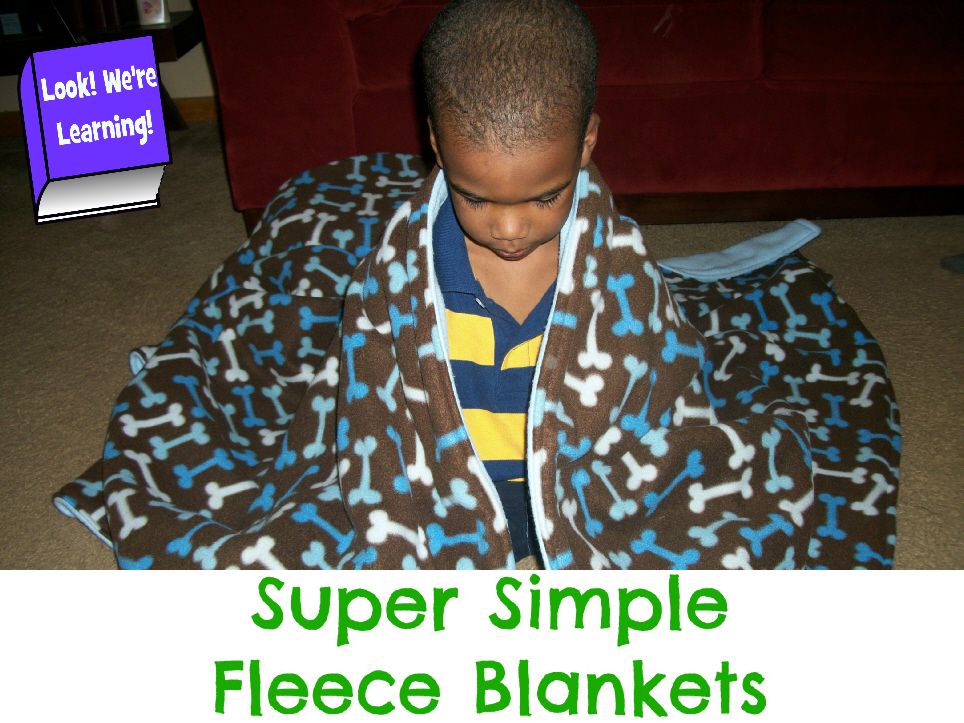
As you can see, Roo’s blanket was a big hit.
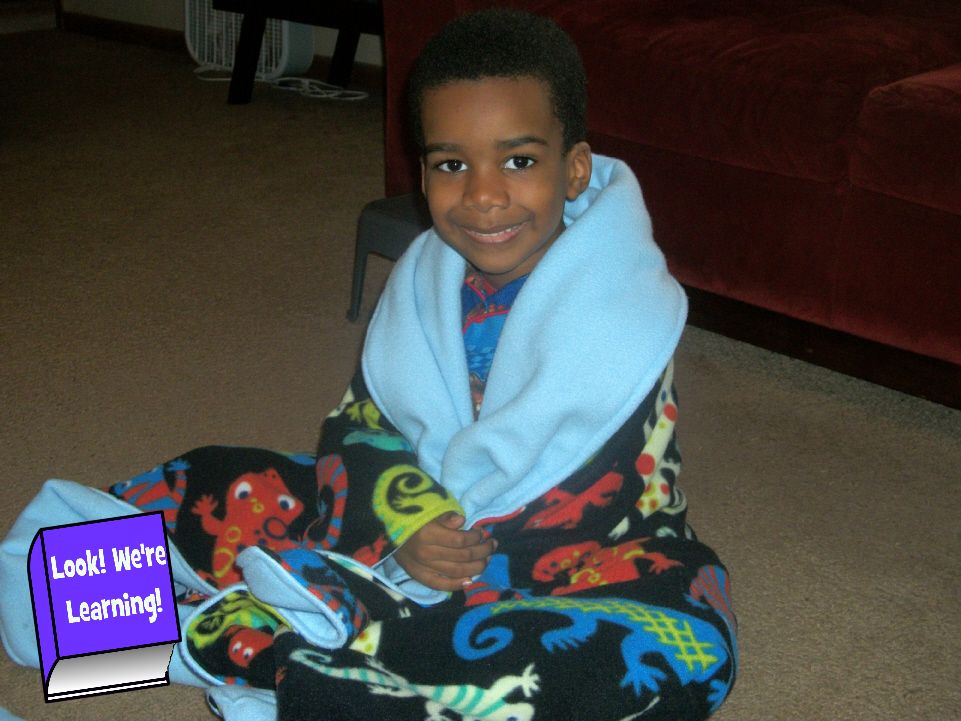
Pooh actually left the room with his blanket wrapped around him like a kingly robe…lol. If you decide to make one of these for your family, we’d love to know how you like it!
Leave a Reply