I love my slow cooker. If I was single, I would marry it.
Before I had children, I wasn’t really much for cooking. I would grab something out of a can and eat it on my way to my second job. Naturally, after I got married, this had to change.
And when I discovered the magic of the crockpot, I learned that I didn’t have to love cooking. It would do the cooking for me! I went on a crockpot learning binge, finding all kinds of recipes that I could put in that thing.
Then I learned that a lot of slow cooker recipes are still time-intensive! I might have to find up to 20 ingredients. I might have to prep a lot of vegetables. I might have to scour the grocery store trying to find some kind of special seasoning.
With that much work, I was missing the point of the slow cooker – which is to do less work! So I was thrilled to come across this slow cooker red beans and rice recipe. It was already pretty easy, but I adapted it to be even easier. Because…I’m still not much for cooking. 🙂
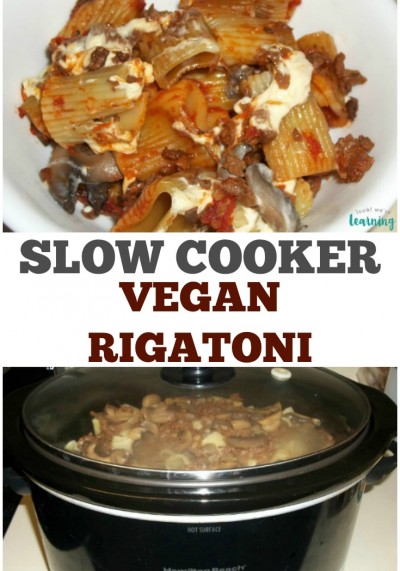
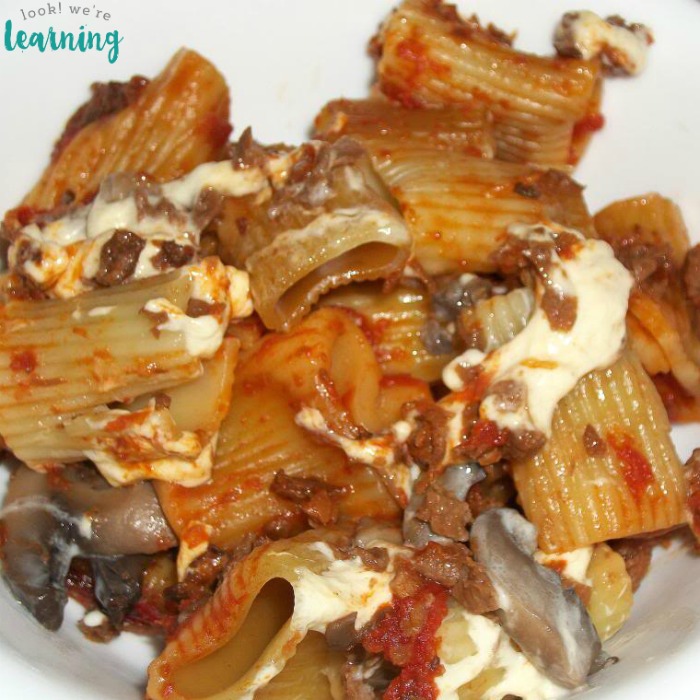
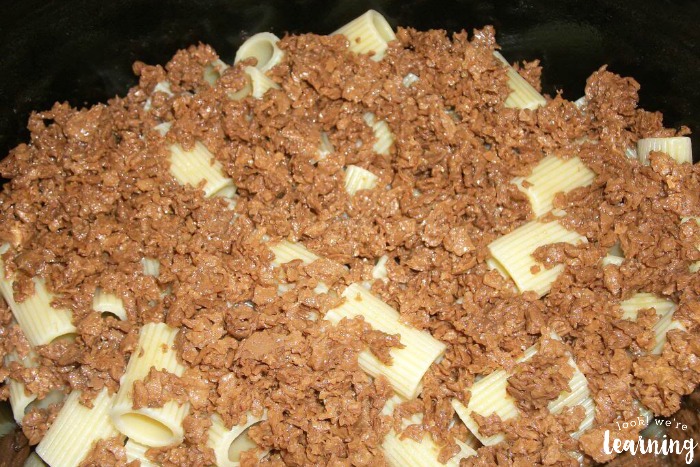
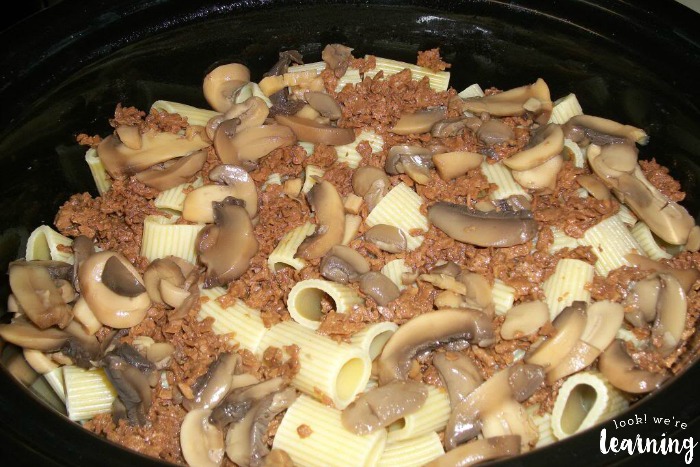
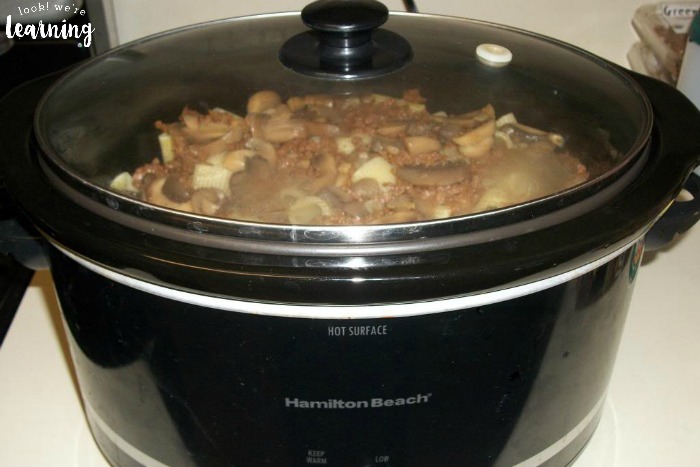
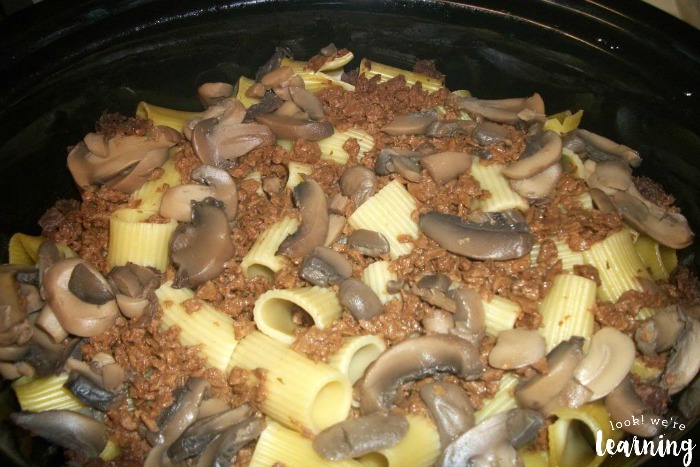
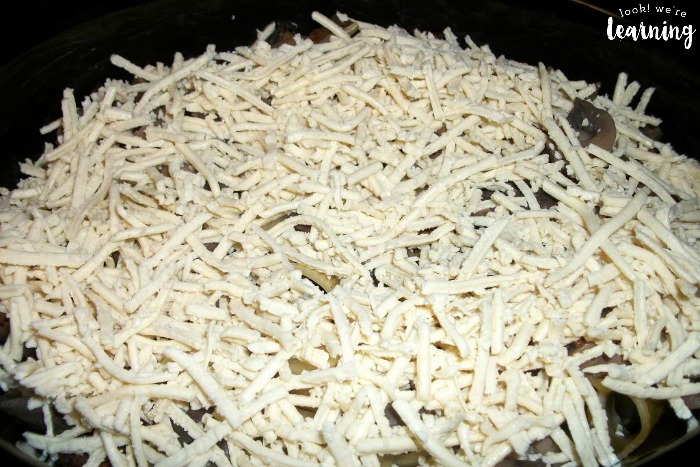
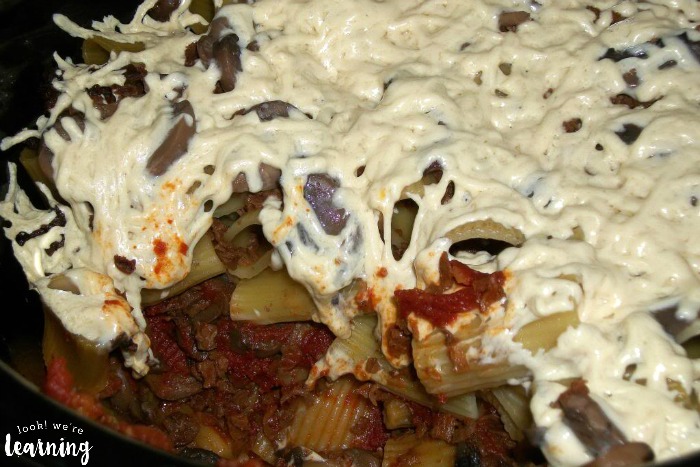
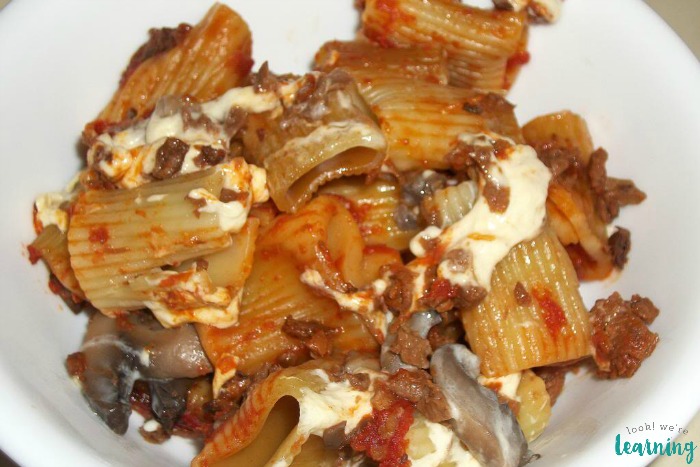
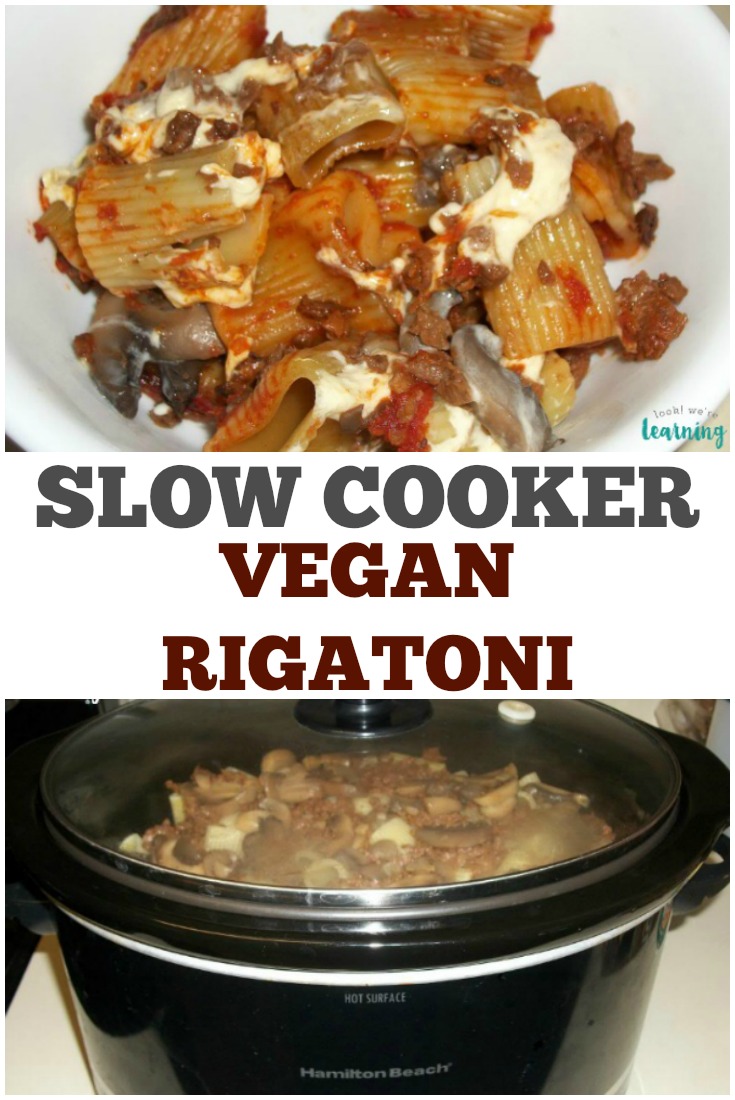
I hope you love this! If so, be sure to try our easy vegan crockpot rigatoni for another simple slow cooker dinner!
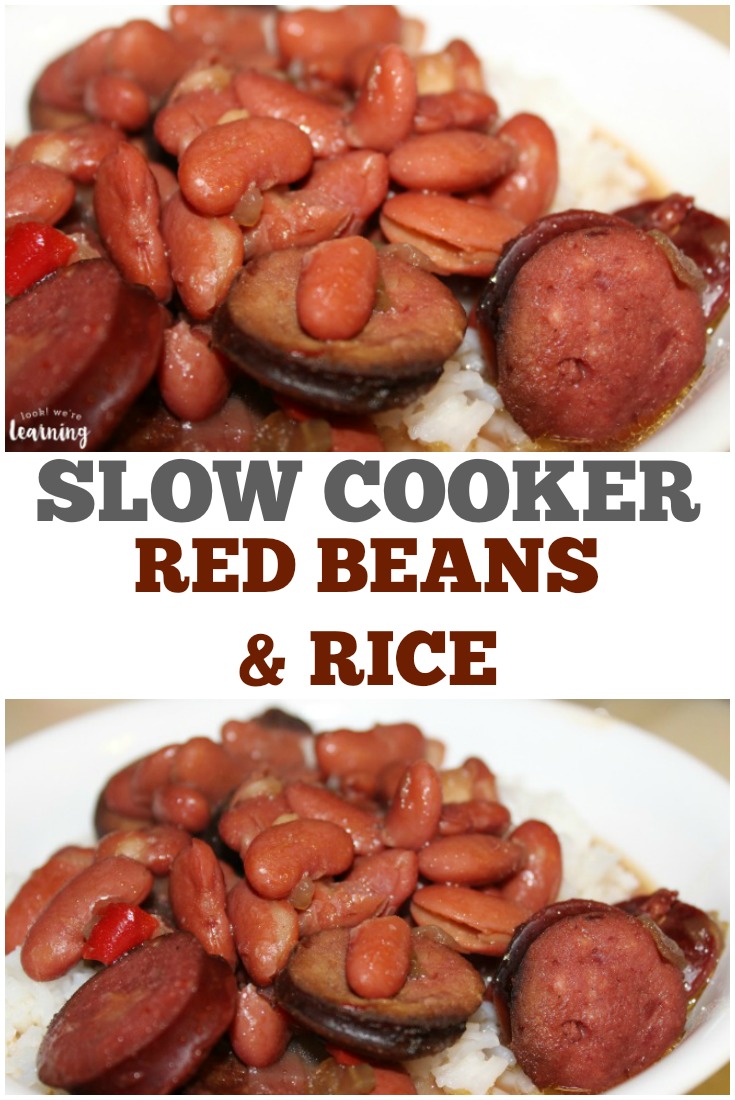
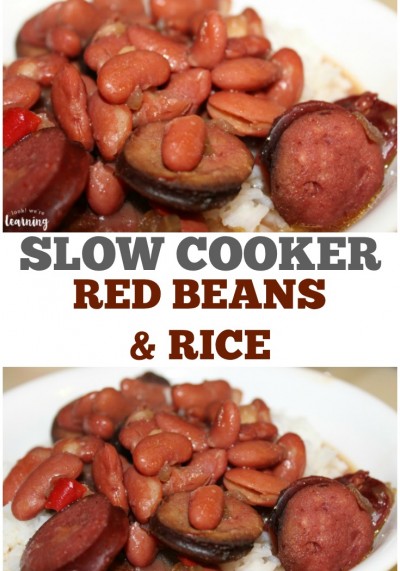
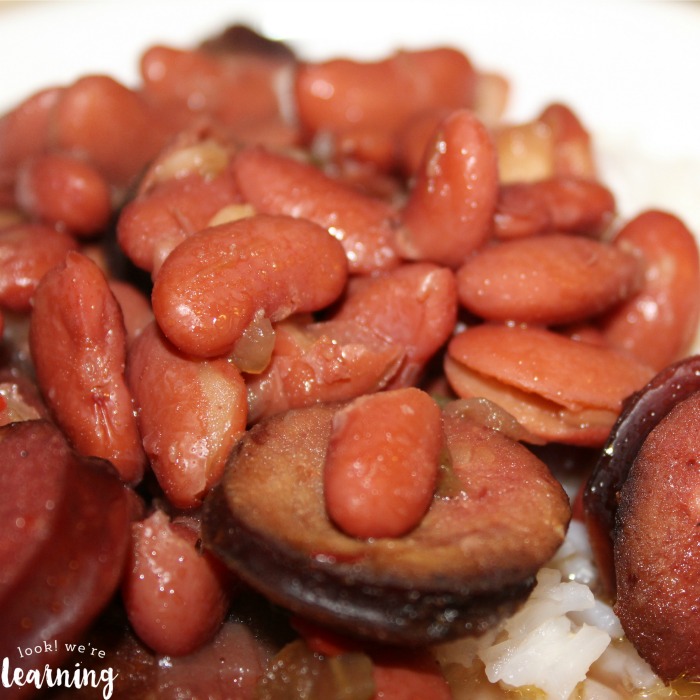
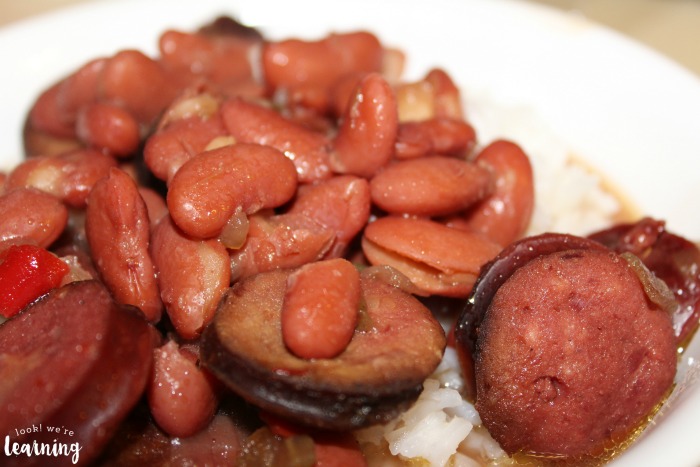
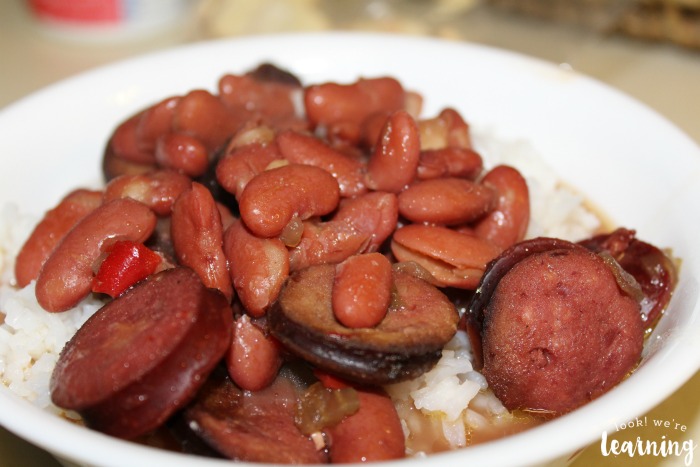
Slow Cooker Red Beans and Rice
You’ll need the following ingredients for this dish:
- 16 oz. bag of light red kidney beans
- 1 package of smoked sausage links
- 1 package frozen seasoning mix (onions, green peppers, red peppers)
- Chicken bouillon
- White rice
And that is it. Really. There are only five ingredients.
Start by rinsing the kidney beans and draining them in a strainer. Place them in the slow cooker. Cut up the sausage links into 1/2 inch circles and put them in the slow cooker as well.
Open the bag of frozen seasoning mix and toss the entire thing into the slow cooker. Now you’ll add your liquid.
The original recipe called for chicken broth, but chicken broth is kind of expensive. So I buy a container of powdered chicken bouillon and add about four teaspoons of it. Then I add seven cups of water.
Just for flavor – I add a little Cajun seasoning on top as well.
Put the lid on top and cook it for seven hours on Low.
About 30 minutes before the red beans and sausage are done, I cook the white rice. That way, it’ll be hot when the food is ready.
Dish the rice into bowls and ladle some of the beans and sausage on top. We’re done!
I might add a pan of biscuits to this, but this cooks up so large that I usually have enough for dinner the next night too. Win!
Get the full recipe below!

Slow Cooker Red Beans & Rice
Ingredients
- 16 oz light red kidney beans
- 1 package of smoked sausage links
- 1 package frozen seasoning mix (onions, green peppers, red peppers)
- 4 tsp chicken bouillon
- White rice
Instructions
-
Rinse the kidney beans and drain them. Place them in the slow cooker.
-
Cut up the sausage links into 1/2 inch circles and put them in the slow cooker as well.
-
Open the bag of frozen seasoning mix and toss the entire thing into the slow cooker.
-
Add four teaspoons of powdered chicken bouillon and seven cups of water. Season to taste.
-
Put the lid on top and cook it for seven hours on Low.
-
30 minutes before the beans and sausage are done, cook the white rice.
-
Dish the rice into bowls and ladle some of the beans and sausage on top.
Don’t miss these other simple recipes for the family!

And get more ideas for easy dinners on my Family Meals Pinterest board!