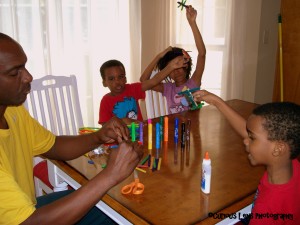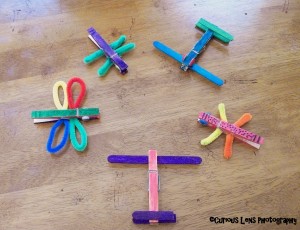
Happy Friday everyone! It’s time for another Bee Crafty Kids Link Up! Every Friday, I get to co-host this roundup with Dusty from To The Moon and Back, Jolene from Monsters Ed Academy, and Melanie from Our Crafts N Things! You can find out more about all four of us here.
One of the recurring problems with homeschooling is keeping track of all the papers you accumulate during the week. But, I found a really cute and simple project on Pinterest to help: a cereal box organizer! Like most of our projects, this one is really easy. You just need two cereal boxes, some masking tape, scrapbook paper, and glue.
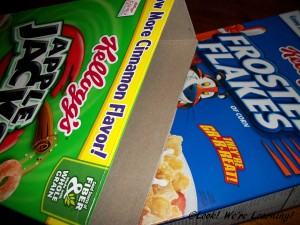
Cut the top flaps off of both boxes.
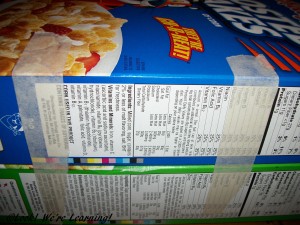 Stack them on top of each other and add a little masking tape to hold them steady.
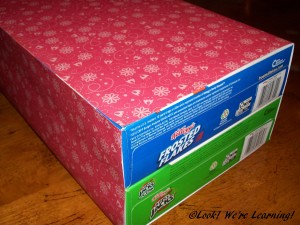
In the original tutorial from Wilde Designs, Elizabeth Howard uses colored duct tape, which makes for a neater and sturdier finish. I didn’t have duct tape, though, so scrapbook paper it is!
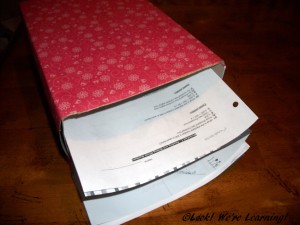
All done! The top box serves as the “in” box and the bottom box serves as the “out” box. Since we only have one child who completes regular homework assignments, I just made the small version. But for multiple kids, you can just stack several boxes on top of each other and add labels with their names inside. Super simple!
We’d love to see what you made with your family this week! To share the button for this linkup, grab the code below!

<div align="center"><a href="https://www.lookwerelearning.com" title="Look! We're Learning!"><img src="http://i1165.photobucket.com/albums/q594/dustybug83/BeeCraftyKids3_zps44074ad6.png" alt="Look! We're Learning!" style="border:none;" /></a></div>
Link up your kid-approved craft activities below! And be sure to visit the other posts in the link up this week!
Rules are simple:
~Enter the direct link to one or more of your own posts that showcase a craft or hands on activity for children.
~A link back with the above button is appreciated, but not required
~Try to at least comment on one or two of the other blogs that took the time to share and join!