When you’re looking for a simple craft material, you cannot go wrong with coffee filters. I really didn’t think much about using them for art projects with the kids until I ended up buying way too many at once. But it turns out that you can use coffee filters as the basis for lots of crafts!
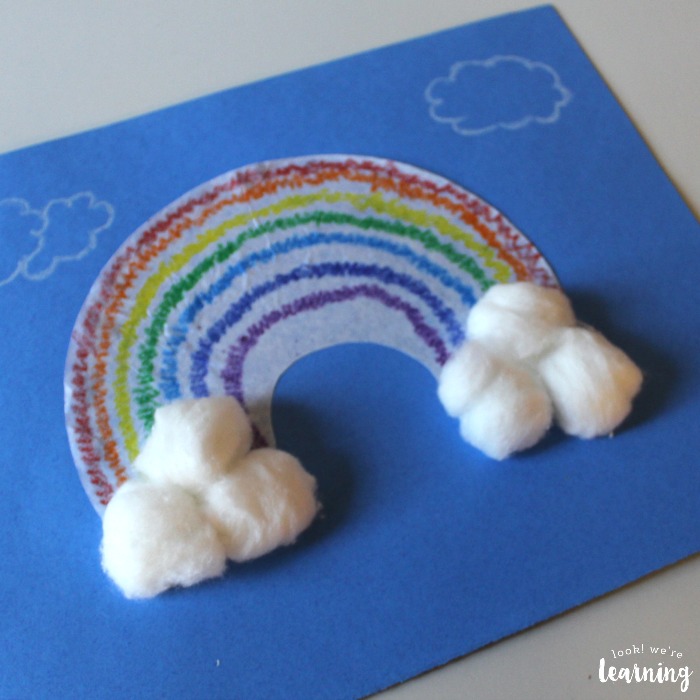
Since springtime is (finally!) on the way, I wanted to start making some fun spring crafts with our kids and that’s how we ended up making another one of our coffee filter crafts for kids – a simple coffee filter rainbow craft! This is such a fun project that only takes a few minutes to make!
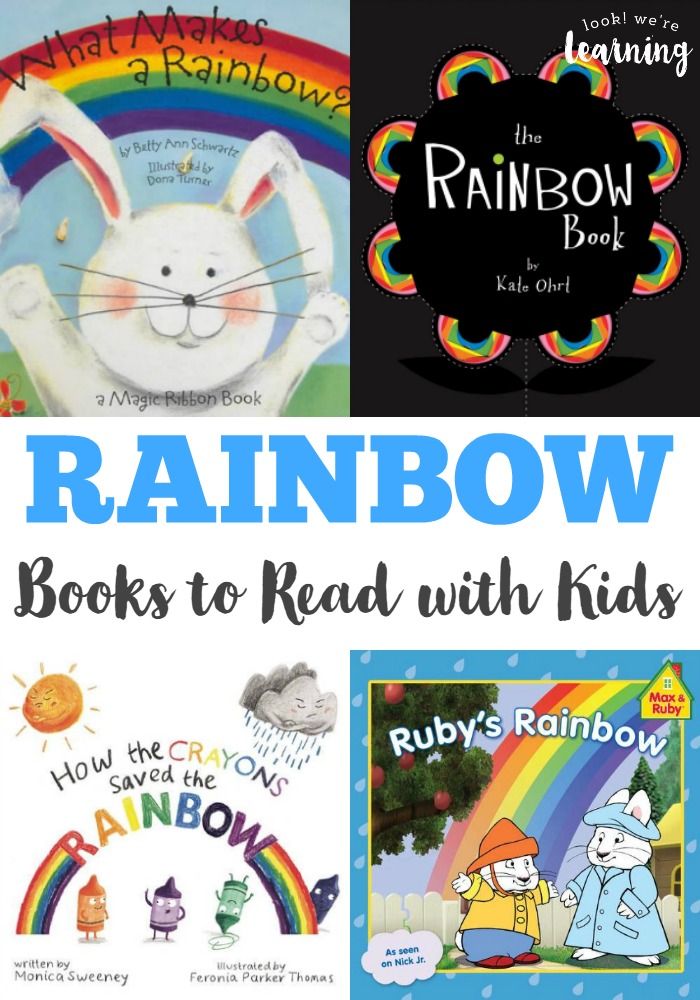
If you want to read about these incredible atmospheric phenomena, don’t miss our list of beautiful rainbow books to share with kids!
And be sure to see our list of 50 spring crafts for even more spring crafting projects kids can make!
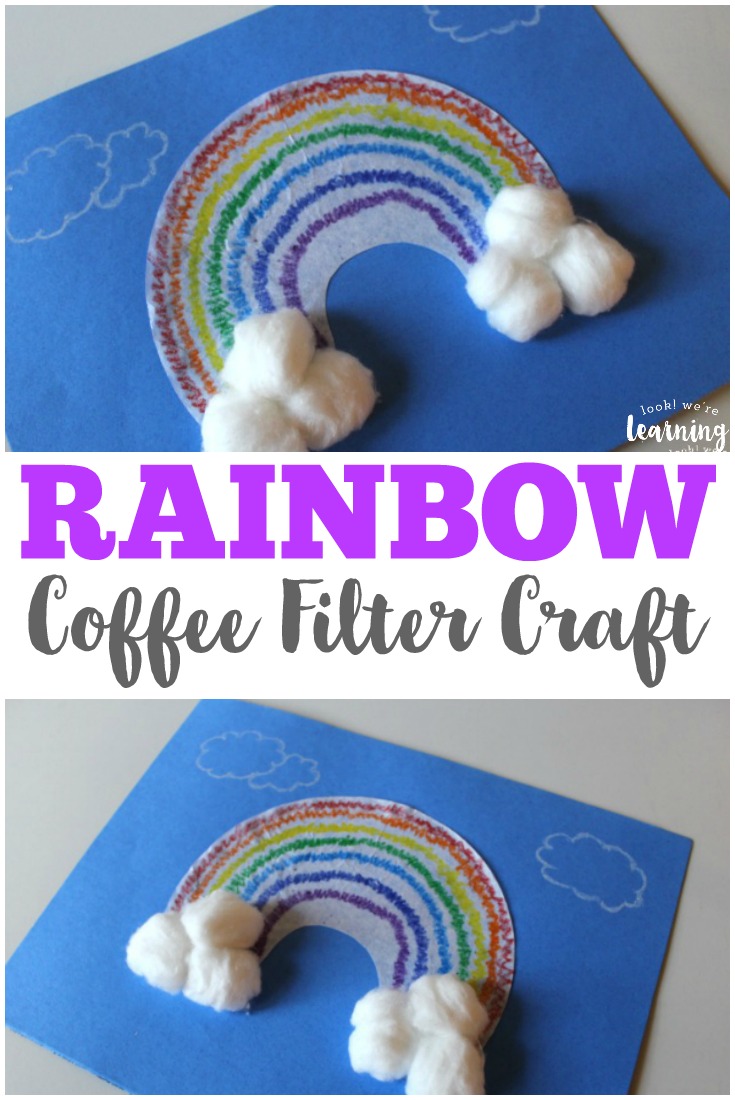
Coffee Filter Crafts for Kids: Coffee Filter Rainbow Craft
To make this coffee filter rainbow craft, you’ll need the following: (This post contains affiliate links. See our Disclosure Policy for details.)
- One White basket coffee filter
- Child-safe scissors
- Construction paper
- Glue stick
- Crayons
- Cotton balls
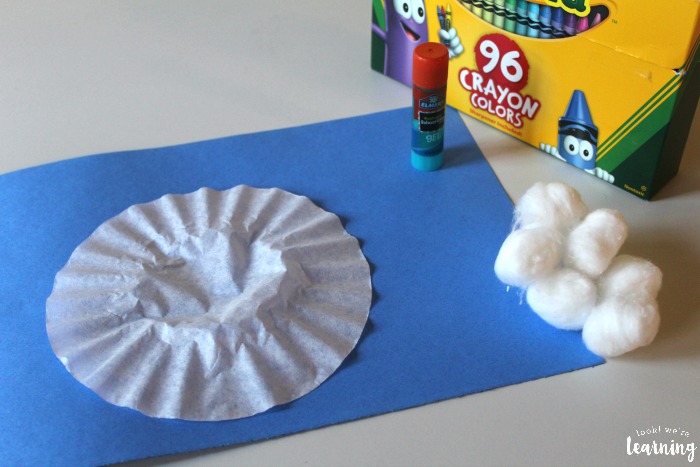
To start, you’ll need to cut the bottom fourth off of the filter. You want to make the bottom level.
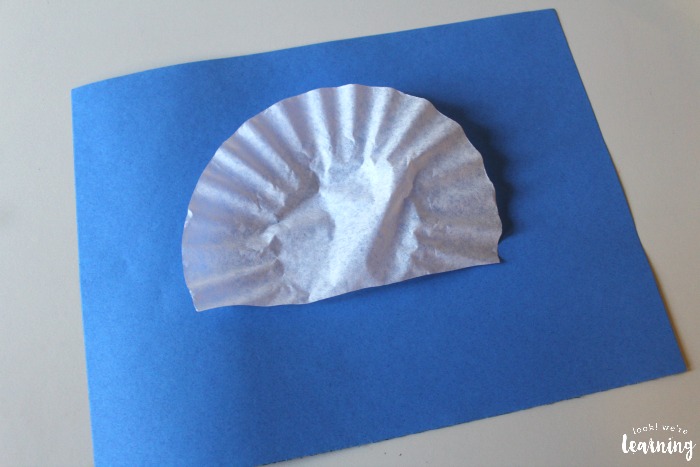
Like so. It’s always good to cut a little less than you think you need and then adjust as needed. If you want the kids to do this on their own, you can fold the part that you want them to cut down so that they can use child-safe scissors to follow the cutting line.
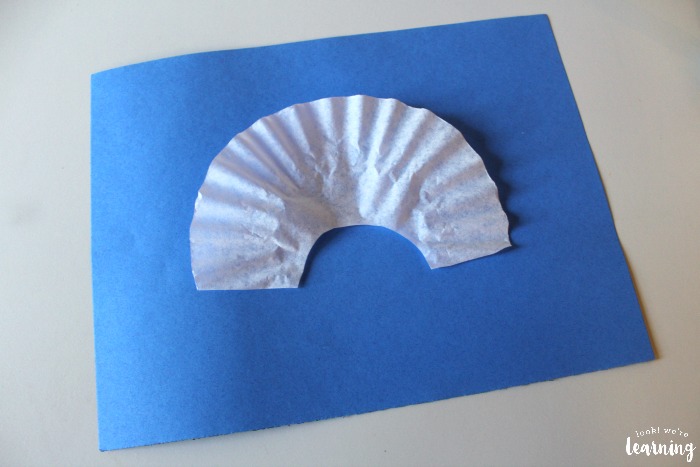
Then use the scissors to cut out a half-circle from the center. It’s tempting to just cut the entire middle circle out, but that might not leave the kids with enough space to add all the colors of the rainbow. So try to cut a smaller half-circle than you see.
Then use the glue stick to glue the cut coffee filter onto the upper center of a piece of blue construction paper.
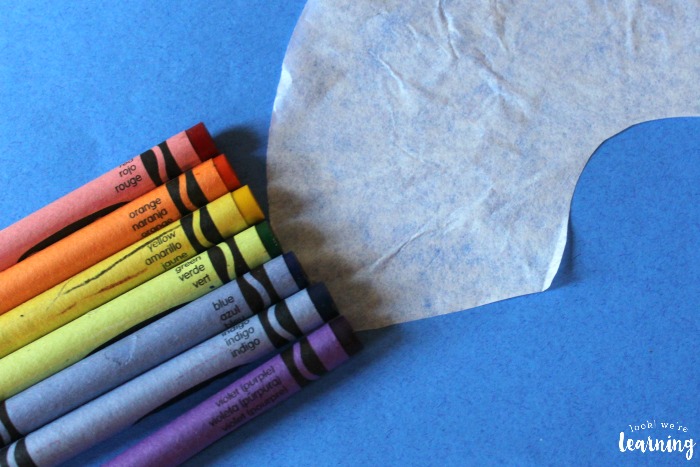
This project is a great time to talk about the colors of the rainbow. In this craft, we decided to keep our colors in the order they actually appear in the rainbow: red, orange, yellow, green, blue, indigo, and violet.
A simple way to help kids remember this is to use the acronym below:
R – red
O – orange
Y – yellow
G – green
B – blue
I – indigo
V – violet

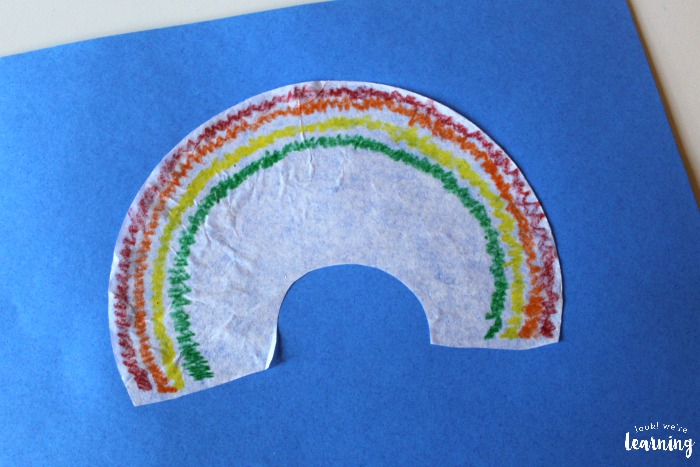
Let the kids start coloring a squiggle line with each crayon color to make their rainbow colors. They can make circles, they can color solid lines, or they can use any other drawing shape they like!
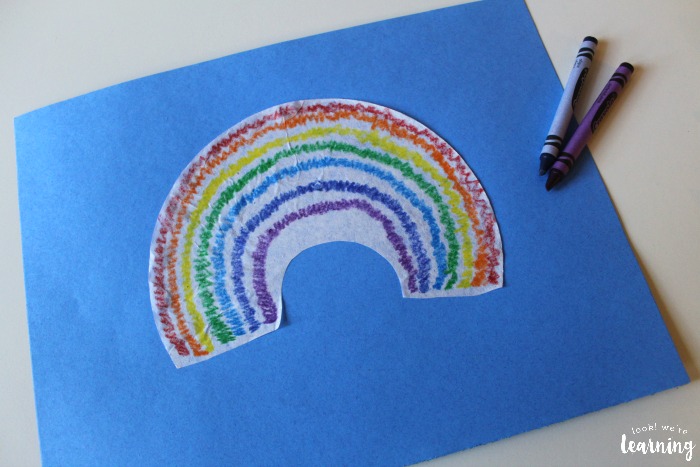
Once the colors are done, it’s time to add some clouds!
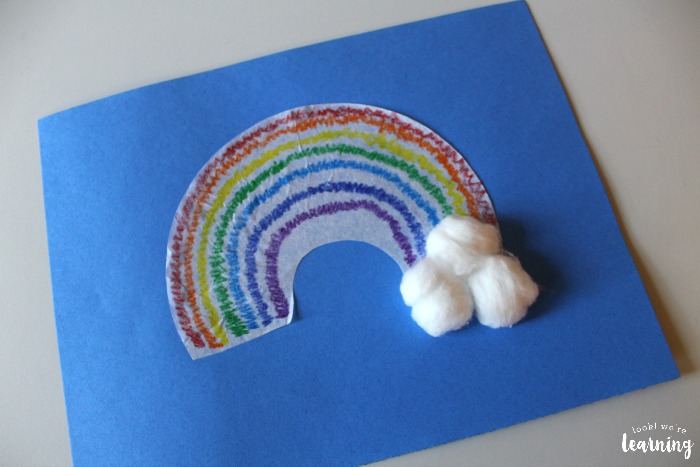
Use the glue stick to spread glue onto the bottom of each side of the rainbow arc. Place three cotton balls at one end of the arc and press lightly.
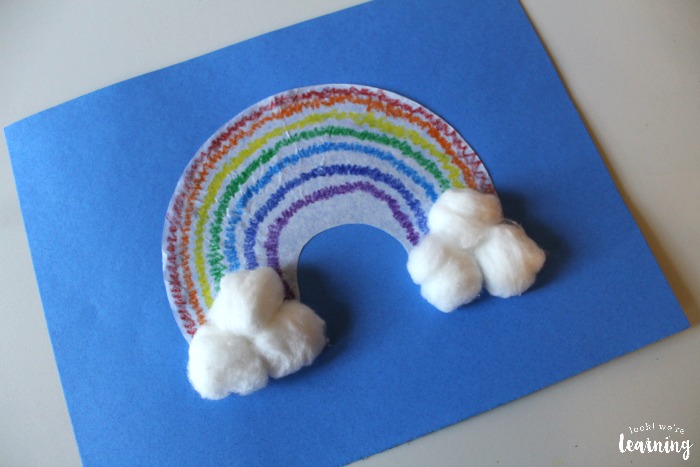
Do the same on the other side. You might want to hold up the picture to make sure the cotton balls are glued on completely.
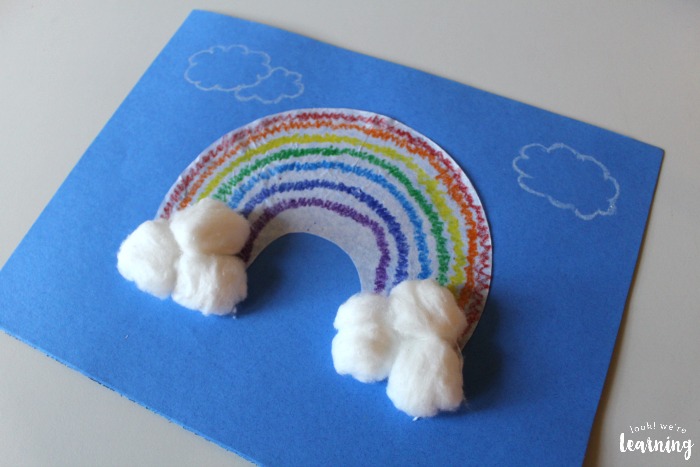
Then just draw a few other clouds in the background.
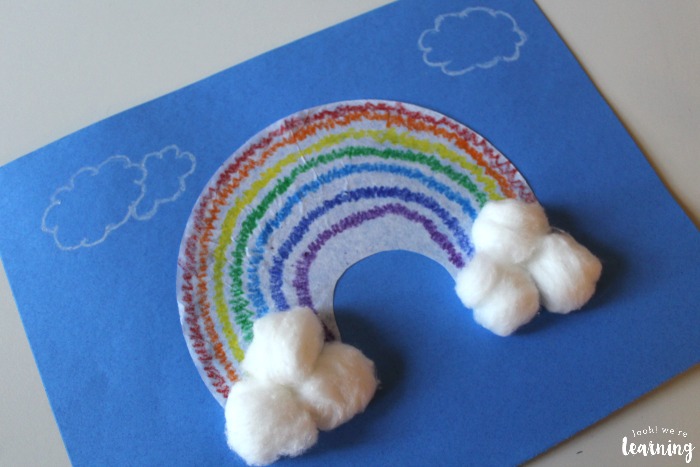
And you’re done!
It’s neat to make this craft in traditional rainbow colors, but you can always let the kids come up with their own color schemes! A pink background with a rainbow made of neutral colors actually sounds pretty neat too. See how creative the kids can be!
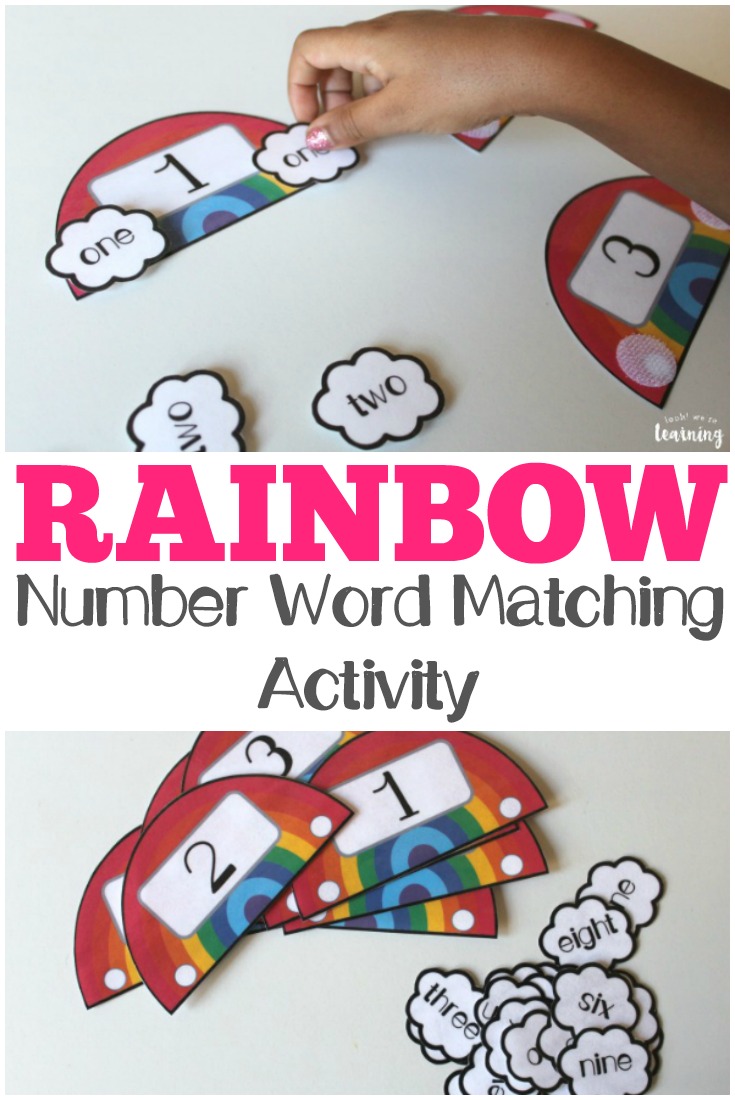
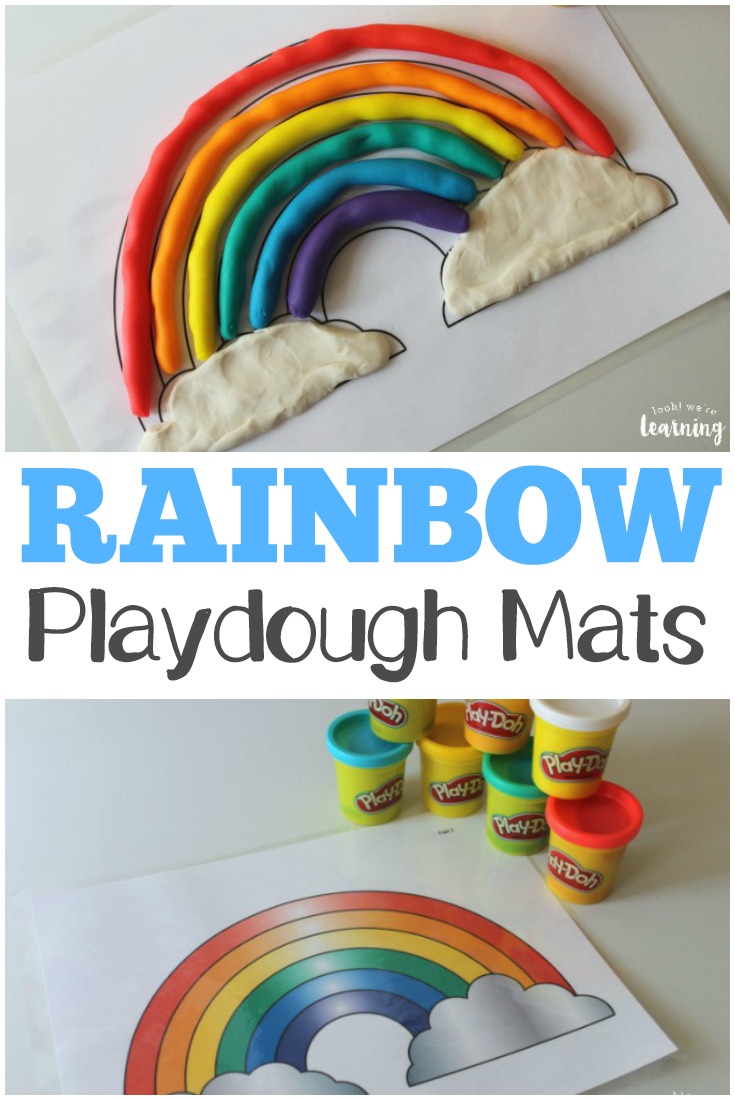
Don’t miss these other fun rainbow learning ideas!
Want to get exclusive learning printables? Sign up for our email newsletter using the widget below!
See more fun spring crafts and lessons on my Spring Activities for Kids Pinterest board!

[…] Coffee Filter Crafts for Kids: Coffee Filter Rainbow Craft – Look We’re Learning […]