I had my very first encounter with a wild turkey not too long ago. I knew that they lived down here in the South, but I had yet to lay eyes on one.
Turns out – they’re huge! In fact, I initially thought that the one I saw was a vulture until we got right up on it. It was not a vulture. It was an enormous turkey and I was terrified. (Okay, I was in my car, but terrified nonetheless.)
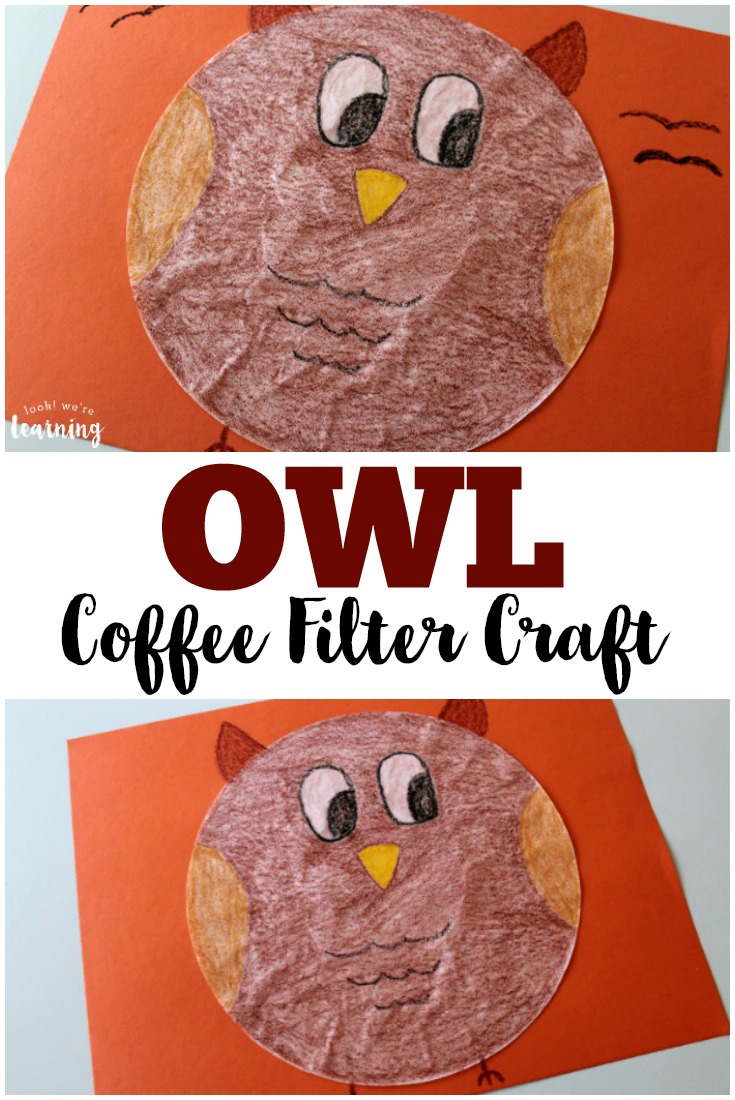
So it’s clear that I have a lot more to learn about turkeys. And that’s why I thought the next one of our coffee filter crafts for kids should be a coffee filter turkey craft!
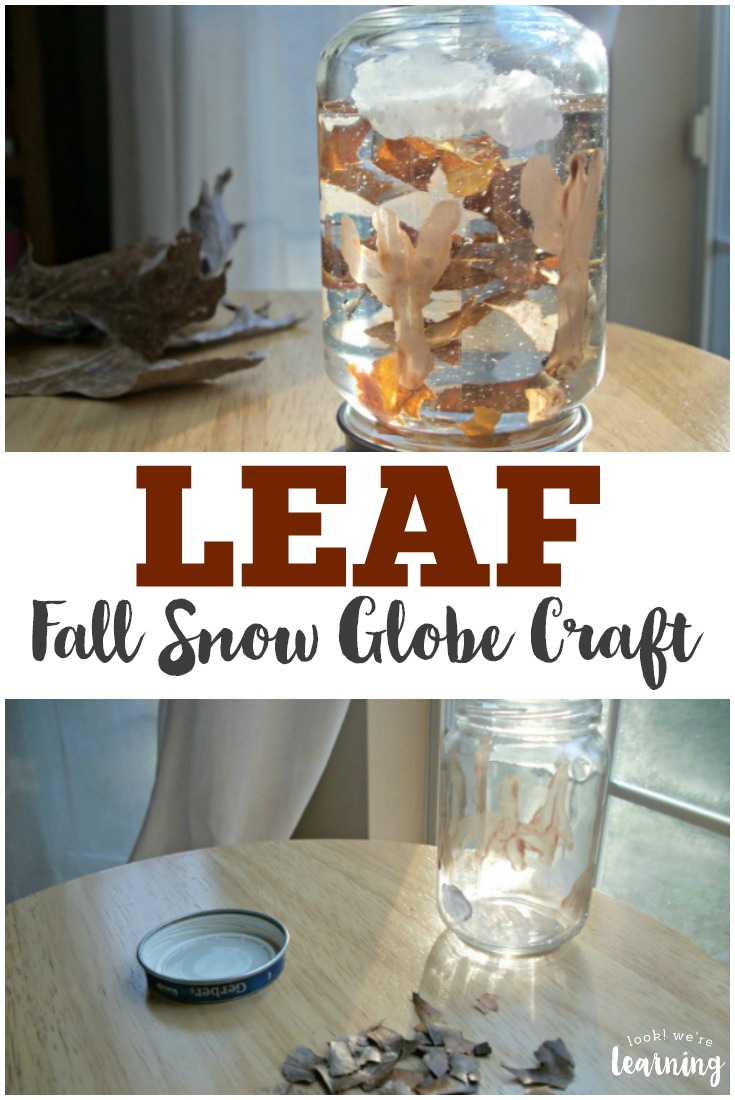
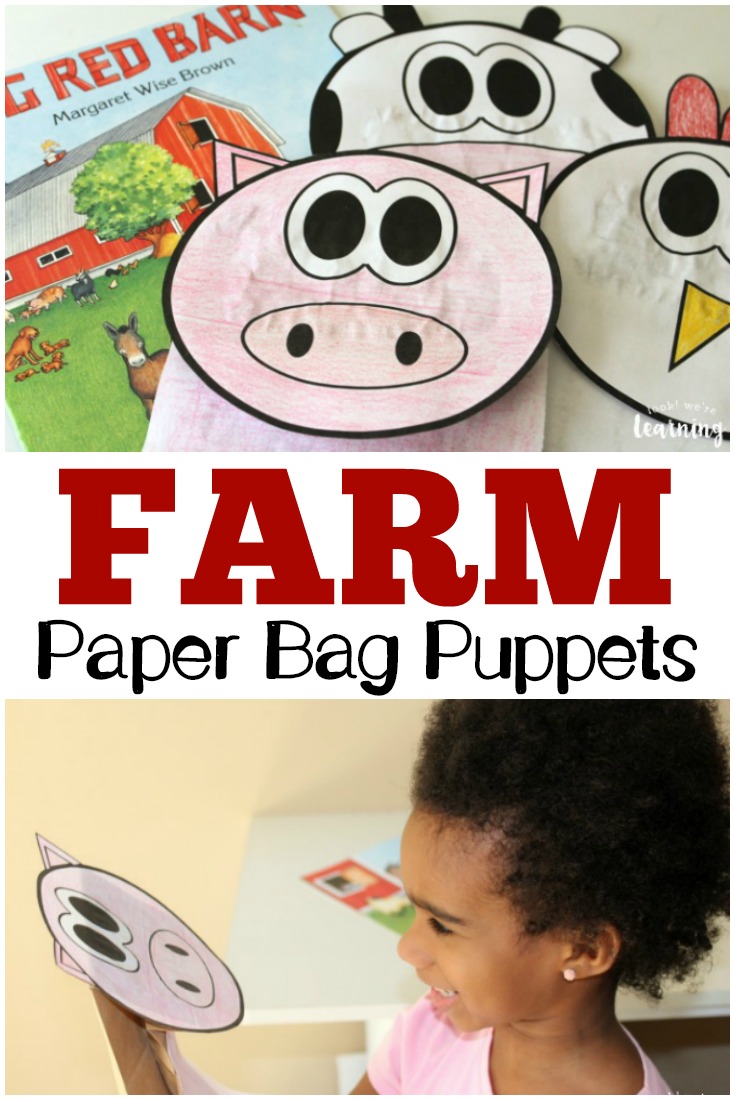
This was such a fun project to make. It’ll be perfect for kids to create this fall! And it’d go well with some of our other farm-themed crafts, including our farm paper bag puppets and our coffee filter pig craft!
If you like this craft, check out our list of farm books to share with the kids too!
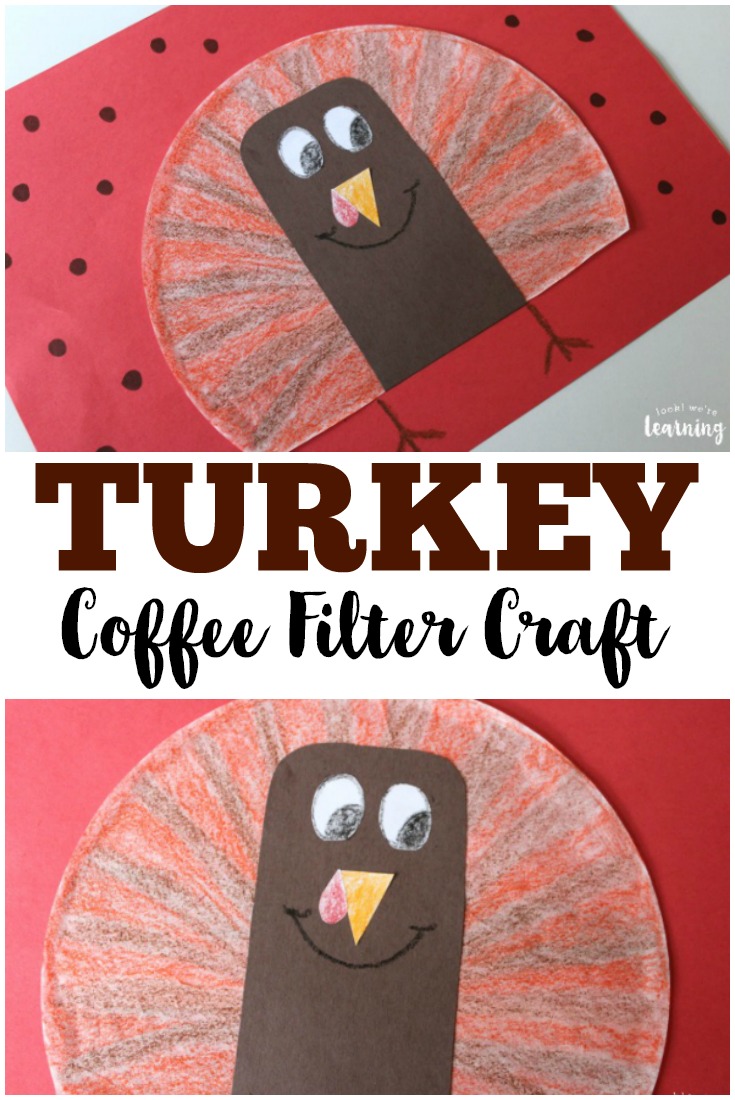
Coffee Filter Crafts for Kids: Coffee Filter Turkey Craft
To make this coffee filter turkey craft, you’ll need the following: (Affiliate links provided here for convenience. For details, see our Disclosure Policy.)
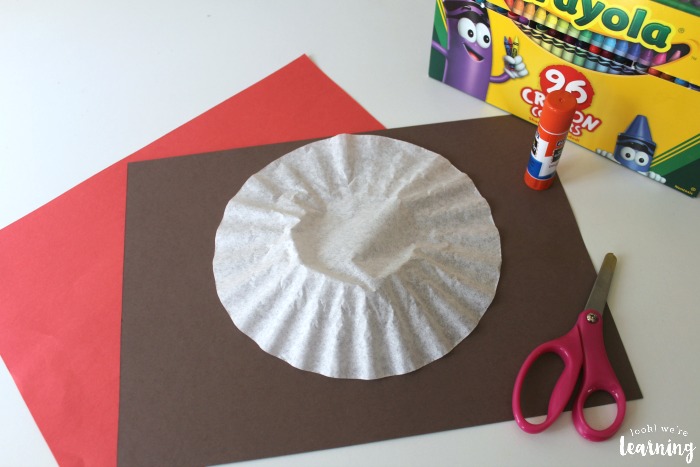
To start, flatten out the coffee filter as best you can.
Fold the bottom fourth edge of the filter under to make a sharp crease.
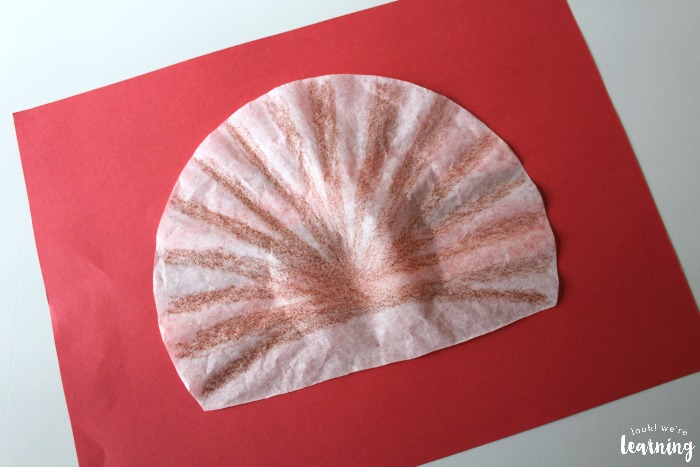
Cut the bottom fold off so that the coffee filter has a flat bottom edge. This will be the turkey’s “feathers”.
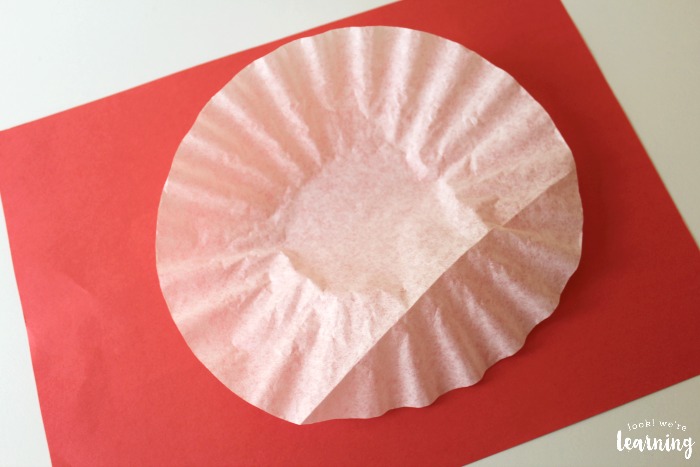
Use a brown crayon to color a kind of sunburst design. The goal is to have alternating brown and red feathers. So leave enough space between the brown lines to add red next.
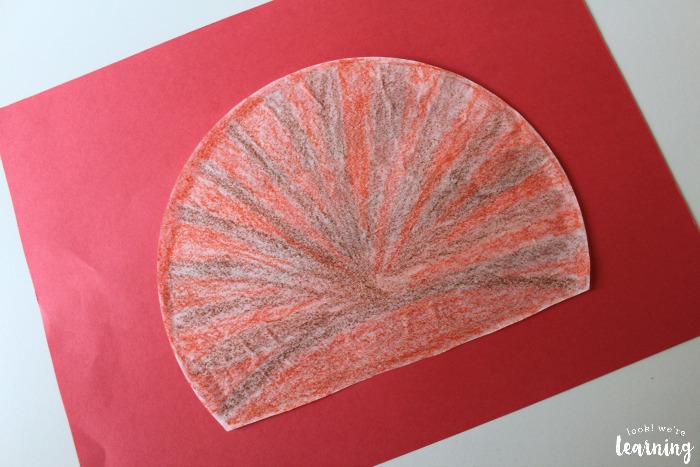
Like so. When you’re finished, you can color in the rest of the bottom with a solid red. You could also use yellow or orange colors if you wanted.
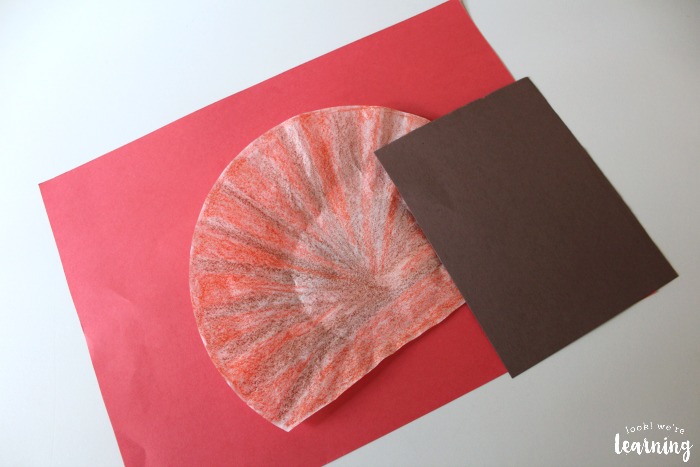
Fold the brown piece of construction paper in half, then fold it in half again to make fourths. Cut out one of the fourths. You’ll cut the turkey “body” from this piece of paper.
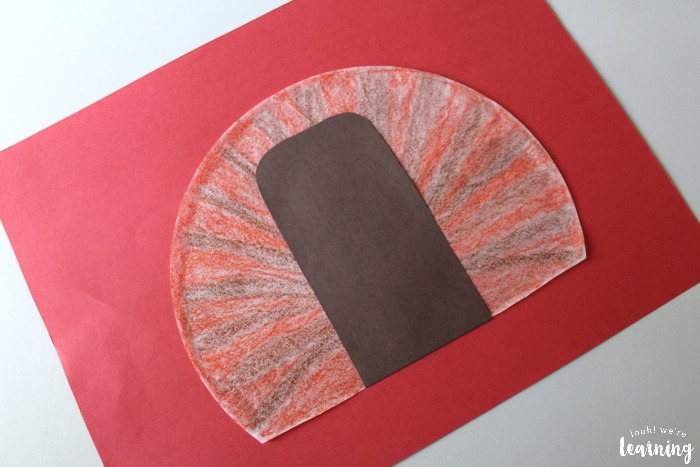
Place the colored coffee filter in the center of the large piece of construction paper and glue it down. Cut a rounded cylinder shape (like a silo) out of the small brown piece of construction paper. Glue it on the center of the coffee filter, lining up the flat edges of both the filter and the paper.
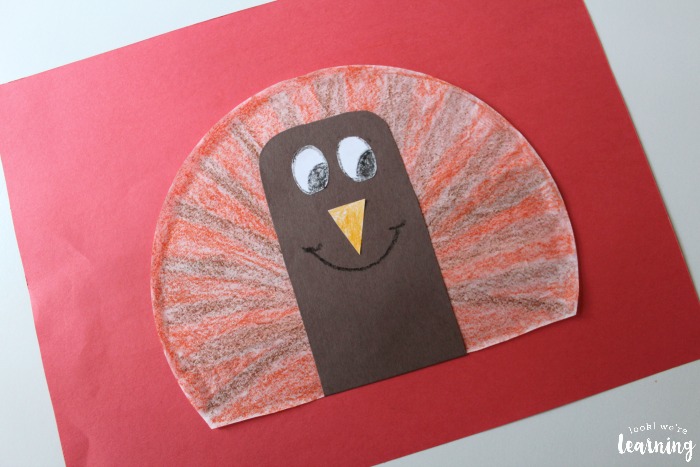
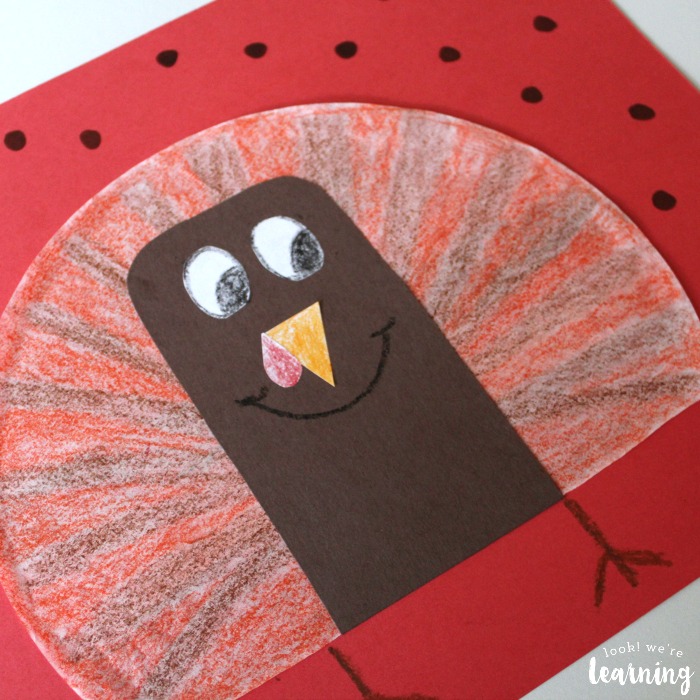
Time to give our turkey a face! Cut two small circles out of white paper. Use a black crayon to draw eyes on them. Glue them to the top of the turkey’s “body”.
Cut out a small triangle-shaped piece of paper and color it orange. Glue it onto the turkey’s face to form the beak. Then use a black crayon to add a smile.
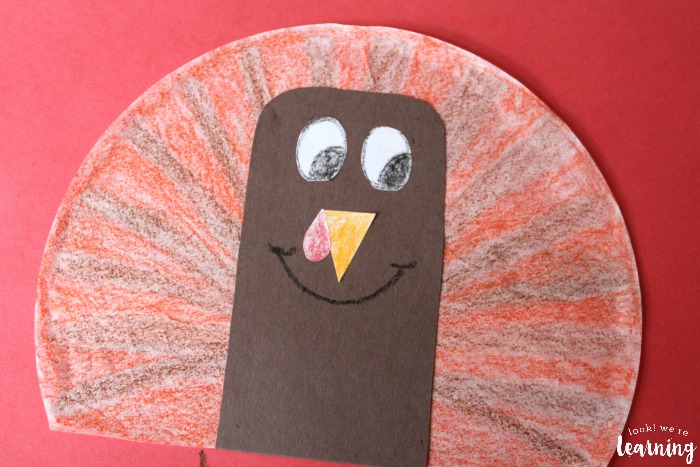
Something seemed to be missing, so we added the turkey’s “waddle” by cutting out a teardrop-shaped piece of paper and coloring it red. Then we just glued it next to the beak.
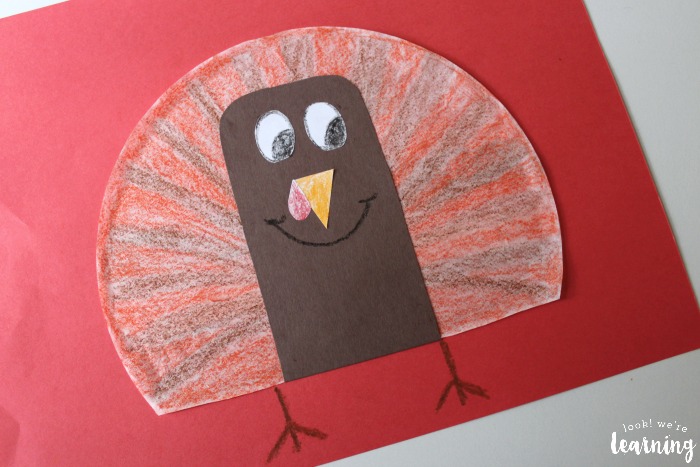
All our turkey needs is some feet and he’s good to go!
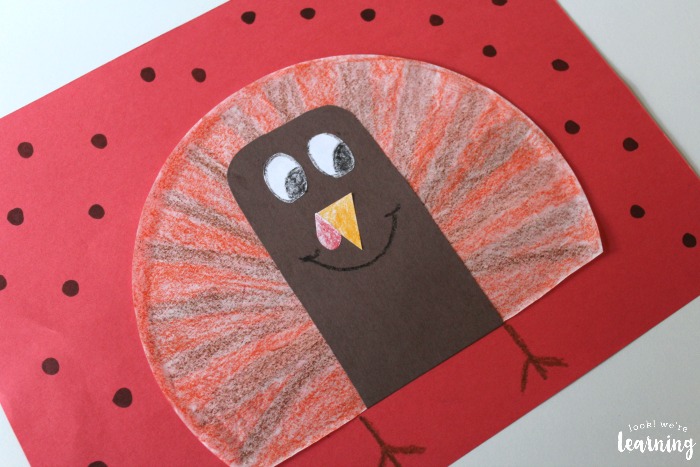
And we’re done! He’s definitely a lot nicer than the wild turkey I met that day.
Do you think your kids would like this coffee filter turkey craft? If so, don’t miss these other crafts for fall!
See more easy crafts the kids can make on my Simple Crafts for Kids Pinterest board!
Get more ideas for hands-on learning and crafts in our weekly email newsletter! Just use the widget below to subscribe.

[…] Coffee Filter Turkey – Make a turkey using a coffee filter. […]