This is a sponsored post written by me on behalf of Duck Brand® for IZEA Worldwide. All opinions are 100% mine.
Since we are teaching multiple children with attention issues, we always try to make our school lessons as fun and engaging as possible. Particularly when it comes to math.
Math is one of those subjects that kids either love or hate or possibly love to hate. Because our kids need to move around frequently to remain attentive, I wanted to find a way to help them practice geometry terms without forcing them to write the definitions over and over.
And that’s how we came up with the idea for geometry dice!
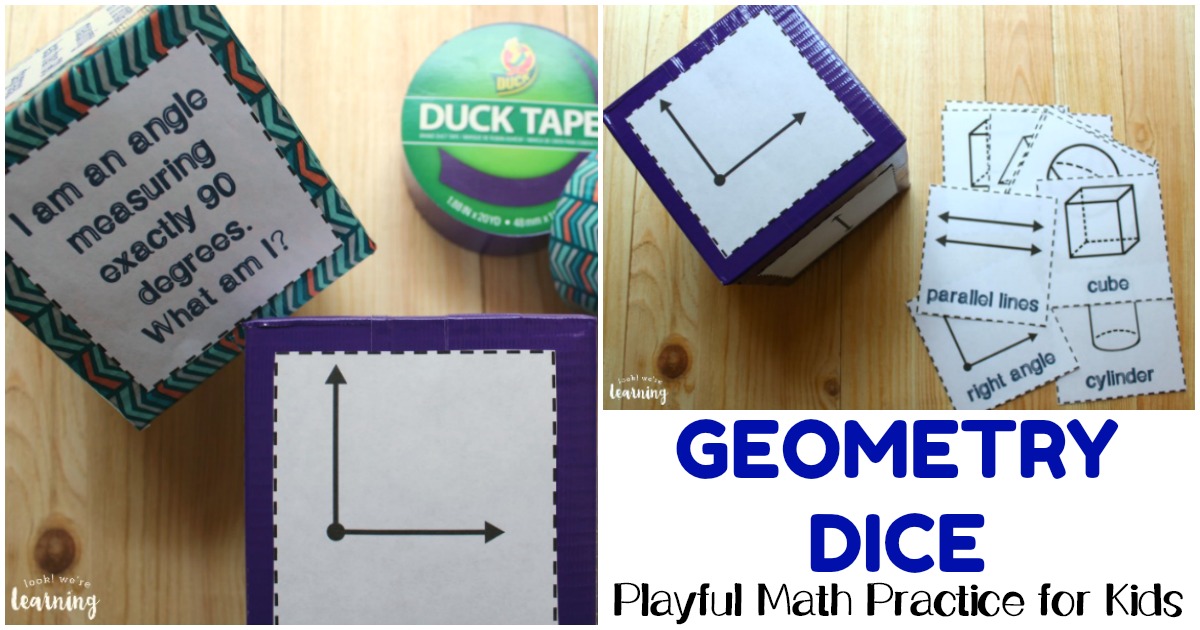
These DIY math manipulatives only take a few minutes to make and they’re awesome for helping students develop geometry fluency while having fun and getting some much needed movement during the school day.
Read on to see how I used colorful Duck Tape to make our geometry dice and how to grab the printable dice templates you’ll need for yourself!
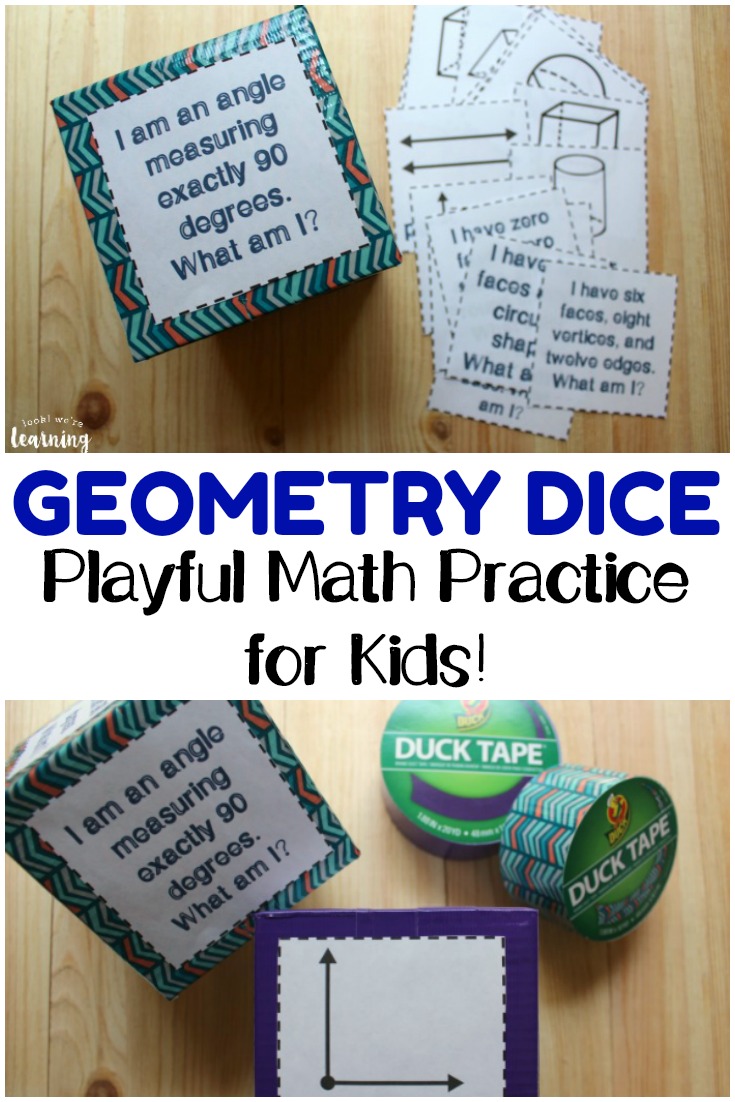
DIY Geometry Dice for Math Practice
Here’s what you’ll need to make your Geometry Dice:
- Empty square tissue box (You’ll need one box for each die you want to make.)
- Duck® brand duct tape
- Printable Geometry Dice templates (These are available for free in our Subscriber Library. Sign up at the bottom of the post!)
- Scissors
- Glue stick
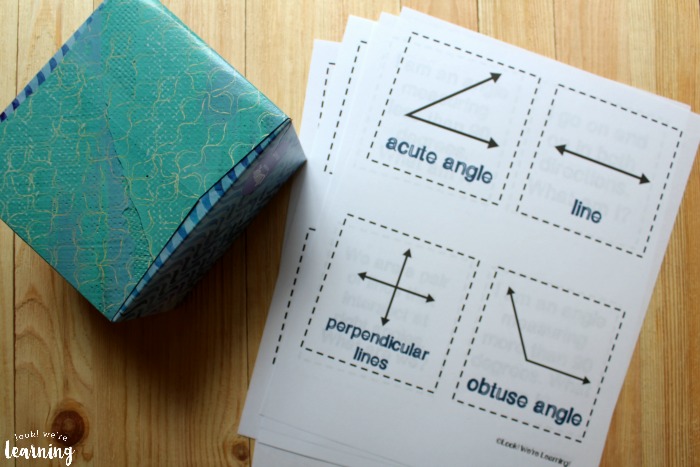
These geometry dice are designed to help students in upper elementary grades or early middle school grades practice recognizing and identifying basic geometric lines, angles, and shapes.
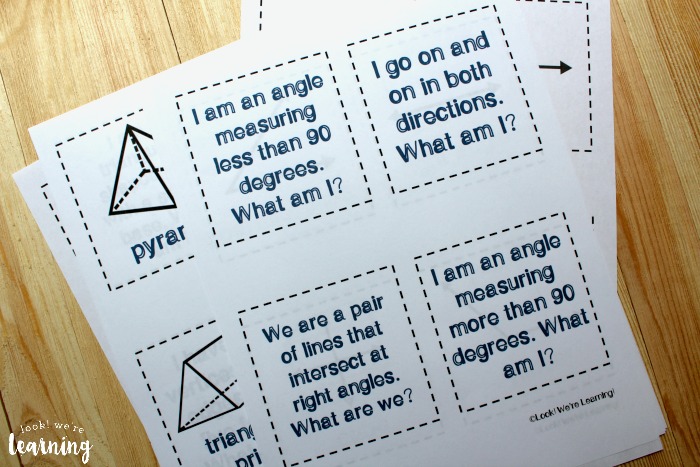
For younger students, you can use the set of shapes and angles with the identifying names. Have them roll the dice and call out the shape, line, or angle they see until they start to recognize them on their own.
Then switch to the dice templates with no labels to see if the students remember each line, shape, and angle.
Upper elementary and middle school students can use the Who Am I? style templates to try to identify each line, angle, and solid shape without seeing the pictures at all.
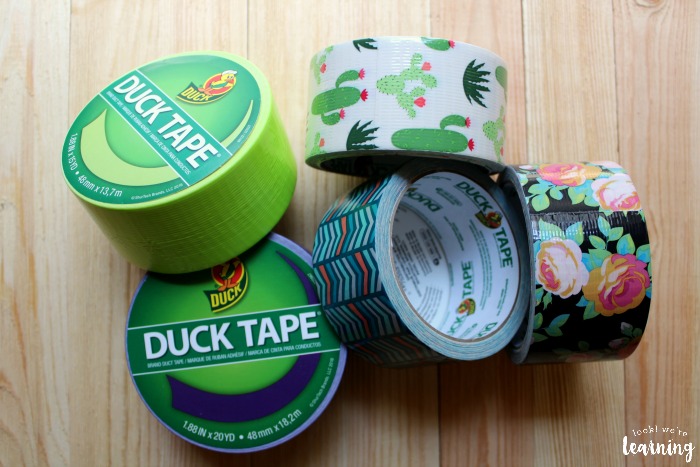
When it was time to decorate our geometry dice, I was so excited to use Duck® brand duct tape to make them as bright and colorful as possible.
And let me just tell you: Duck Tape is nothing like you probably remember. It now comes in Color Duck Tape® and Printed Duck Tape® – both of which are adorable and perfect for educators!
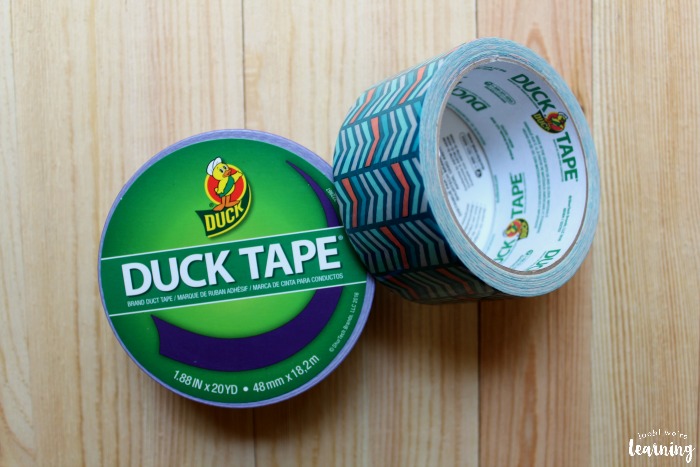
For our geometry dice, I went with bright purple and this super cute blue, red, and green chevron Duck Tape. I knew the colors would make the dice even more fun and attention-grabbing for the kids.
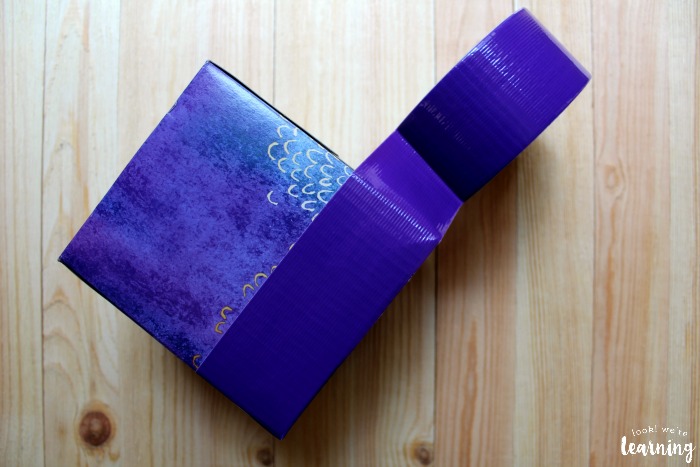
So – here’s how to make the Geometry Dice.
Start by wrapping the Duck Tape around one end of the empty tissue box. Since Duck Tape is made fairly wide, you’ll only have to go around the sides of the box three times or so to cover it.
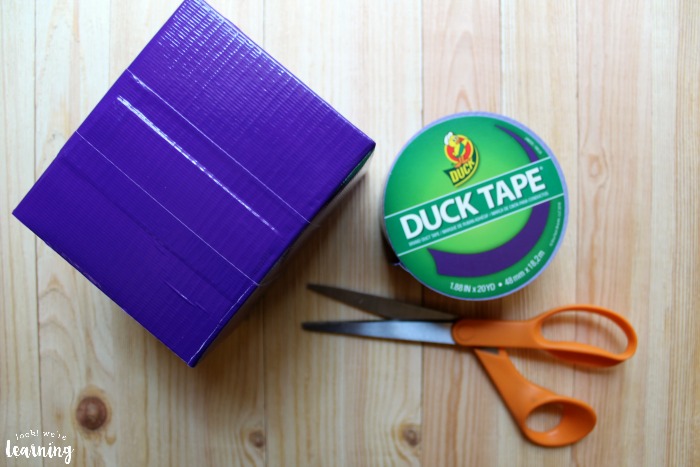
After you wrap the Duck Tape around the tissue box completely in one direction, turn it upside down and wrap the remaining two sides the same way.
Finally, use scissors to cut the Duck Tape and press the open end closed. Easy peasy!
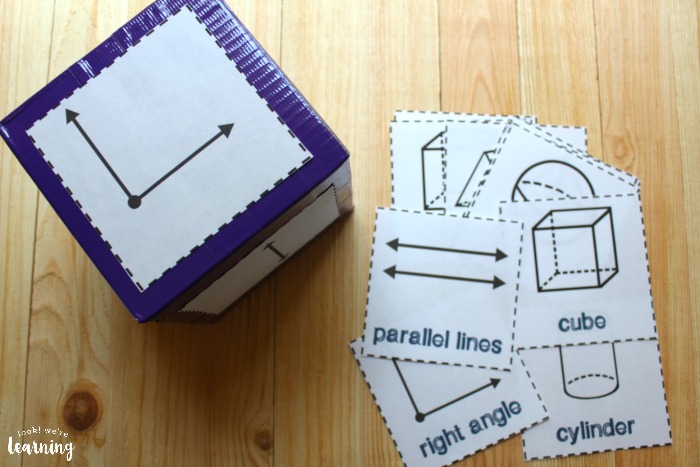
Cut out the Geometry Dice templates you plan to use and use a glue stick to attach one to each side of the tissue box.
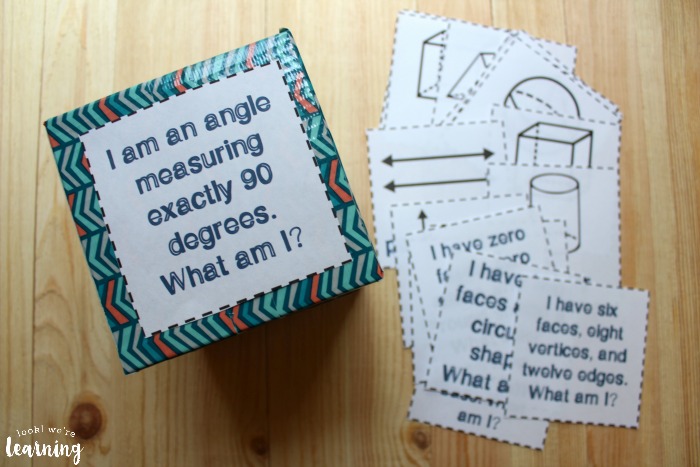
If you’re making two dice, repeat this process all over again.
Just a note about working with the chevron-patterned Duck Tape: It takes a little bit longer to decorate the box with it, because you’ll need to stop and align the tape to make sure the pattern is even.
Totally worth it, though, because it’s adorable.
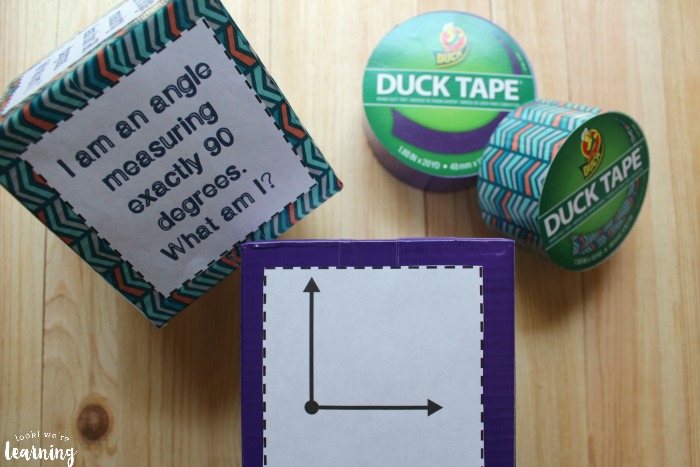
These are so fun for working on geometry. My kids wanted to play with them long after math class was over.
Scroll down to get your printable Geometry Dice templates – FREE!
Don’t miss these other ideas for teaching math!
To get your printable Geometry Dice templates free, sign up for our email newsletter! You’ll get access to these printables, plus lots more, in our exclusive Subscriber Library!

Great resources for Geometry.Thanks.