This is a sponsored post written by me on behalf of Duck Brand Easy Liner. All opinions are 100% mine.
I have been teaching for many years – both at home and in the classroom.
Naturally, I am a flashcard fanatic. I use them and use them and use them again. I’ve even created plenty of my own.
As any educator knows, when little hands touch resources, those resources don’t last long if they’re not covered and prepared in advance.
So I tend to laminate my flashcards before handing them out.
But is there an easier way to preserve materials, especially if you don’t have access to a laminator?
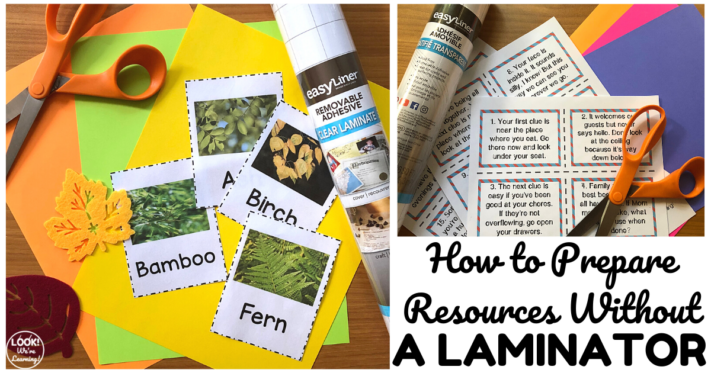
Turns out there is! And you don’t need any equipment or even electricity to use it!
Keep reading to see how to use this easy method for preparing resources to use with students or in centers.
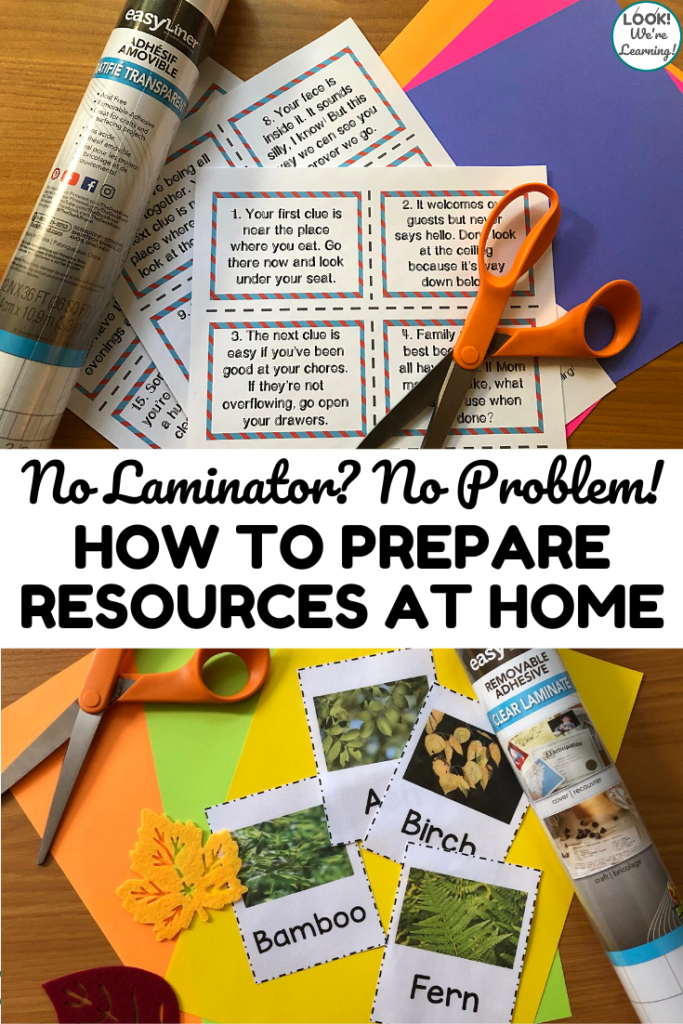
I Don’t Have a Laminator. Now What?
Have you ever been in the middle of preparing a center activity for the next day and found out you couldn’t use the laminator?
Maybe the school’s laminator isn’t working. Or the line to use it reaches out into the hallway.
Maybe you just couldn’t get away from the class to get it done that day.
Or maybe you’re a homeschooler and your own trusty laminator has finally died.
So what do you do?
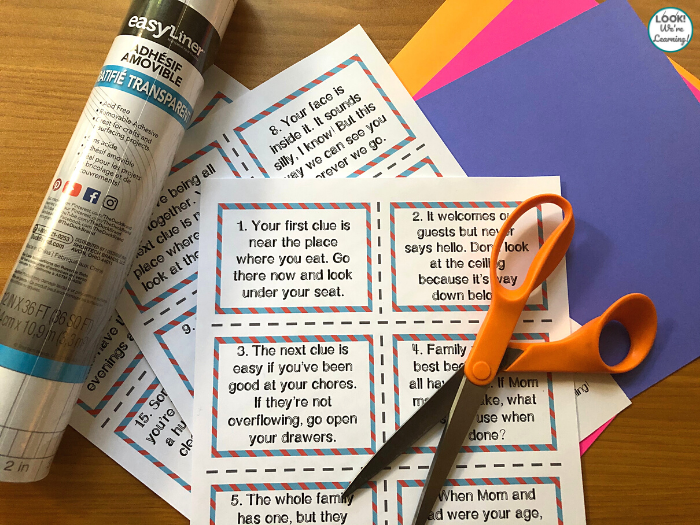
You get a roll of EasyLiner® Removable Adhesive Shelf Liner and you keep right on working.
EasyLiner® is simple, easy to use Duck® Brand Clear Laminate and you can use it for all kinds of projects – from crafting to teaching.
Can You Use EasyLiner® Paper to Cover Printable Flashcards?
Yes! EasyLiner® can be used to cover paper products of all types, including printable flashcards.
It lies flat, stays clear, and doesn’t separate when you cut it with scissors.
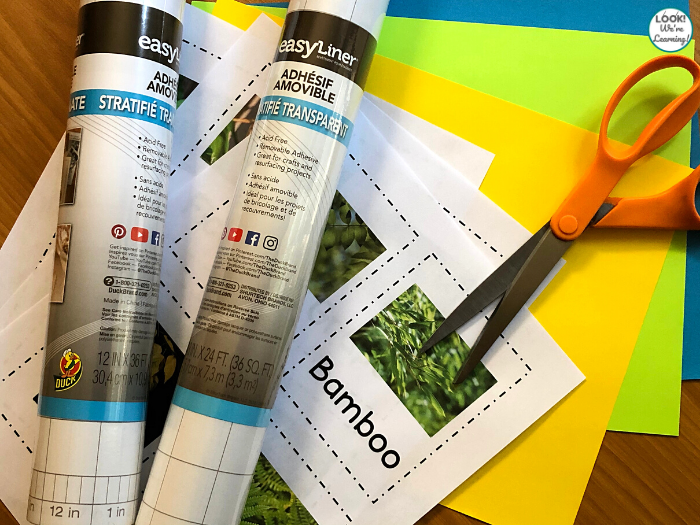
Even better, you can wipe it clean!
Which is especially important when you’re working with early grades.
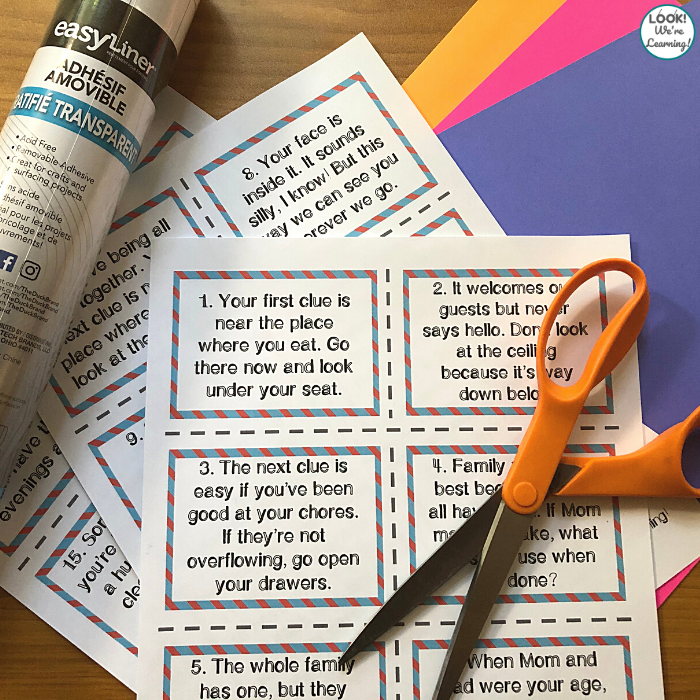
When you’re finished with a center activity and you’re ready to put it away, you can simply wipe it down with your nontoxic cleaner of choice.
Done!
How to Use EasyLiner® Paper to Cover Flashcards
Feeling nervous about using EasyLiner® clear laminate?
Don’t be. It’s truly simple.
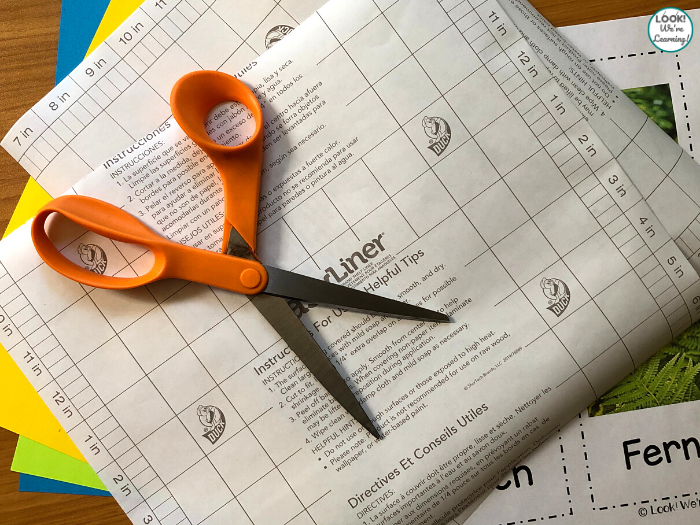
Start by measuring the size of laminate paper you’ll need.
The back of each roll is marked with inch lines and measured in feet. so it’s simple to get the right measurements for your resource.
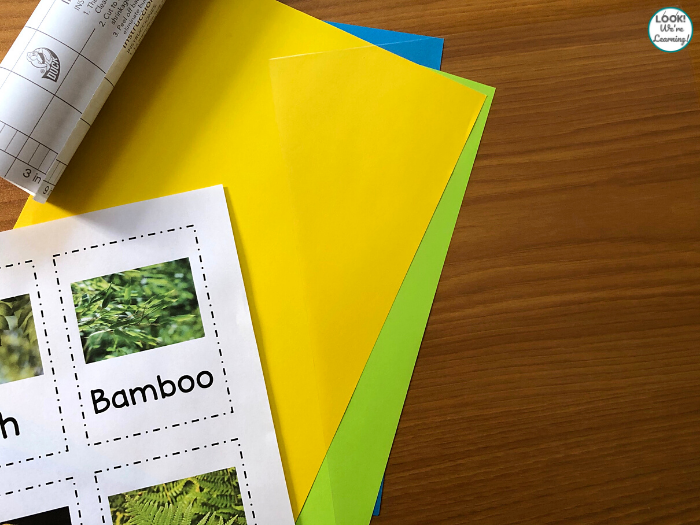
Cut two pieces – one for the front of the printable and one for the back.
Slowly unroll the backing paper from one corner of the laminate and lay it flat on a work surface.
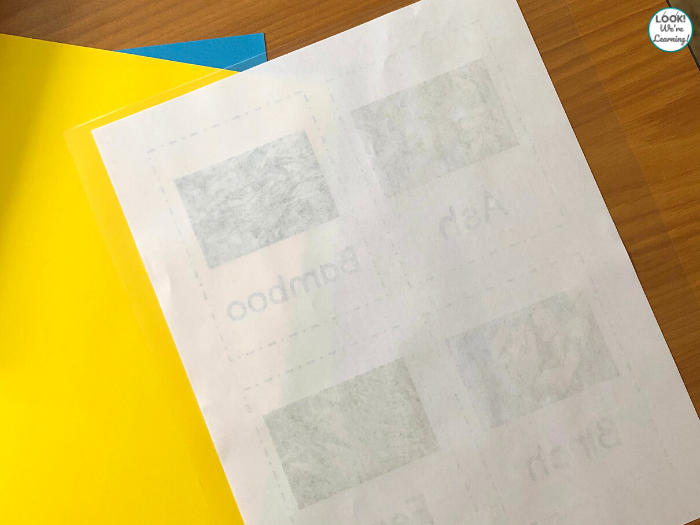
Personally, I found it best to leave the printable as an entire page during this process, rather than cutting it into pieces first.
Center the page directly over the clear laminate and slowly lay it onto the sticky side (which should be facing up).
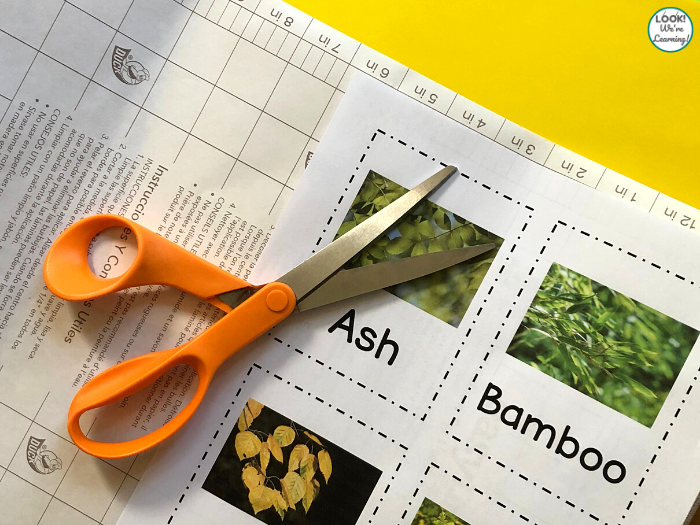
Unroll the first few inches of second piece of laminate starting from the long edge.
I like to leave the backing paper on and gradually unroll it out over the printable.
It’s easier to line up that way.
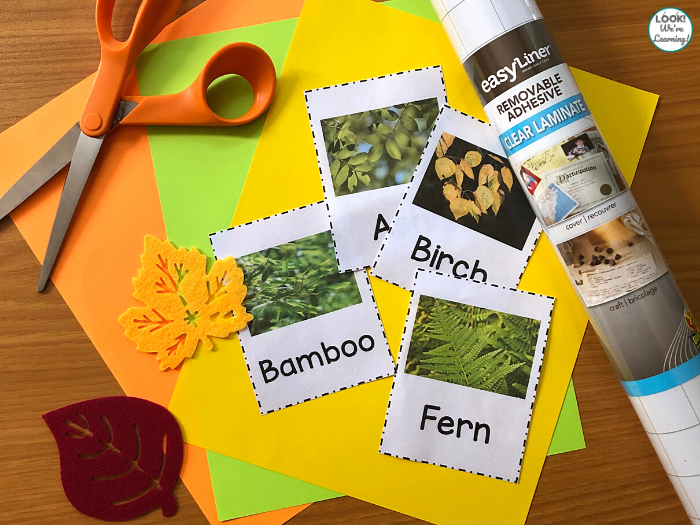
Now that you have the front and back covered, all that’s left is to cut the flashcards out.
And you’re finished!
Want to see this product in action? Watch the video below!
How Will You Use EasyLiner® in Your Classroom?
Let’s be real: teachers are some of the most creative people on the planet.
We know how to take almost anything and make it something engaging for our students.
And Duck® Brand wants to see your creative ideas for using EasyLiner® this back to school season!
Share your ways to use EasyLiner® for decorating and organizing your class or for teaching lessons in class on Instagram for a chance to win a year’s worth of school supplies (valued at $2,000)!
Two runners up will receive Duck® Brand education supplies worth $500 as well!
To enter, share your photo or video on Instagram with the hashtags #DuckBrandSticksWithEducation and #contest and be sure to tag @theduckbrand!
I can’t wait to see your inspirational ideas!
Leave a Reply