Look! We're Learning!

Early Learning. Happy Teaching.

  • Shop
  • Printables
  • Homeschool
  • Crafts
  • Parenting
  • Blog

Simple Science Experiments: Floating Egg Experiment

March 18, 2020 by Selena Robinson 4 Comments

It’s time for another one of our simple science experiments!

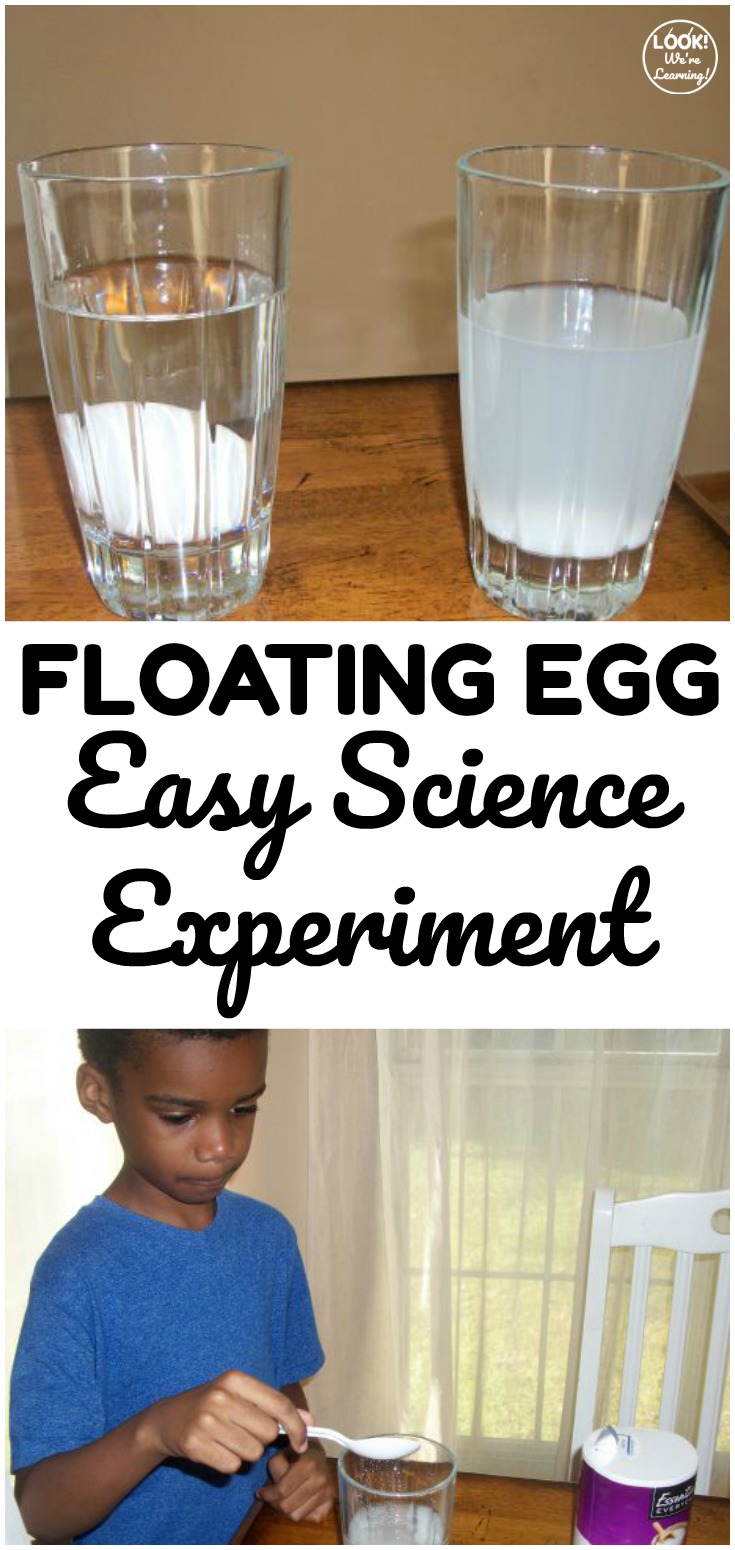
This time, we’re learning about salinity and floating with a simple floating egg experiment.

My boys are entering first and second grade, respectively.

These are excellent ages to introduce science experiments – especially ones that are low-prep, inexpensive, and simple to do, right?

Easy Floating Egg Science Experiment for Kids

Check out how we learned about salinity by making an egg float!

This would also be a great science lab for small groups or science centers.

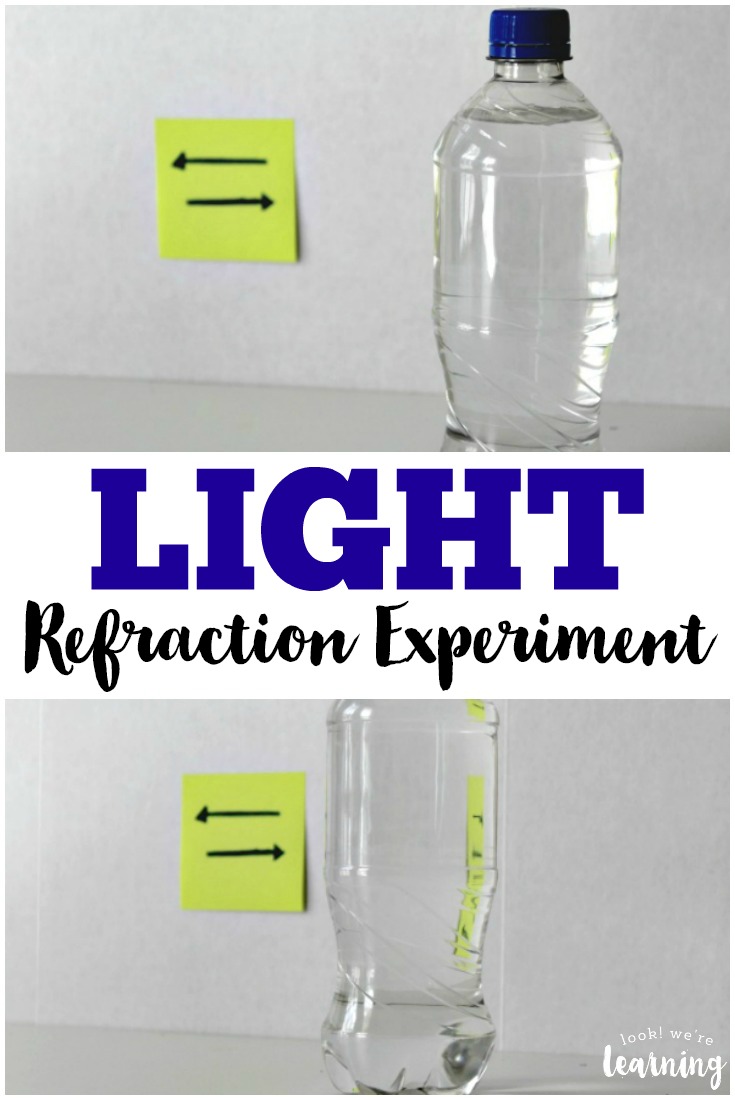
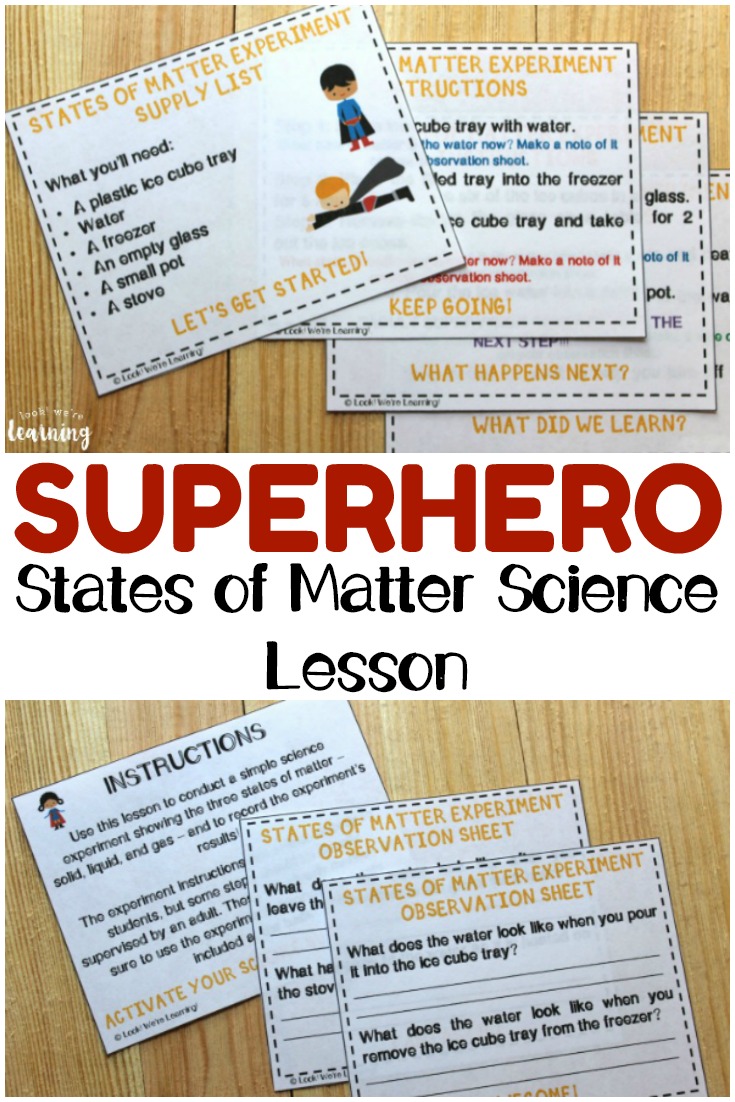
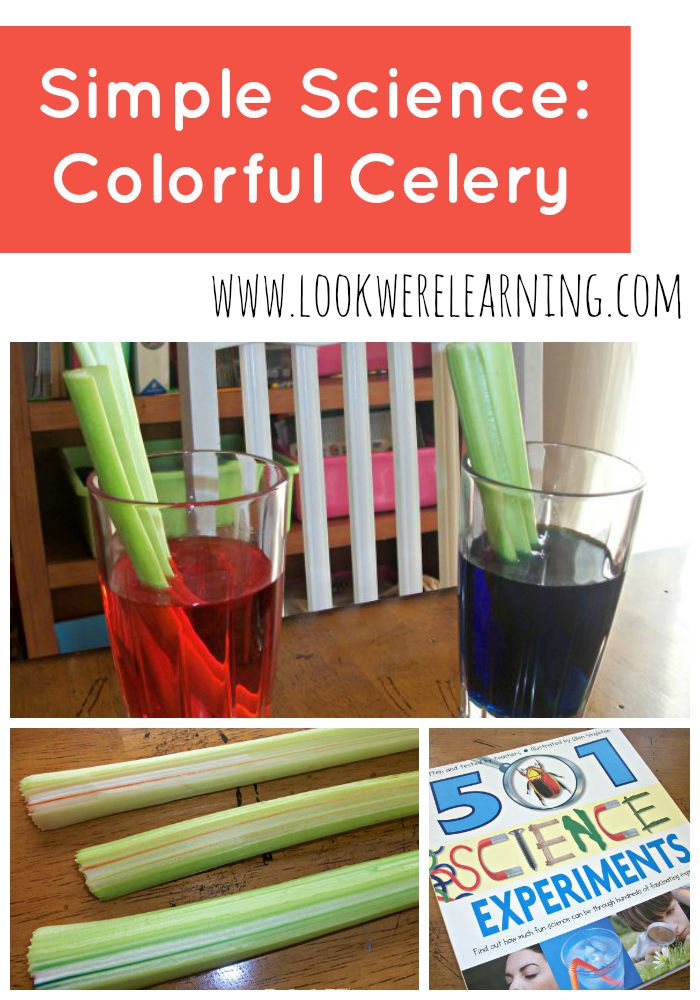
If you enjoy this activity, don’t miss our colorful celery experiment or our superhero states of matter experiment!This easy Floating Egg Experiment is a neat way to teach kids about salinity and how it affects weight!

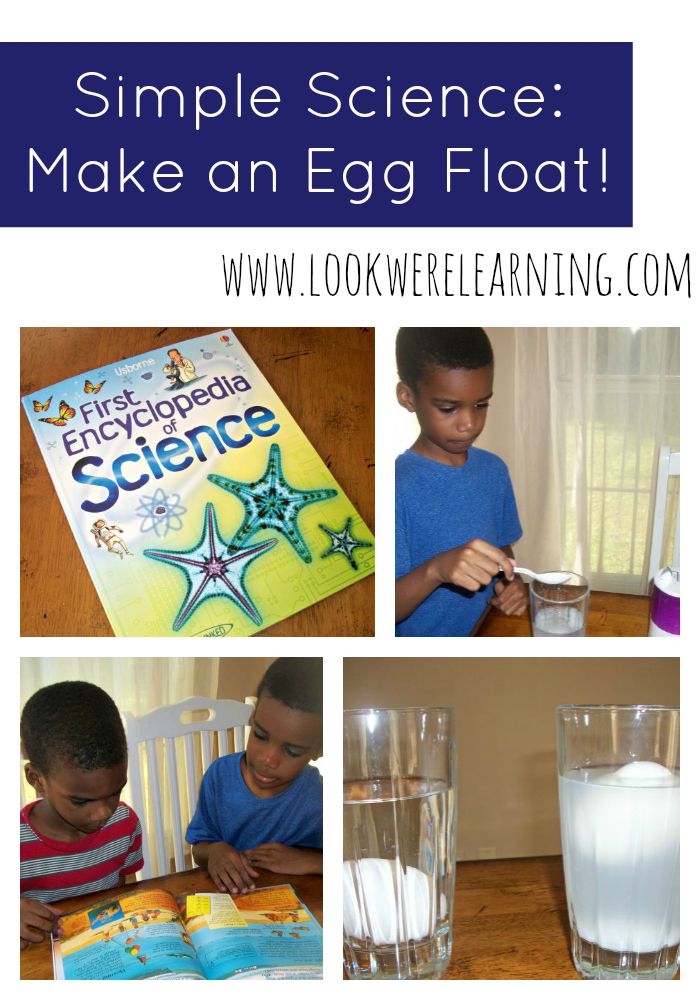
Simple Science Experiment: Floating Egg Experiment

Like all of our science experiments, this one is super easy and requires absolutely no scientific expertise.

To complete this easy science activity, you’ll need the following:

  • Clear glass
  • Egg
  • Salt
  • Spoon

Simple Science Experiments: Make an Egg Float!

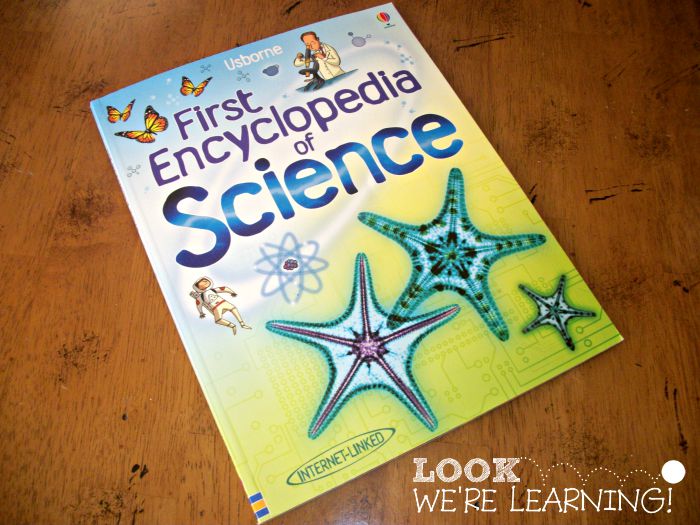
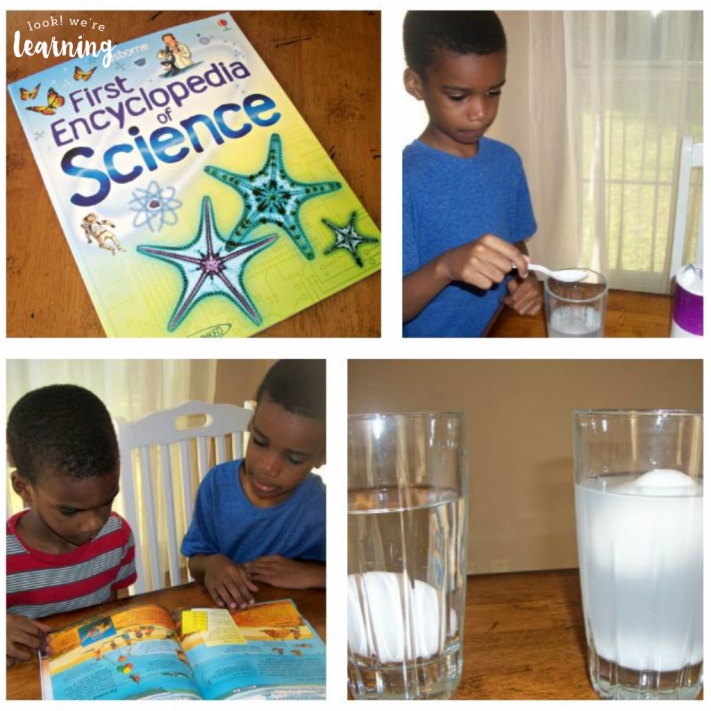
We started by cracking open the Usborne First Encyclopedia of Science. (This is an affiliate link.)

It’s an excellent, hands-on introduction to scientific concepts for kids in grades 1-4.

Simple Science Experiments: Make an Egg Float!

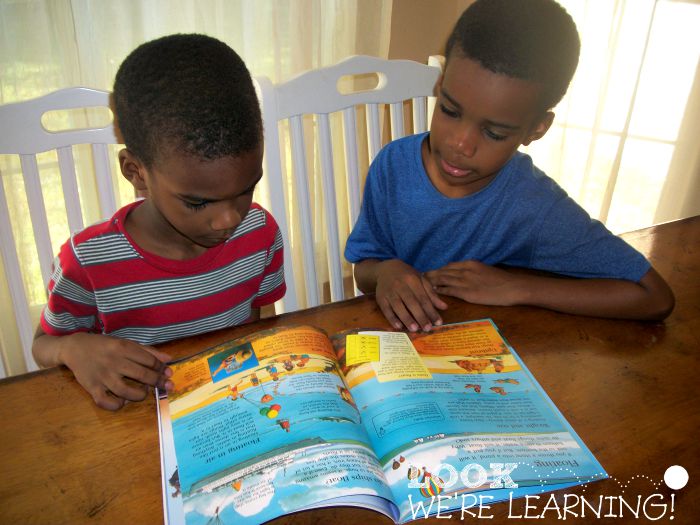
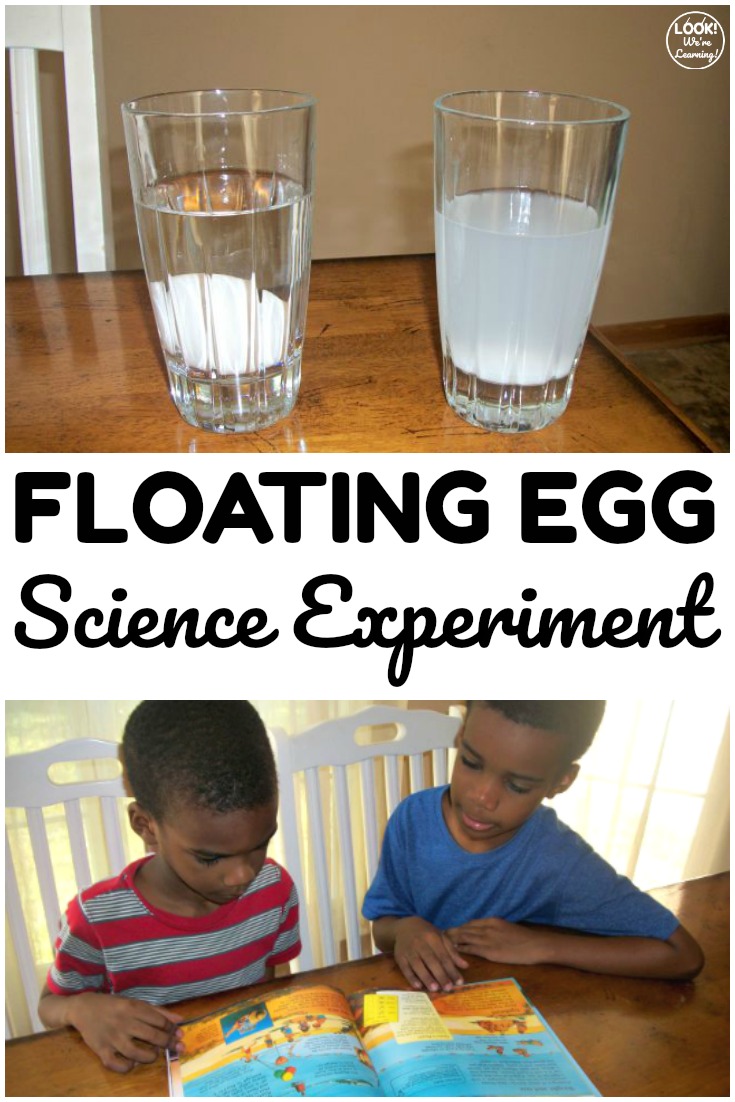
The boys and I read the section about floating together.

We learned that there are places on Earth where water is so salty you can actually read a newspaper while you float along!

Simple Science Experiments: Make an Egg Float!

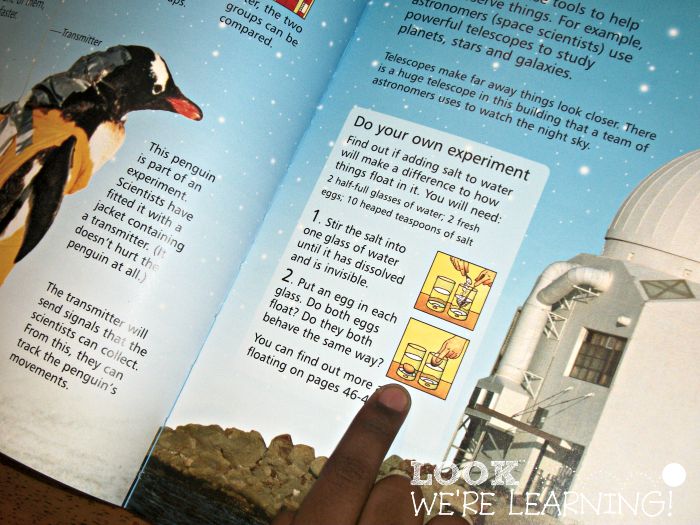
In the book, we read the instructions to learn how to recreate the same type of environment that allows human beings to float in salty water.

Then, we were off and running!

Simple Science Experiments: Make an Egg Float!

We gathered the supplies and got to work.

Simple Science Experiments: Make an Egg Float!

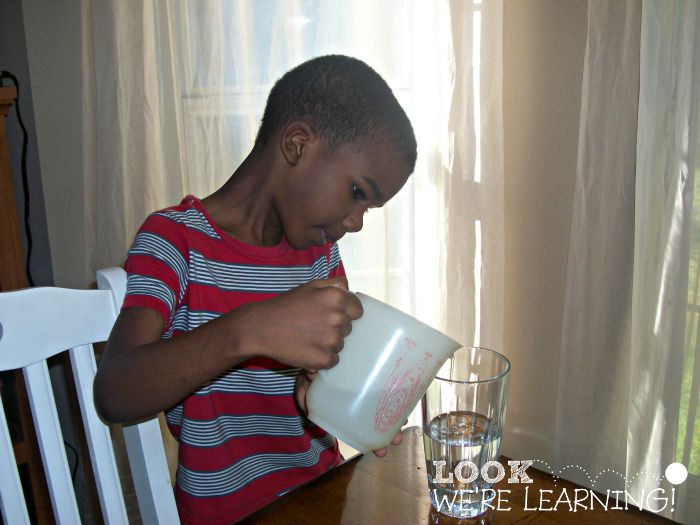
We poured each glass half full of water.

Simple Science Experiments: Make an Egg Float!

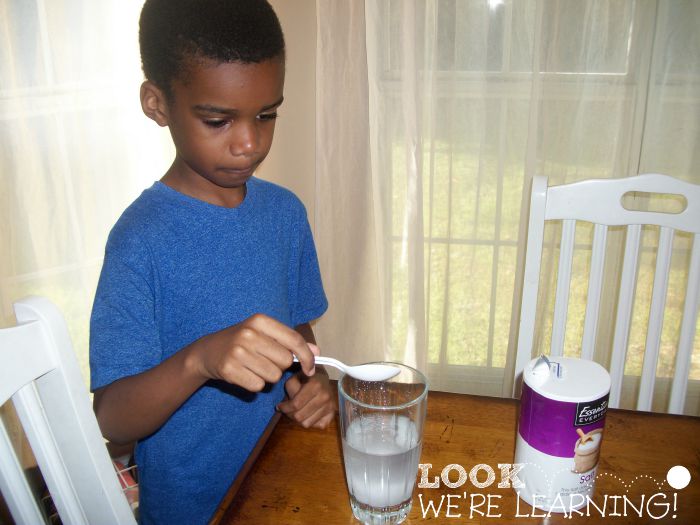
Then we added 10 teaspoons of salt to one of the glasses.

(Don’t put any salt in the other glass of water.)
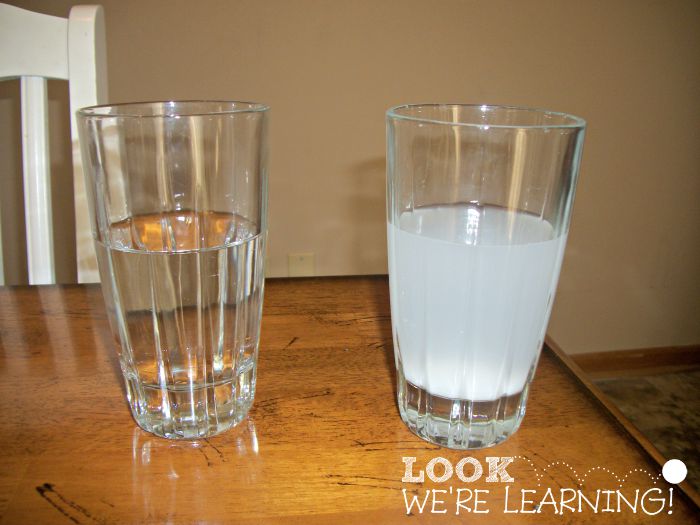
Simple Science Experiments: Make an Egg Float!

Like so.

Simple Science Experiments: Make an Egg Float!

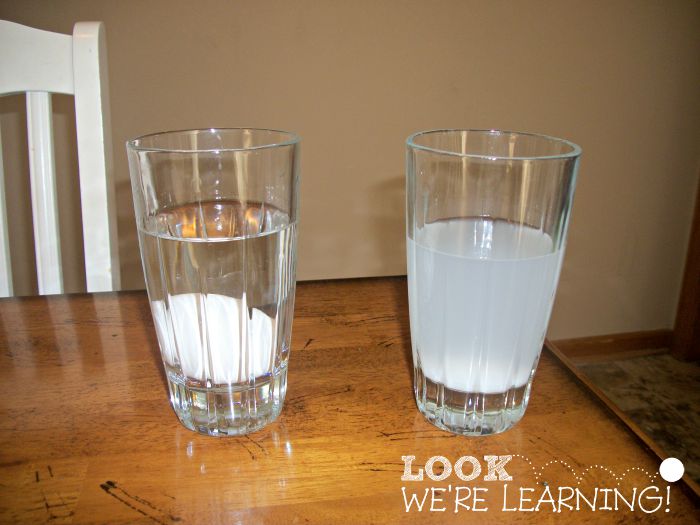
When we placed an egg into the glass that didn’t have salt in it, the egg sank right to the bottom like normal.

Simple Science Experiments: Make an Egg Float!

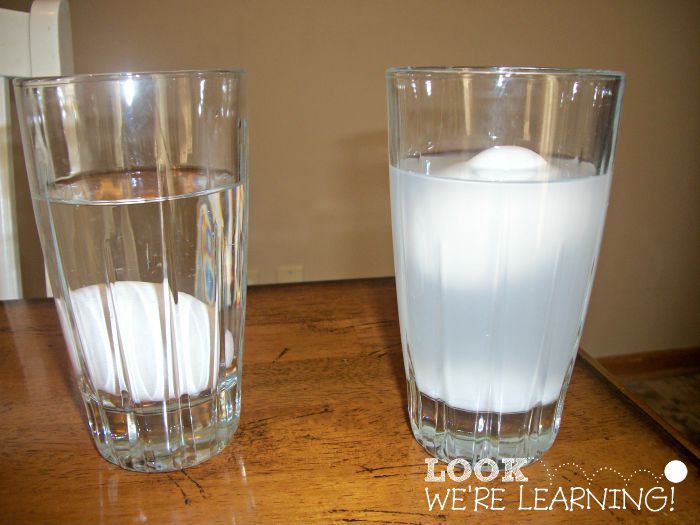
But when we added an egg to the glass filled with salty water, it floated right to the top.

The kids got a kick out of watching me push it down, only to see it pop right back up!

Easy Floating Egg Experiment - Look! We're Learning!

And that’s how salinity works! Salty water is denser (heavier) than plain water.

So heavy, in fact, that it can support the weight of heavier objects like an egg.

Neat!

This entire floating egg experiment took about 10 minutes from start to finish.

So if you’re looking for a super quick science experiment, this one’s perfect!

This easy floating egg science experiment is so fun for kids who are learning about salinity! Great for science at home too!

Stop by to see our other science learning ideas!

Study the properties of light with this simple light refraction experiment!

Simple Heat Conduction Experiment

Learn about the states of matter with this fun printable superhero states of matter lesson for elementary students!

Learn about displacement and salinity with this super simple floating egg experiment! This easy science experiment is great for kids who are learning at home!

Filed Under: Homeschooling, Science Tagged With: easy experiments, easy science, easy science experiments, floating egg, floating egg experiment, homeschool science, homeschool science experiments, make an egg float, science, science experiments, simple science, simple science experiments

Simple Science Experiments: Simple Light Refraction Experiment

December 28, 2017 by Selena Robinson 9 Comments

This simple light refraction experiment for kids is an awesome way to learn about the properties of light!
Simple Light Refraction Experiment - Look! We're Learning!

We’re continuing with our simple science experiments this week by taking a look at light refraction. I found a great light refraction experiment video on YouTube and decided to try it with Tigger.

Full disclosure: I didn’t know that refraction was what this experiment demonstrated. I actually had to look it up first. But the experiment is super easy and quick, so that’s a big plus!

Simple Refraction of Light Experiment

Check out this easy way to teach kids about light with this simple light refraction experiment!

And, if you like this one, try some of our other science activities, including how to make an egg float and our easy heat conduction experiment!

Study the properties of light with this simple light refraction experiment!

Simple Light Refraction Experiment

Watching the original light refraction experiment on YouTube will give you a great look at what’s involved in this activity. But you really only need four things:

  • A sticky note (I used a Post-It)
  • A marker
  • An empty transparent bottle
  • Water

Experiment on Refraction of Light

Draw two arrows on a sticky note. Make sure that each arrow points in a different direction. Stick the note to a blank wall.

Next, fill up the water bottle. Oh – put the lid on before you do this too! You don’t want water spilling out when you move the bottle around…lol.

Simple Refraction Experiment

The alternating arrows on the note point to the left and the right. Let the kids gradually move the water-filled bottle in front of the sticky note. As the bottle moves in front of the sticky note, something amazing happens.

Investigating Light Refraction

The arrows appear to change direction! The top arrow, which points to the left, appears to point to the right. And the bottom arrow, which points to the right, appears to point to the left!

Simple Light Experiment

Move the bottle back to see the arrows return to their original directions.

So what exactly is going on? We learned that refraction occurs because light bends when it passes through substances, such as water and plastic.

As the light travels through a substance, it becomes concentrated into a focal point, usually near the center. After light passes through the focal point, the rays cross over each other and cause images to appear reversed.

Turns out you can’t believe your eyes after all! 🙂

Books with Simple Science Experiments:

If you liked this simple science experiment, take a look at these books with even more easy activities! (Affiliate links provided here for convenience. For details, see our Disclosure Policy.)

  1. Science is Simple: Over 250 Activities for Preschoolers
  2. 365 Simple Science Experiments with Everyday Materials
  3. The Everything Kids’ Science Experiments Book
  4. Safe and Simple Electrical Experiments

Don’t miss the rest of our Simple Science Experiments!

Simple Science Experiments - Colorful Celery

Simple Science Experiments: Make an Egg Float

Simple Heat Conduction Experiment

For more science homeschooling ideas, follow my It’s Science board on Pinterest!

P.S. Get more fun learning ideas in our email newsletter!

Filed Under: Science Tagged With: homeschool science, homeschool science experiments, light experiment, light refraction, light refraction experiments, refraction, refraction experiment, science, science experiments, science experiments for kids, science for kids, simple light refraction experiment, simple science experiments

Hi! I'm Selena, a teacher and a veteran homeschool mom to four. I'm so glad you're here!
About Me Contact Terms of Use Privacy Policy Places I Share
Facebook Twitter Pinterest Instagram
Homeschool Printables Unit Studies Shop the Store
Copyright ©2023, Look! We're Learning!. All Rights Reserved. Design by Pixel Me Designs