Last week we shared what homeschool curriculum we’ll be learning with this year. This week I’m excited to talk about where we’ll be learning it. 🙂
We’ve been using our dining room as our homeschool space for several years. As much as I’d love to have a dedicated school room, it’s just not going to happen for a while. So – we’ve taken a corner of our dining room and made it into Learning Central.
The thing about using your dining space, though, is that your homeschooling supplies can easily take over and leave you with nowhere to eat. So it’s good to get a few tips for storing your supplies.
If you’re cramped for space and you’re using your dining area for school, you’ll appreciate these 5 homeschool dining room ideas!
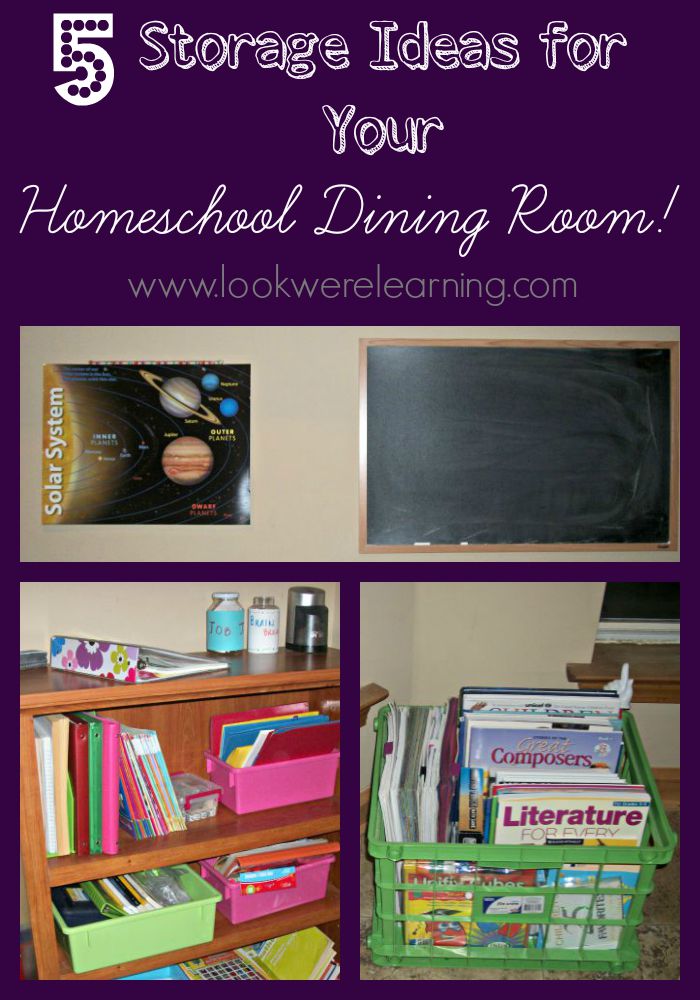
5 Homeschool Dining Room Ideas
1. Use a dedicated bookcase.
If you can’t have a dedicated room, use a dedicated bookcase! 🙂
Once we committed to schooling in our dining room, we pulled a deep bookcase from our garage and reserved it FOR HOMESCHOOL USE ONLY. Nothing goes on that bookcase that is not directly related to our schooling. Otherwise, it ends being a “catch-all” and I’ll never find what I need to teach the next day.
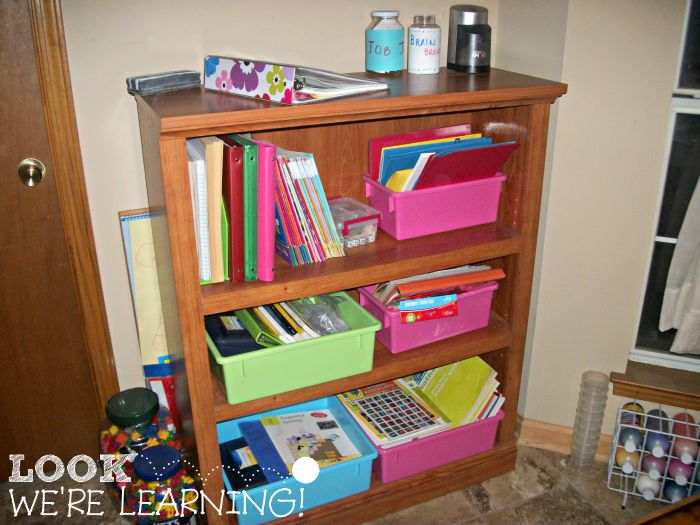
Most school resources are brightly colored, which is great because both our dining room and the bookcase are rather bland…lol.
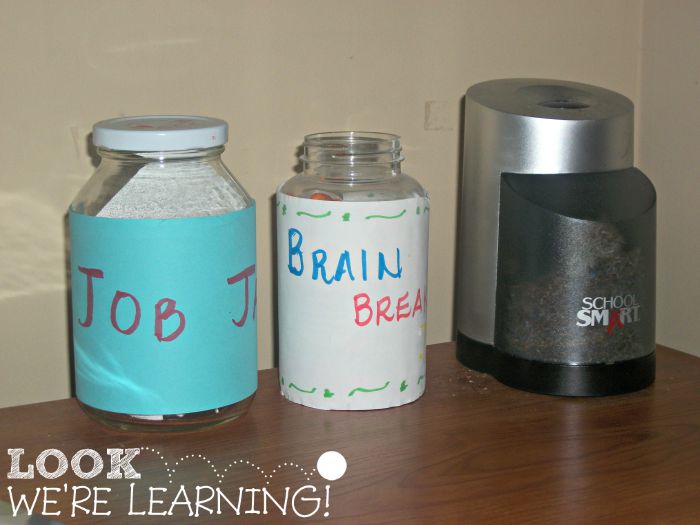
At the top of the bookcase, we keep our pencil sharpener, our “Job Jar”, and our Brain Breaks. The Job Jar is our chore manager. Inside the jar are folded slips of paper – each with one chore to be done. The kids reach in, grab one, and get to it. Needless to say, it’s very popular with Mom. 🙂
We use Brain Breaks regularly to get the kids up and moving in between lessons. If you have kids with ADHD (like we do) or just kids who prefer to be active, definitely, definitely, definitely check out The Ultimate Guide to Brain Breaks. It’s been a huge help for us.

2. Keep only your most used resources nearby.
Now, I hope you guys don’t think that what you’re looking at is ALL of our homeschooling resources. It’s not. 🙂
We store the bulk of our homeschooling supplies in a hallway closet and we use the back of our laundry room door to store markers, pens, and paints.
Which brings me to tip #2: Only keep the resources you use the most in your homeschool dining room.
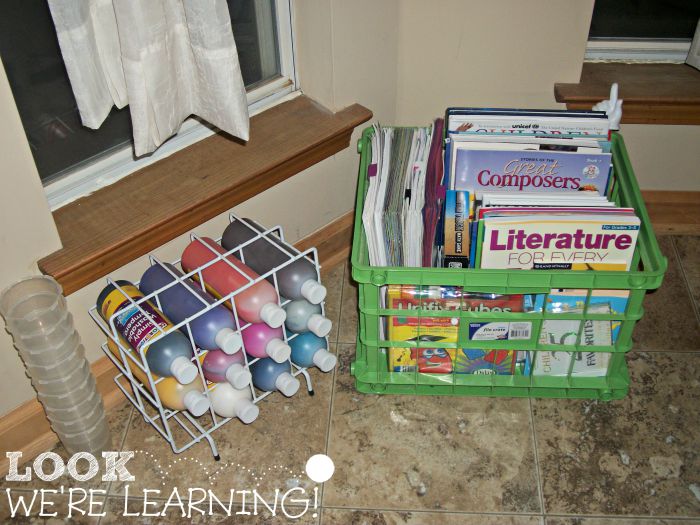
Every summer, I go through this crate and take out what we won’t use the next year. Then I look through the closet, pull out the resources we intend to use, and keep them in the crate for the new year. Easy peasy.
3. Separate each child’s grade-level resources.
This year, I hit upon the idea of keeping each child’s grade-level books in separate boxes. Previously, I was keeping everything in the crate, but all four kids will be “doing school” this year and the crate just can’t handle it all…lol.
These bins were salvaged from a toy bin bookcase that our oldest daughter outgrew. I kept those boxes for months until I found a use for them. 😉
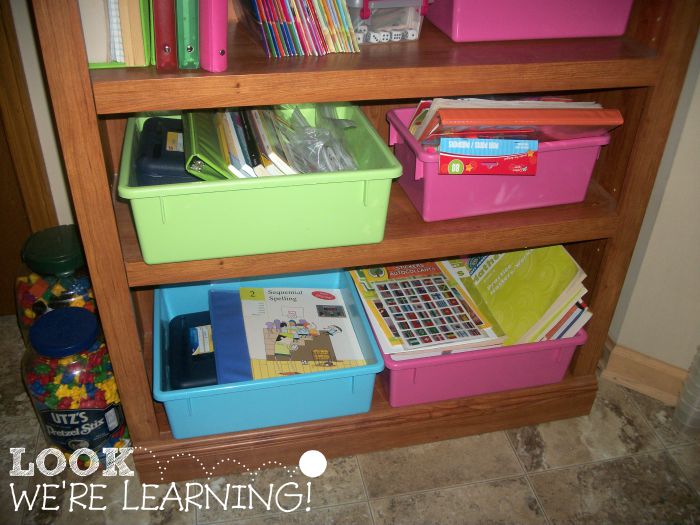
Tigger and Pooh’s books are on the bottom, because they’re going into 5th grade and 2nd grade, respectively. Roo and Piglet, who are going into 1st grade and Totschool, keep their supplies on the shelf above.
4. Make use of your wall space.
We had a nice, big, blank wall in our dining room, so we hung up a small blackboard. School at home doesn’t work for our kids, but the chalkboard does help, especially when they get to come up and write on it themselves.
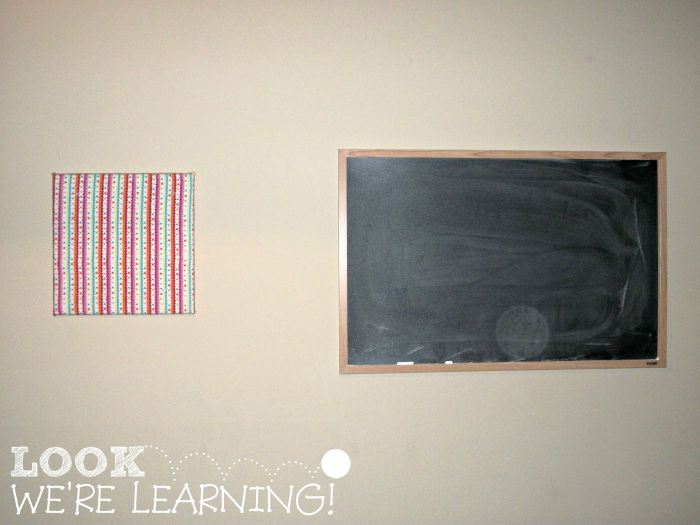
The corkboard next to the chalkboard serves as our Anchor Chart space. Because our kids are easily distracted (ADHD and all), I only put something there when I’m actively using it.
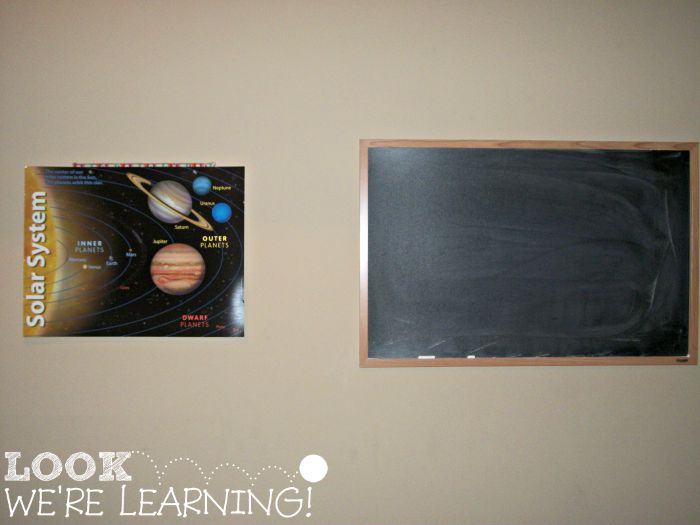
Like so. 🙂
5. Store your printables and lesson plans somewhere else.
We use a lot of digital homeschool resources in our family, which means I have a LOT of printables each school year. If I was to try to store them all in our homeschool dining room, there’d be paper everywhere.
So, I keep them in a crate separated by student and week.
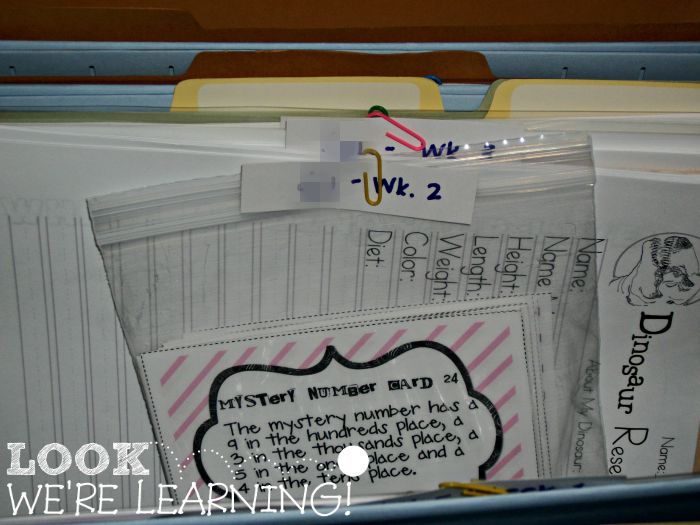
I wish I could take credit for this idea, but I saw it in a homeschooling group on Facebook. It’s awesome. That way, I can print out lesson plans for a few weeks at a time and keep them in a folder for each child for each week.
Then, I just bring the folder out to the homeschool space and use it as needed. The crate stays tucked away under my desk in our bedroom. 🙂
And those are 5 homeschool dining room ideas you can use to keep your schooling space neat!
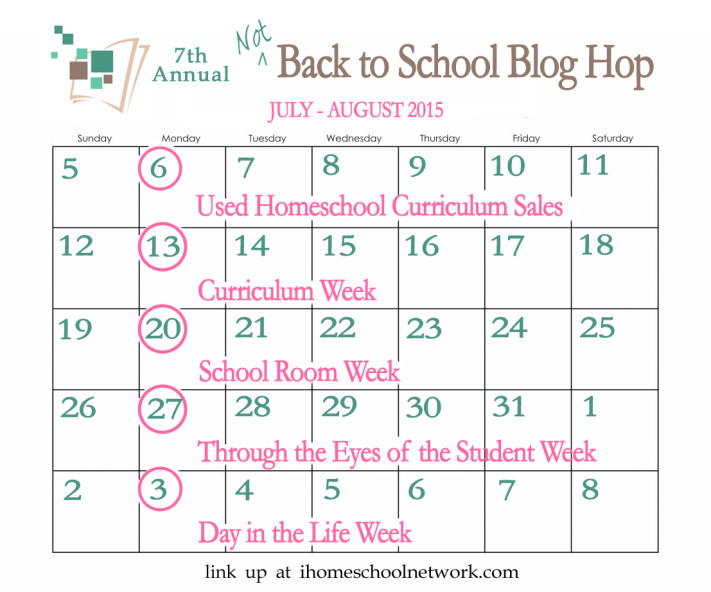
This post is part of the 2015 Not Back to School Blog Hop hosted by iHomeschool Network! Click over to read even more school room posts from our fellow bloggers!

I really like your setup. We too have a dining room for our home school room. I am taking the rotating the books idea from here. It makes so much sense instead of having them all on display at once when some we wont use for the year.
Yes! Rotating books makes all the difference in the world. When I see all the books at once, I get completely overwhelmed. Plus, the kids are like “Ooooh! Look at this one! Look at that one!” Totally disrupts my lesson plan….lol.
Thanks for stopping by!
I kinda do that with my printables too! only i have one of those plastic folder/envelopes that has enough dividers for each day of the week. So I have about 5 or 6 and print that many weeks ahead and file by day in each folder. Bring the folder out when I’m rdy to use it. We also school in our dining room due to lack of space. Glad to see we’re not the only ones 🙂
Hi! Since so many homeschoolers are living on one income, I think we’re FAR from the only ones using a homeschool/dining room. 😉 Thanks for stopping by!
What type of rack are you using for the paints?
Hi! I got mine from Discount School Supply, which is the same place where I bought the paint. I just looked at the website and I don’t see that particular rack anymore, but they have a caddy with a handle that looks almost identical.
Thanks for stopping by!