Have you started hearing hoots in your neighborhood yet?
As fall settles in and the days get shorter, we start to hear a hoot every so often.
Of course, we never see exactly where the owls are living, but they definitely make their presence heard.
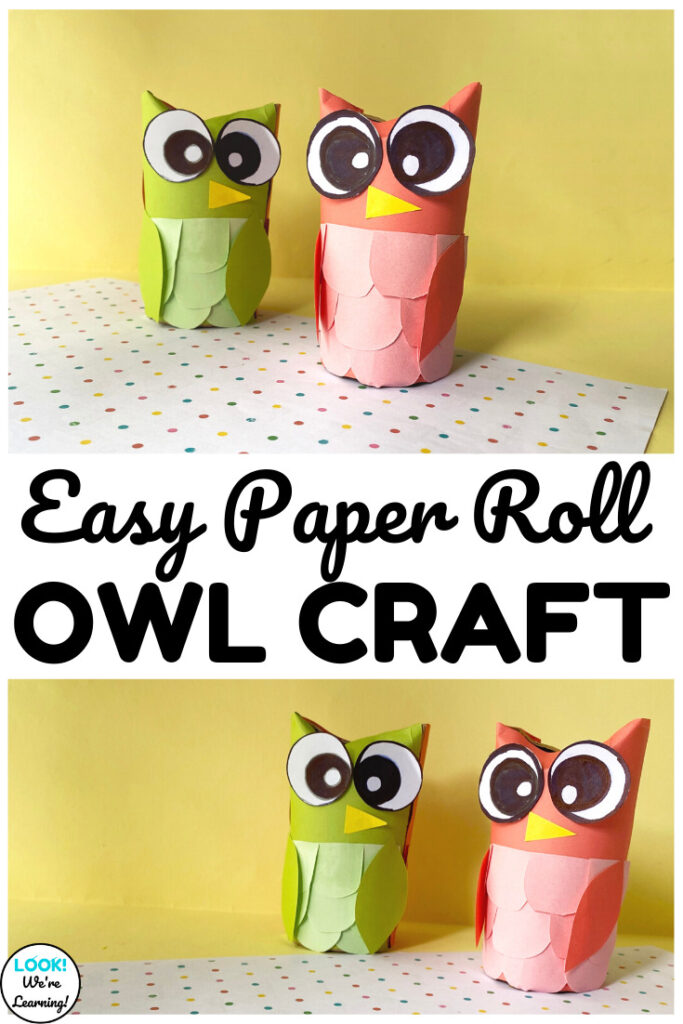
If you’re doing a fall or nocturnal animal theme with your students this time of year, this easy paper bag owl craft is a must-try!
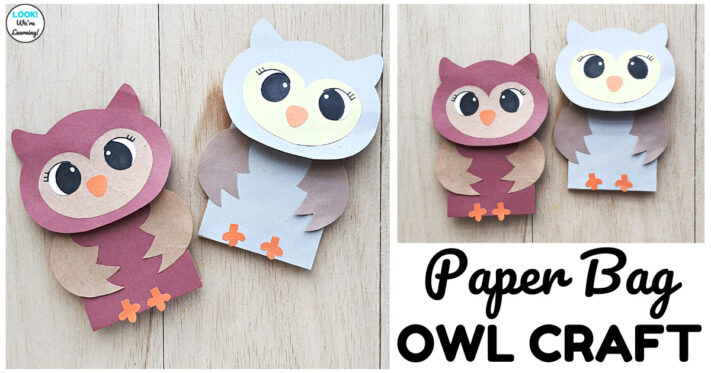
This is an easy (and fun!) project that even little ones can make.
And you can save a lot of craft time by prepping the project in advance.
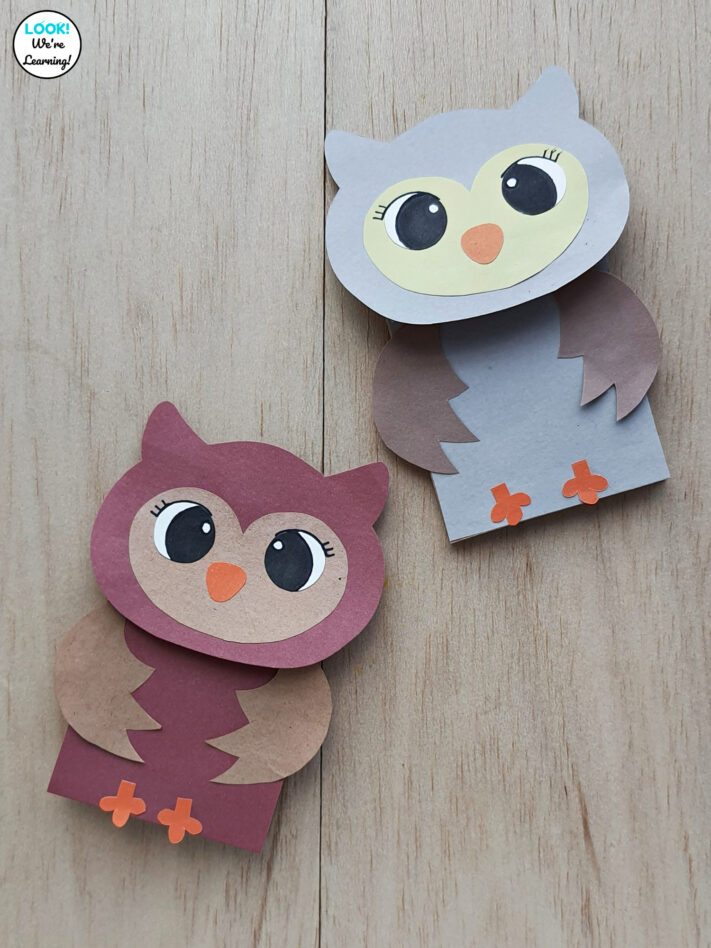
Read on to get the printable template and the full instructions.
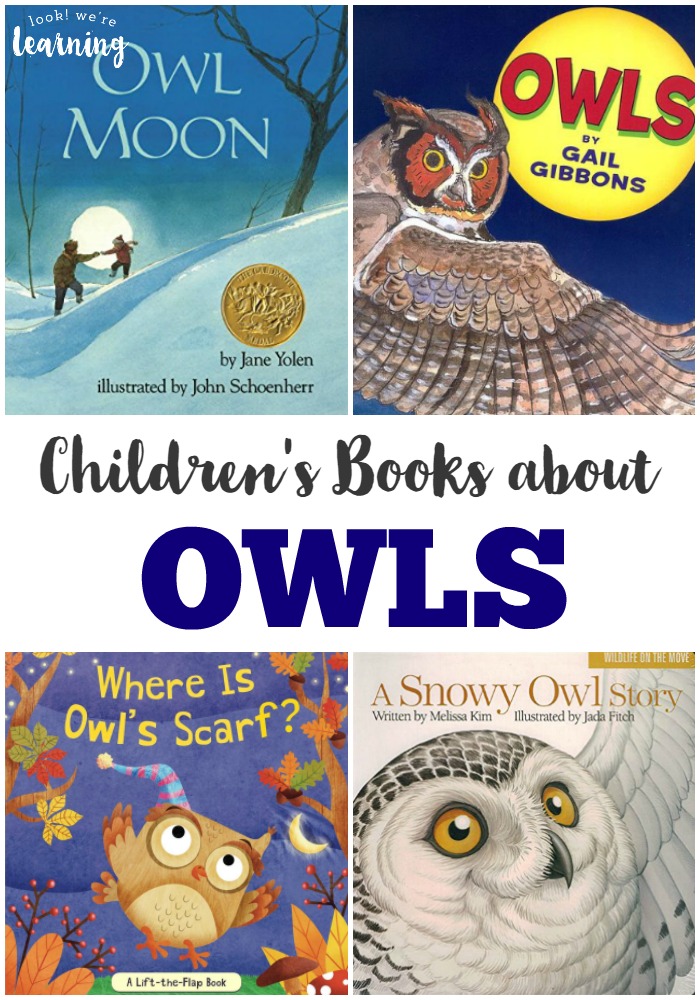
Be sure to check out our list of beautiful children’s books about owls too!
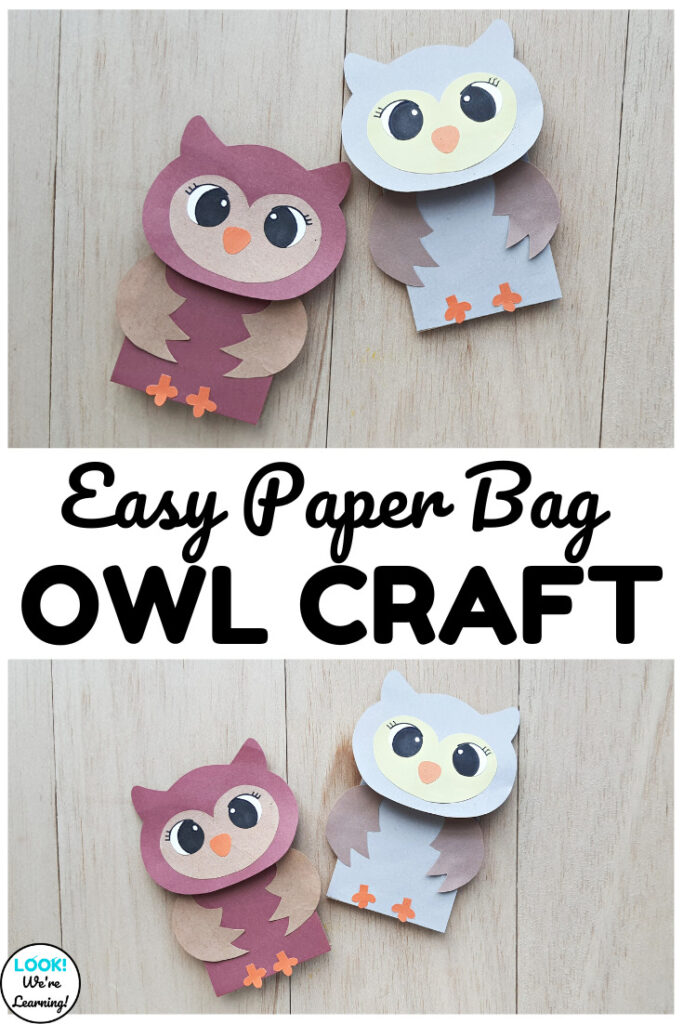
Easy Paper Bag Owl Craft for Kids
What I love about this fall craft is that you can make a LOT of them at once. So if you’re working with a class, this is a perfect craft to try.
To make this simple paper bag owl craft, you’ll need the following: (Affiliate links are listed below. For details, see our Disclosure Policy.)
- Printer (with ink)
- Printer paper
- Scissors (Note: If you are allowing students to cut out the template pieces themselves, use child-safe scissors)
- Paper bag
- Construction paper
- Craft glue
- Pencils
- Washable markers
- Printable Owl Craft Template
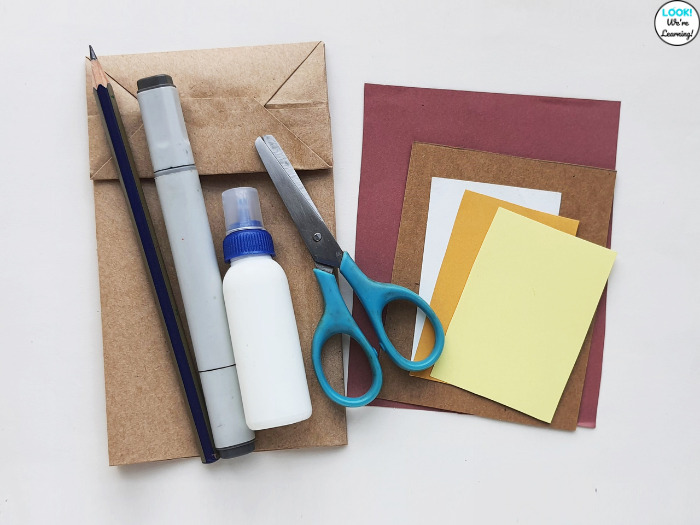
You can really use any combination of construction paper colors. Browns, reds, and oranges are good for a fall theme, but real owls also come in black and white!
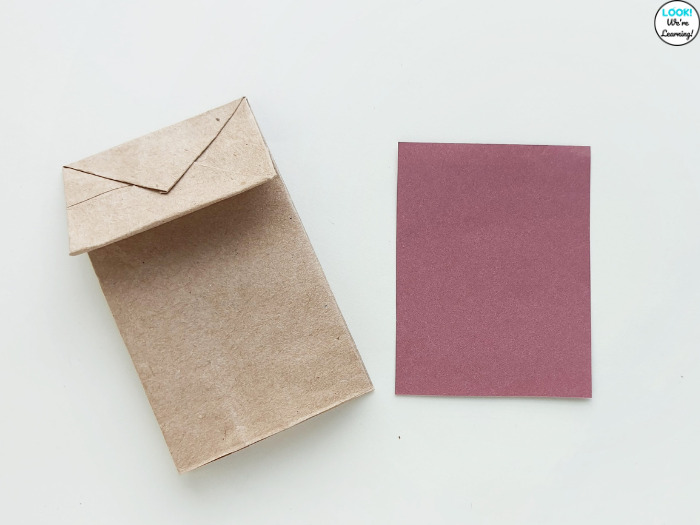
Choose a piece of construction paper for the owl’s body. Trim it to fit the paper bag.
After you’ve printed the craft template, use a pencil to trace the pieces onto colored paper.
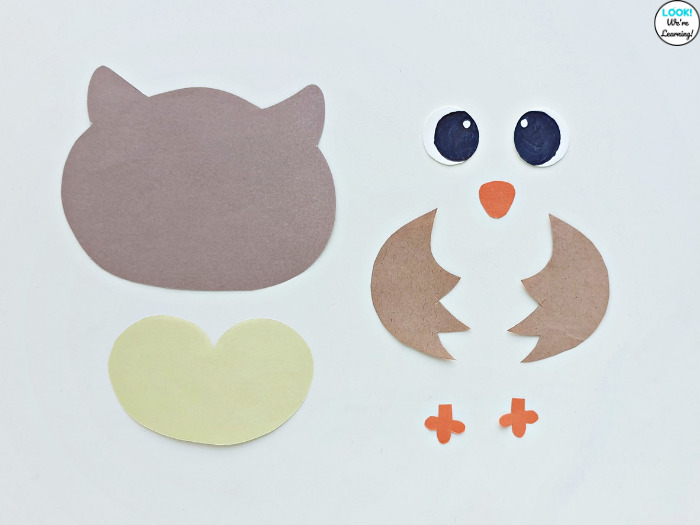
Cut out the template pieces and you’re ready to get started!
If you’re making with craft with little ones, you can cut out the pieces in advance and make the project faster for them to finish.
How to Make a Paper Bag Owl
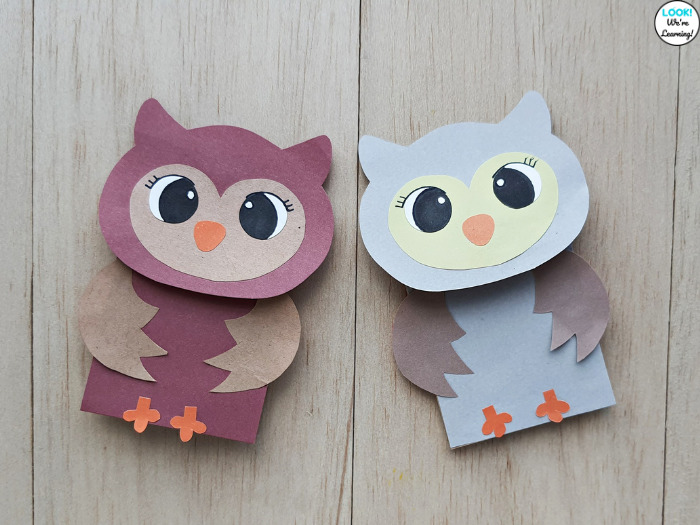
Begin by gluing the face onto the owl’s head.
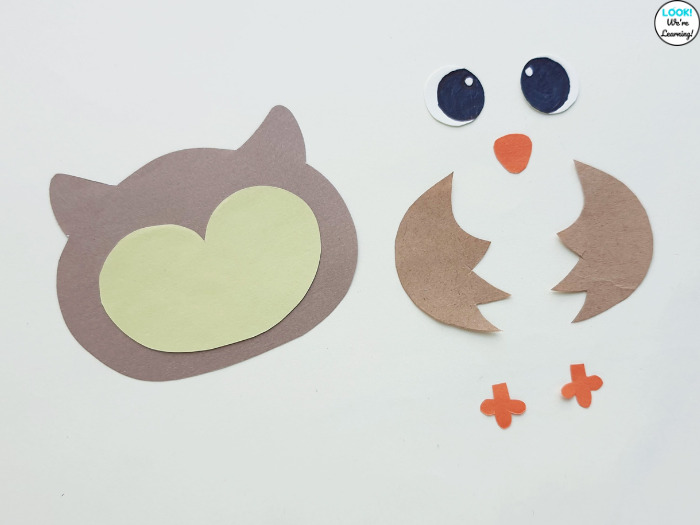
Then add the eyes on each side and the beak in the center.
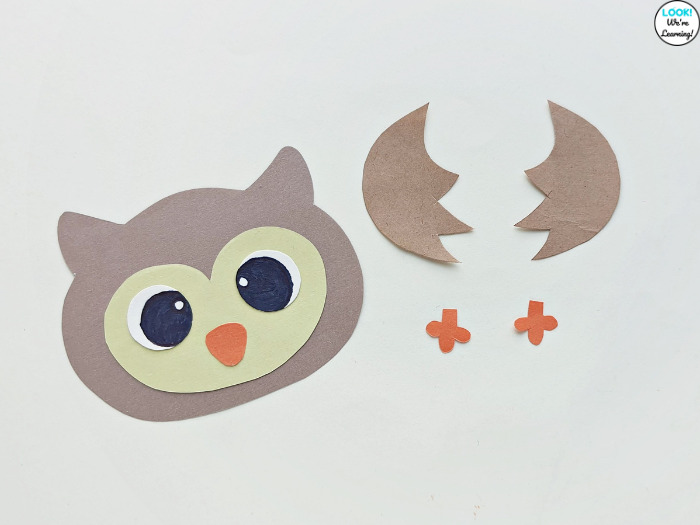
Glue the trimmed piece of construction paper onto the long part of the paper bag (under the flap). This will be the owl’s body.
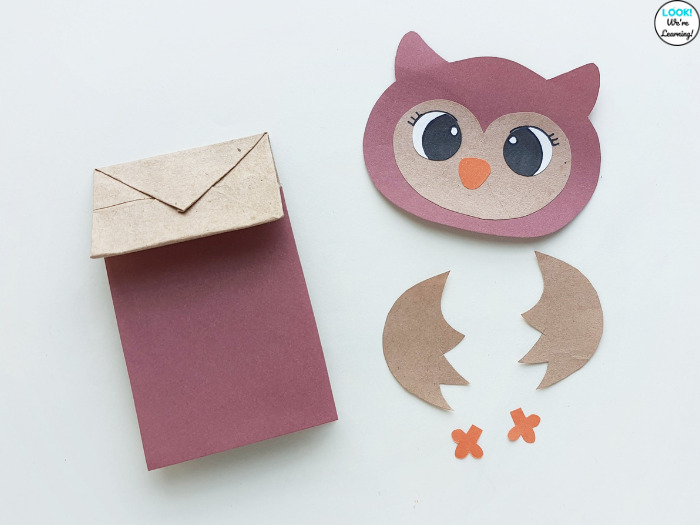
Glue the owl’s head onto the paper bag flap.
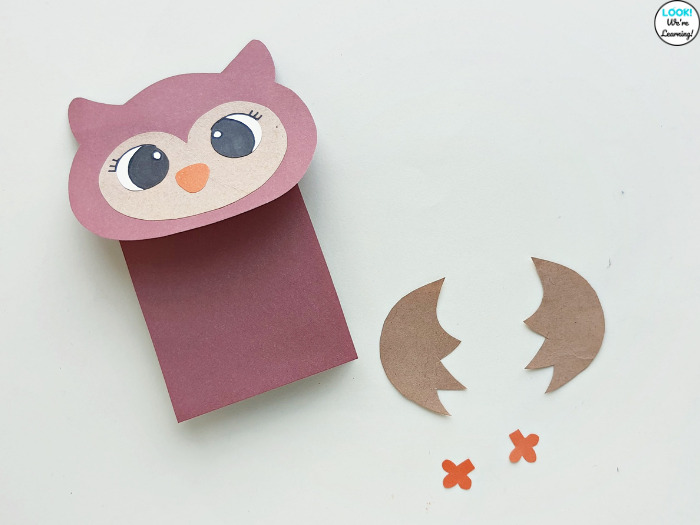
Finally, add the wings and feet by gluing the wings onto each side of the paper bag and the feet onto the bottom edge.
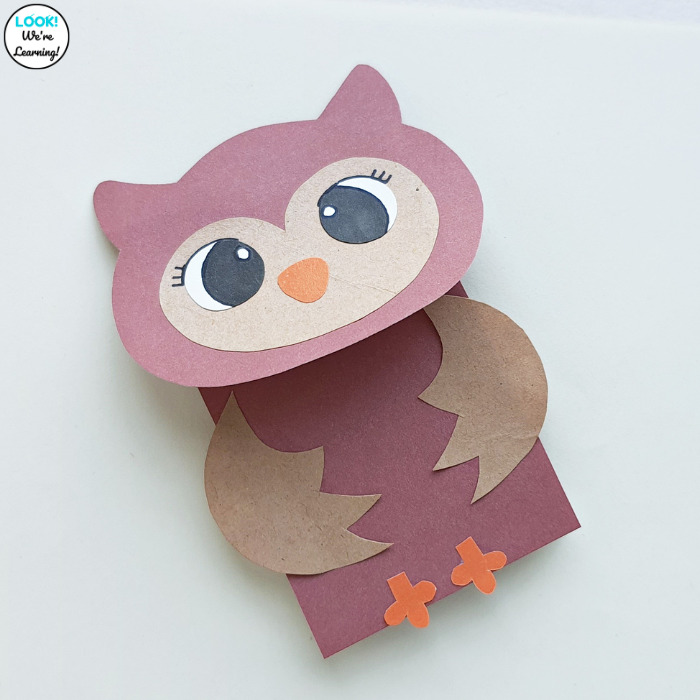
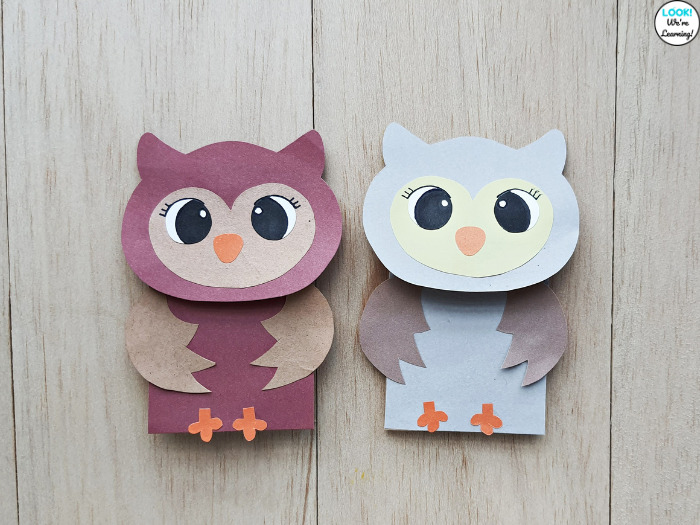
Your paper bag owl is all done!
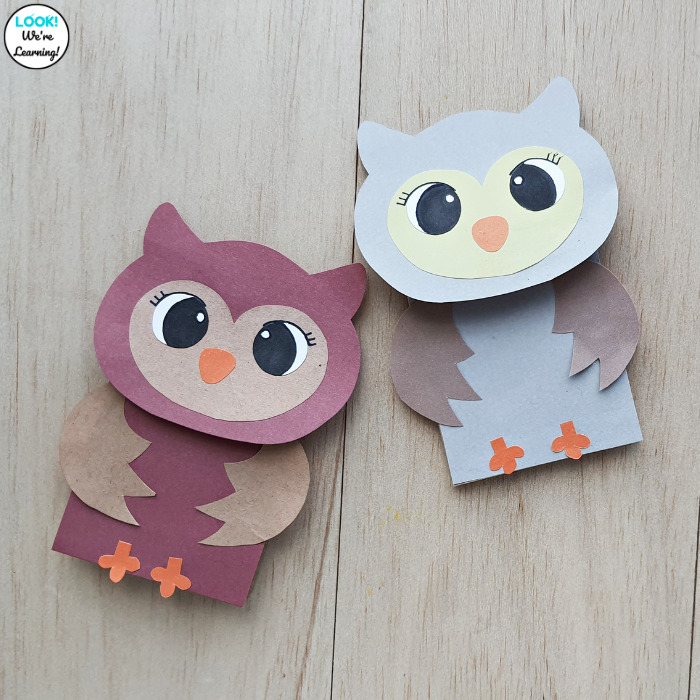
You can make an entire owl family by using different colors or by changing the faces a bit.
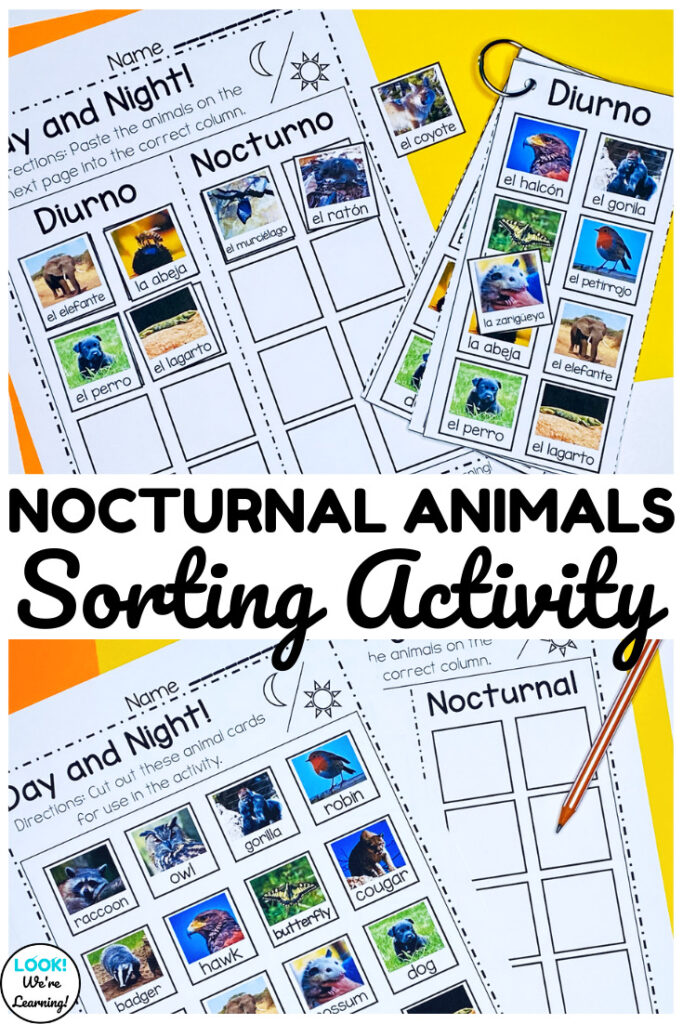
Try some of these other owl-themed activities with early learners!
Leave a Reply