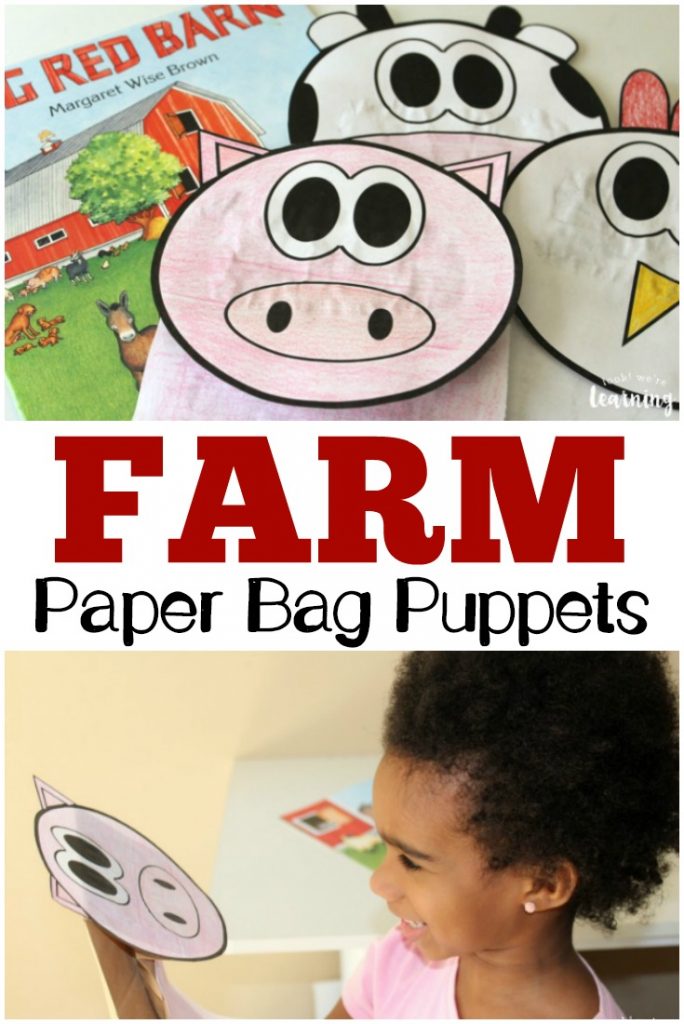
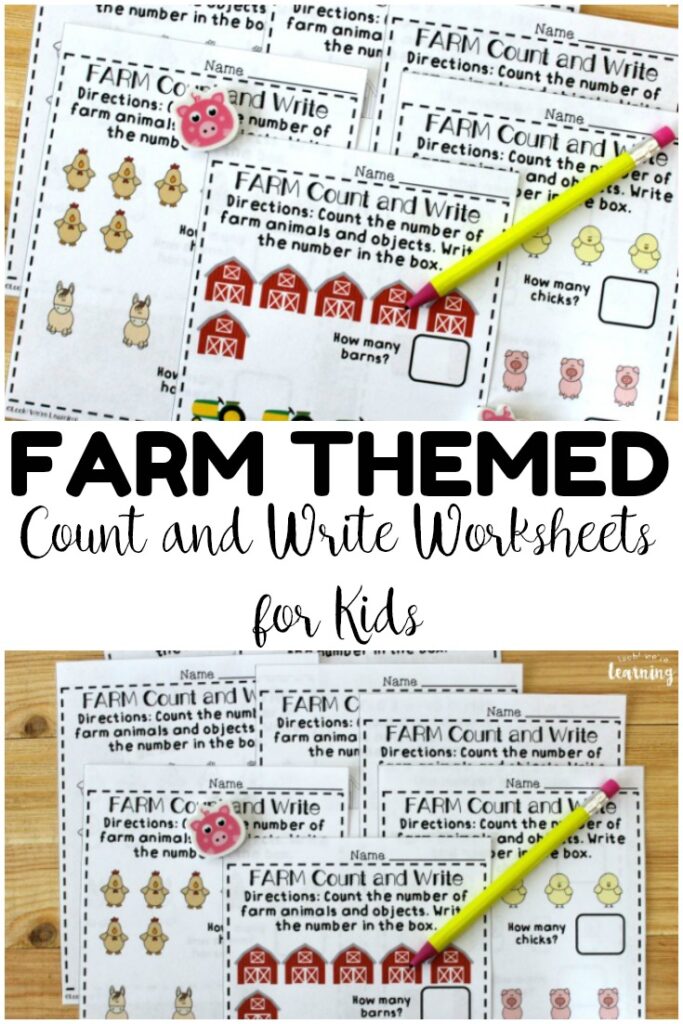
I absolutely adore using farms as a theme for early grades. They’re a great way to weave in some favorite kids’ themes – animals, community, occupations, nature – all in one unit!
Any time we do an early learning unit, we try to include at least one craft.
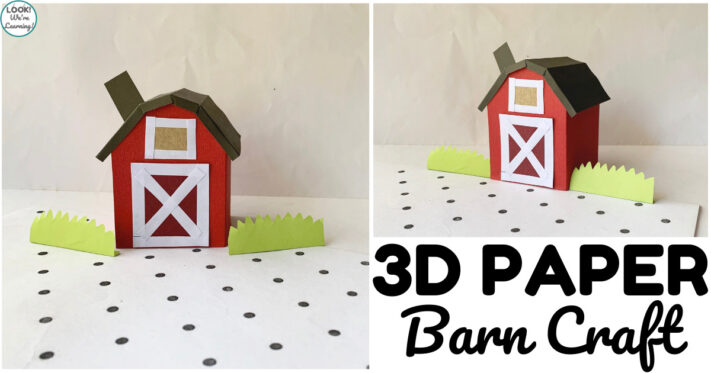
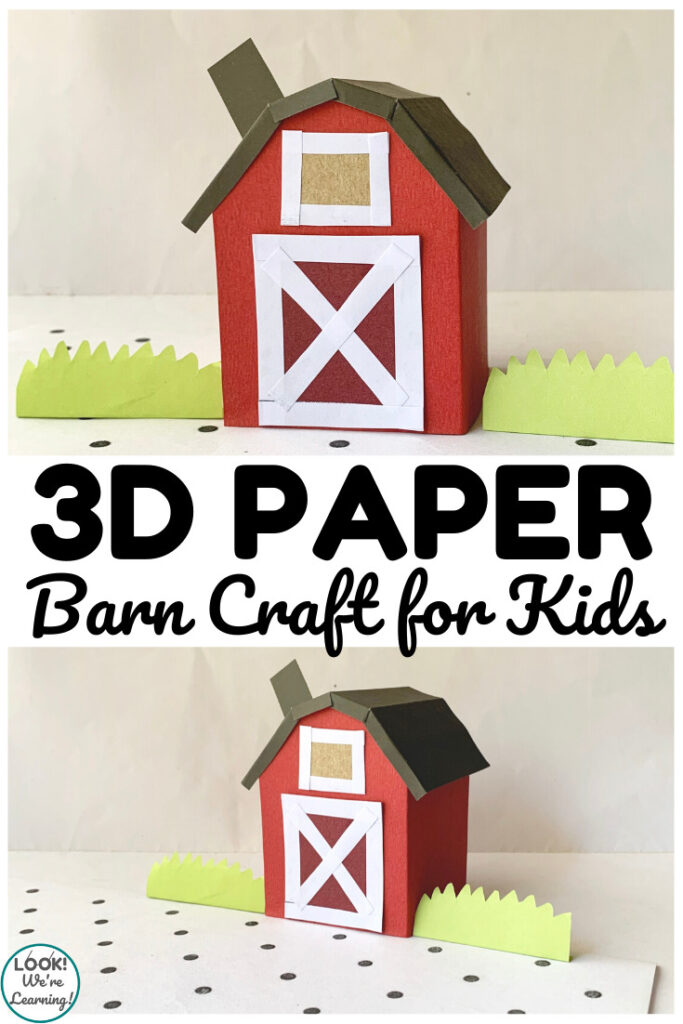
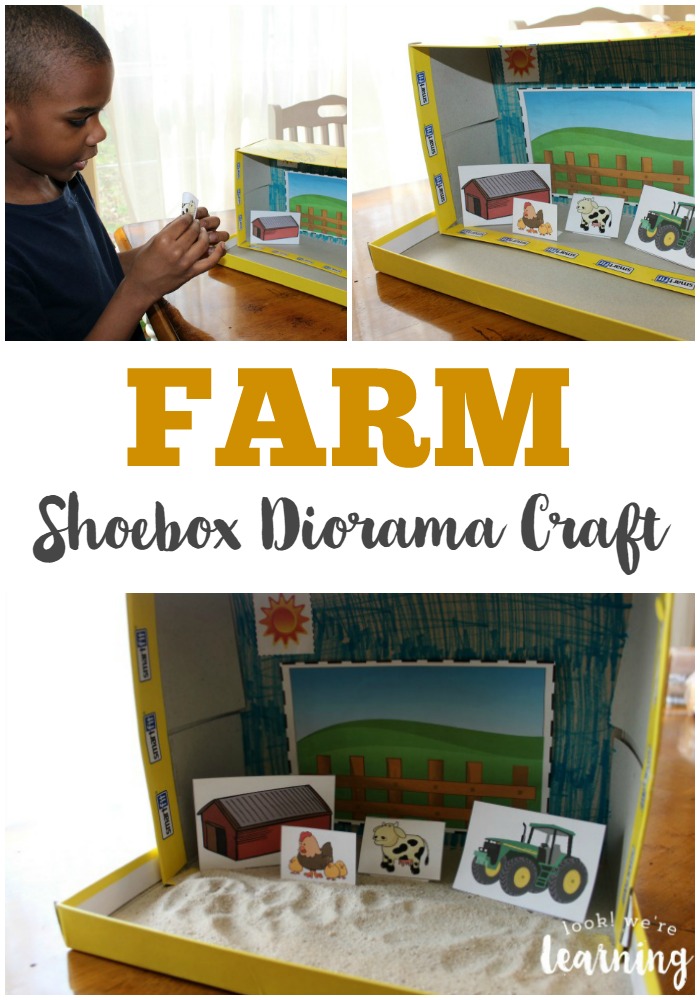
If you’re using a farm unit with early grades this year, this 3D paper barn craft is a cute kid-friendly project to add!
This is such a great craft project, because kids can complete it on their own and they get some good fine motor skill practice along the way.
You don’t need any special supplies either, which is always a big help.
Get the full project instructions and the printable template below. Plus, read on to get a free fall themed activity calendar for early learners!
And, for more ways to learn about farms, take a look at our list of fun farm books for kids to read!
Easy 3D Paper Barn Craft for Kids Supplies
To make this paper barn craft, you’ll need the following: (Affiliate links are listed below. For details, see our Disclosure Policy.)
The great thing about this farm themed craft is that it’s so simple to make.
Kids only need to know how to use scissors, glue, and fold paper to make it!
Since some of the pieces are smaller, you may want to assist in cutting out the small template pieces or making the smaller folds. But children can largely complete this project on their own.
How to Make a Barn Craft with Kids
After you’ve printed the paper barn printable template, you’ll be ready to get started with your paper barn craft!
Begin by using scissors to cut the template pieces out. Then use a pencil to trace the templates onto colored craft paper.
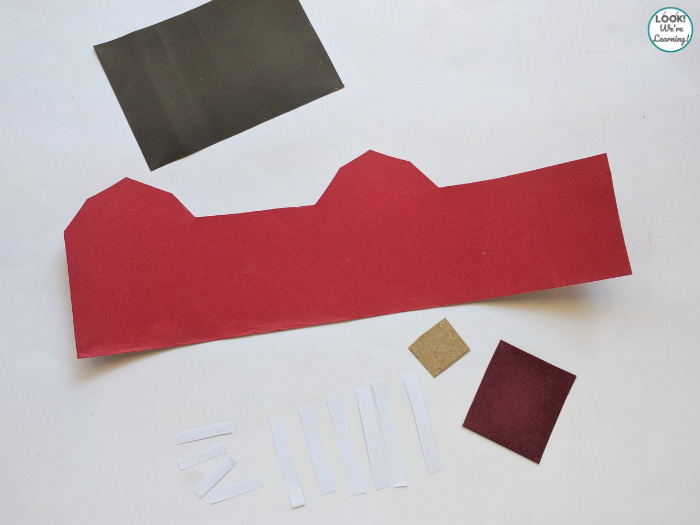
Kids can cut those out and then start assembling the barn.
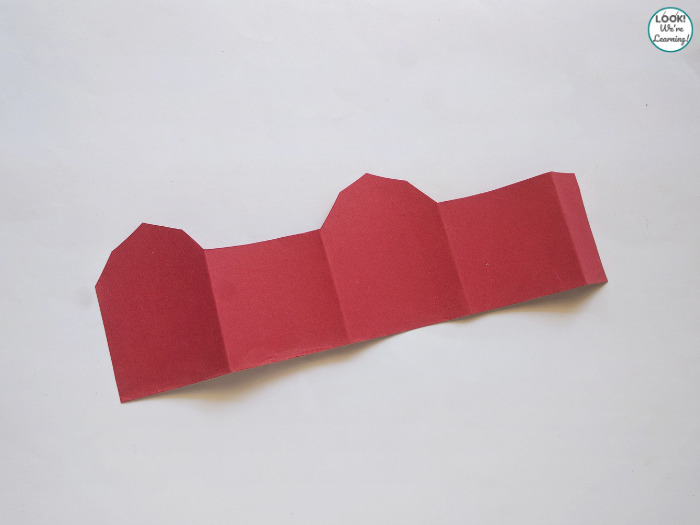
The template pieces have lines that show where to make creases. Help students follow the guide and make their folds accordingly.
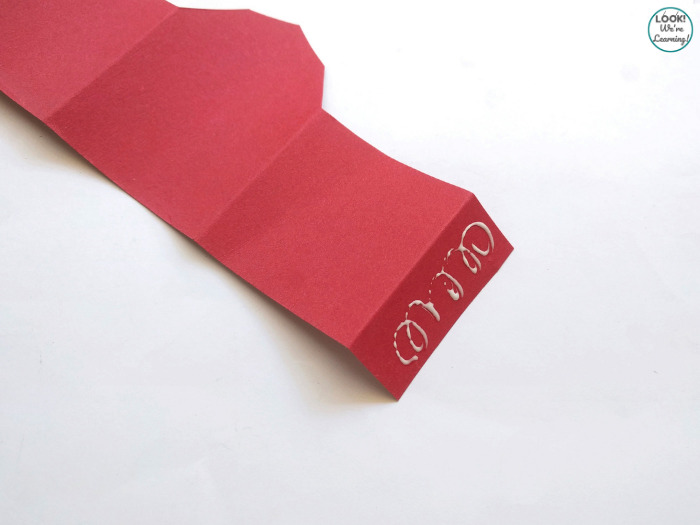
Spread glue on the end of the barn template marked “1”.
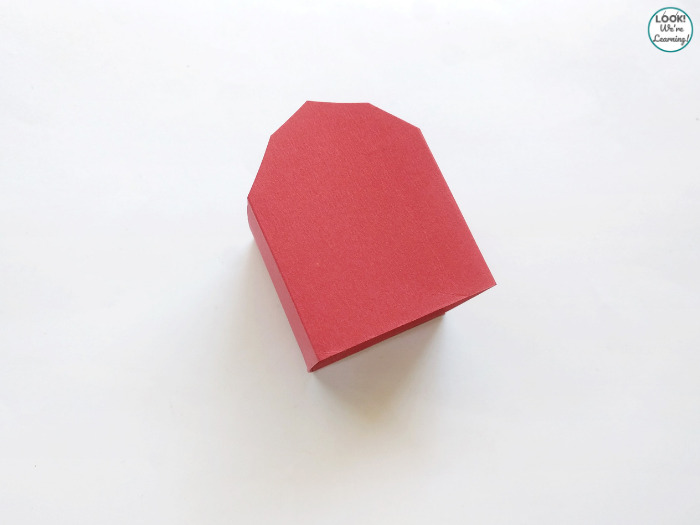
Then fold that piece over to join the other end and press it down to glue the sides together.
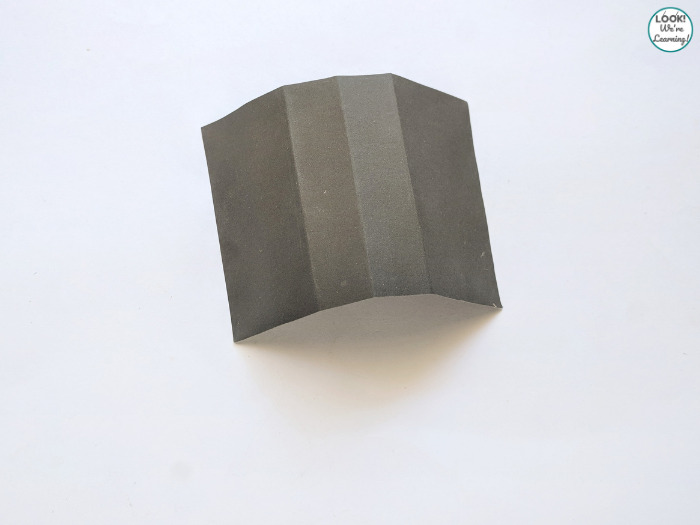
Use the roof template to make creases along the roof piece.
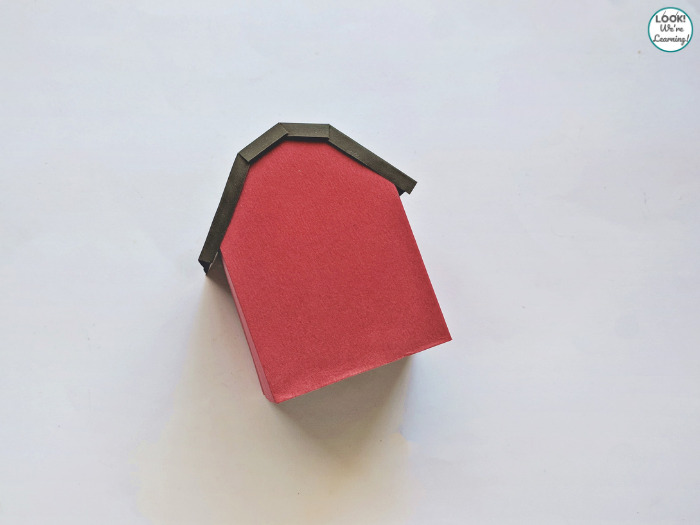
Spread glue along the underside of the roof and attach it to the walls of the paper barn craft.
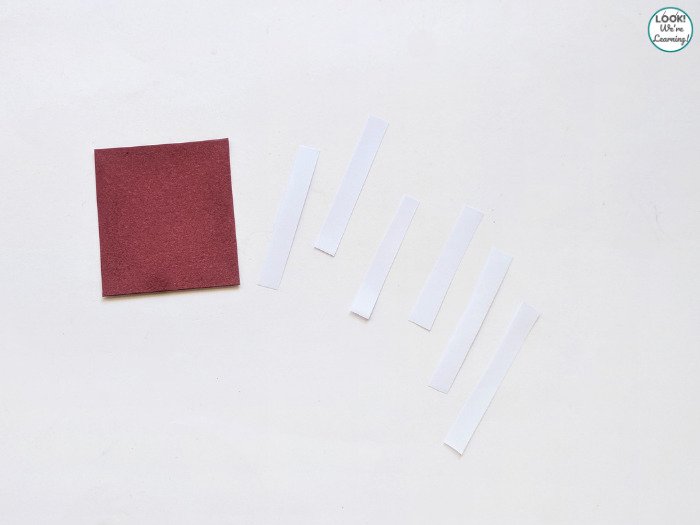
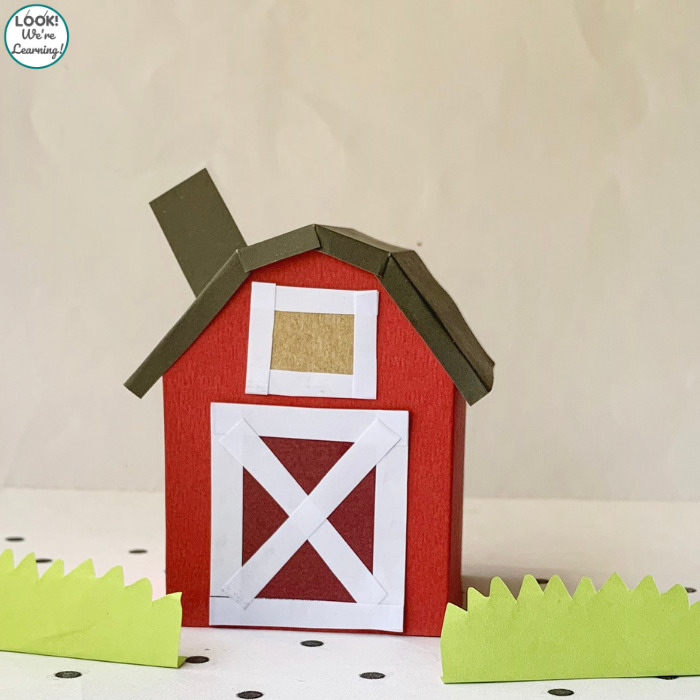
Now it’s time to add the window and door!
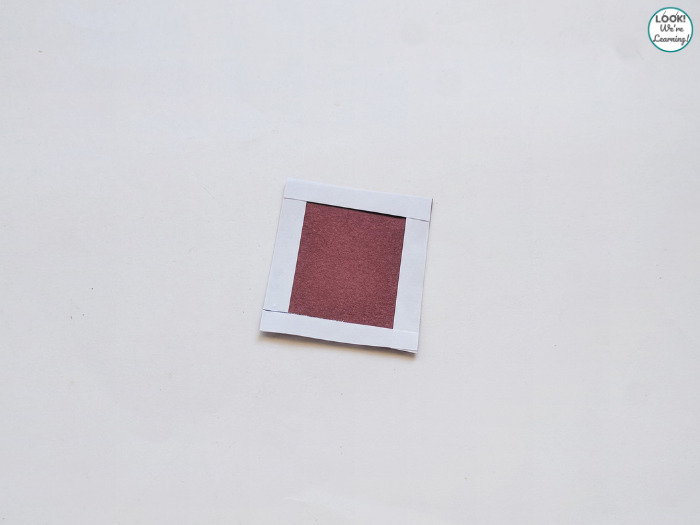
Glue the white strip pieces around each side of the door.
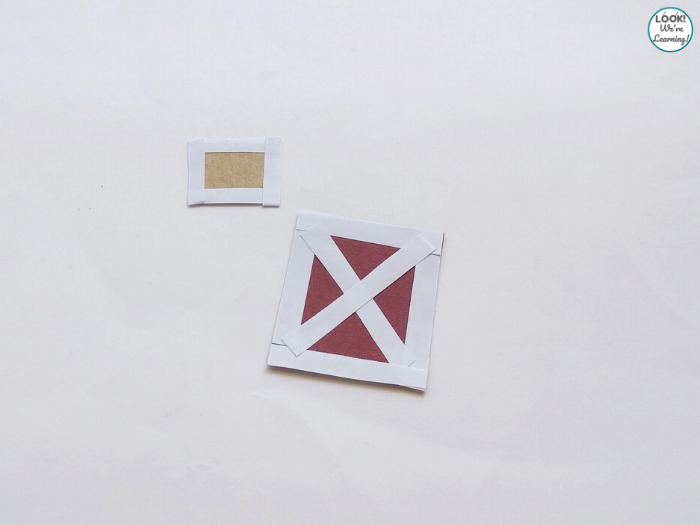
Go back and add two more strips in an “X” shape to complete the door.
Add four smaller strips around the edge of the window. Use glue to attach all of the strips to the door and window.

Now – add glue to the back of the door and window and attach them to the front of the barn.
Glue the end of the chimney to the back of the barn roof at an angle.
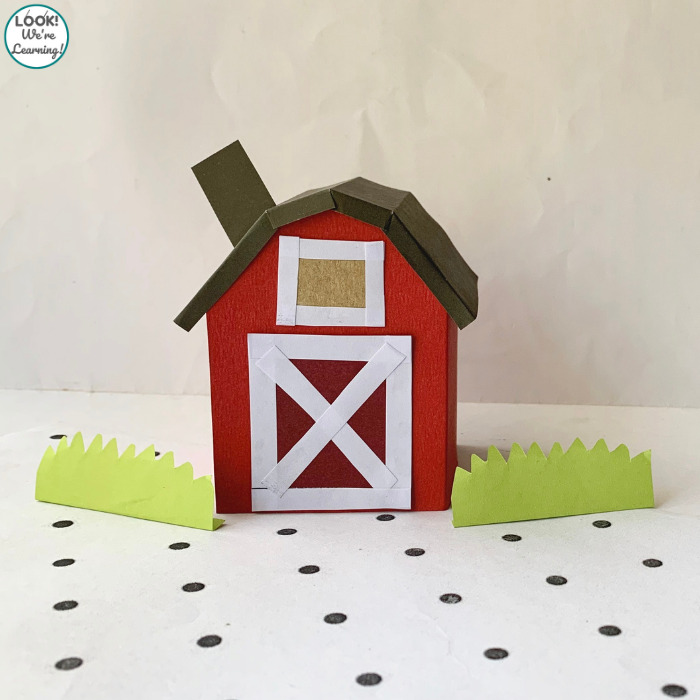
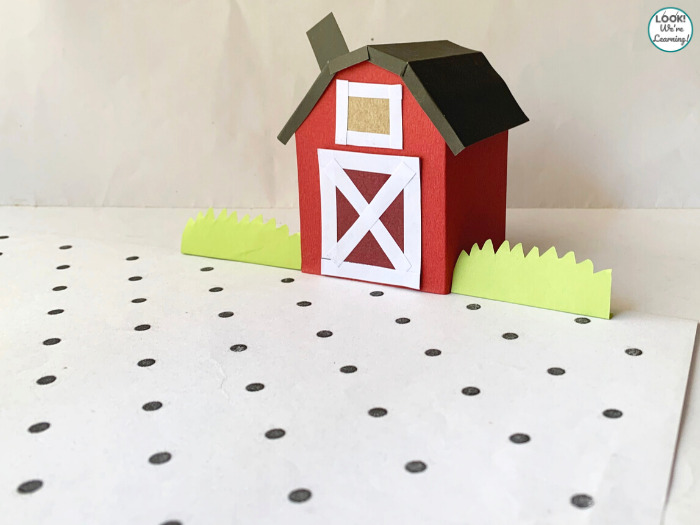
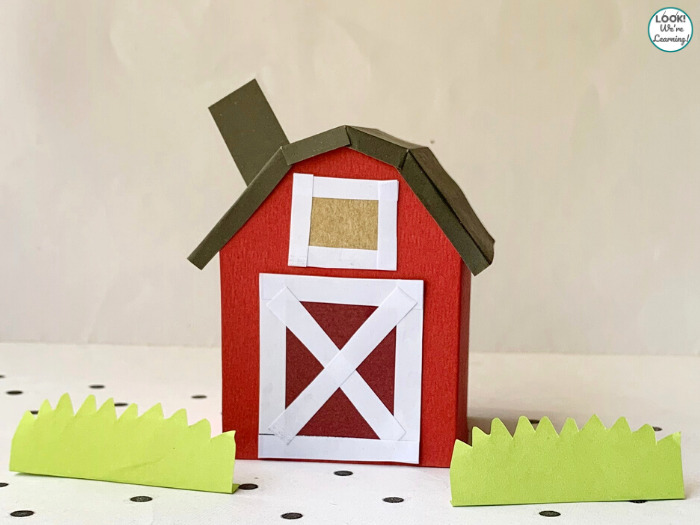
Your 3D paper barn craft is all done!
If you like, you can let kids cut out some green jagged pieces of paper to add shrubs around the barn – as you see in the picture.
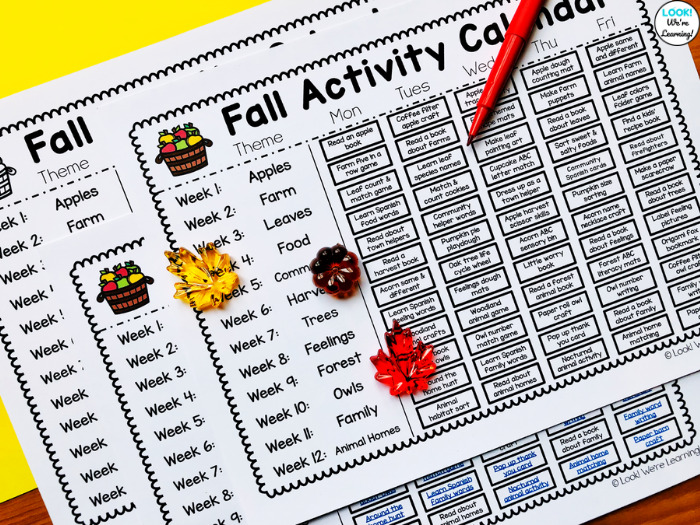
Fall Themed Preschool Activity Calendar
Want to share even more fall learning ideas with preschoolers?
Pick up this free fall themed activity calendar!
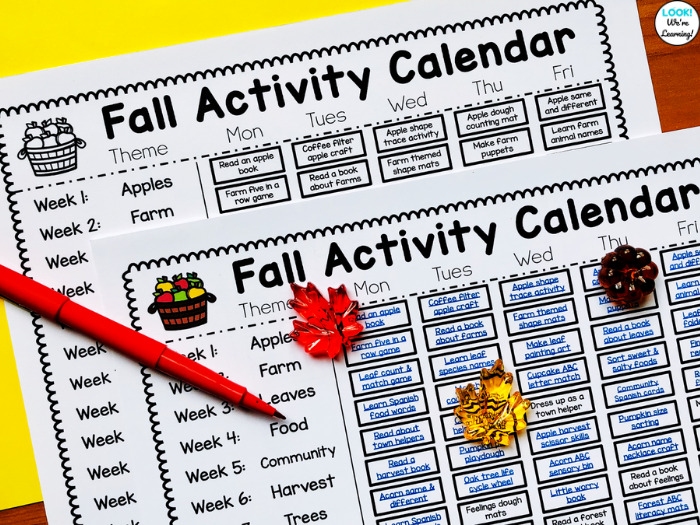
It features 12 planned fall early childhood themes (one for each week), along with web-linked activities and ideas to share each day, including the paper barn craft.
There’s a non-linked version you can print out and check off as you complete too!

>>> Fall Early Learning Activity Calendar <<<
Don’t miss these other farm themed activities for kids!
Leave a Reply