Atlanta is home to the Georgia Aquarium – one of the largest indoor aquariums in the world.
We’ve gotten to take our children there a few times and they were always thrilled to see such incredible marine animals up close.
One of the attractions there is a live dolphin show, which we got to attend. And that was when I learned that dolphins are incredible creatures.
They can be trained to do amazing stunts, they communicate with one another, and they are extremely intelligent.
Plus, they’re beautiful to look at.
I thought a dolphin-themed art activity would be a nice summer project for the kids, so here’s a 3D paper dolphin craft you can make with little ones!
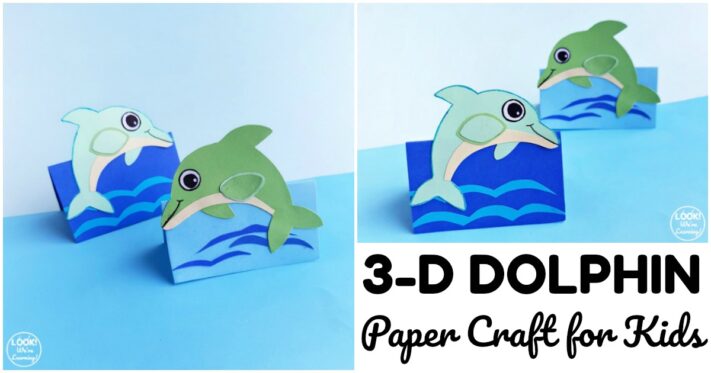
This is such a cool art project, because it stands up on its own. So kids can keep it after they’re done.
(Between you and me, our refrigerator door simply cannot hold any more works of art.)
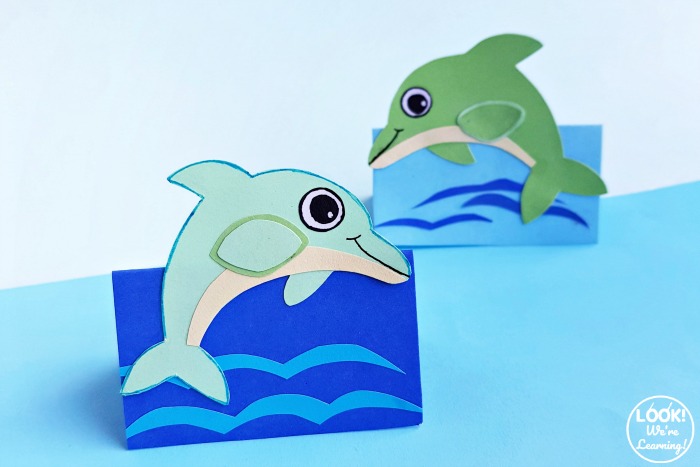
Get the full dolphin craft instructions below!
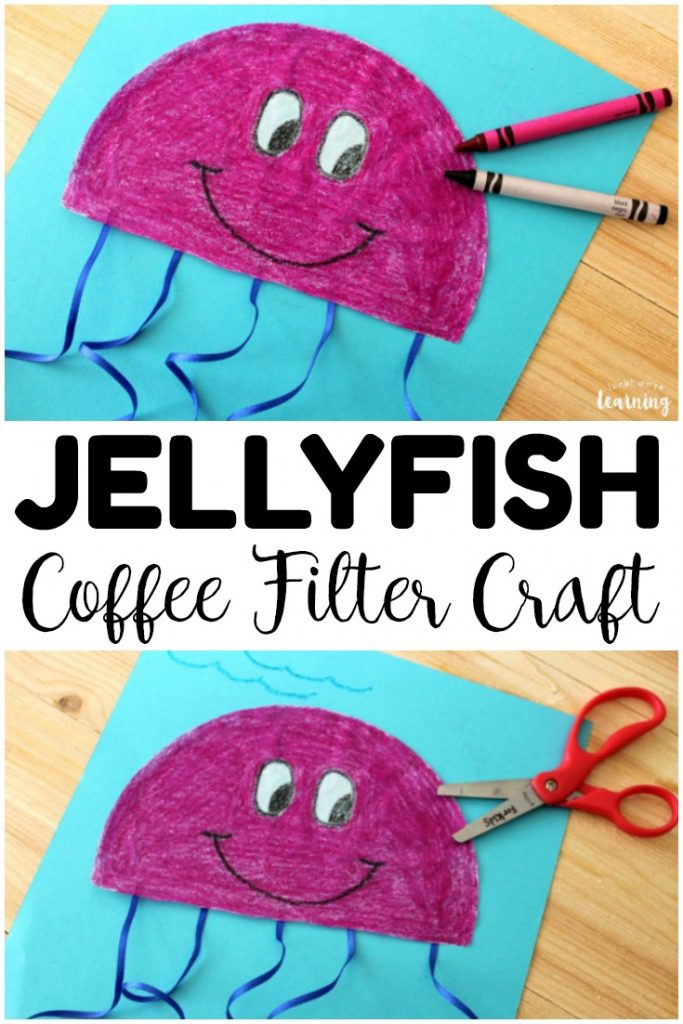
And, for another ocean art project, try our Coffee Filter Jellyfish Craft!
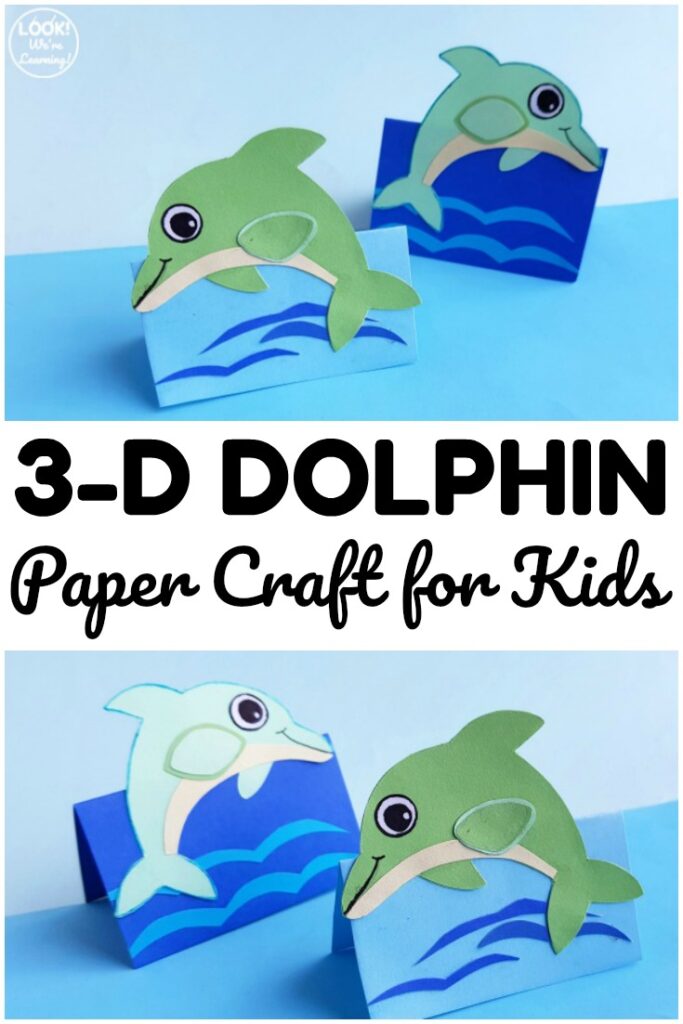
What Supplies Do You Need to Make a 3D Paper Dolphin Craft?
What I like the most about this dolphin craft is that you don’t need anything fancy to make it.
You probably already have the supplies from working on other crafts. No last-minute shopping trip needed!
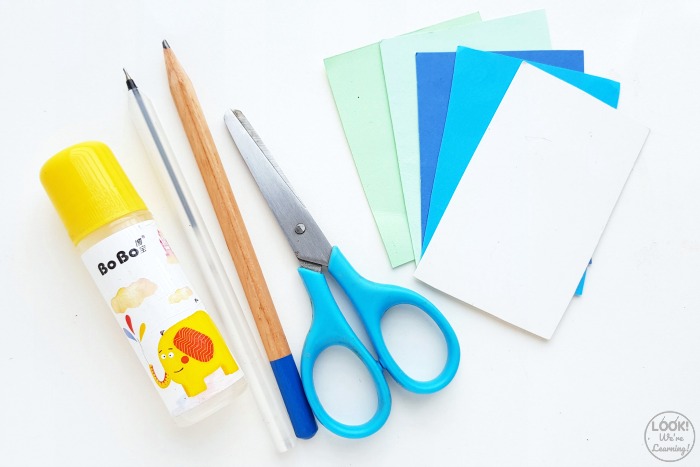
To make this 3D paper dolphin craft, you’ll need the following: (This post contains affiliate links. For details, see our Disclosure Policy.)
- Printer (with ink)
- Printer Paper
- Printable 3D Paper Dolphin Template
- Ballpoint pen or pencil
- Child-safe scissors
- Construction paper
- Glue stick
Start by downloading the Paper Dolphin Craft template. You’ll need this to print the shapes for making the dolphin.
After you’ve downloaded the printable, print it out on white paper. Then use scissors to cut out each piece.

How to Make a 3D Paper Dolphin Craft
Now it’s time to get crafting!
Use a pencil or a pen to trace each of the template shapes onto colored paper.
In this project, we used aqua for the body and inner fin, white for the belly, and green for the outer fin.
But you and the kids can use any color you like.
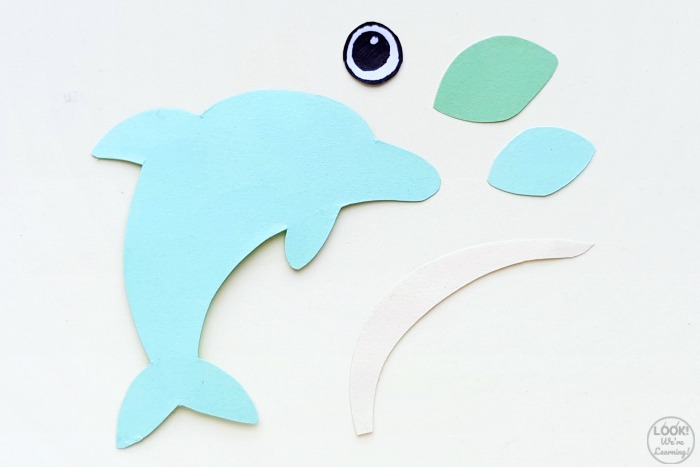
After you’ve traced each shape, cut it out.
If you’re using white for the belly, you can just keep the template shape you’ve cut instead of tracing it again.
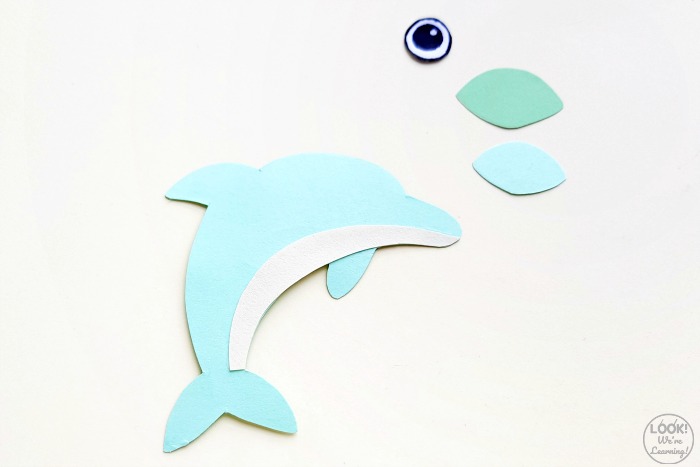
Start by gluing the belly onto the bottom curve of the dolphin’s “body”.
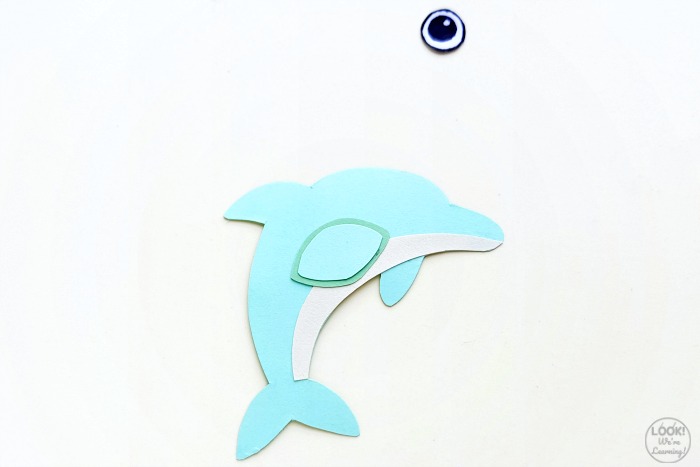
Stack the inner fin piece on top of the outer fin piece and glue it in the center of the dolphin’s side – on top of the belly.
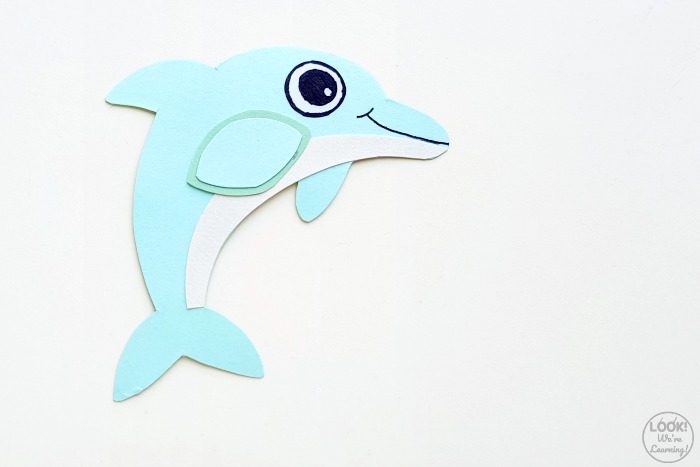
Glue the dolphin’s “eye” onto the head.
Add a shy smile with the ink pen, if you like.
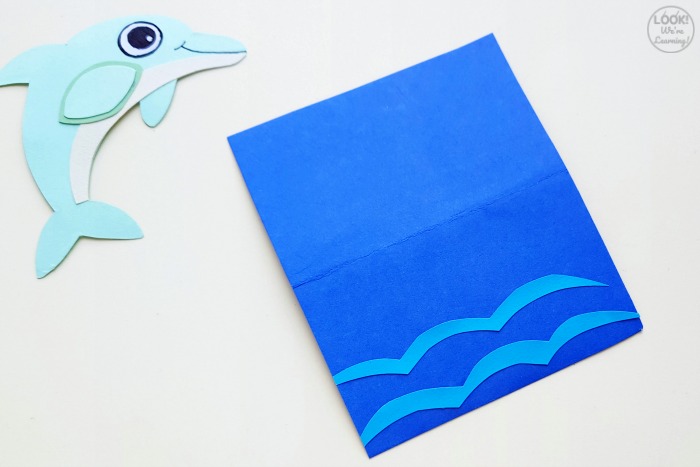
Now it’s time to make the “ocean”.
Trace the ocean template shape onto blue paper and trace a couple of the “waves” onto light blue paper. Cut them all out.
Fold the blue ocean paper in half horizontally. Then glue the waves onto the bottom edge of the “ocean”.
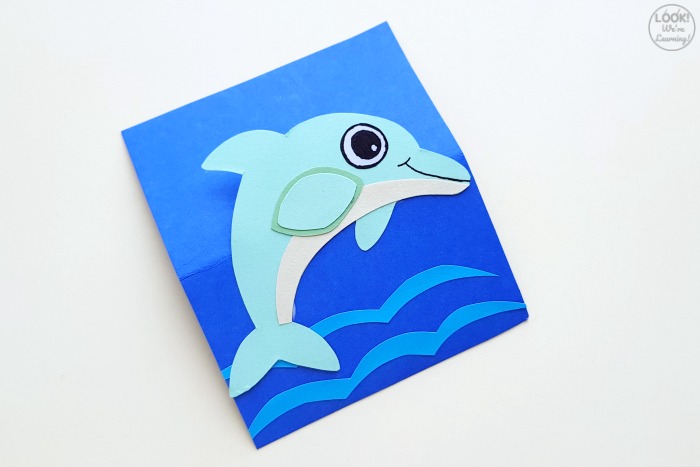
Almost done!
Glue the dolphin onto the folded center line of the “ocean”. Make sure that the folded line squares with the dolphin’s middle.
The top of the dolphin should appear above the folded line.
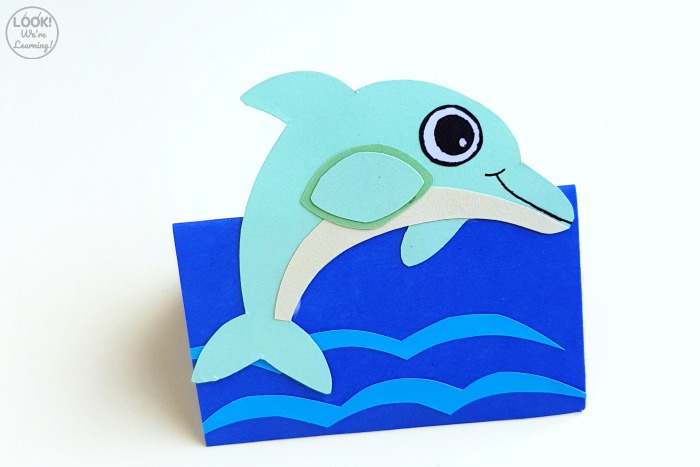
Fold the ocean in half again to make a triangular stand and you’re done!
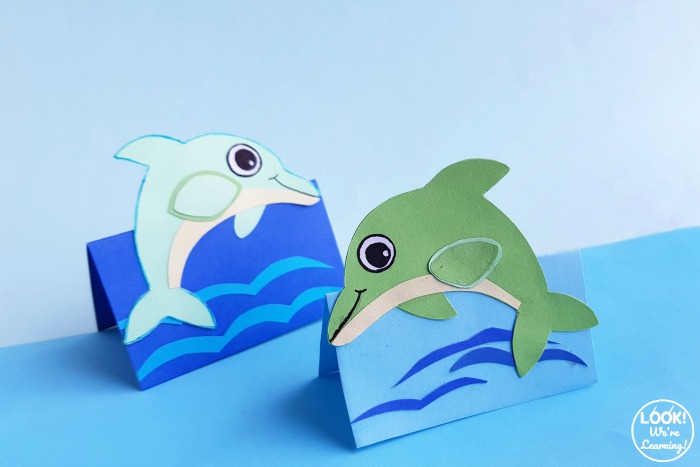
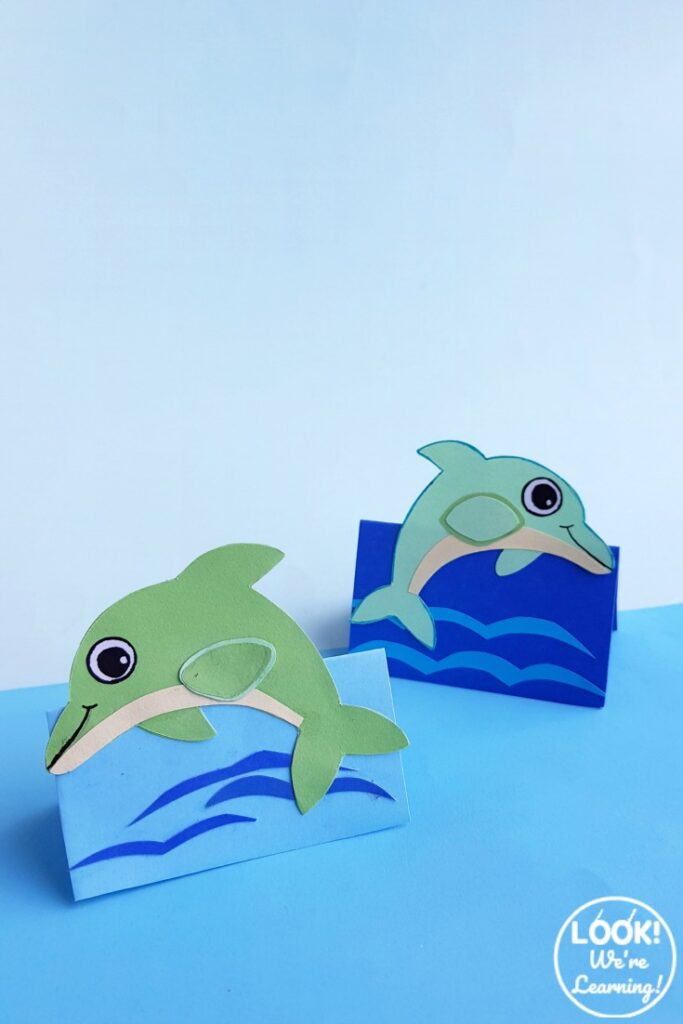
See how the dolphin stands up?
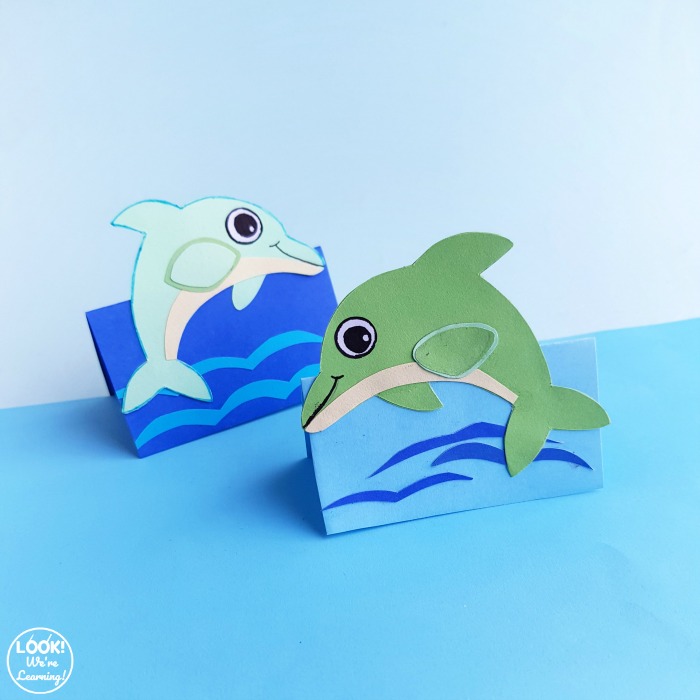
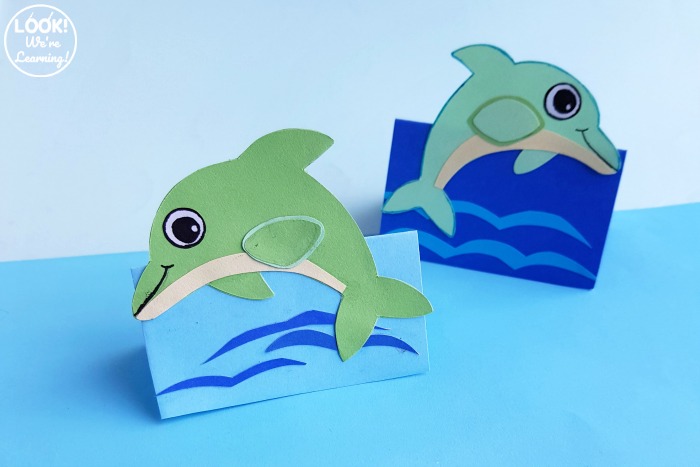
Let the kids make an entire pod of different-colored dolphins!
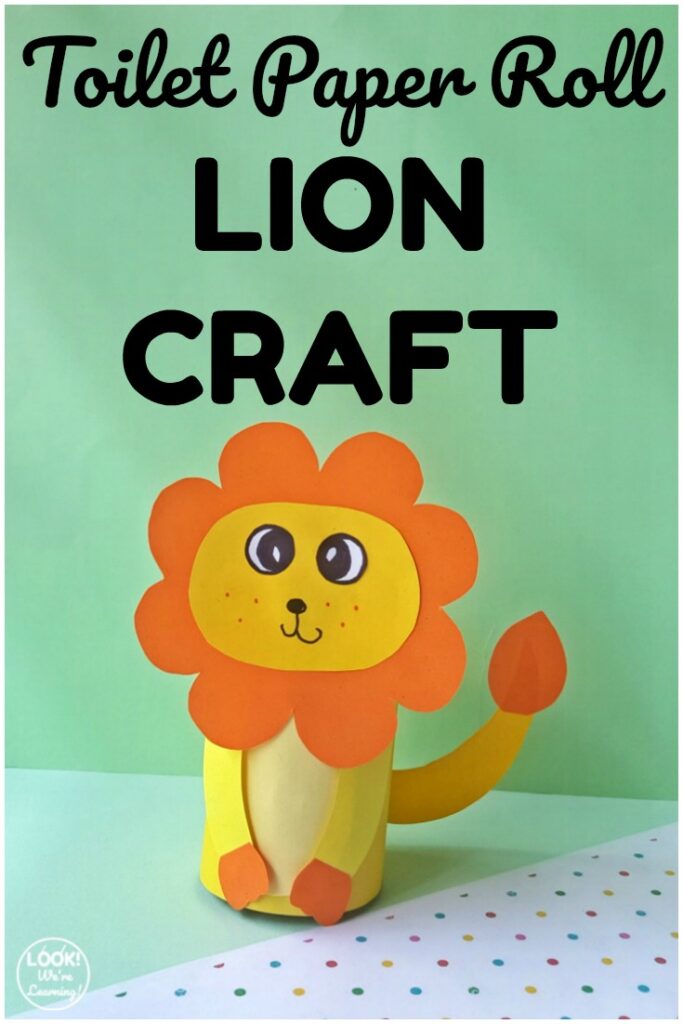
Don’t miss these other easy crafts for kids to make!

Leave a Reply