Polar bears are one of the first animals that come to mind when I think of winter.
They’re wild, of course, but they look so cuddly and adorable. They’re a perfect theme for early grades.
And they also make a great topic for winter crafts.
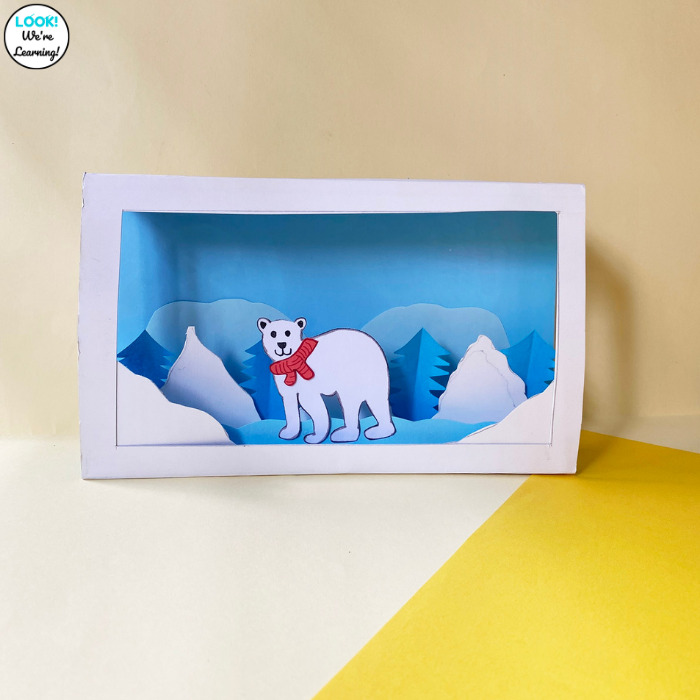
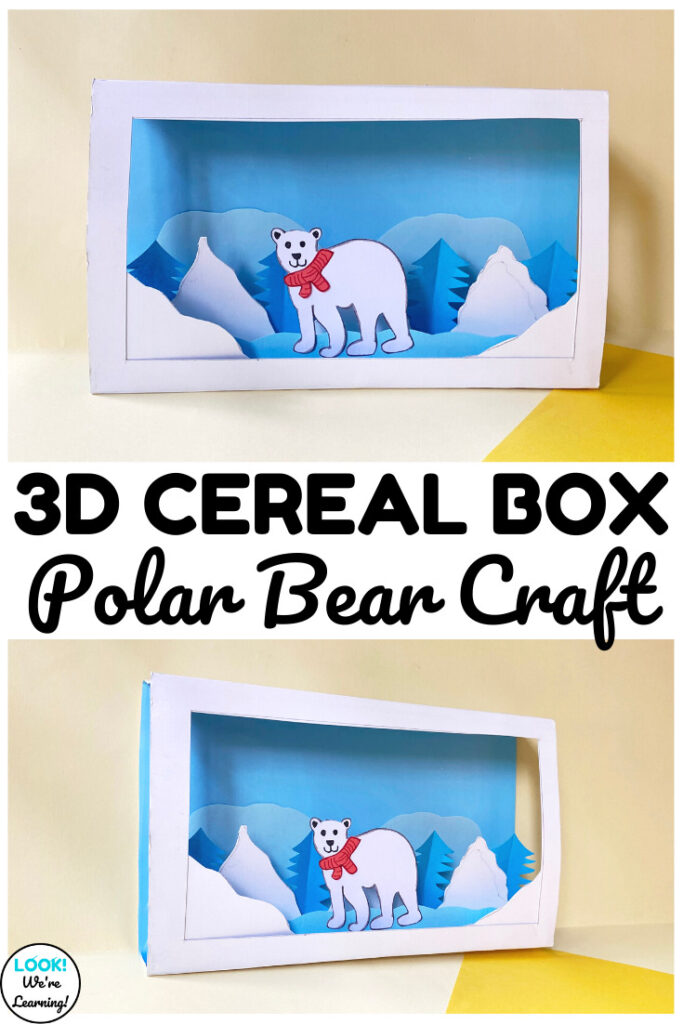
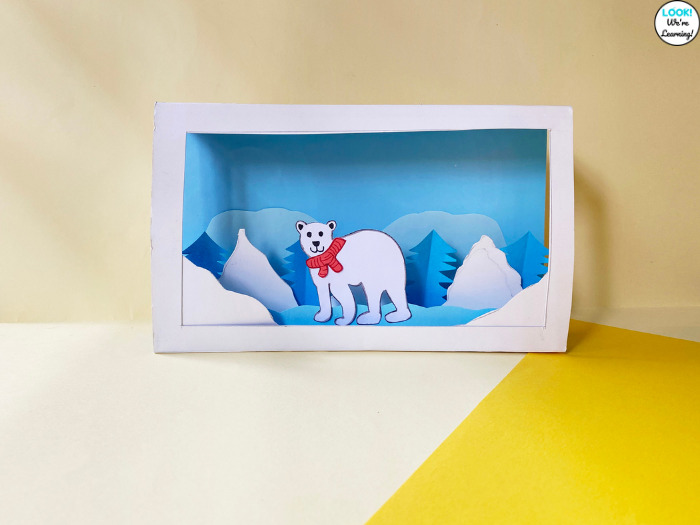
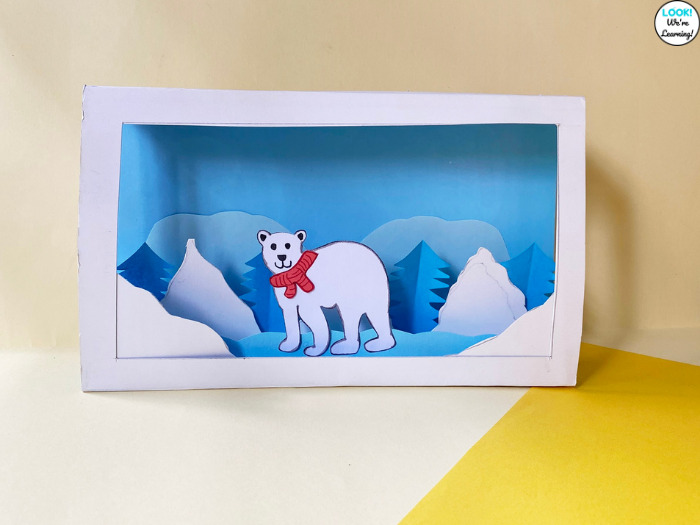
Which is why this 3D cereal box polar bear craft is so much fun to make with kids!
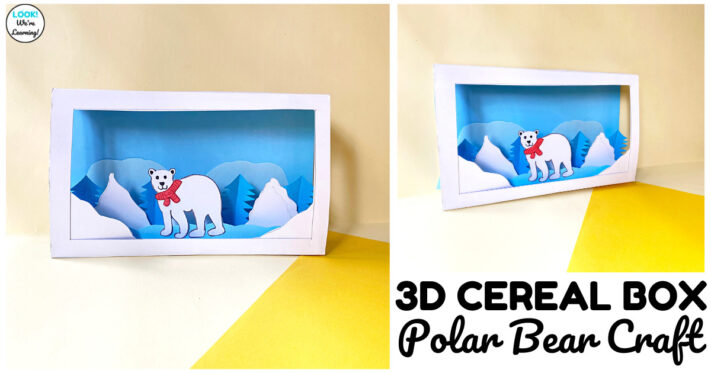
This winter diorama craft looks complicated, but it’s really not.
Even better, you only need a few supplies (which you probably already have) to make it!
Read on to get the full project instructions and to grab the free printable template.
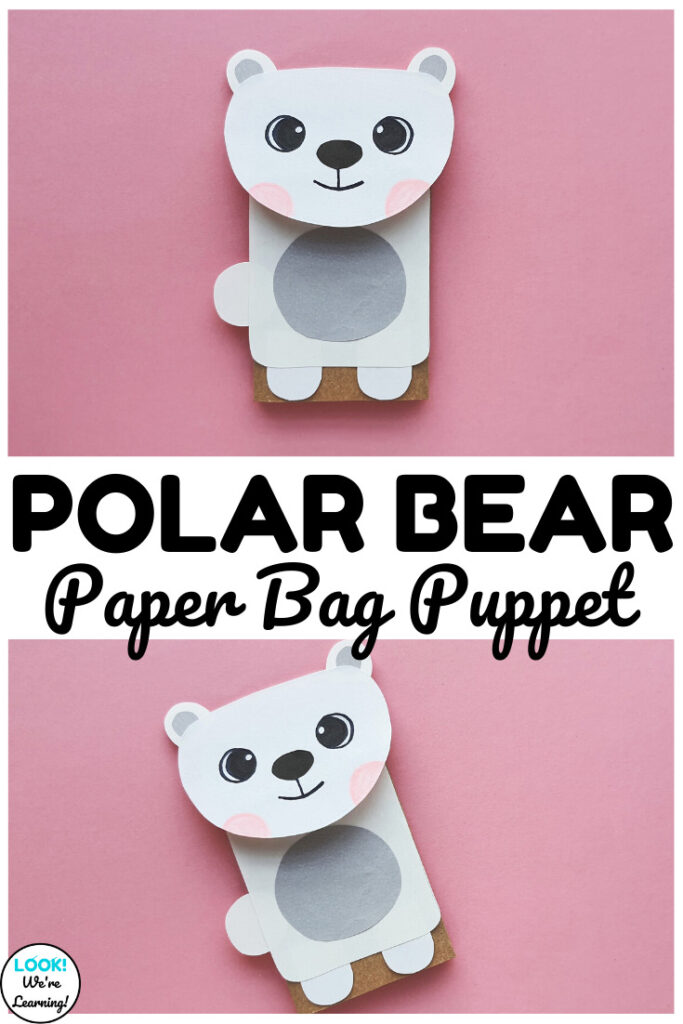
Want more winter crafting fun? Don’t miss our cute Polar Bear Paper Bag Puppet!
3D Cereal box Polar Bear Craft Supplies
You’ll only need a few basic supplies to make this craft.
But, if you’re making it along with younger children, you’ll want to do some of the prepping and cutting work in advance.
That way, they can avoid any possible injuries and it won’t take as long to finish the project.
To make this 3D cereal box polar bear craft, you’ll need the following: (Affiliate links are listed below. For details, see our Disclosure Policy.)
- Empty cardboard cereal box
- Colored craft paper
- Glue stick
- Pencil
- Child-safe scissors
- Ruler
- Washable markers
- Printable Polar Bear Craft Templates
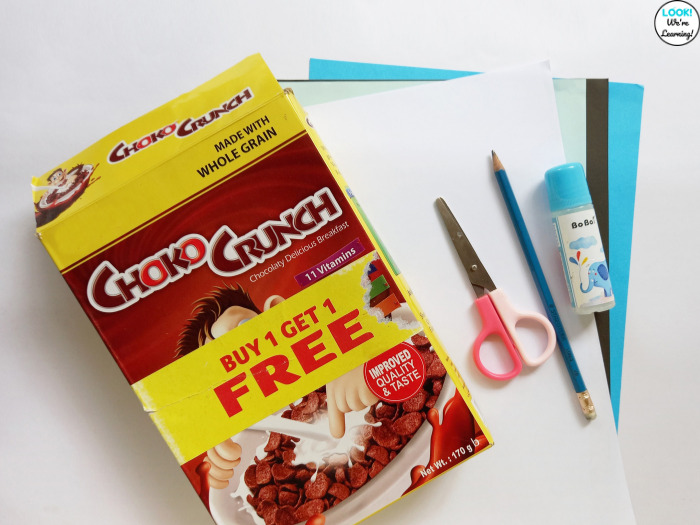
If you’re prepping the printable templates and the cereal box in advance, you can use regular scissors.
But if the kids are doing the cutting part, be sure to use child-safe scissors to keep their little fingers protected.
Start by opening the flaps of the cereal box and laying the entire box flat on a surface.
Cut off the top and bottom flaps so that only the sides of the box are left. Make sure they remain attached as one piece.
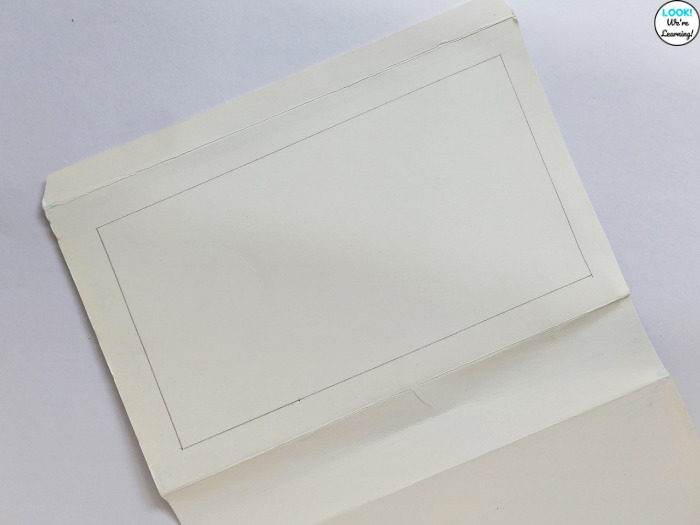
You’ll use a pencil and a ruler to outline a rectangle on one of the box panels.
Be sure to mark on the inside of the box so you can see the lines.
You’ll also need to download the printable Polar Bear Craft Templates.
Cut out all of the template pieces and trace them onto craft paper. Then cut them out.
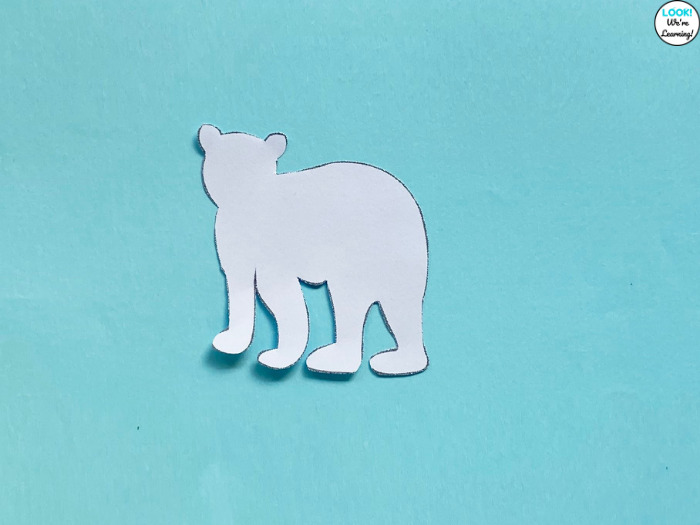
In this project, wintery colors, such as light blue, dark blue, and white are used for the background.
But the choice of colors is totally up to you.
Now we’re ready to get started!
How to Make a 3D Cereal Box Polar Bear Craft
Now that your cereal box is prepped, it’s time to cut out the “window” that you’ll see the winter scene through.
For the most exact lines, use a craft knife to cut out the rectangle. (Be sure to do this away from children.)
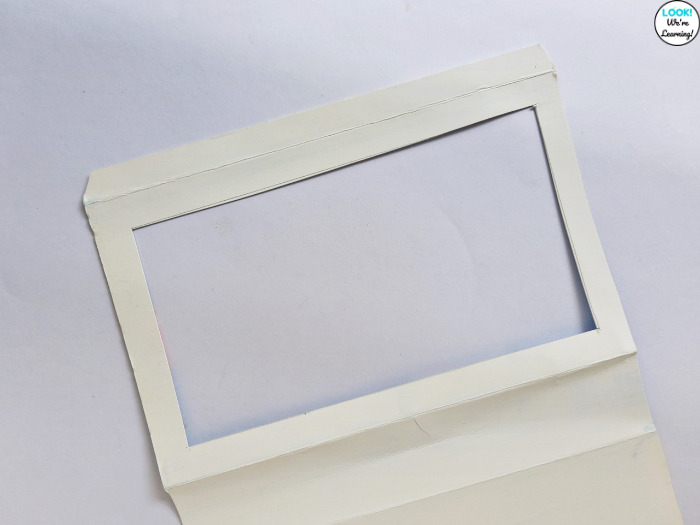
But you can also use scissors to poke a hole in the center of the rectangle.
Then just cut towards the lines and follow them around to make the rectangular window.
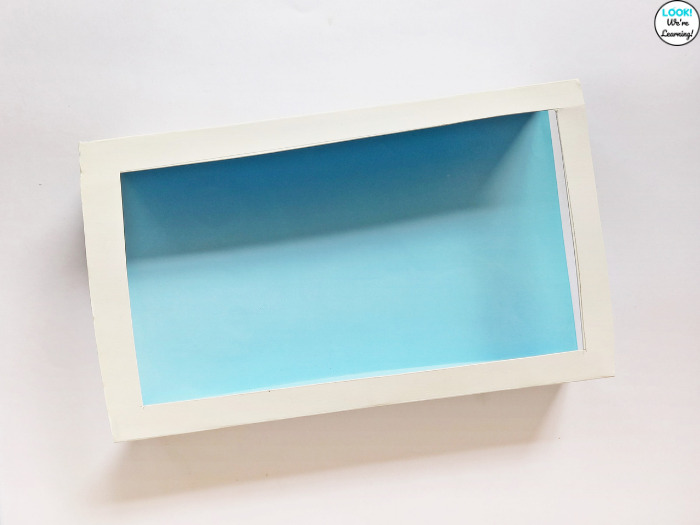
Glue a piece of light blue paper onto the back of the “window”. It should cover the back panel completely. Trim off any excess.
Fold the sides of the box back together to form a hollow rectangle. Glue the sides closed.
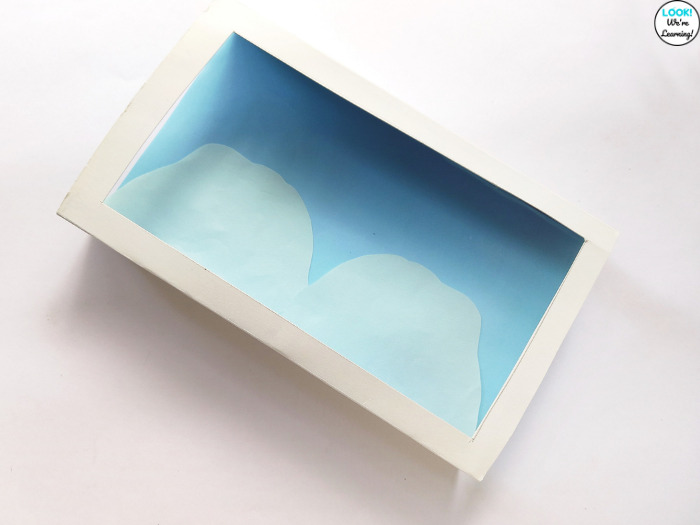
Time to start using our template pieces!
All of the scene templates have folding lines at the bottom. Fold each one on those lines to ensure they stand up.
Glue the mountain pieces (numbered as 1) onto the back panel of the box. You want them to overlap slightly at the bottom.
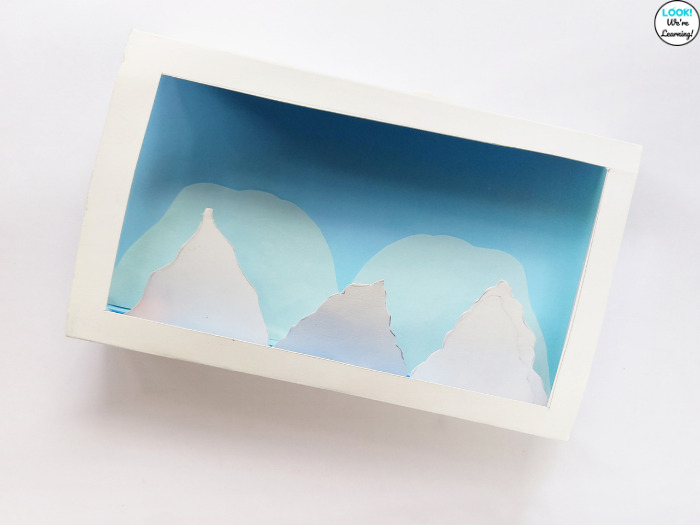
Now, glue the snow piles (numbered on the template as 2) in front of the mountains.
Leave space behind them to add more elements to the scene.
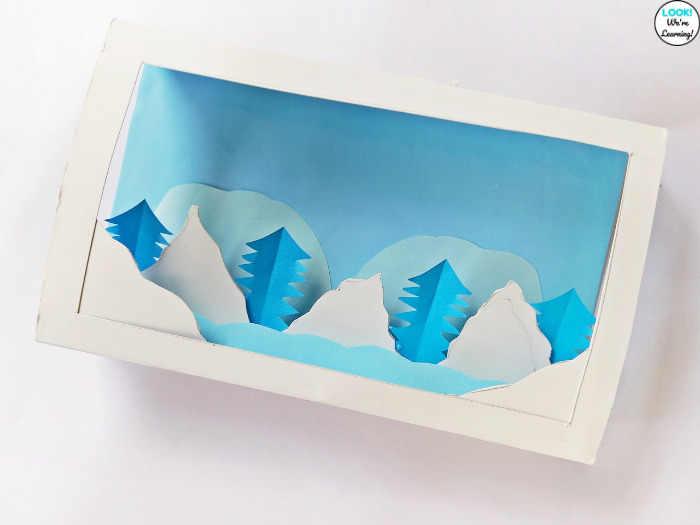
Add the frost-covered trees (numbered as 3) behind the snow piles but in front of the mountains.
Space them out to be seen between the piles of snow and glue them down.
Then glue the long snowbank (numbered as 4) down in front of the snow piles.
Add the last two snow piles (numbered as 6) on either side of the front of the box window.
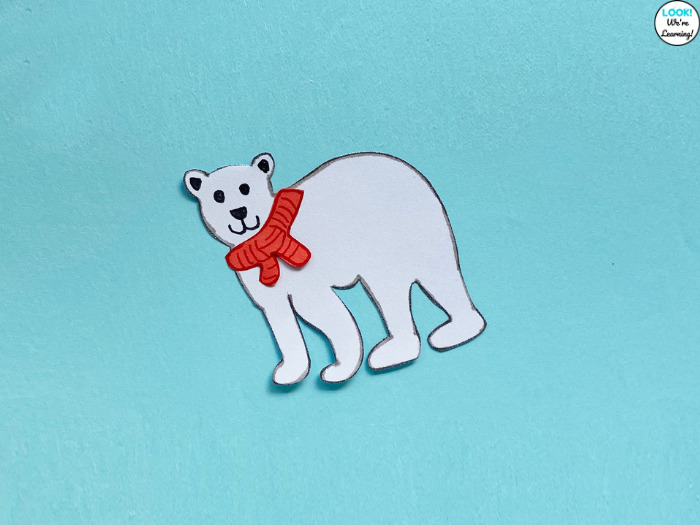
Time to add the polar bear!
Cut out the polar bear and scarf from the template sheet. Use markers to outline the bear and to add ears and a face.
Color in the scarf too! Then glue it onto the polar bear’s neck.
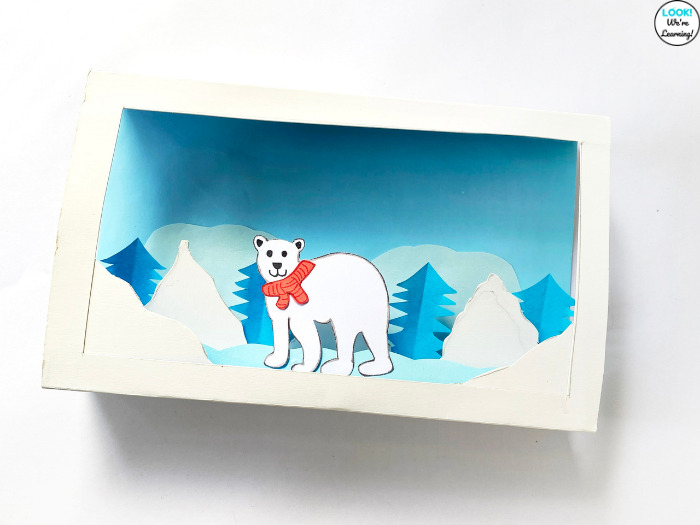
Finally, glue the polar bear in front so that it stands on the long snowbank in front of the winter scene.
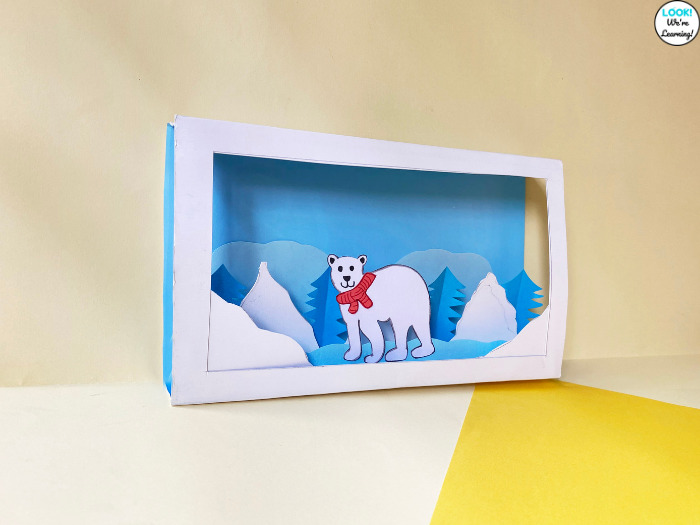
And our 3D cereal box polar bear craft is done!
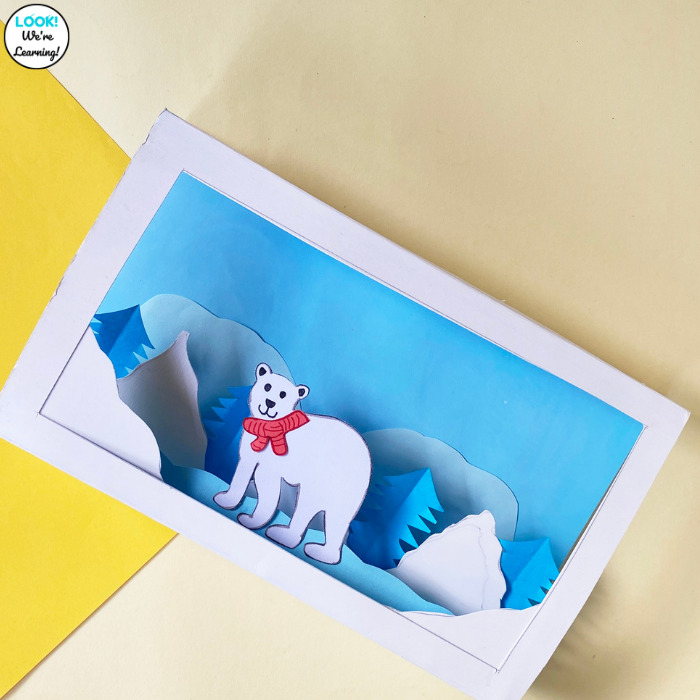
These would make excellent art projects for parent night, winter camps, and take-home crafts!
Check out more winter craft ideas for kids below!
Leave a Reply