Learning shapes is such a fun skill for early grades!
We’ve used lots of learning ideas to cover this concept with young learners, including shape sorting mats and shape flashcards.
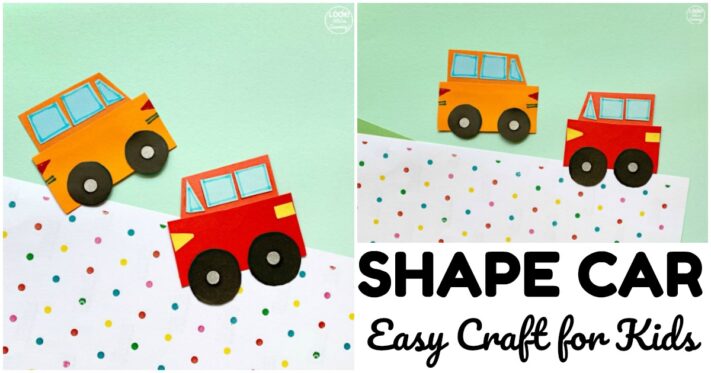
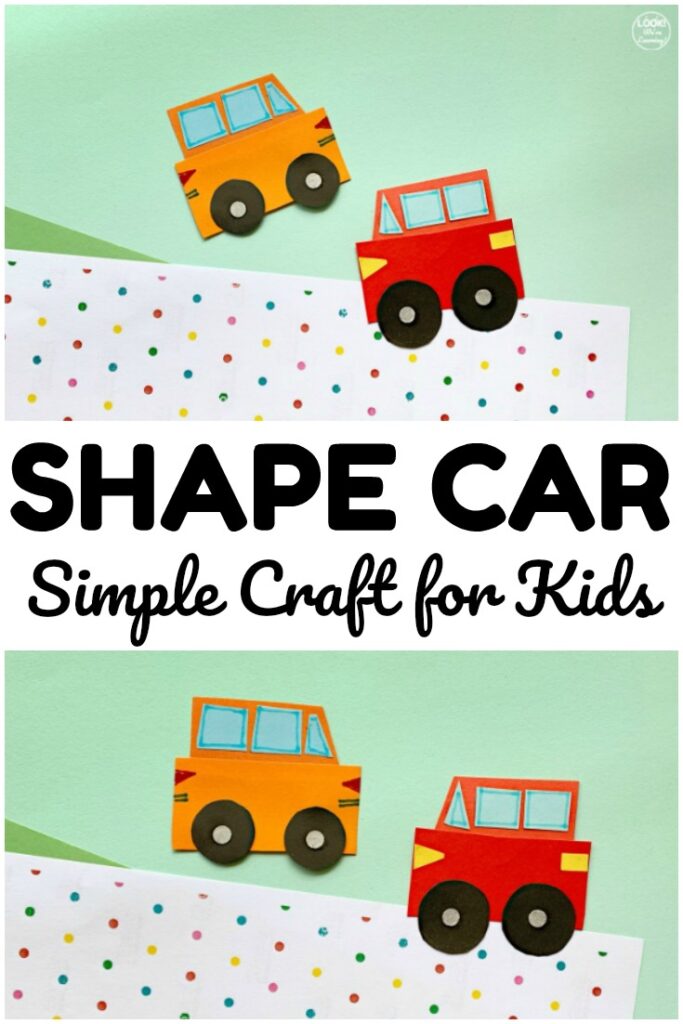
But a simple, hands-on way to teach shape recognition is to use an easy shape craft – like this shape car craft!
This is such an easy and fun way to work on this concept!
Plus, it combines both math and art for a STEAM project you can do with young students at math centers or for homework.
Get the full instructions (and the free template) below.
And, for more fun with simple shapes, check out our simple School Bus Shape Craft too!
How to Use a Shape Craft to Teach Geometry
How can you use this shape car craft for a simple geometry lesson?
As you are helping kids cut out the shapes on the paper template, stop and help them identify each one.
The template includes a rectangle, four circles, two squares, a triangle, and even a trapezoid.
Prompt the student to use each correct shape name as they work on making the car.
Be sure to identify each shape as you give directions. For example, “Glue the rectangle to the bottom of the trapezoid.”
What Supplies Do I Need to Make a Shape Craft?
To make this easy shape craft, you’ll need the following: (This post contains affiliate links. For details, see our Disclosure Policy.)
- Printer (with ink)
- Printer Paper
- Child-safe scissors
- Glue stick
- Washable markers (optional)
- Colored pencils (optional)
- A copy of our printable Shape Car Craft template (black/white) (color)
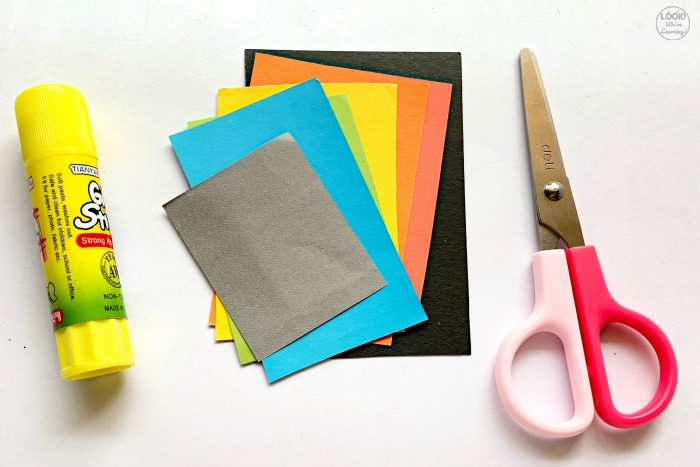
If you’re using the color shape craft template, then you can skip the markers.
The colored pencils are also optional, because they’re only used for adding detail to the finished cars.

How to Make a Shape Car Craft with Kids
To make this shape car craft, start by printing the template.
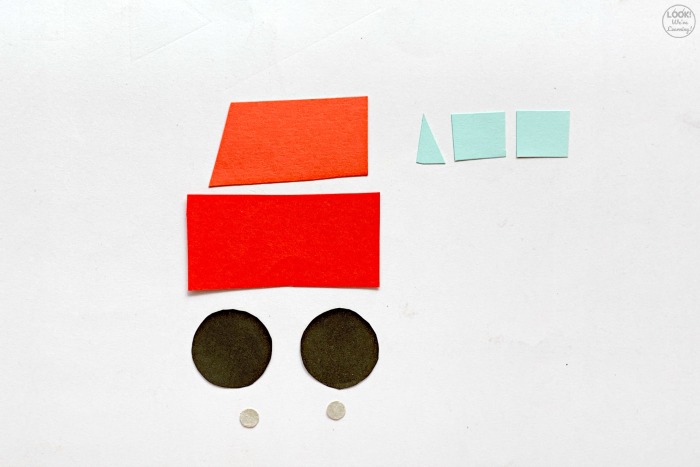
Help your child cut out all of the shapes.
Depending on the age, you may need to help with the smaller pieces.
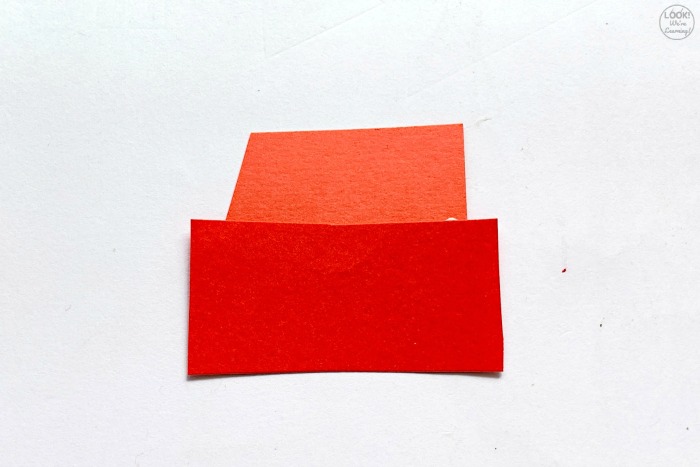
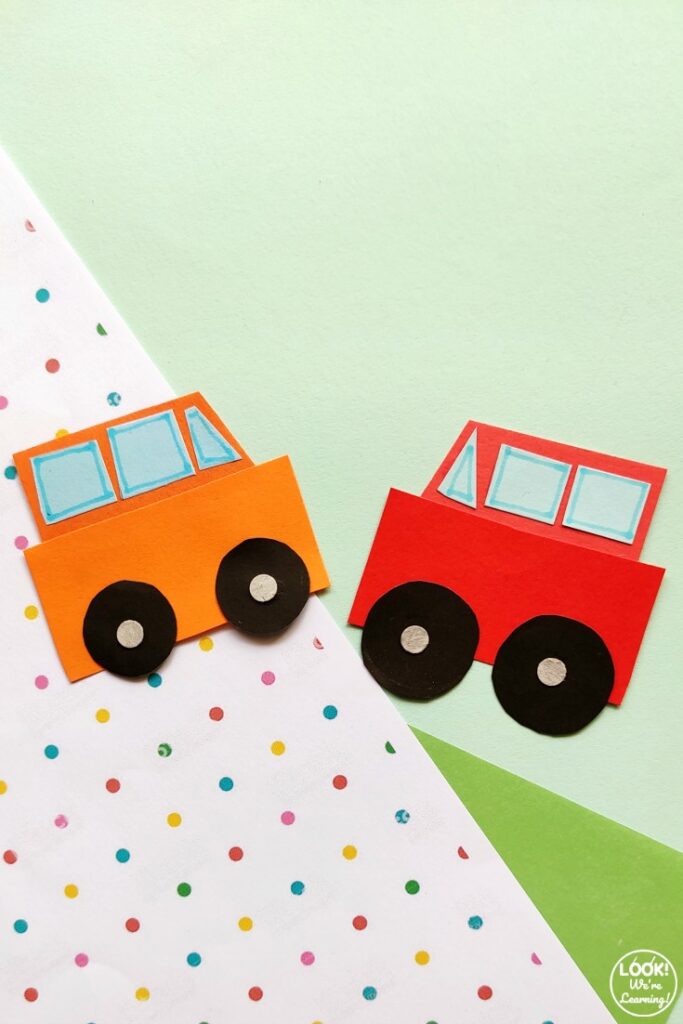
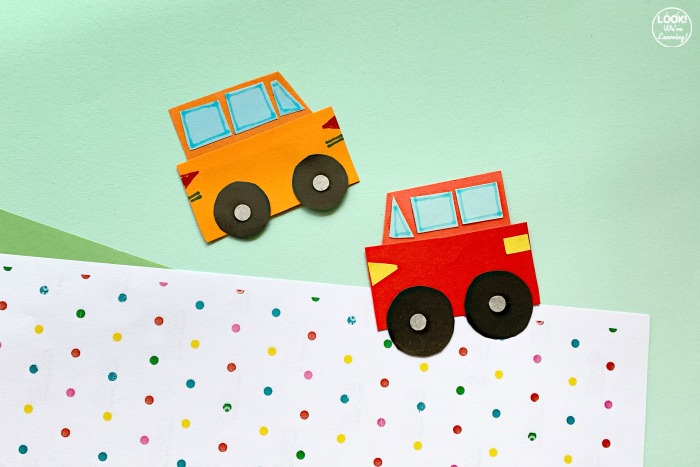
Start by gluing the rectangle to the bottom of the trapezoid.
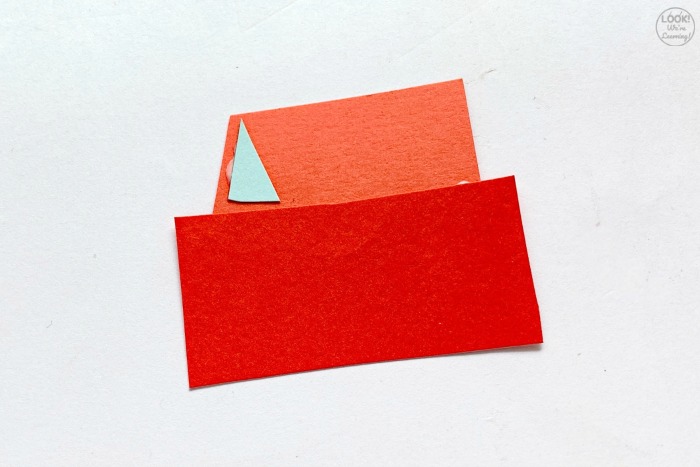
Glue the triangle on the left side of the trapezoid. This will be the car’s front windshield.
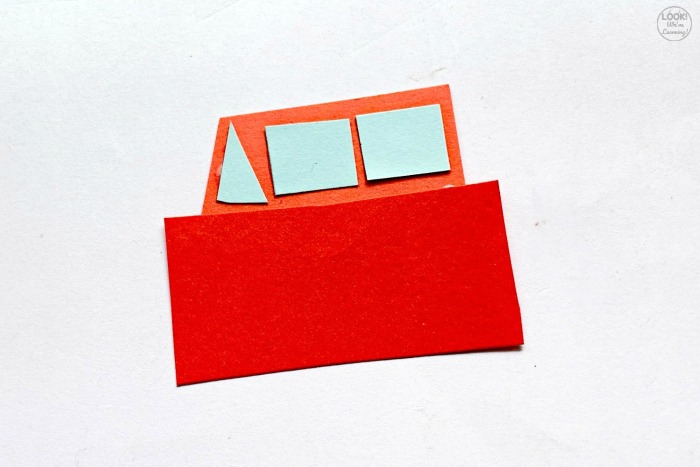
Then glue the two squares in a row behind the triangle. They form the side windows of the car.
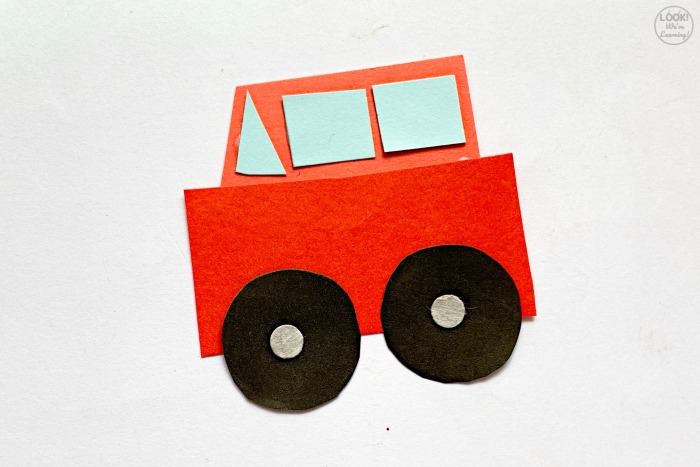
Glue the two black circles onto the bottom of the rectangle. Add the two grey circles in the center of each black circle.
Now your wheels are done!
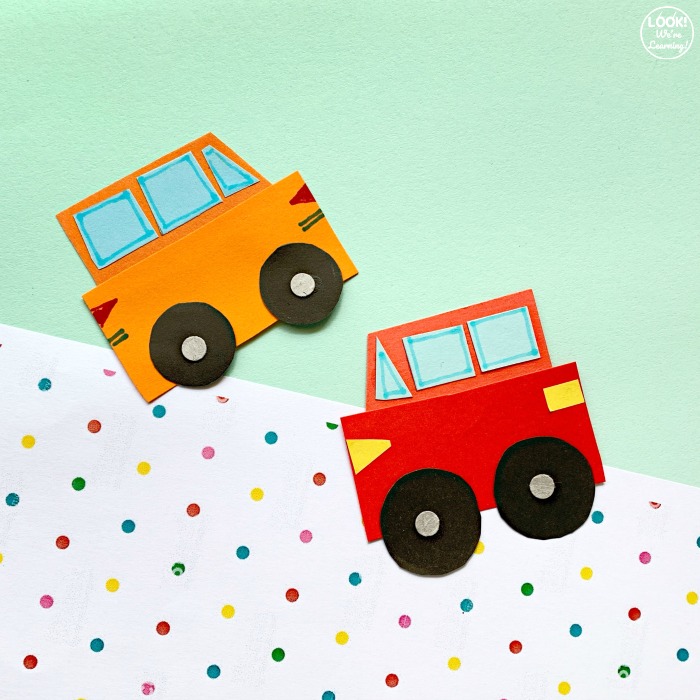
If you like, use markers or colored pencils to add edging on the windows and windshield.
You can also draw red triangles on each end of the rectangle to make headlights and taillights.
Or add a triangle on the front and a rectangle at the back to form the lights too!
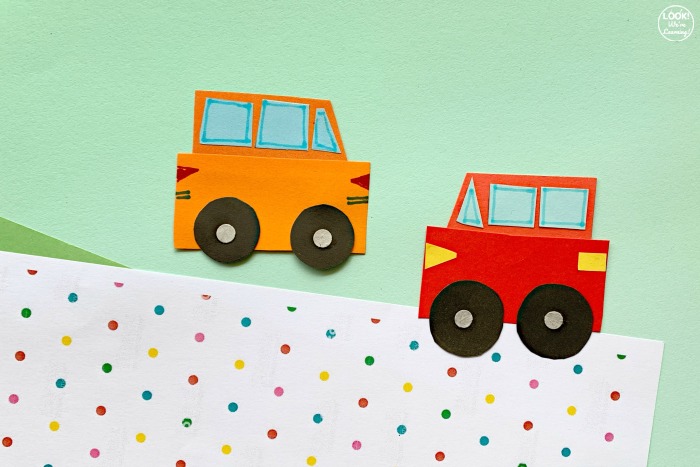
All done! Time to take your new cars out for a spin!
Need more simple crafts for kids to make? Try these too!


Leave a Reply