Who doesn’t love an easy toilet paper roll craft?
They’re always fun and simple for kids to make. And we already have most of the supplies, so we’re ahead of the game.
If you’re looking for a simple winter craft to share with kids, this easy toilet paper roll snowman craft is just perfect!
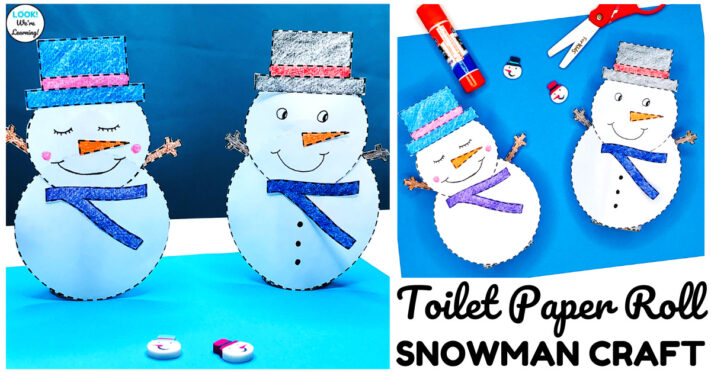
There’s a printable template that makes this snowman craft a snap! And it’s simple enough for young learners to make too.
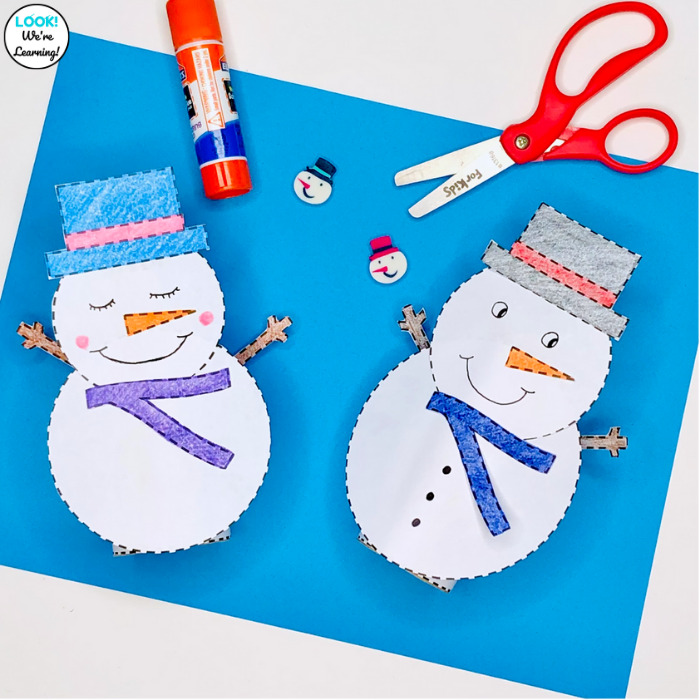
Read on to get the full project instructions and a link to the template.
Looking for more early grades winter fun? Try this easy paper bag polar bear craft too!
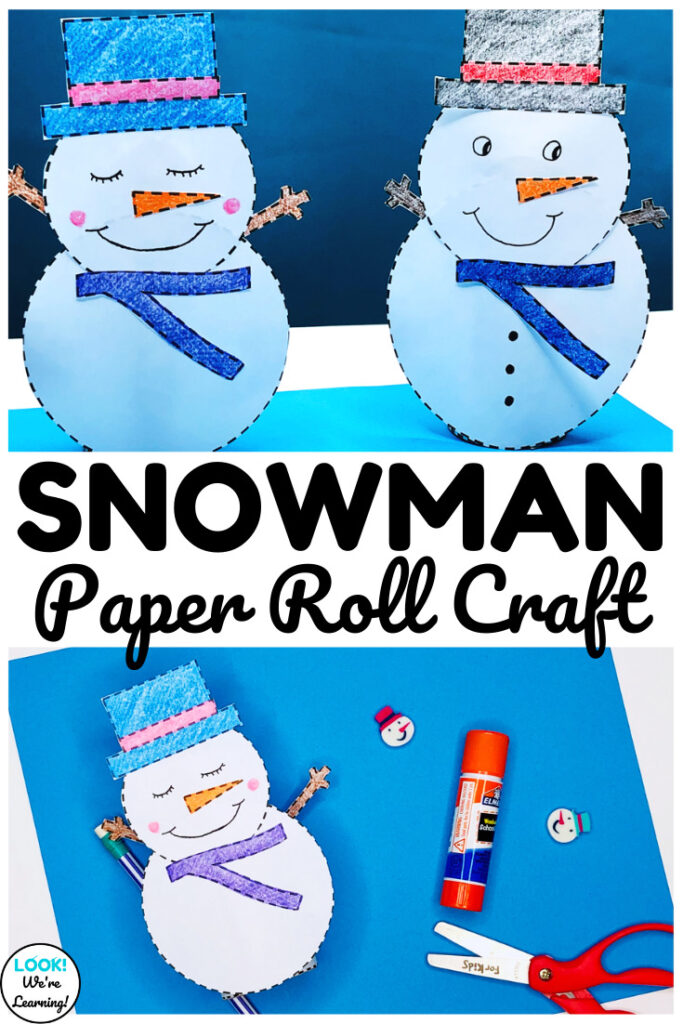
Easy Toilet Paper Roll Snowman Craft for Kids
To make this toilet paper roll snowman craft, you’ll need the following: (Affiliate links are used below. For details, see our Disclosure Policy.)
- Empty toilet paper roll
- Printer (with ink)
- Printer paper
- Child-safe scissors
- Washable markers or Colored pencils (optional)
- Glue stick
- A copy of the toilet paper roll snowman craft template
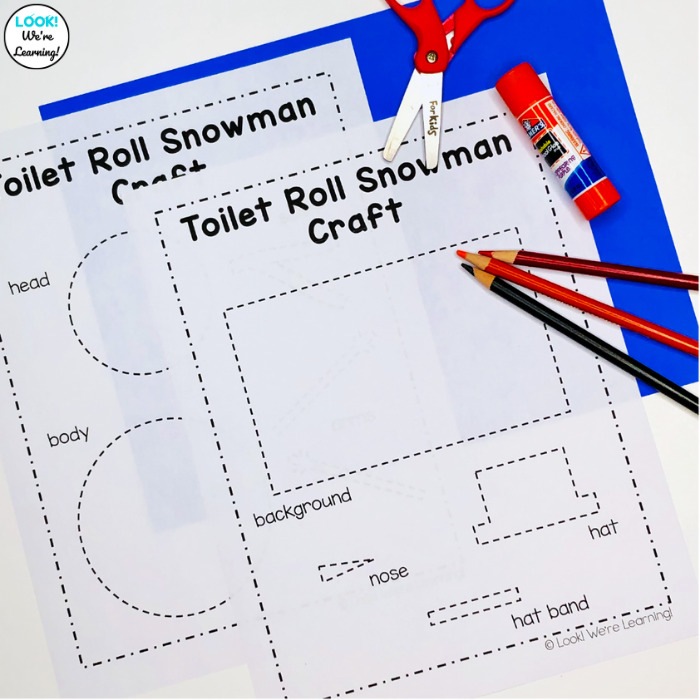
To get started, download the printable Snowman Craft Template.
You’ll see the project instructions inside, along with two versions of the craft.
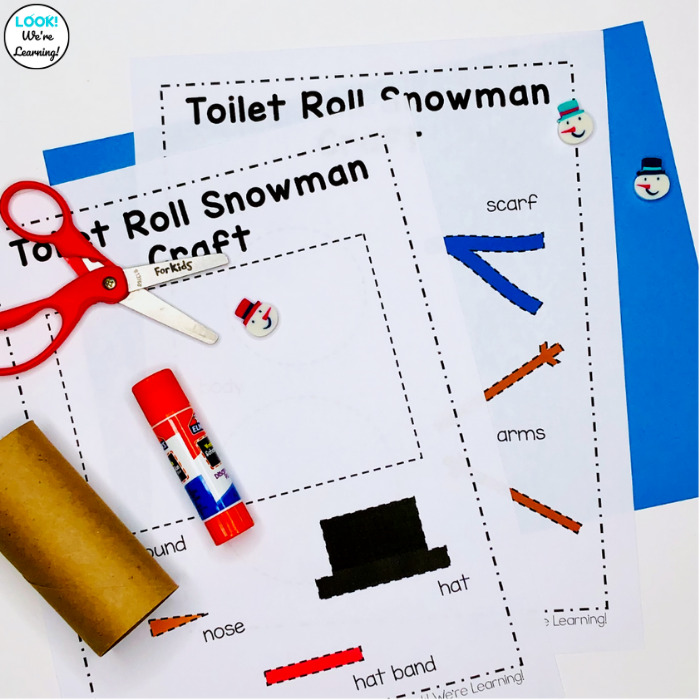
There’s a blackline version for students to color themselves and a color version, if you’d like to skip the coloring step.
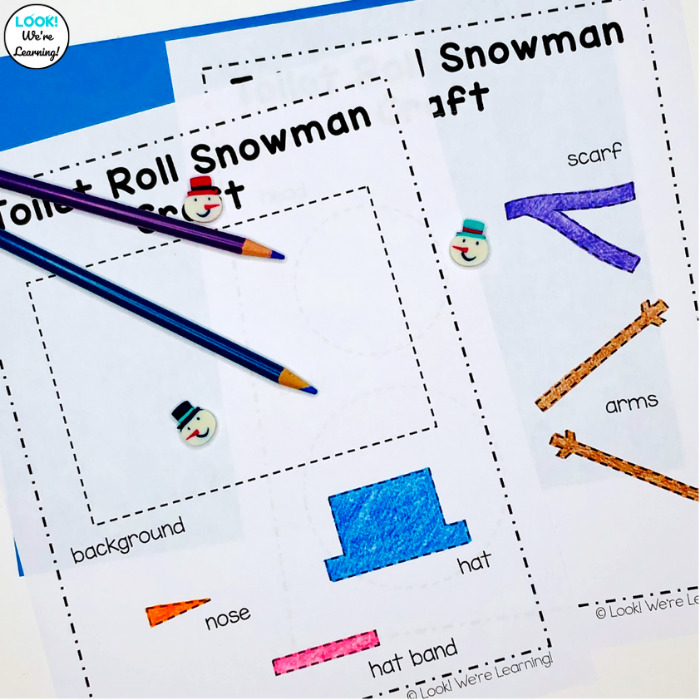
Each of the template pieces is clearly marked, so you’ll know which part to add at each step of the project.
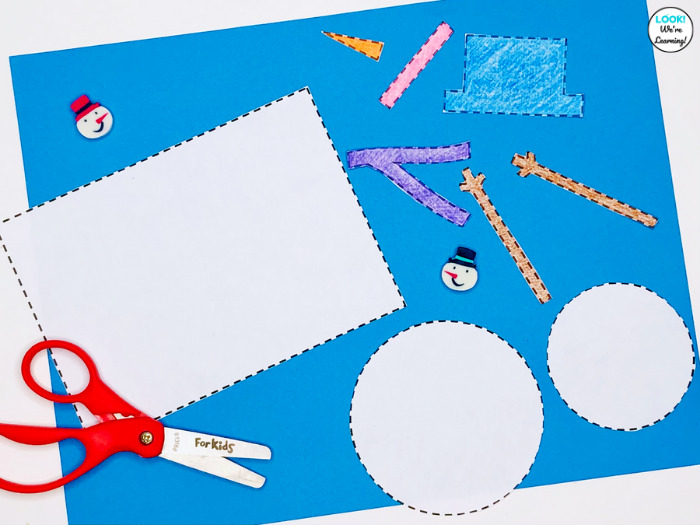
Once students have colored and cut out the template pieces, it’s time to get to crafting!
How to Make a Toilet Paper Roll Snowman Craft
A tip here: If you’re making this project with a group of young learners, you might use the color template pieces. Cut them out in advance and have them ready to go.
That way, students can get to work immediately. This is especially useful if you’re short on time.
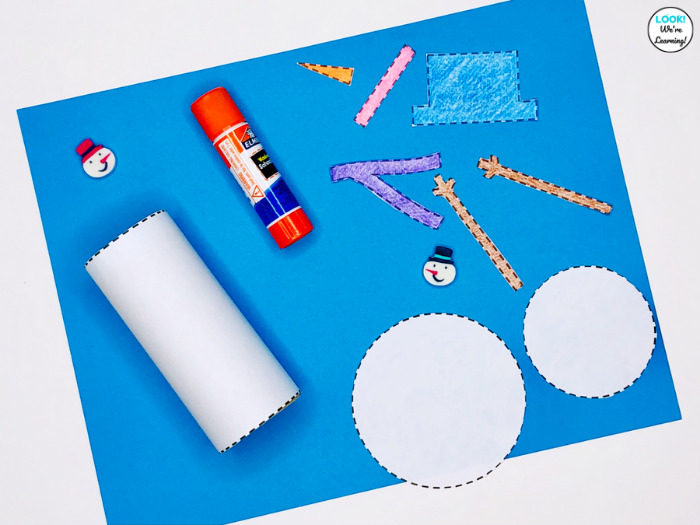
The first step is to glue the background around the toilet paper roll. Simply wrap it around and use glue to seal the ends closed.
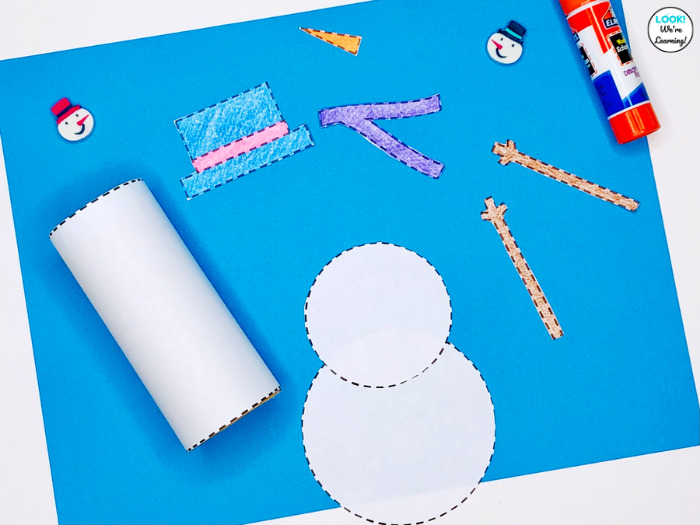
Now we’ll put our snowman together.
Place the head at the top of the body and glue the pieces to form the snowman.
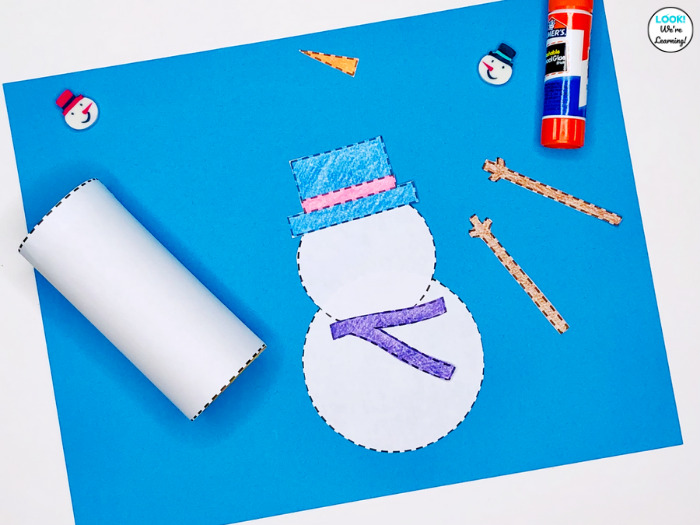
Now it’s time to add our clothing!
Glue the hatband onto the lower section of the hat and glue it onto the top of the head. Then glue the scarf onto the “neck” of the snowman.
I just used the place where the two body pieces meet as a guide.
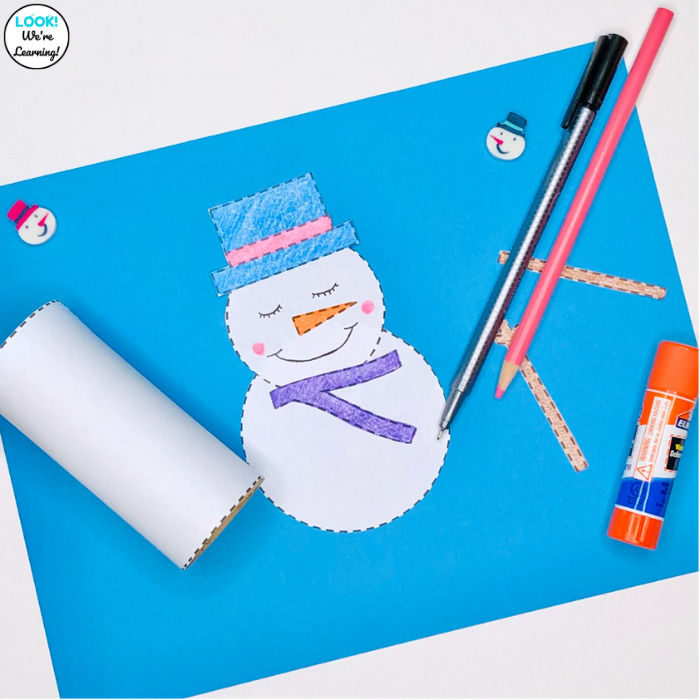
Glue the carrot nose onto the center of the head. Then use a pen or marker to draw eyes and a smile.
I decided to make my snowman a “snow-woman” by drawing closed eyes with lashes and adding rosy cheeks, but students can really draw any kind of facial features they want.
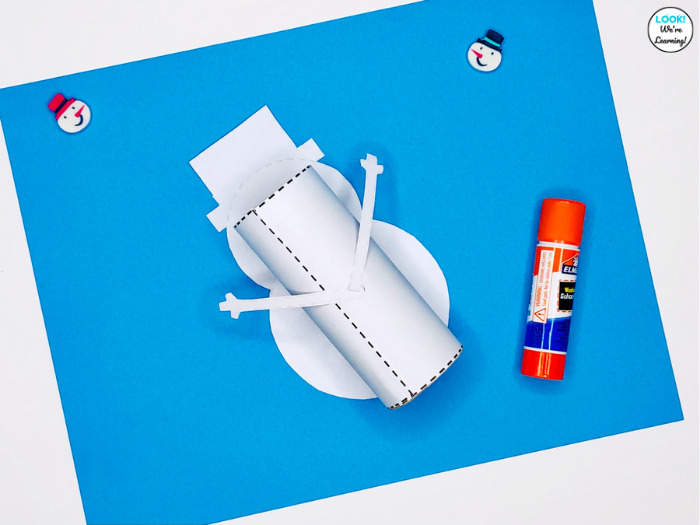
Glue the snowman’s body onto the front of the wrapped toilet paper roll. Then flip it over, so that the back is facing up.
Glue each of the arms onto the back of the toilet paper roll. Try to glue just the very ends, so that the arms stick out on the sides.
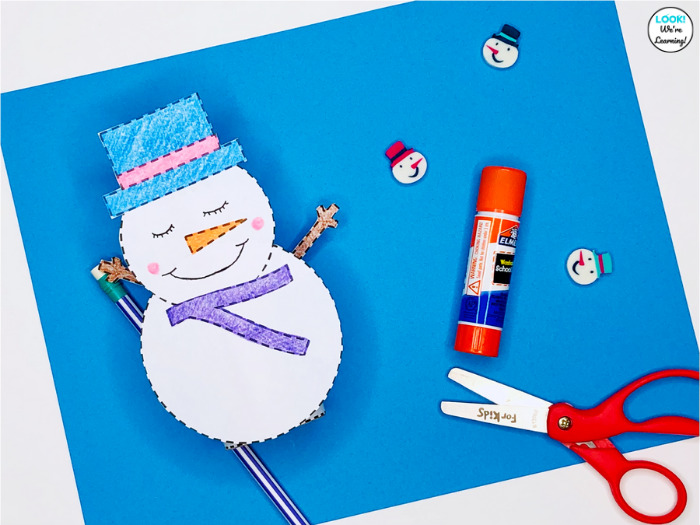
Like so!
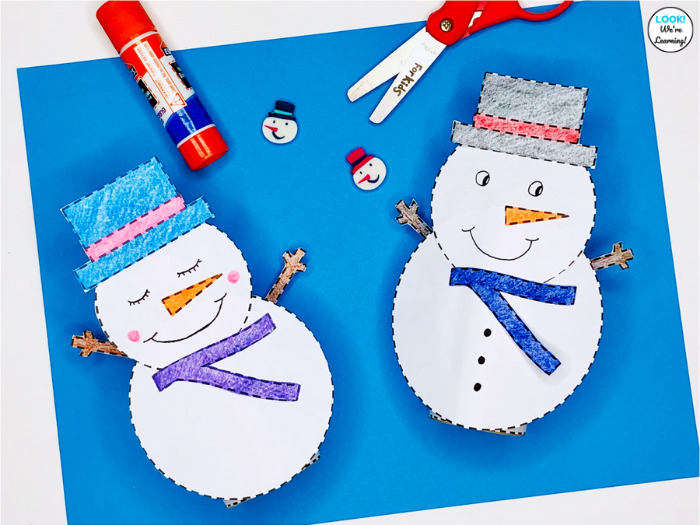
You can even use different clothing colors and faces to make a snowman family!
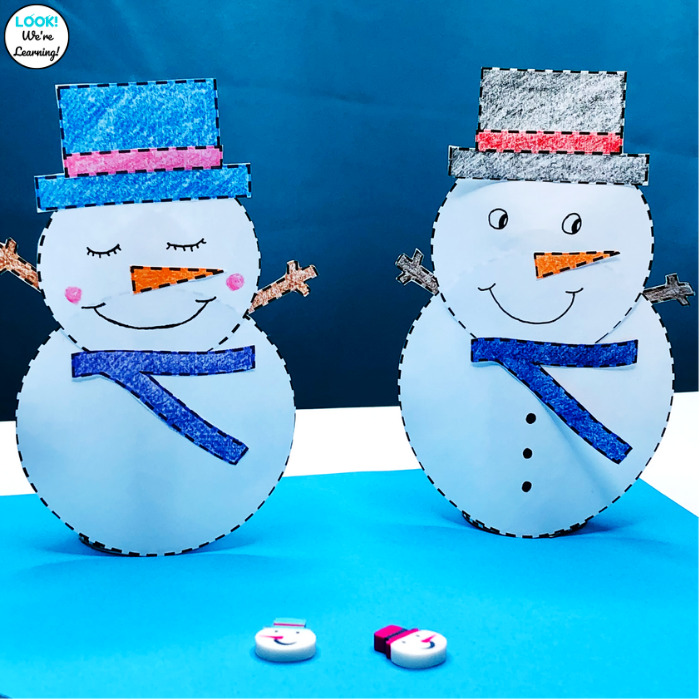
See this toilet paper roll snowman craft in action below!
Try some of these other fun winter craft ideas!
Looking for more snowman-themed fun? Take a look at our Snowman Shapes Plane Shape Tracing Activity!
Leave a Reply