Summer is the perfect time for crafting with kids.
You have plenty of time, in case you need to make a craft store run. The kids are looking for fun things to do.
And, it’s always great when you can share a project that’s not something on a screen of some kind.
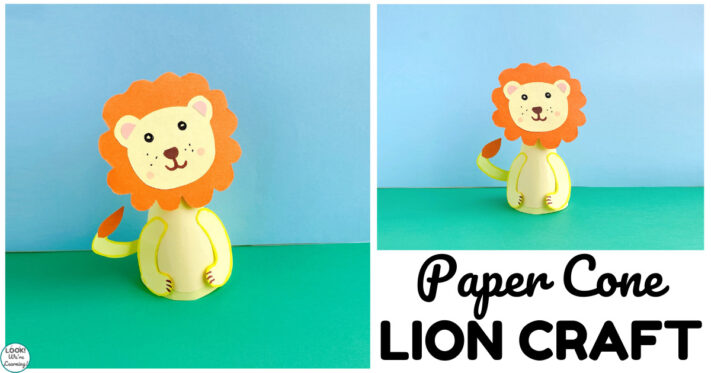
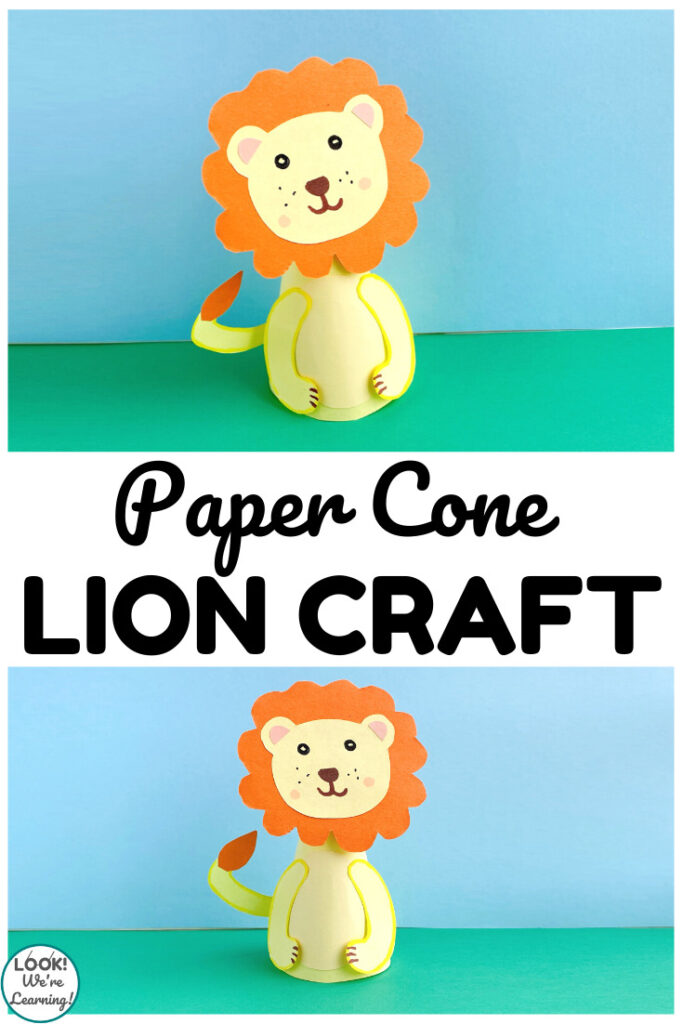
This simple paper cone lion craft is a perfect way to spend a little time crafting a fun project with little ones!
You probably already have the materials you’ll need to make this lion craft. But if you don’t, you can easily find them at the store.
Of course, if you just want to go to the craft store, I completely understand and will not judge you.
Read on to get the full instructions and the printable template for this paper animal craft.
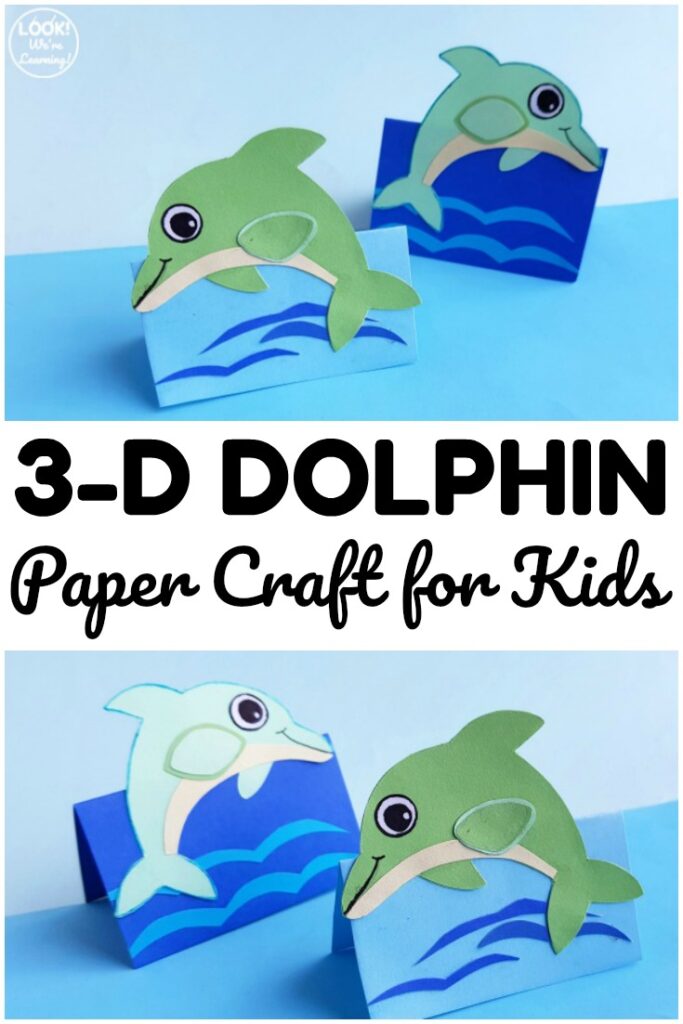
And, for more crafting fun, take a look at this easy Paper 3-D Dolphin Craft you can make with kids!
What Do You Need to Make a Paper Lion Craft?
To make this paper lion craft, you’ll need the following: (This post contains affiliate links. For details, see our Disclosure Policy.)
- Colorful craft paper
- Child-safe scissors
- Glue
- Pencil
- Markers
- Printable paper cone lion craft template (available HERE)
To use the printable template, you’ll need access to a printer and printer paper.
After you print the template, all you need are child-safe scissors, markers, colored paper, a pencil, and glue!
How to Make a Paper Lion with Kids
Cut out the paper lion craft template pieces.
If you have older children, they can do this part on their own. But, you might want to help younger children perform this step.
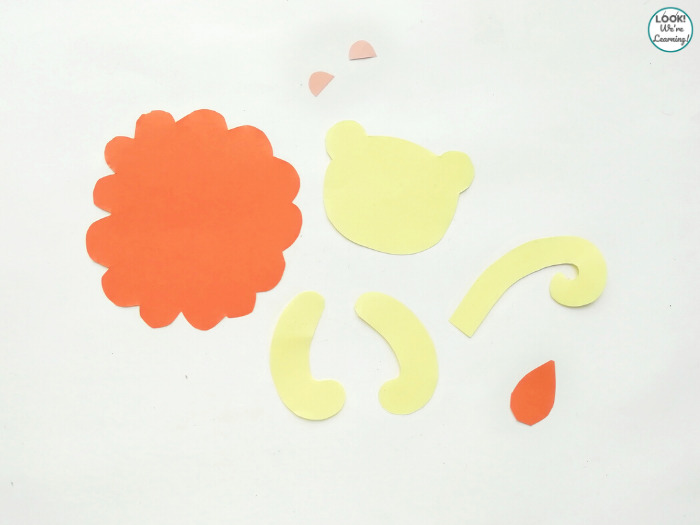
Use a pencil to trace the template pieces onto colored paper.
On the cone body template piece, you’ll see a triangle shape. Cut that triangular piece out before tracing the shape onto craft paper.
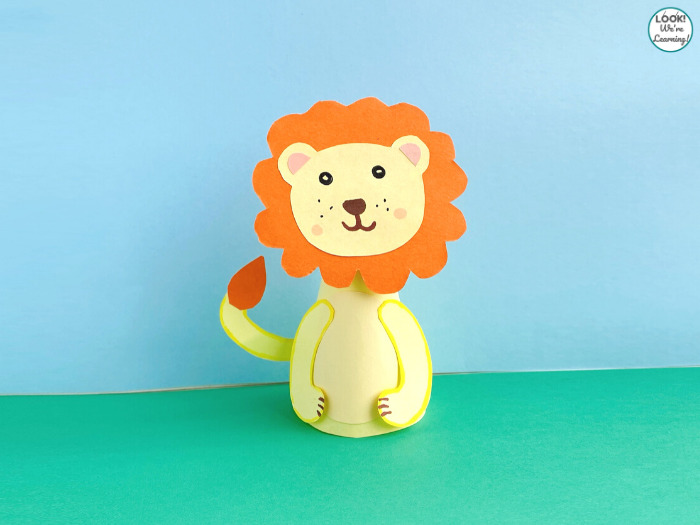
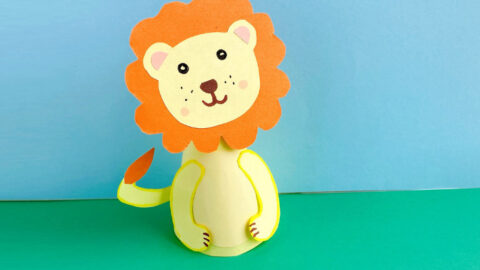
You can really use any color of paper you like. But if you want to make a traditional lion, use yellow paper for the body and orange paper for the mane and tail.
The inner ears can be traced on pink or light red paper.
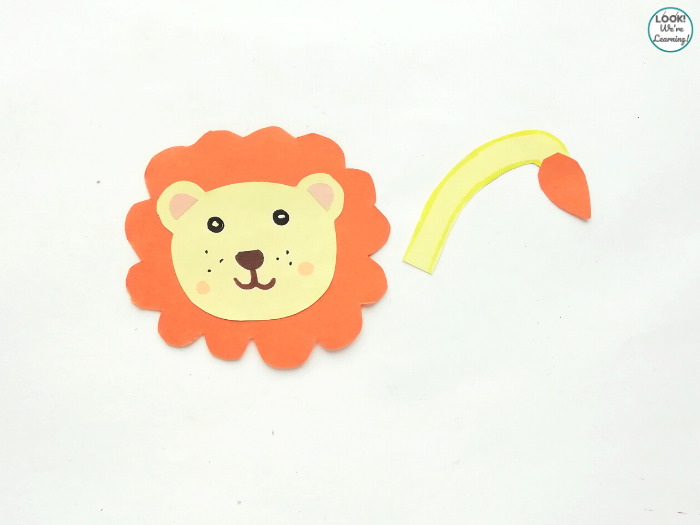
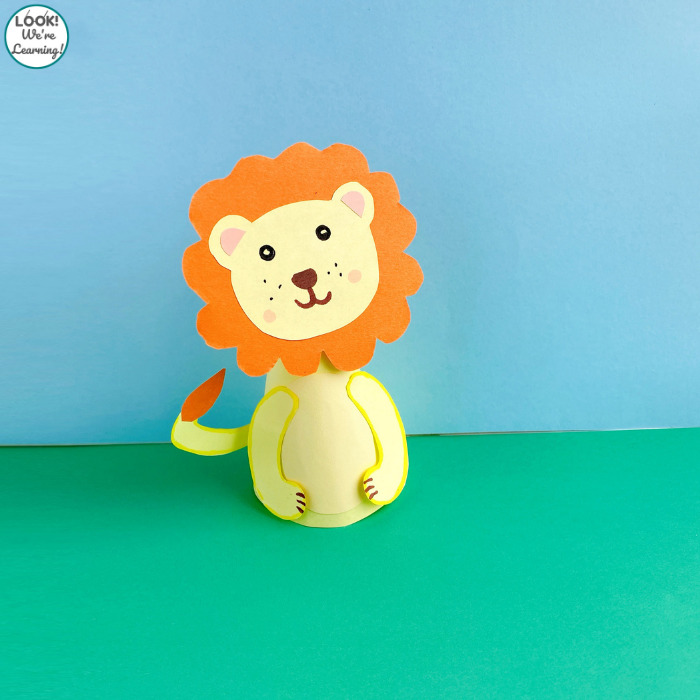
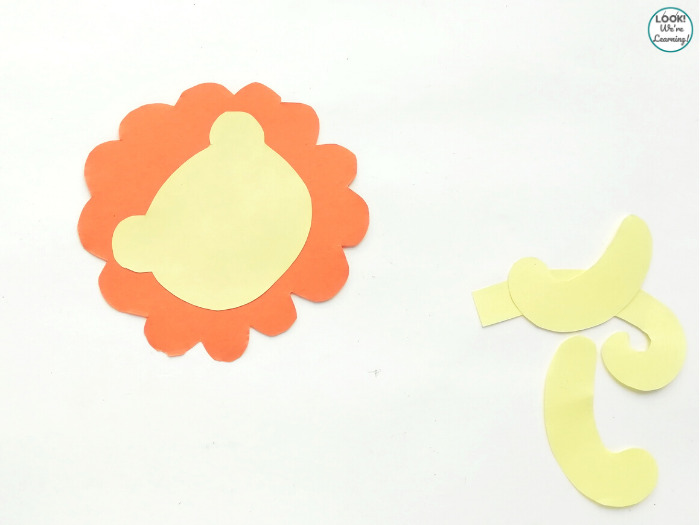
Glue the lion’s face onto the center of the mane. Use a marker to draw “paw” lines onto the ends of the two arms.
Draw a cute lion’s face with markers. Glue the pink “ears” onto the yellow ear parts of the lion’s face.
Then glue the tail tuft onto the end of the lion’s tail.
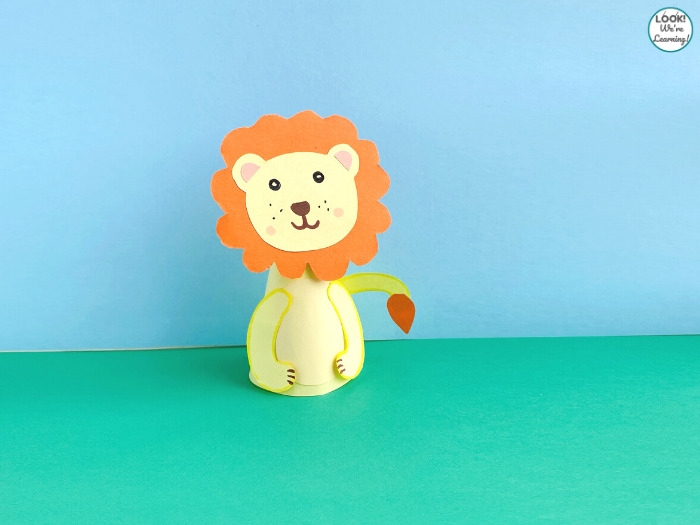
Roll the paper cone body piece into an upright cone. Use glue or tape to secure the ends in the back.
Use glue to attach the lion’s face onto the top of the front of the cone.
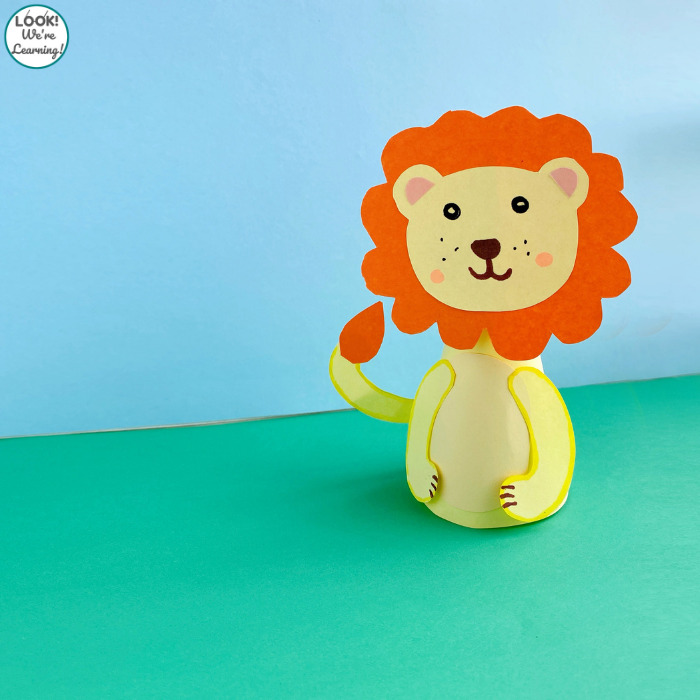
Glue the lion’s arms onto the each side of the cone’s front.
Finally, glue the tail onto the lower back of the cone. And you’re done!
Get the printable paper lion craft how-to instructions below!
Easy Paper Cone Lion Craft
Make this simple and adorable paper cone lion craft with the kids!
Materials
- Colored craft paper
- Child-safe scissors
- Markers
- Glue
- Pencil
- Printable paper cone lion craft template (link available below)
Instructions
- Print the paper cone lion craft template. (Link HERE)
- Use scissors to cut out the template pieces. On the cone body template piece, cut the triangular shape out.
- Use a pencil to trace the template pieces onto colored craft paper.
- Cut out the colored lion craft pieces.
- Glue the lion's head into the center of the paper mane.
- Glue the tail end onto the paper lion's tail.
- Use markers to draw the lion's face.
- Glue the pink "ears" onto the yellow ears of the lion's head.
- Roll the cone template piece into an upright cone. Glue or tape the ends together to secure the cone in place.
- Glue the lion's head onto the tip of the cone.
- Use markers to draw the "paws" on the ends of the lion's arms.
- Glue the arms onto the front of the cone.
- Glue the tail to the back of the cone.
Try some of these other crafts for kids!

Leave a Reply