As a second-generation homeschooler, my heart belongs with paper books, planners, and notebooks. (There’s just something about the smell of paper and erasers in the morning.)
However, I have seen the need to jump into the digital age and, as a result, I am now the proud owner of a TON of digital homeschool resources. A ton.
But here’s the thing: If you can’t find anything on your computer, then all of your resources don’t really do a lot of good, do they? 🙂 So I came up with a simple way to organize digital homeschool resources, which I’m sharing with you today!
 How I Organize Digital Homeschool Resources
Here’s my big secret…
….
…..
I use Windows File Explorer.
That’s it!
It’s really, really simple, but it really, really works. Here’s how:
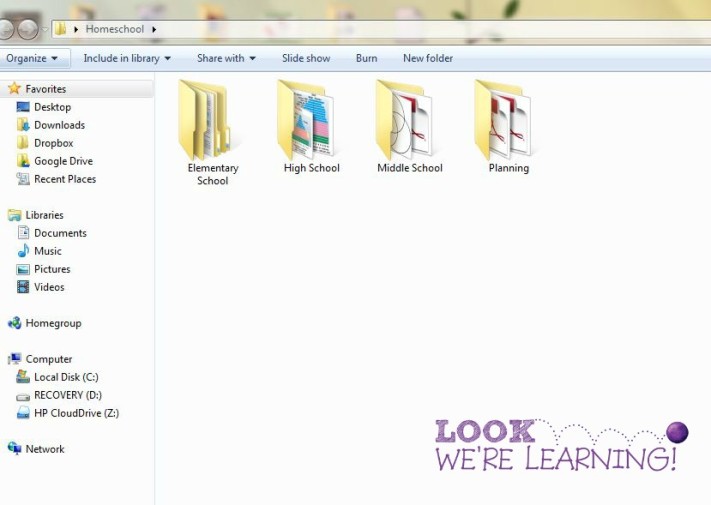
I have my digital homeschool resources organized by the type of “school” to which they belong: Elementary for PK-5, Middle for 6-8, and High for 9-12 – just like in public school. I also have a separate folder for Planning, which I’ll get to in a minute.
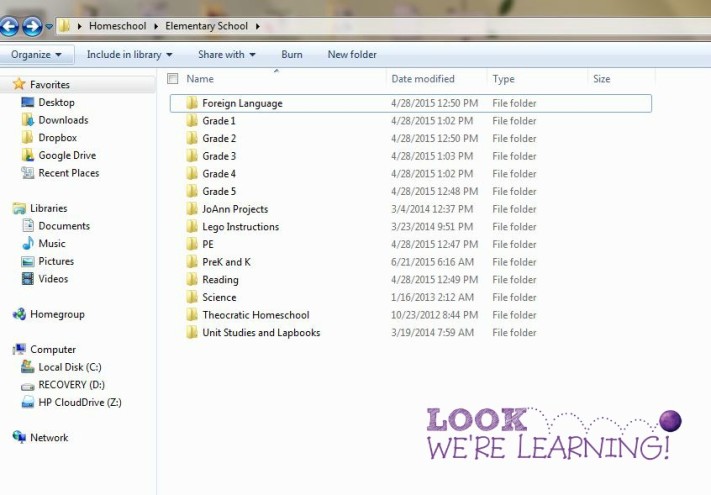
Within each “school” level, I have items separated by grade level. For example, my “Elementary” folder is organized by specific grade. Then for things that aren’t really grade specific, I have individual folders such as “Foreign Language”, “Unit Studies”, and “PE“. I also have a few general subject folders that include resources for several grades.
Within each grade-specific level, files are organized again by subject. This is a look at my second-grade folder. So when it’s time to plan second grade, which I’ll be teaching with Roo this fall, I can just browse through the folder for each subject and plan from there. Much, much better than stockpiling resources and then forgetting about them until a year or two after the grade is finished. (Been there, done that.)
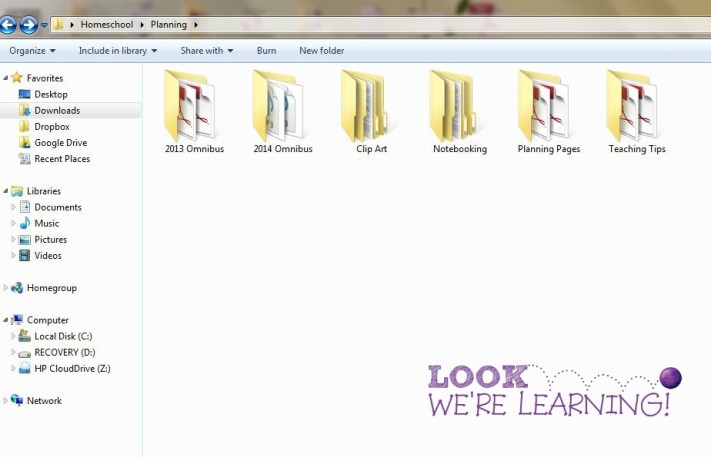
Now, my “Planning” folder is organized a bit differently. I am a total homeschool planner packrat. I have all kinds of planners on my hard drive, so they have their own folder. Then I have a folder for “Notebooking”, one for “Clip Art”, and another for “Teaching Tips”, because those make up the bulk of my downloadable resources that are not directly for the kids to use on their own.
As you can see, I also have two other folders: one for the 2013 Omnibus and another for the 2014 Omnibus from iHomeschool Network. I was thrilled to be a contributing author last year and I’m looking forward to sharing in the sale again this summer.
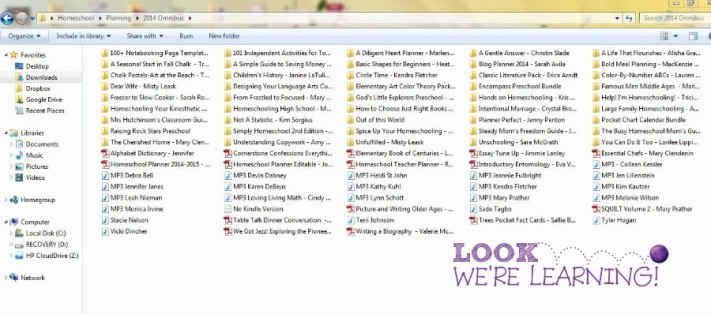
I mean, look at all those wonderful resources! Whenever I need a homeschool pick-me-up, I click open one of those folders and just read and read and read. 🙂
How I Store Digital Homeschool Resources
Of course, sorting and organizing all of my files won’t matter much if my computer crashes. So, I use a couple of methods to keep my digital homeschool resources safe.
First, I store everything on my computer and on a USB flash drive. I usually have to get one with a decent amount of memory, because I am an admitted digital curriculum hoarder. 🙂
In addition, I back everything on my computer’s hard drive up once each week onto an external hard drive. I like Seagate’s portable external hard drive, because it’s super easy to use and I can take it with me if I go out of town. (Really, it’s so easy to use that I kicked myself for not having gotten one earlier.)
And that’s how I organize digital homeschool resources! If you have any tips or suggestions to share, please do so in the comments!
Ready to get a handle on your homeschool this year? Check out these posts!
Get more tips about how to plan your homeschool on my Homeschool Planning Pinterest board!
 How I Organize Digital Homeschool Resources

How do you organize those materials that are good for a range of ages, say unit studies that are good for grades 2-6 or 2-12 as some are? Thanks!
Hi! I create separate folders by age range. So in my Unit Studies folder, I have a folder that says “Multi-Grade”. Inside the folder, I have them arranged by grade range folders (Grade PK-1), (Grade 1-3), and so on.
Thanks for stopping by!