Have you ever seen those homeschool moms who just seem to have it together? I mean, they have their lessons for the year arranged in advance, their kids’ extra-curricular activities are all planned out, and they keep monthly attendance religiously.
Yeah, I’m not one of those moms.
But, after many false starts, I’ve finally started to get the hang of that kind of homeschool organization. The key? Learning how to use a homeschool binder.

A homeschool binder is a wonderful thing, my friends. In it, I can keep all of our family’s lessons, activities, and plans organized in one place.
If you’re ready to take your homeschool organization to the next level (or just start becoming organized), read on to see how to use a homeschool binder to organize your school year!
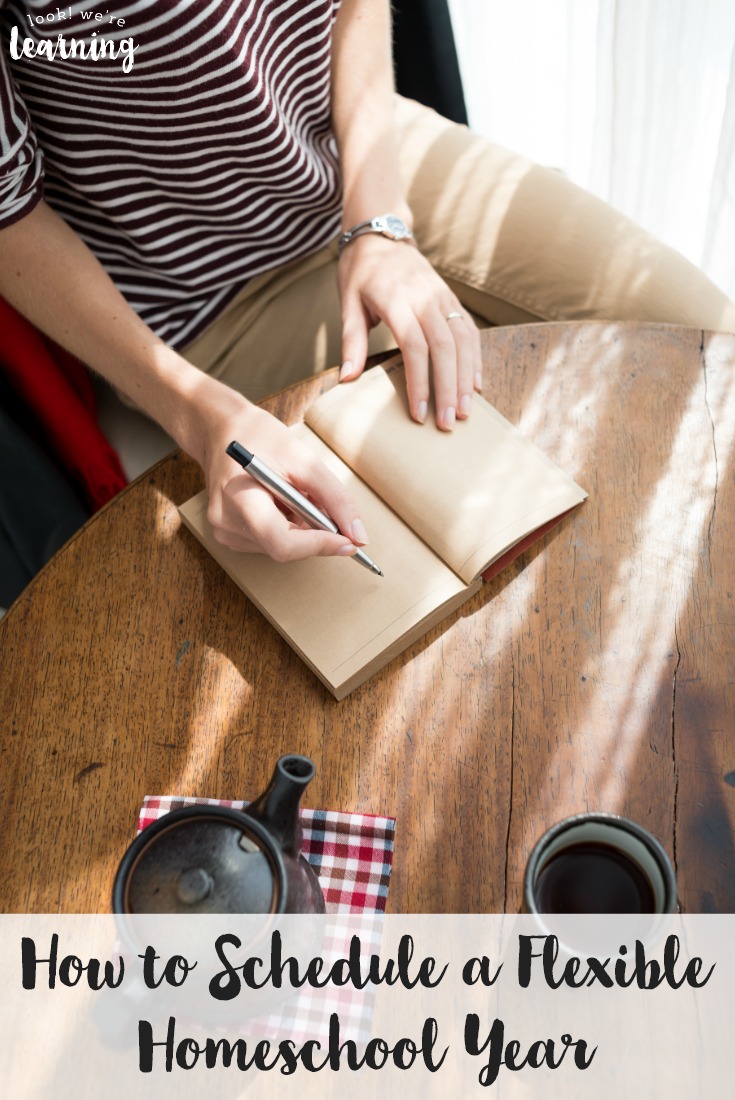
Need some tips on scaling back your lessons? Don’t miss our tips for simplified lesson planning!
Disclosure: I am a BookShark brand ambassador and am receiving free curriculum as part of my role.
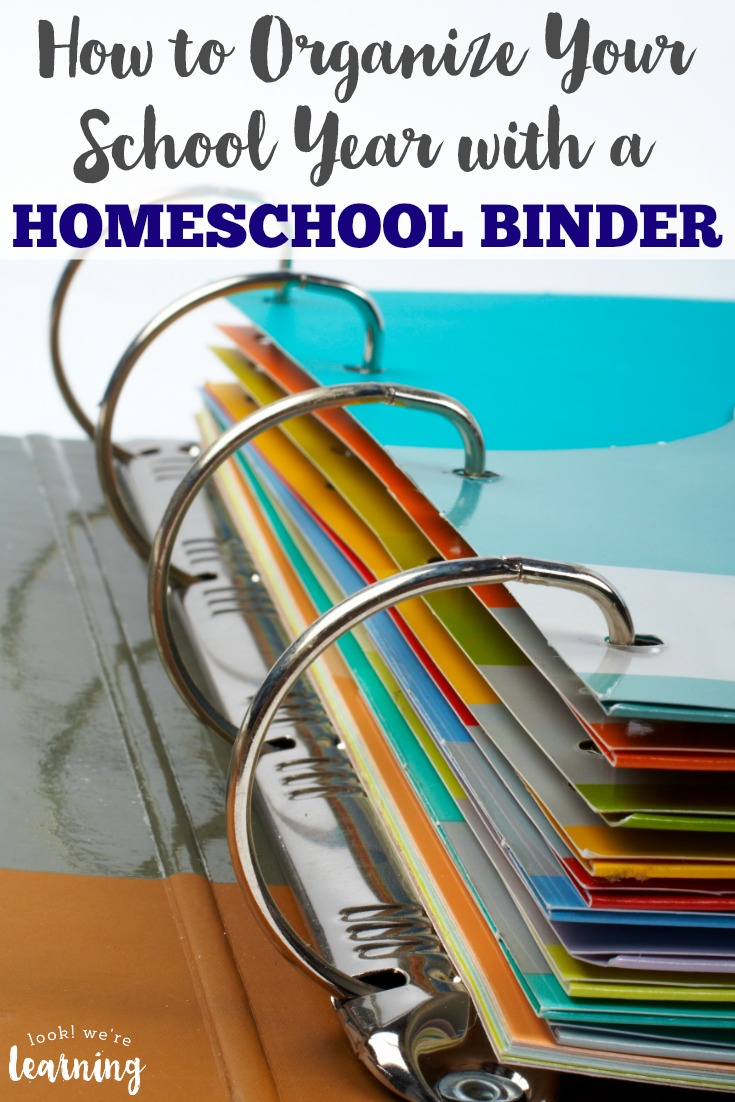
How to Use a Homeschool Binder to Organize Your School Year
Images c/o: broker / depositphotos
Gather your lesson plans.
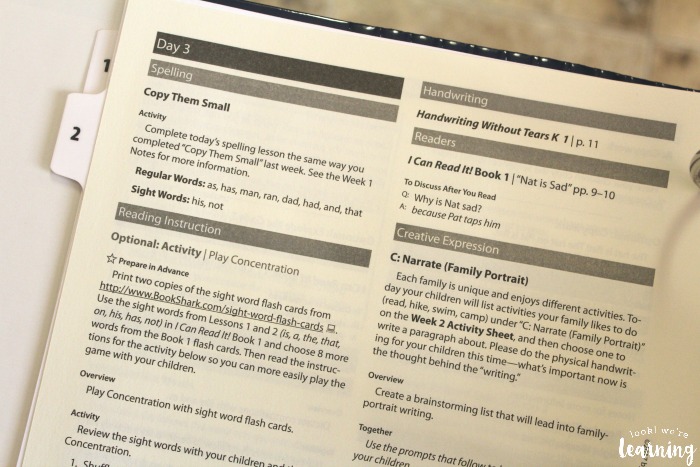
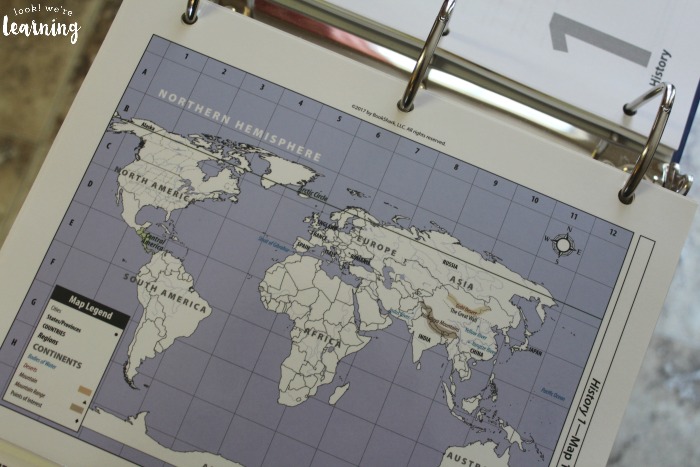
Here’s where it gets tricky for a lot of us. You have to actually have lesson plans in order to gather them. Personally, this is one of the reasons why I love BookShark. The lesson plans for the entire year are already written out. Talk about a timesaver!
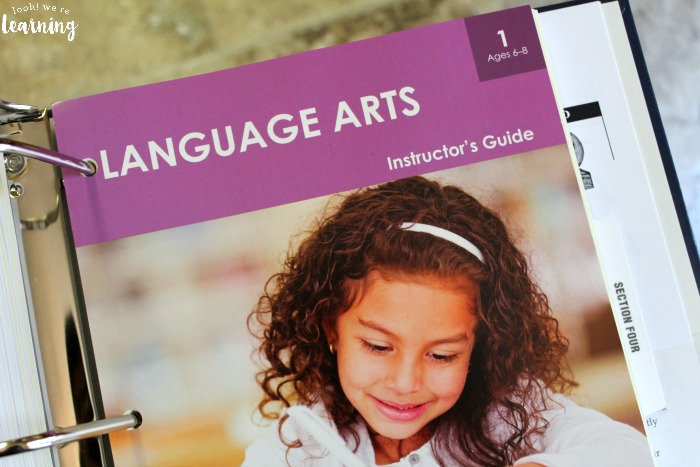
We’re using BookShark for history, science, and language arts. And all of the instructor guides include 36 weeks of lessons for each of those subjects. I just opened them and collated them by week. Done.
If you don’t have lesson plans yet, don’t worry! You can write down your yearly objectives and divide them up into weeks. As you gather resources, you can add to those notes.
Create sections for each part of your school year.
Use tabbed dividers to section up your lesson plans. You can separate them by subject or by a timeframe (weekly, monthly, quarter, etc.) I find it easiest to keep all the lessons for each subject together by week. That way, I can just pull out the week’s lessons and get started.
On the other hand, if you complete monthly evaluations or quarterly progress reports, you might want to section your lessons by the month or the quarter.
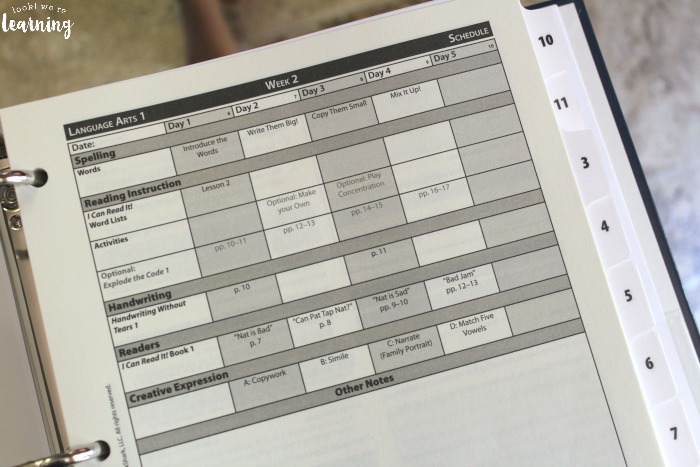
BookShark makes it easy for parents to know what to do each week, because the lesson plans instruct you as to which resource to use and when. But you can always adjust each lesson as you see fit.
Add supplemental resources.
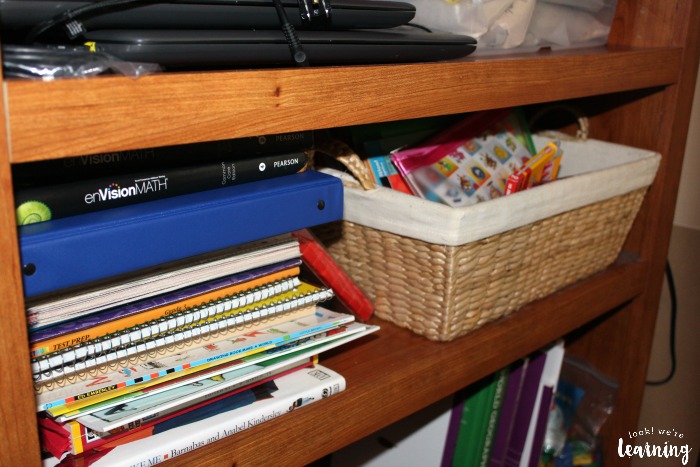
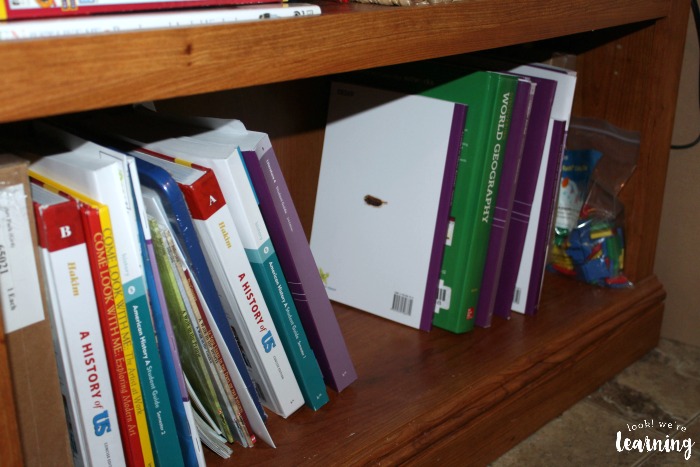
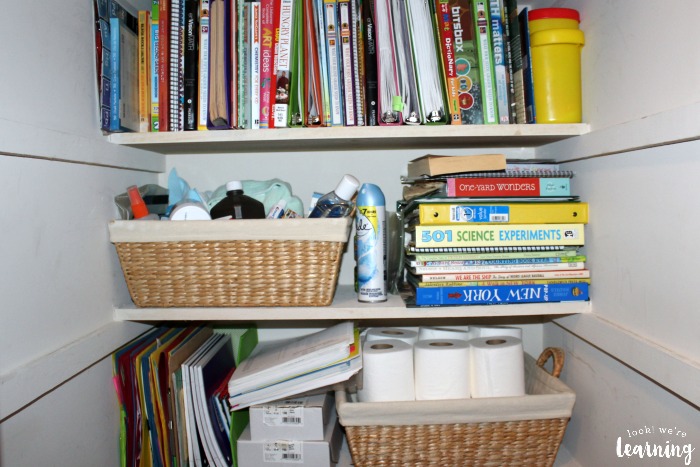
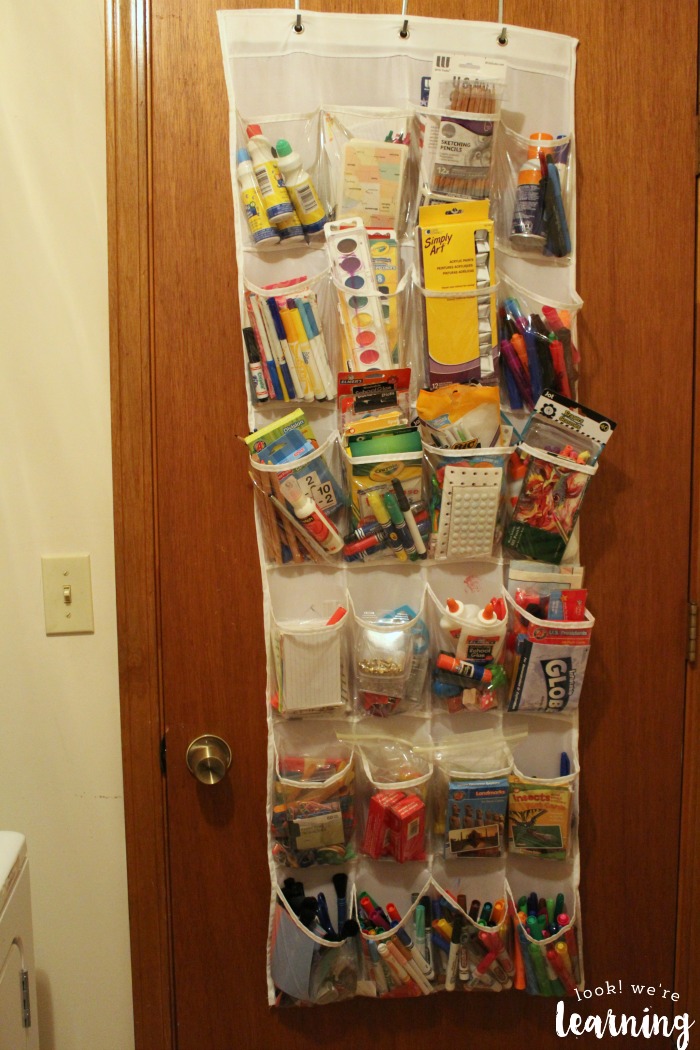
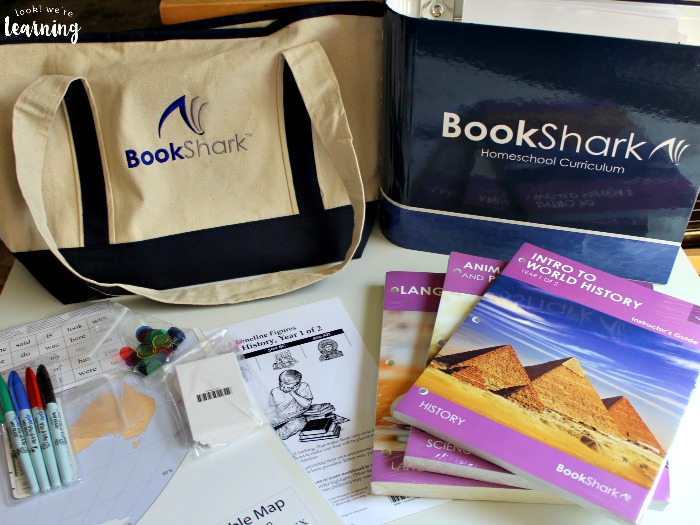
As homeschoolers, we tend to use supplemental resources during the year. A LOT of them. We might have book lists, curriculum guides, unit study ideas, and more that we want to keep up with as we go through the year. I like using a huge three-ring binder, so that I can keep all those things together in the back of my homeschool binder.
My BookShark binder is plenty big and comes with a handy carrying bag, so I can plan lessons on the go. Bonus!
You can always move your individual resources to the specific subject section or timeframe section in which they fit best. But I like to keep mine in the back in a reference section. Whatever works, right?
Do you use a homeschool binder to organize your school year? How do you make it work for your family? Share your experiences in the comments!
Check out these other tips for planning your homeschool!

See more ways to organize your homeschool year on my Homeschool Planning Pinterest board!