Have you ever gone on a craft supply shopping spree? And then realized that you have way too much of something?
I have.
When we first moved into our present house, I learned about a simple way to add color to your bedroom walls – scrapbook paper!
Naturally, I bought tons of it.
Which left me with packs and packs of scrapbook paper to do…something with.
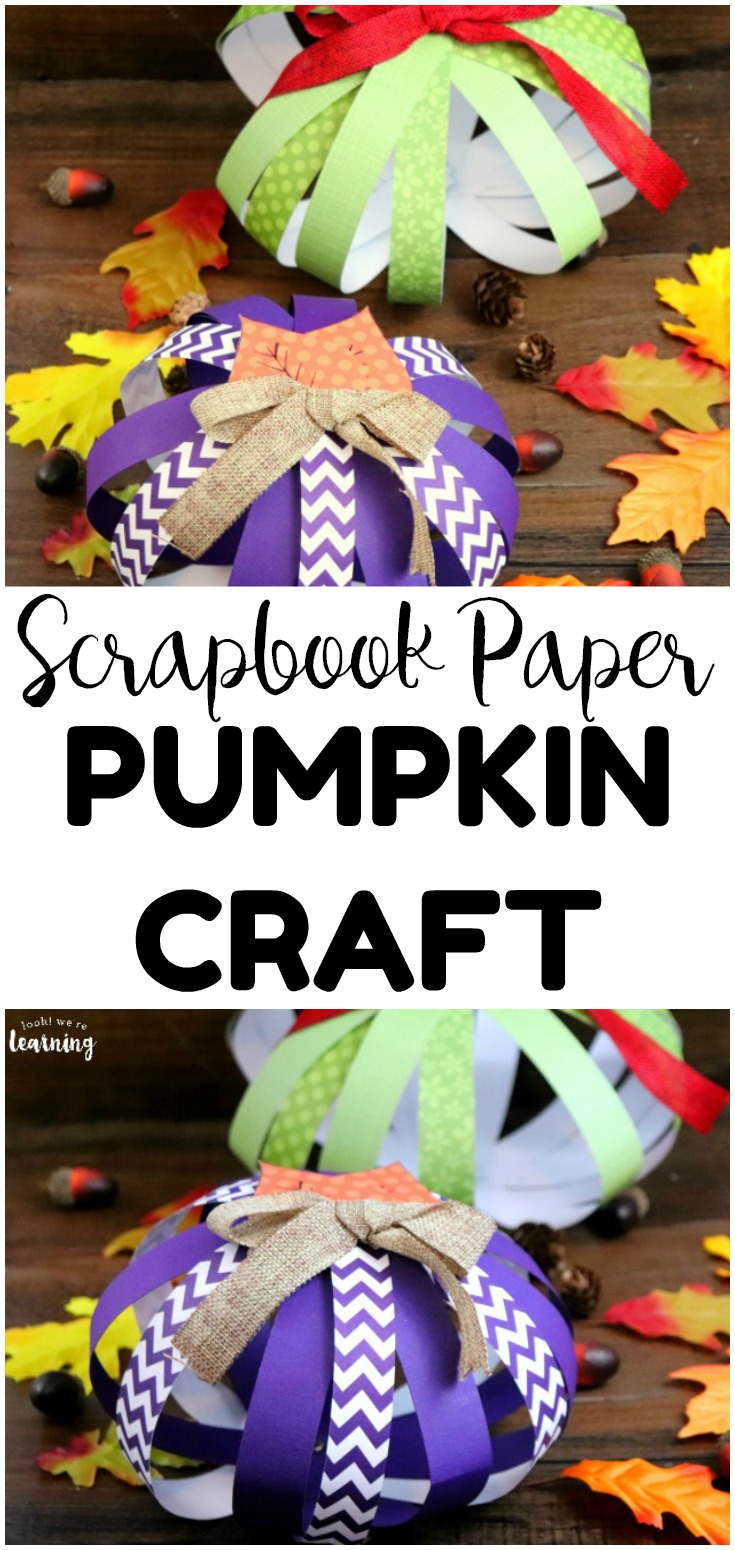
Enter this easy scrapbook paper pumpkin craft!
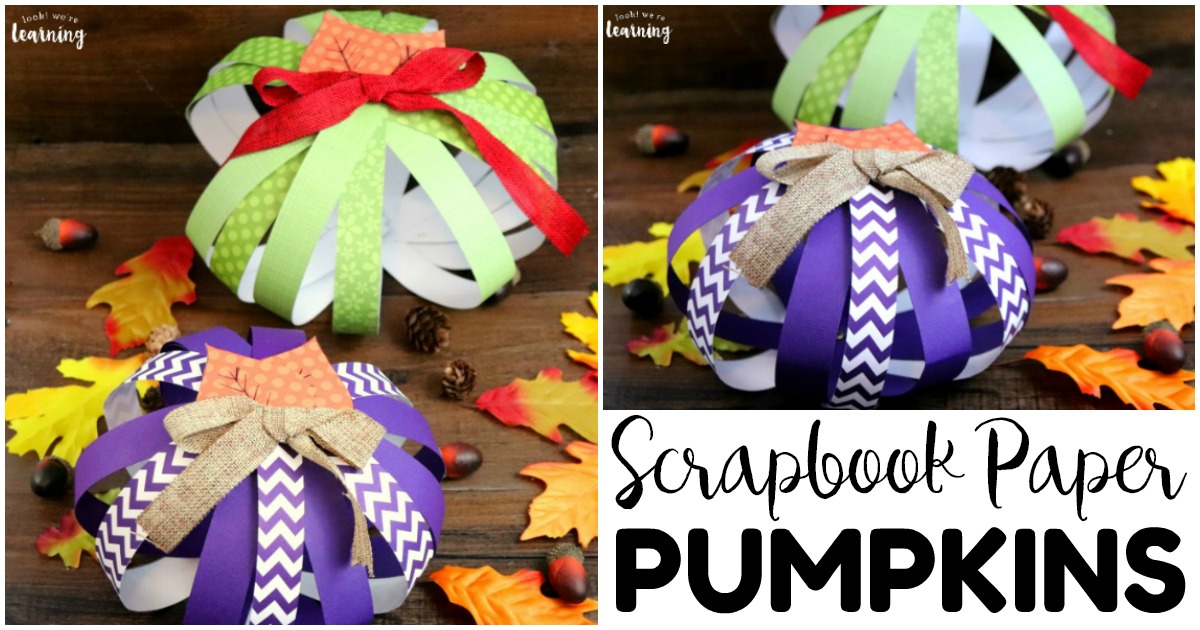
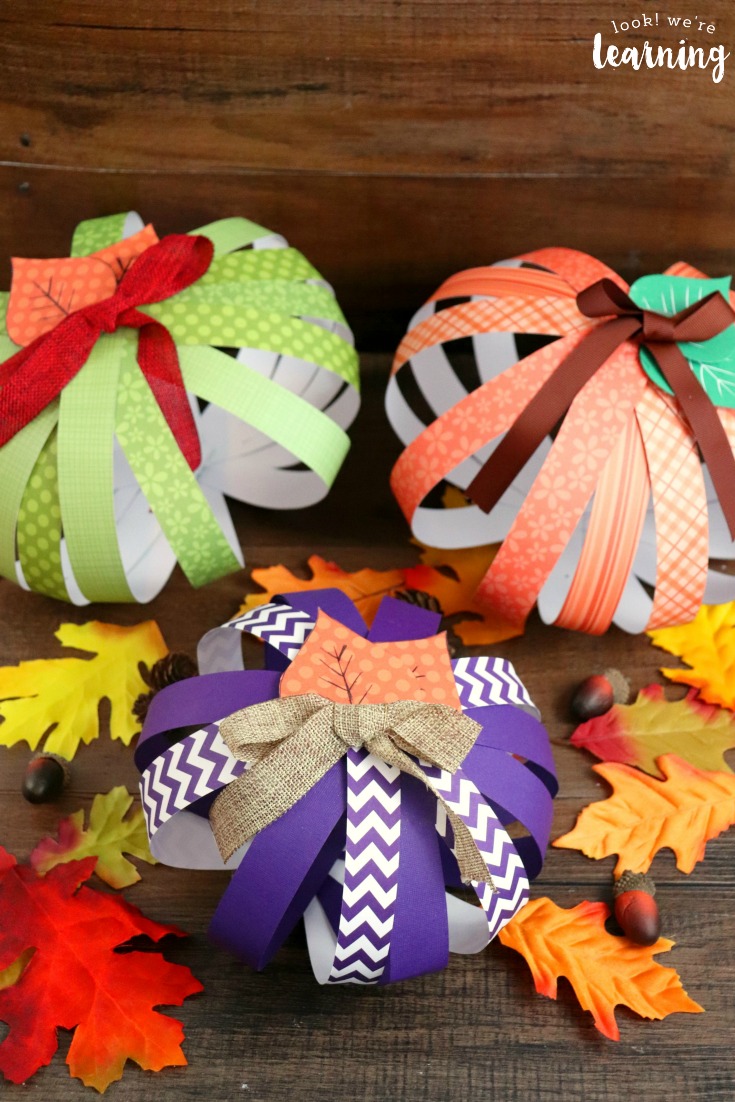
If you’re looking for a simple way to add easy fall decor to your home or classroom, these scrapbook paper pumpkins are perfect!
And they’re simple enough that kids can help you make them!
Get the full project instructions below!
And for more pumpkin-themed activities, take a look at our Pumpkin Size Sorting Game and our Pumpkin Pie Fraction Clip Cards!
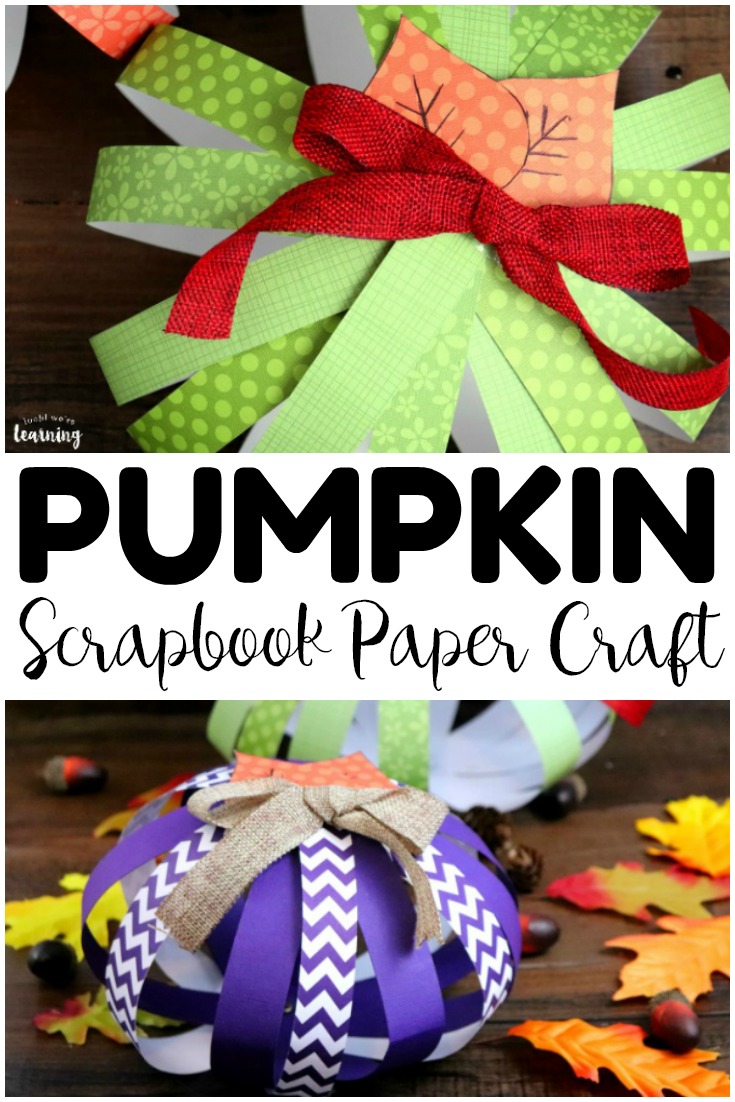
Easy Scrapbook Paper Pumpkin Craft
What I love about this simple paper pumpkin craft is that you probably already have everything you need to make it.
But if you’re not a craft supply hoarder (like…ahem…someone I know), here’s a list of what you’ll need to make a paper pumpkin craft.
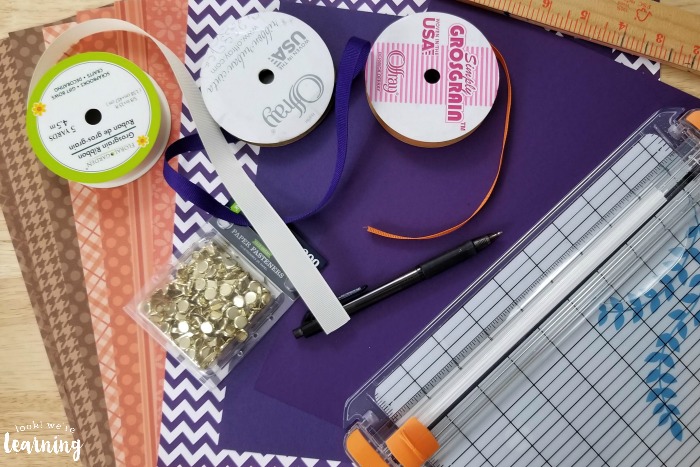
To make this scrapbook paper pumpkin craft, you’ll need the following: (This post contains affiliate links. For details, see our Disclosure Policy.)
- 2-3 sheets of autumn-themed scrapbook paper or patterned cardstock in complimentary colors/patterns
- Brass paper fasteners
- Hole punch
- Scissors or a paper cutter
- Ruler or yardstick
- Pen or pencil
- Leaf template (I made this free download) or you can buy these leaf tags on Amazon
- Ribbon in complimentary colors/patterns
- Beads, buttons, or other decorative accessories
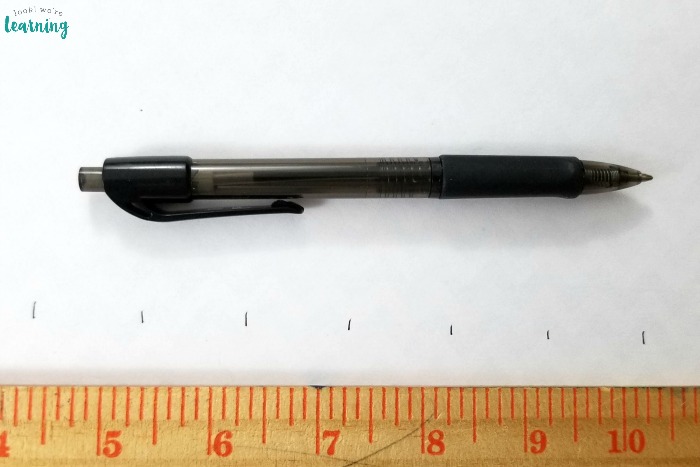
Using a ruler or yardstick and pen or pencil, measure and mark 1-inch increments across a piece of scrapbook paper, about two inches from the edge.
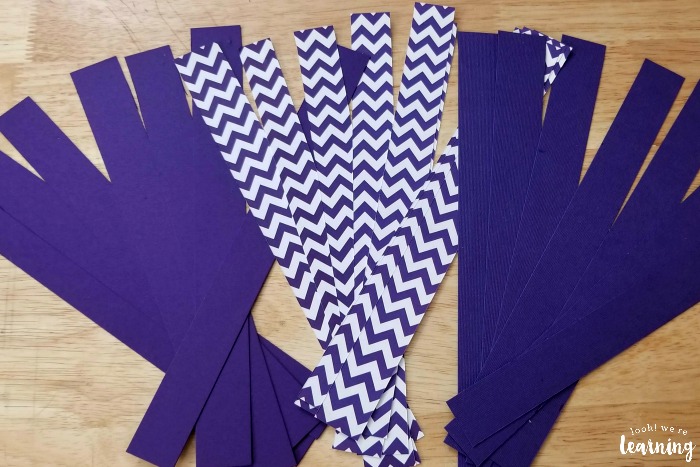
Repeat about 3/4 of the way above the first set of marks. Connect the lines and cut.
If you have a paper cutter, you can use this instead.

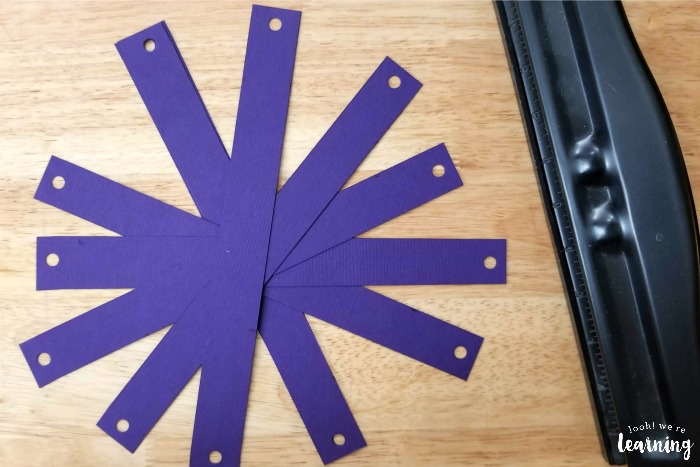
Approximately 1/4” from the end of the strip, punch a hole in each end of the strip.
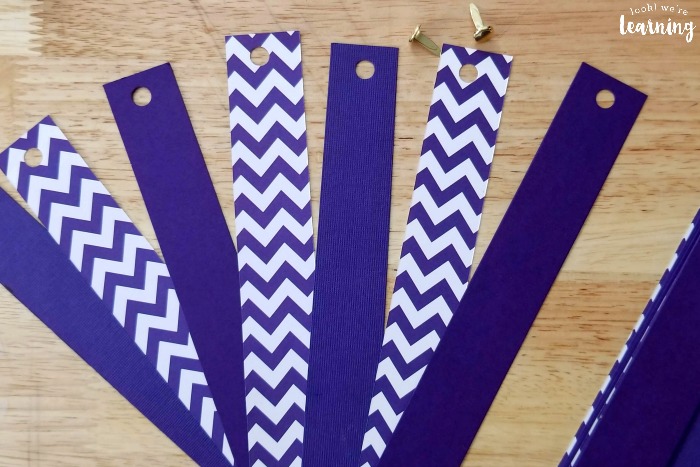
Repeat until all strips have holes in both ends.
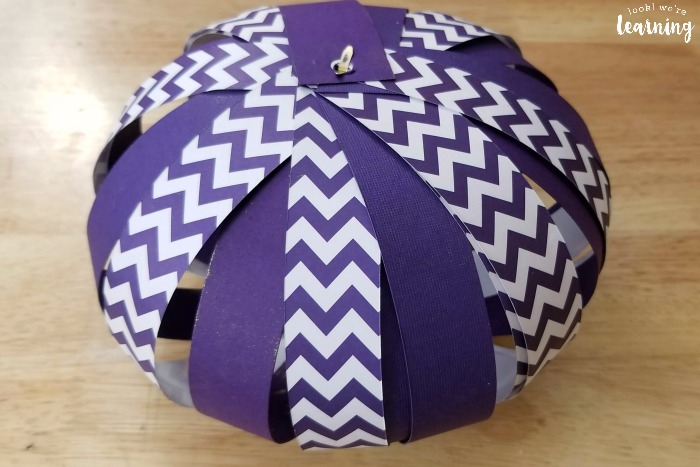
Place the cut pieces of paper in the order of pattern/color you want. Line up the holes and place a brass paper fastener in one end.
Place a brass paper fastener in the other end. Fan out the pieces to fashion it after a pumpkin.
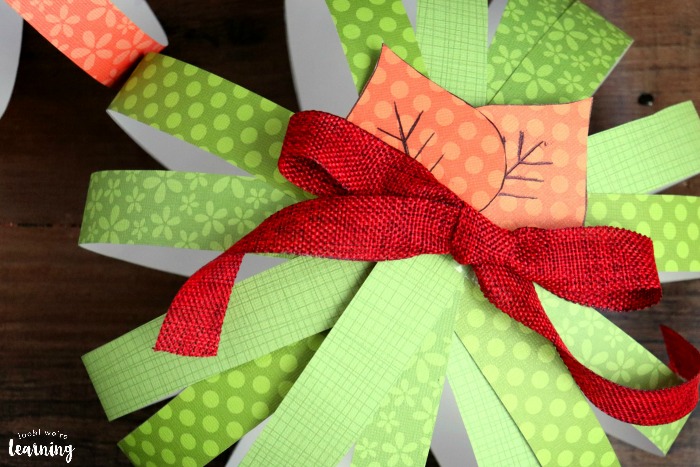
Print out the template and cut out the leaves. Trace the leaf outlines onto a piece of scrapbook paper and cut them out.
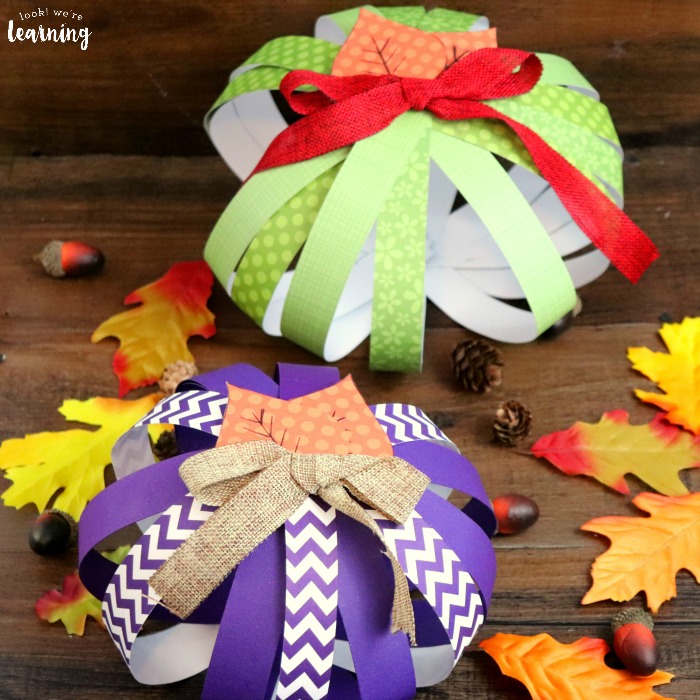
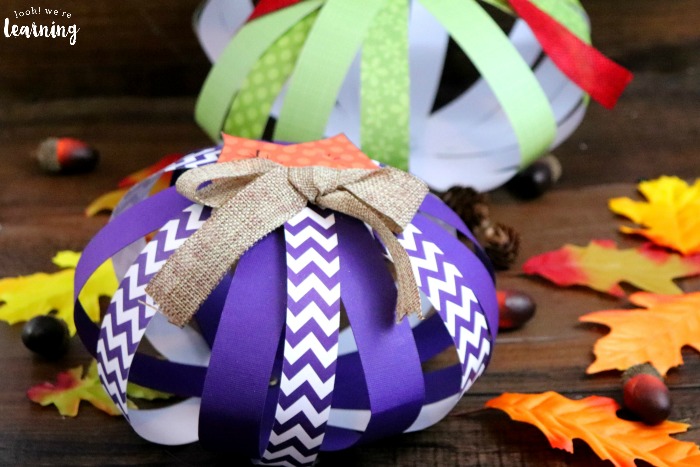
Tape or glue the paper leaves to the top of the pumpkin. Add ribbons, buttons or any other decorations you’d like.
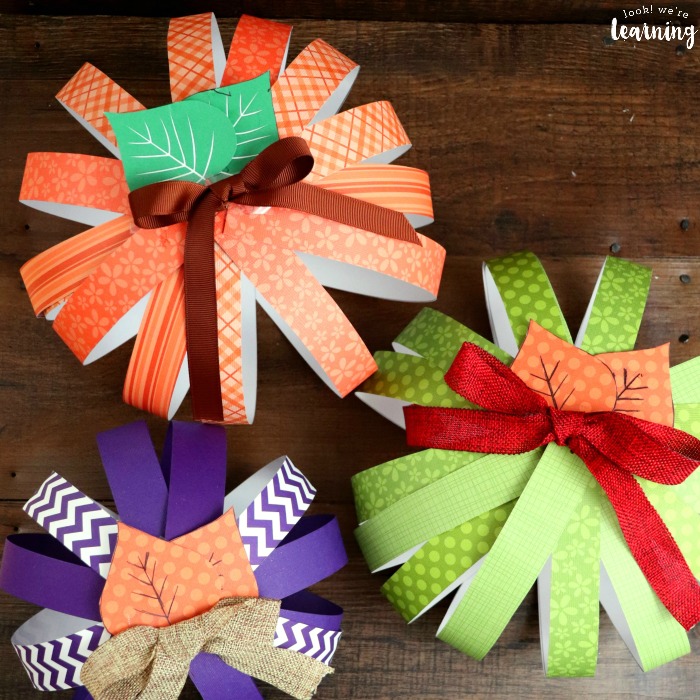
Ta-da! We’re all done!
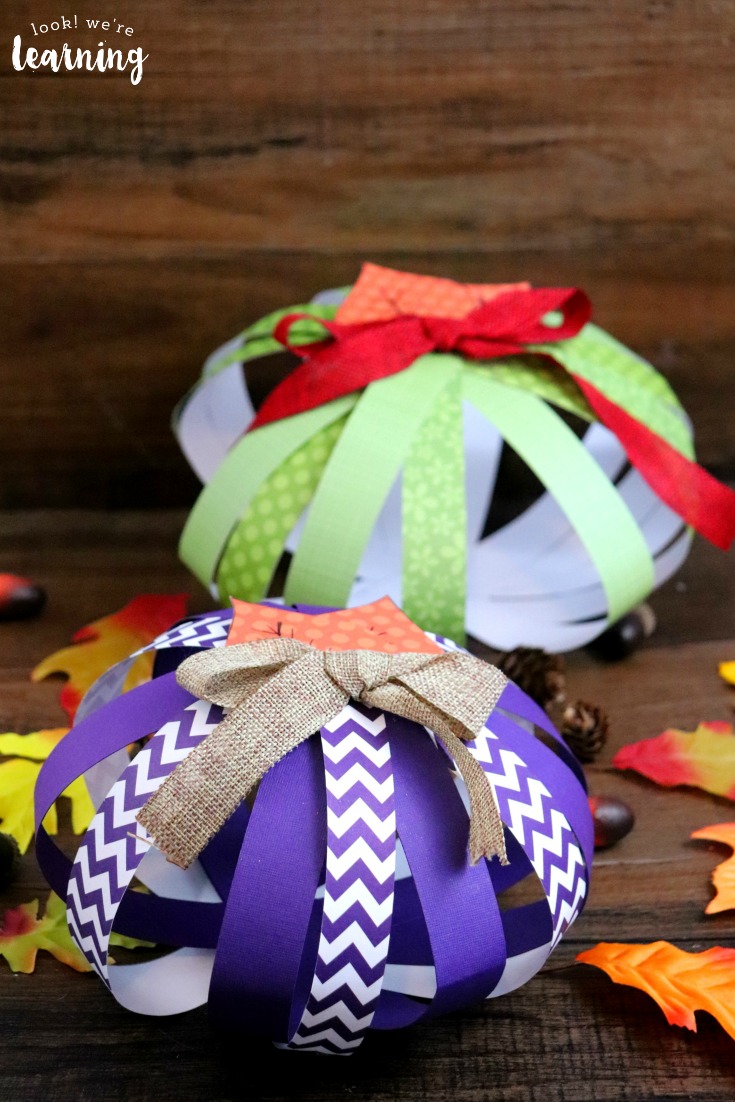
Make your scrapbook paper pumpkins in several colors and place them everywhere: on the mantle, on a coffee table, or even hang them over a window!
In a classroom, you might want to tape a few around the whiteboard or on the corner of your desk.
Let the kids make one and place them on their desks too!
Don’t miss these other fall themed crafts!
See more ways to make the most of autumn on my Fall Activities for Kids Pinterest board!

Leave a Reply