When you’re working on a fall theme with kids, there are so many ideas for cute fall crafts out there.
But it’s always good to try to include an early learning concept or two. That way, you can spend time crafting and practicing a skill kids need in the early years.
This paper scarecrow shape craft does both!
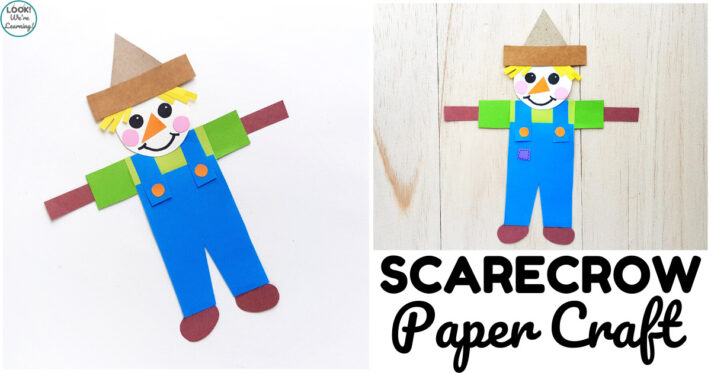
Use this simple fall shape craft to practice fine motor skills such as tracing, cutting, and gluing.
Plus, you can use it to identify basic plane shapes as you go along!
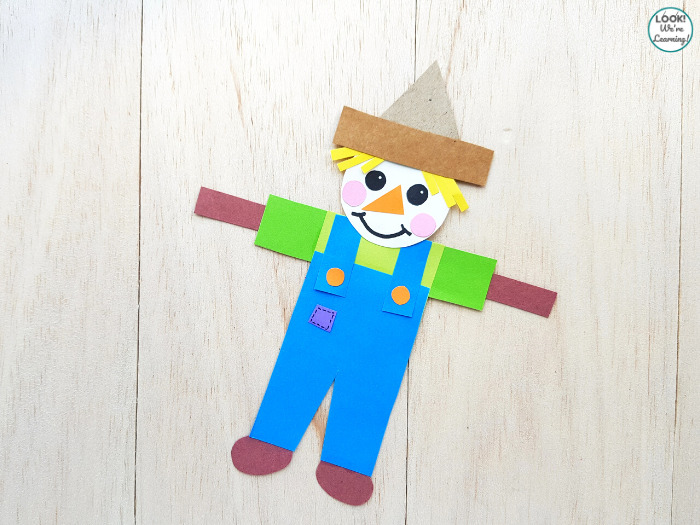
Read on to get the printable template and to see the full instructions.
And, for more fun with fall shapes, take a look at our Apple Shape Tracing Activity for early learners!
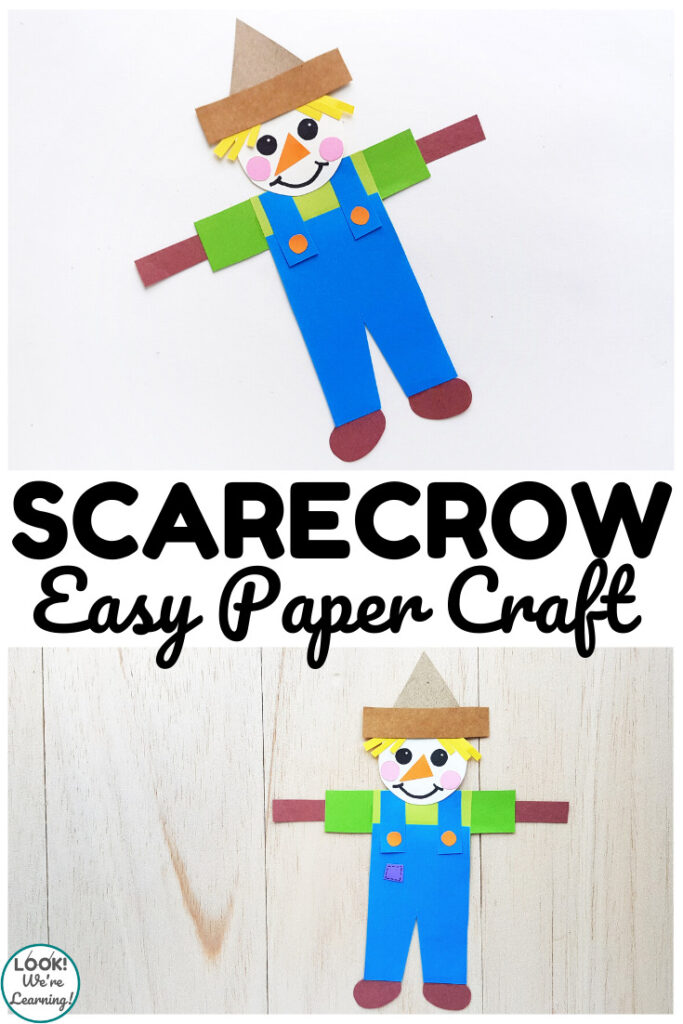
Easy Paper Scarecrow Shape Craft for Kids
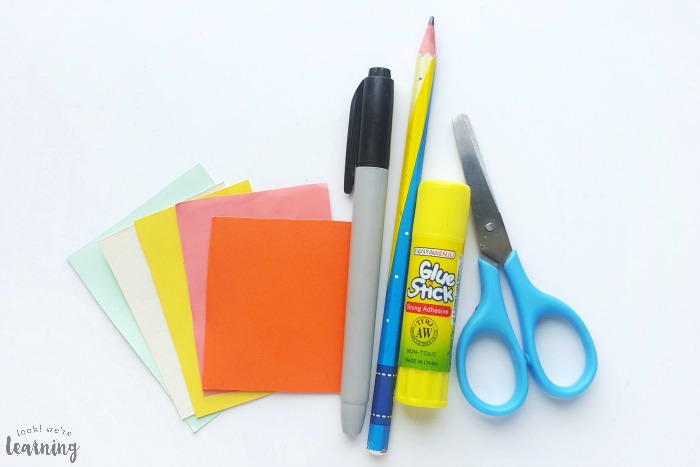
To make this easy paper scarecrow shape craft for kids, you’ll need the following: (Affiliate links are listed below. For details, see our Disclosure Policy.)
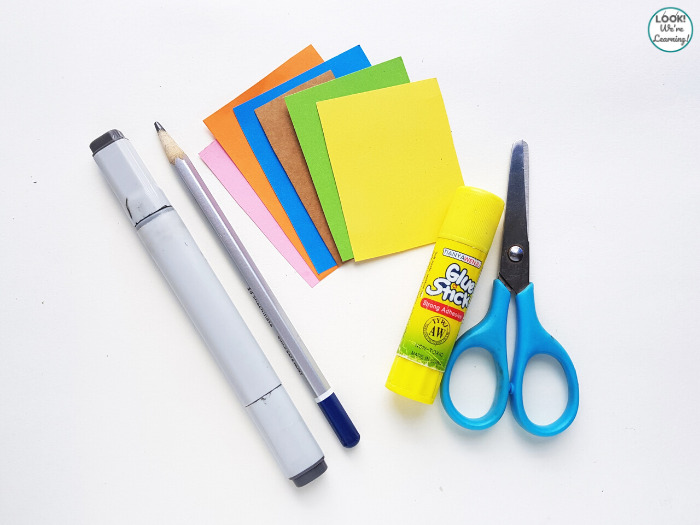
Start by printing the scarecrow shape craft template. Then use scissors to cut out all of the shape pieces.
You may want to keep them separated according to the part of the scarecrow to which they belong.
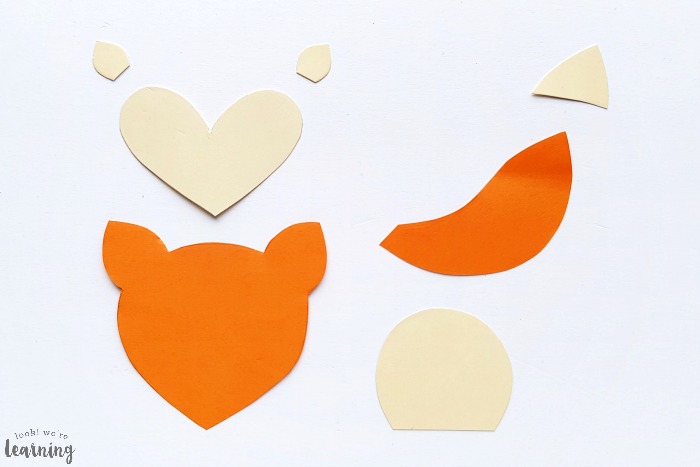
Help your child use a pencil to trace the shape pieces onto colorful craft paper. (Use any colors you like.) Then cut out each piece.
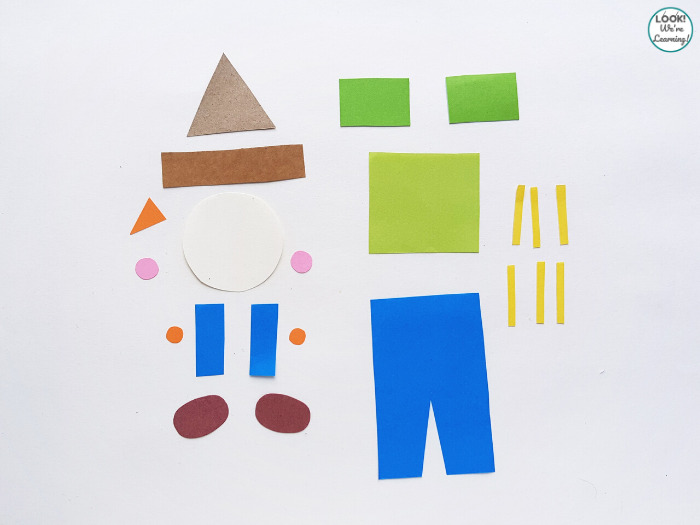
As you can see, each of the pieces (except for the pants) for this scarecrow shape craft are basic plane shapes.
Take this moment to ask the child to identify as many as they can. Ask: “How many circles do you see? How many ovals? How many rectangles?”, and so on.
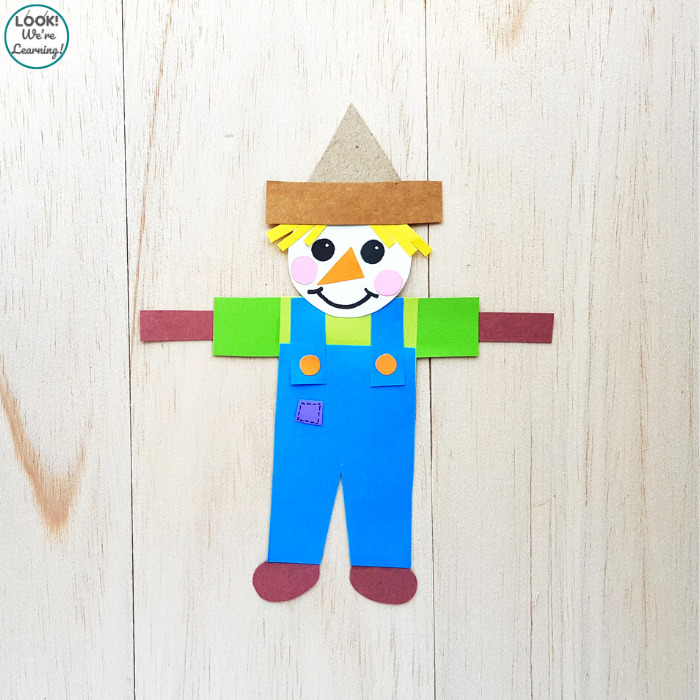
While you work through the craft, direct your child to the next step by asking: “Can you find the white circle?” “Can you find the blue rectangles?”
This will give you a chance to practice both color and shape recognition while working on the craft together.

How to Make a Scarecrow Shape Craft with Kids
Now it’s time to get started making the shape scarecrow craft!
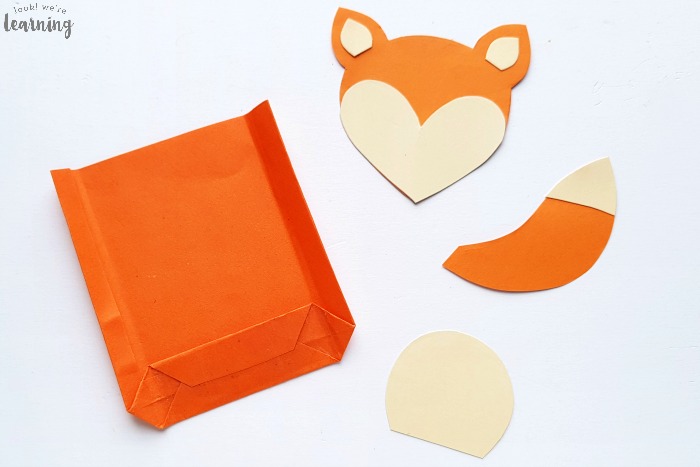
Put the shirt together first. Glue the two small rectangles onto the back of each side of the large square. Make sure the sleeves are sticking out.
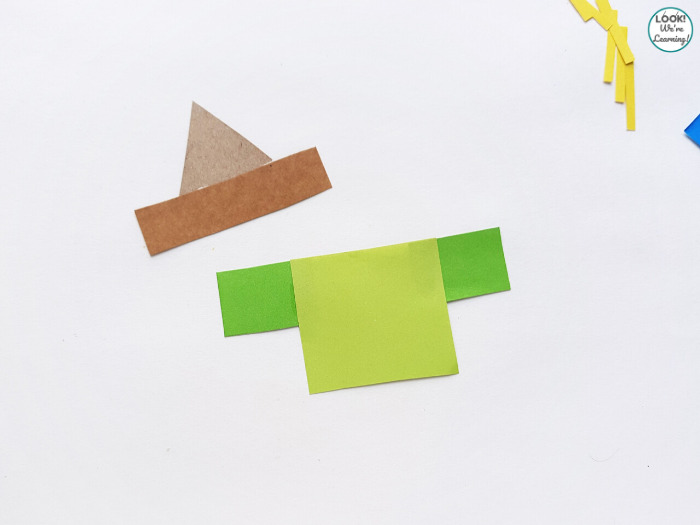
Then glue the rectangle onto the front of the bottom of the triangle to form the scarecrow’s hat.
Turn both the shirt and hat pieces over. Now it’s time to make the scarecrow’s head.
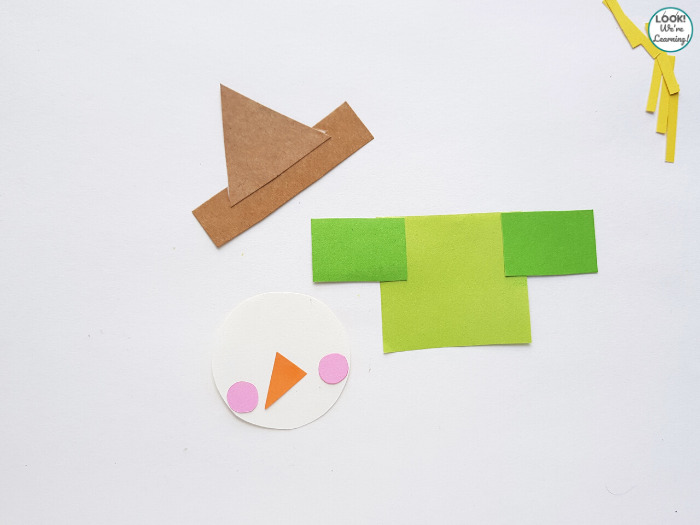
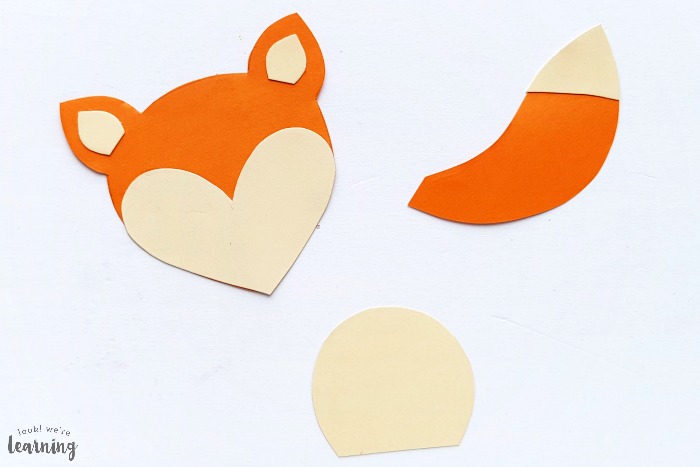
Glue the triangle nose into the center of the face circle. Make sure the point of the nose is down and at an angle.
Glue the cheek circles on each side of the lower half of the face. You’ll want them to be slightly lower than the triangle nose.
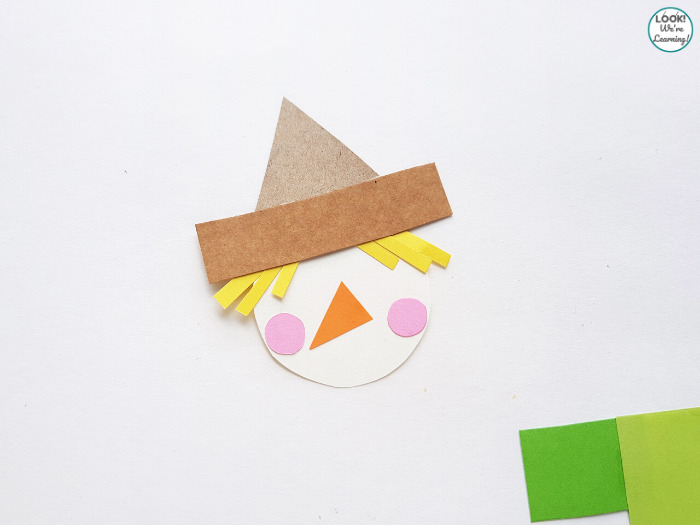
The thin yellow rectangles form the scarecrow’s hair. Glue them to the top of the face, dividing them evenly on each side.
Then glue the hat onto the top of the circle so that it rests over the hair.
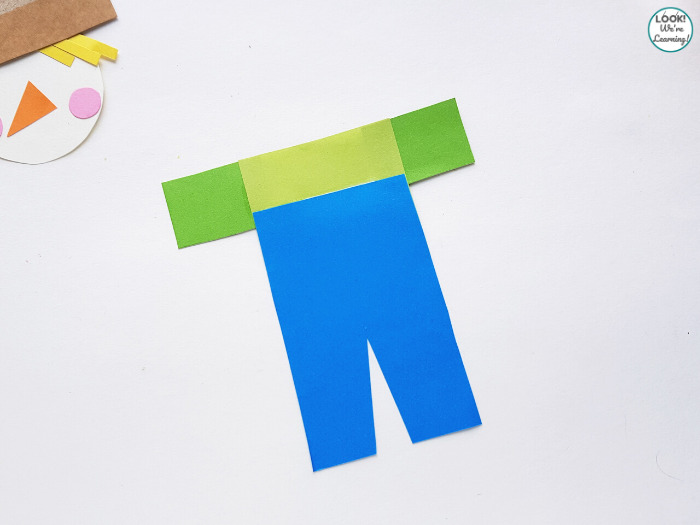
The shirt piece should still be flipped over.
Use a glue stick to attach the pants onto the bottom edge. Then turn the pants and shirt over.
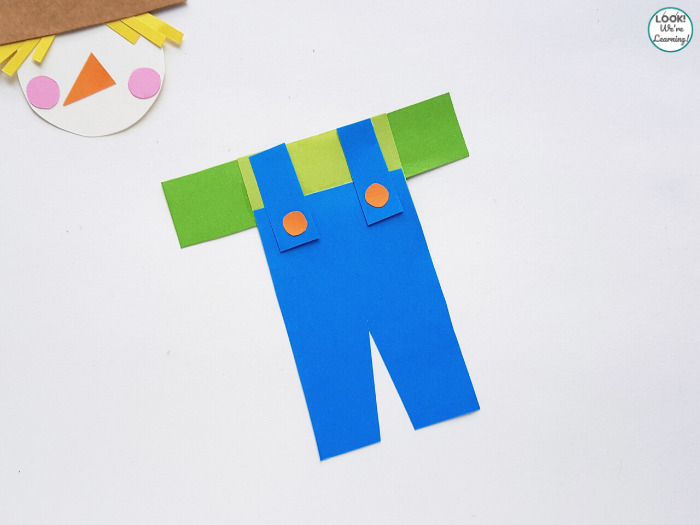
Glue the small overall circles onto the small rectangles to form the straps of the scarecrow’s overalls.
Glue both of the straps onto the front of the shirt and pants. The scarecrow’s overalls are complete!
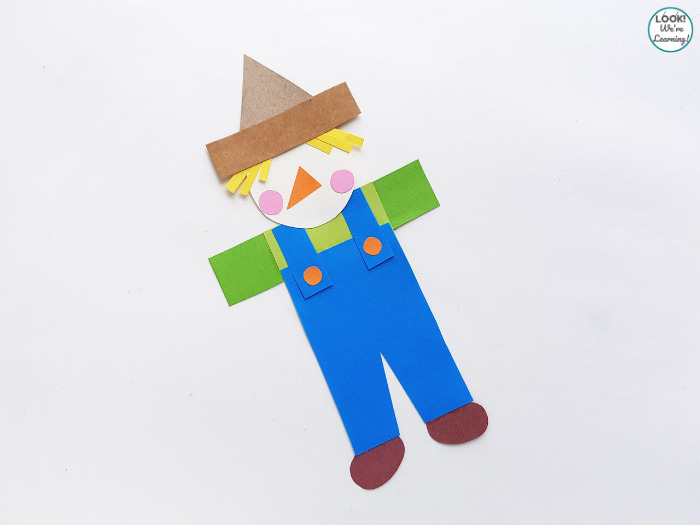
All that’s left now is to add the shoes.
Glue the two small ovals onto the bottom of each of the overall pant legs.
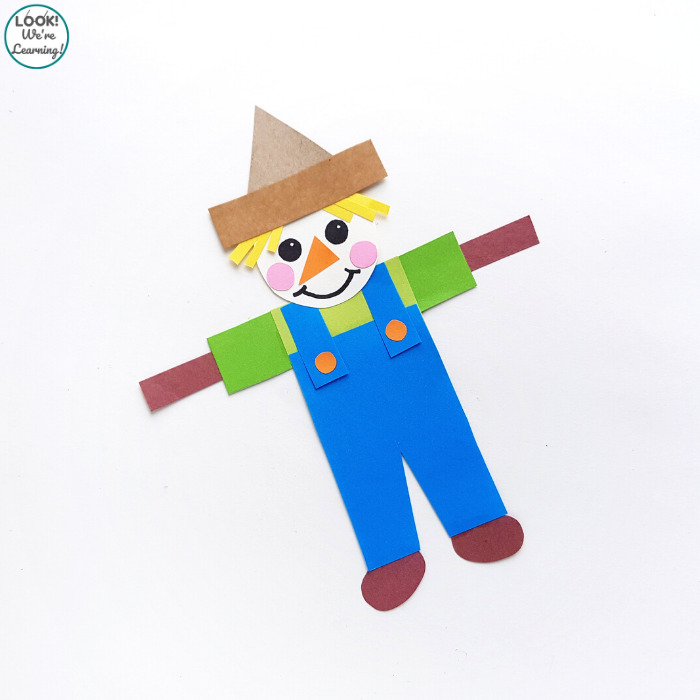
Glue the two medium-sized rectangles onto the end of each shirt sleeve to form the scarecrow’s arms.
Finally, use a marker to draw eyes and a smile on the face and you’re done!
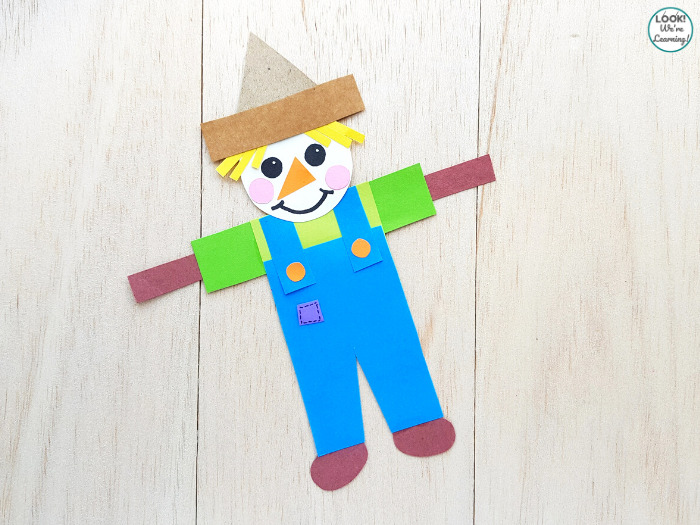
If you like, you can add a small patch to the front of the overalls too.
This scarecrow shape craft is an excellent fall fine motor skill builder! Use it to talk about farms, basic shapes, and to practice following directions with little ones.
Did you like making this easy fall shape craft? See more fun fall activities for kids below!
