Ahoy mateys!
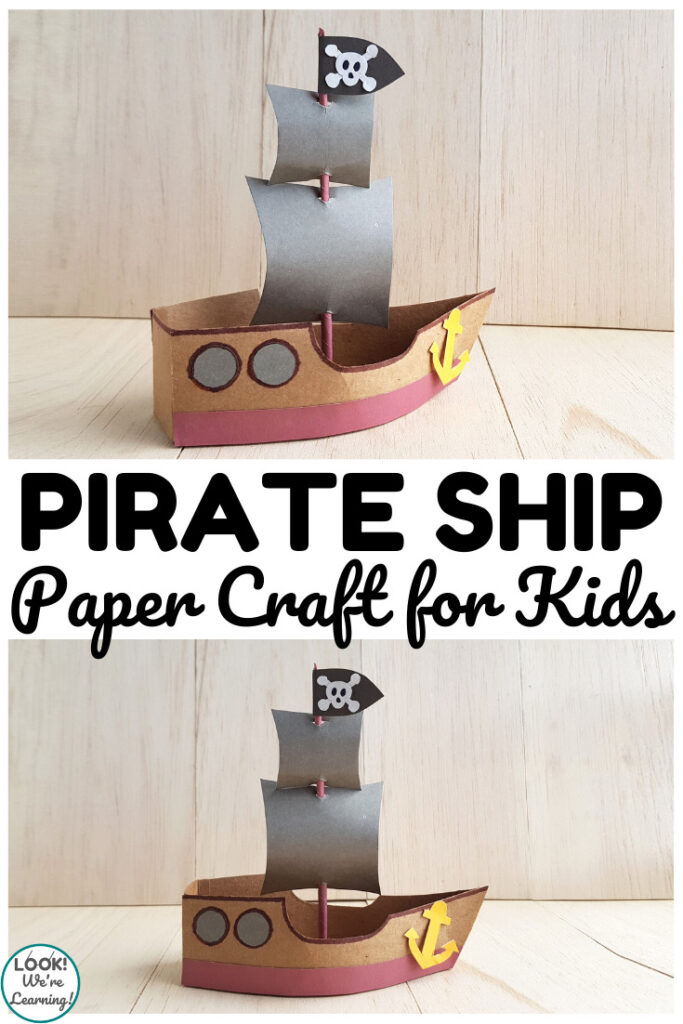
Do you have kids or students who are fans of all things pirate? Then this fun paper pirate ship craft for kids is for you!
Pirates have been an object of fascination for centuries. When I was young, I was interested to learn about the adventures of Long John Silver, Blackbeard (Edward Teague), and more.
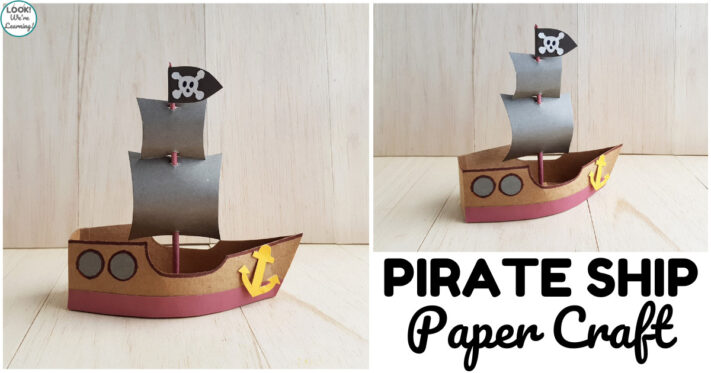
If you’re covering a pirate unit, this is a perfect pirate craft to add for art time!
Read on to get the printable template and make this pirate ship for kids yourself.
And, for more fun with a pirate theme, keep reading to check out our printable pirate counting to ten puzzles!
What Supplies Do You Need to Make a Paper Pirate Ship Craft?
To make this paper pirate ship craft, you’ll need the following: (This post contains affiliate links. For details, see our Disclosure Policy.)
- Colored craft paper
- Brown cardstock
- Craft glue
- Pencil
- Scissors
- Washable markers (optional)
- Printable pirate ship craft template (Get it >> HERE <<)
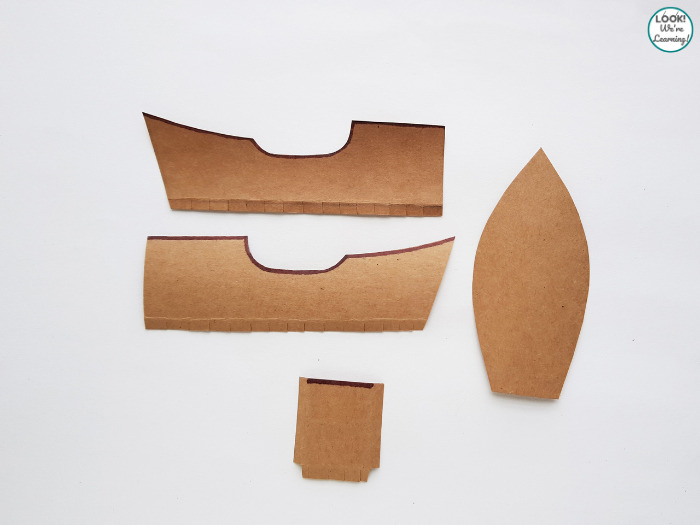
Start by printing out the pirate ship template. Cut out the individual ship pieces and trace the ship’s parts onto the cardstock.
Cut out all of the cardstock ship parts. Take note of the yellow lines on the ship template pieces. You’ll use those to trace fold lines on the ship sides in a few minutes.
The sails, flag, and mast are made with craft paper, which is thinner than cardstock. Trace those pieces onto colored craft paper and cut them out.

How to Make a Paper Pirate Ship Craft
Now that all the pirate ship craft supplies are ready, we can get to work.
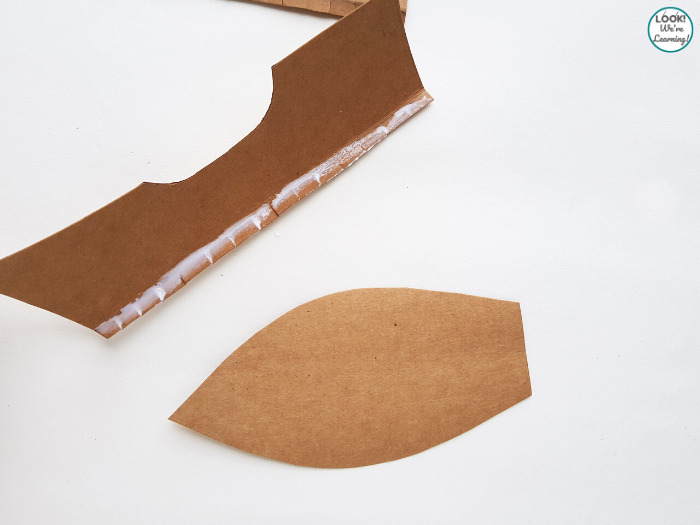
If you haven’t traced the yellow fold line onto the ship sides, do that now.
Fold creases along the yellow lines. Use scissors to cut vertical slits along the bottom edge of the ship’s sides – up to the folded crease.
Then spread glue along the folded part of one of the ship’s sides.
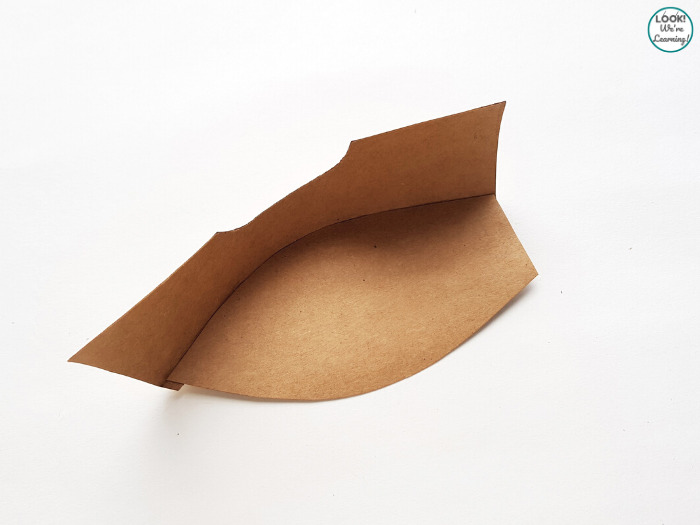
Attach the ship’s base by pressing one side onto the folded glue edge of the ship’s side.
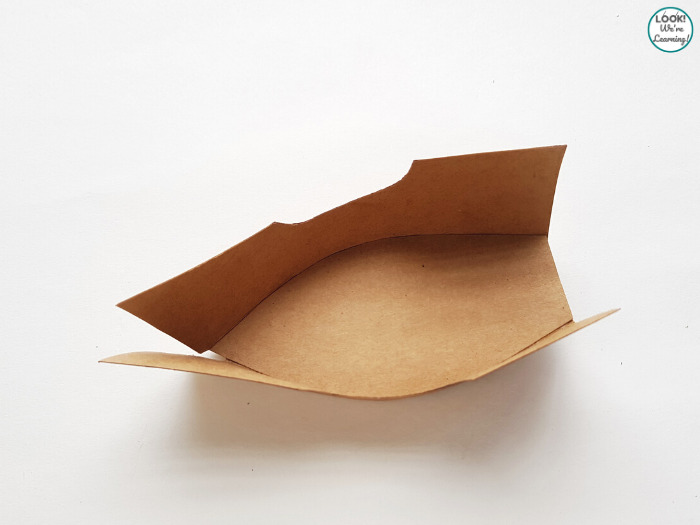
Repeat this step on the other side.
Fold a crease along the fold line, cut vertical slits up to the fold line, and add glue. Press the other side of the base firmly onto the glue to stick it in place.
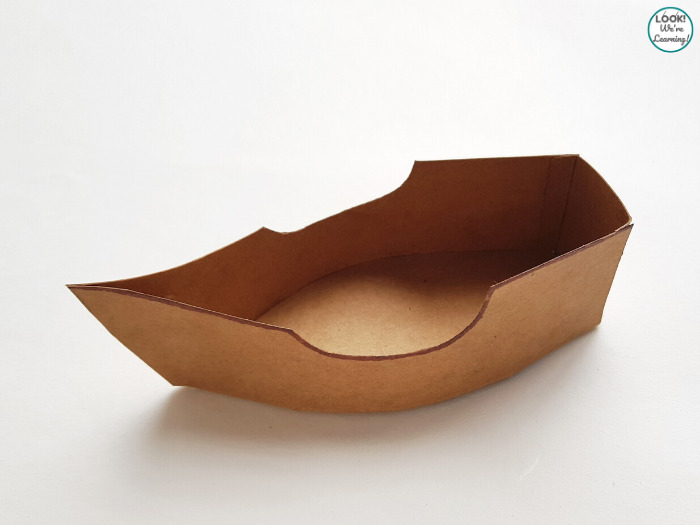
Now, bring the front edges of the ship together.
Spread glue between the two sides at the front edge and press them together to secure the front.
Attach the back piece by folding along the crease line and gluing the folded edges onto the back ends of the ship’s sides.
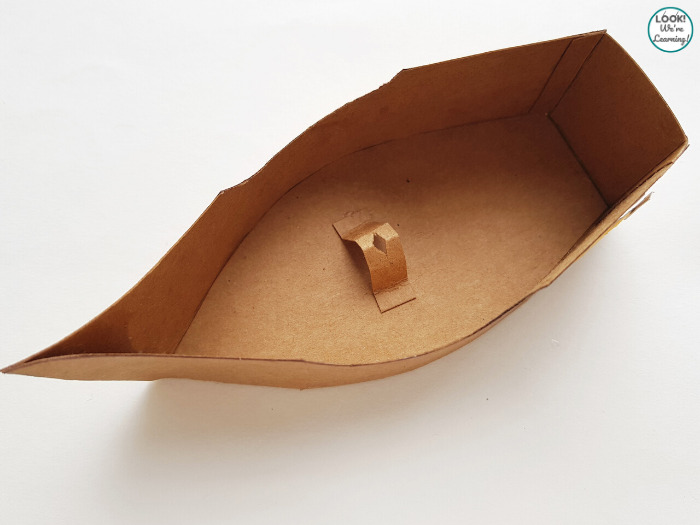
It’s time to get ready to raise the flag!
Cut out the mast base template and trace it onto cardstock. Trace the fold lines onto the cardstock and fold creases along the lines.
Make a small hole in the center of the mast base.
Spread glue along the folded ends and press the ends down in the center of the pirate ship’s base. Keep the center raised.
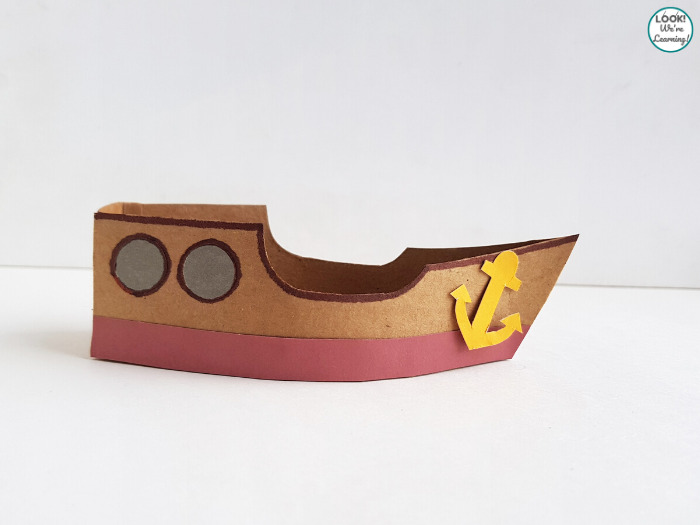
Trace the anchor onto a contrasting piece of colored cardstock and cut it out. Glue it onto the front end of one of the ship’s sides.
Trace the window circles onto colored craft paper and glue them onto the back end of the ship’s sides. You may want to trace around them with marker.
If you like, add a contrasting border along the bottom with colored craft paper.
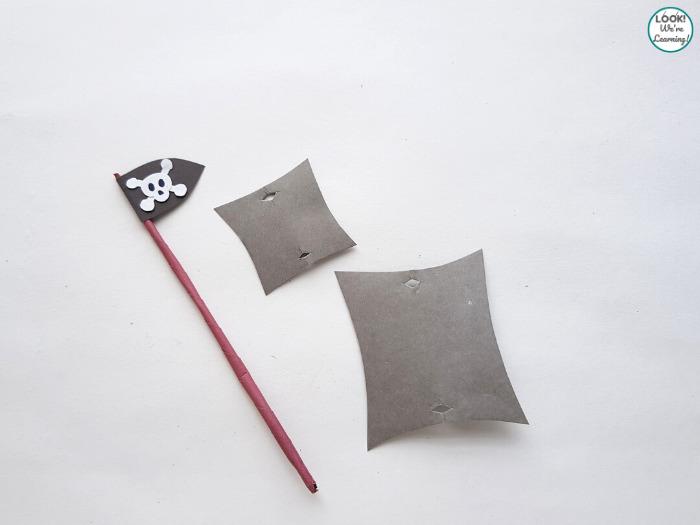
Time to work on the flag and the sails!
Trace the sails, flag, and mast template pieces onto colored craft paper. Cut them out.
Punch holes in the center of the top and bottom edges of the sails. Use glue to attach the skull and crossbones pieces onto the flag.
Roll the mast piece tightly into a vertical tube. Use glue to secure the edges tightly, forming the mast. Attach the pirate flag to the top with glue.
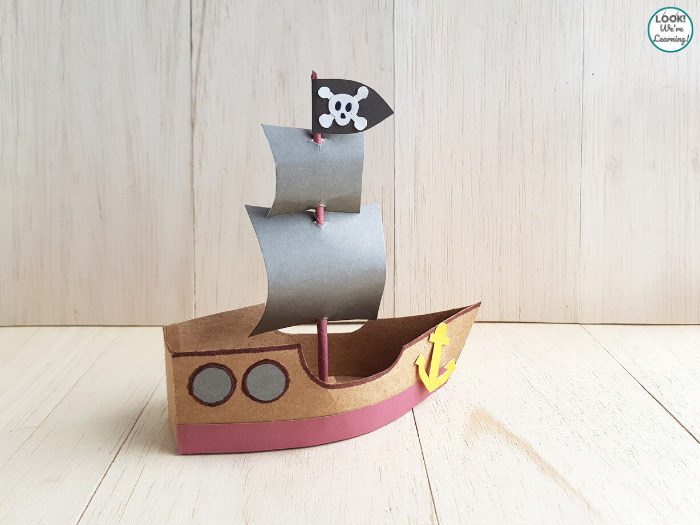
Finally, thread the mast through the sails so that the sails “billow” outward.
Stick the end of the mast through the mast base in the ship’s bottom and you’re done!
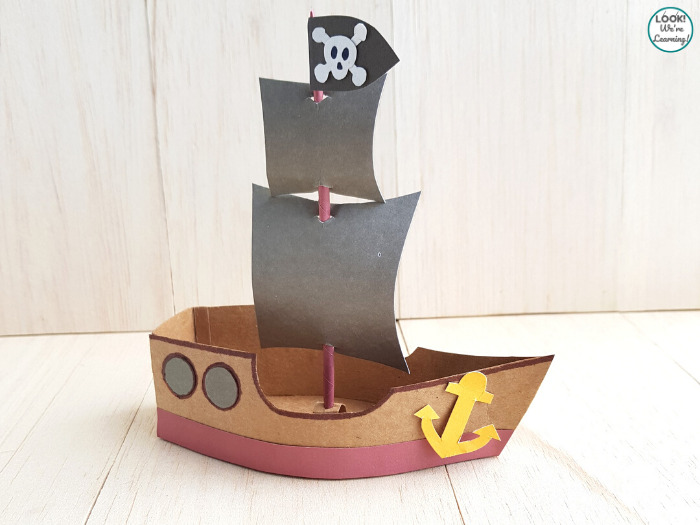
A fearsome pirate ship craft that’s ready to take on the high seas!
Keep reading to get the printable craft instructions below!
Pirate Counting to Ten Puzzles
Add even more to your pirate unit with these printable pirate counting to ten puzzles!
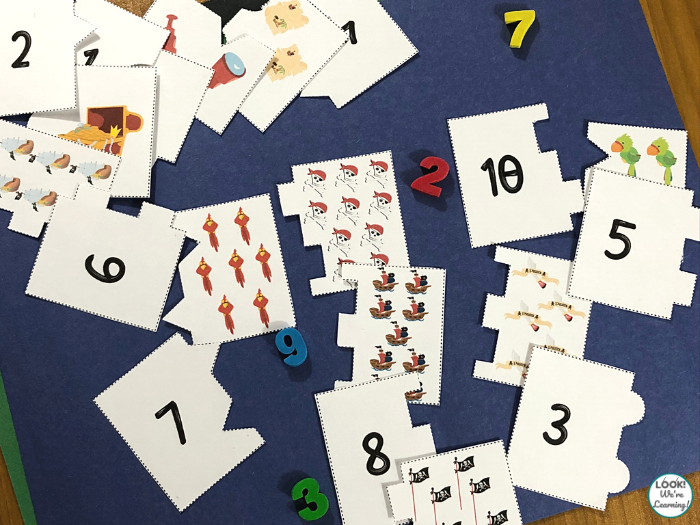
These are so cute for early learners who are practicing counting using objects and numbers!
Plus, they’re self-checking, which makes it easy for even little ones to know if they’ve matched up the correct pairs.
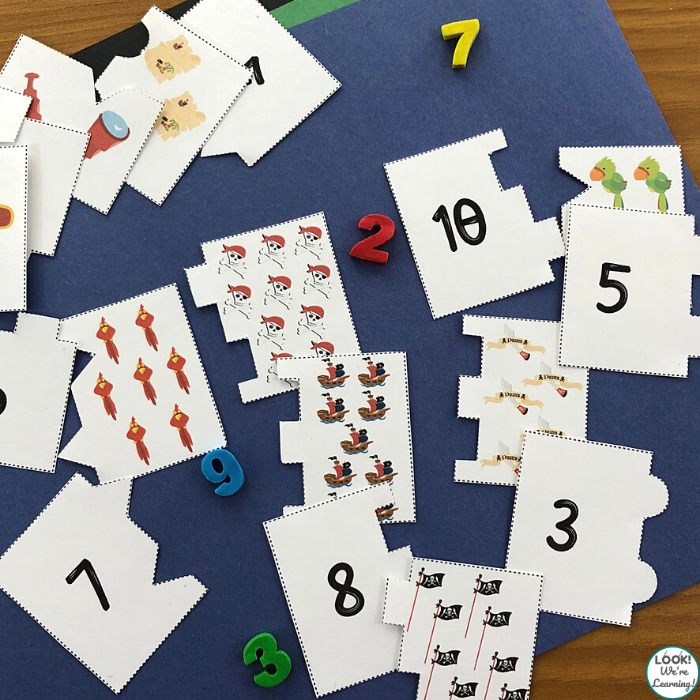
To get your set of these pirate counting puzzles free, just click the image or the link below to have them sent to your email inbox!>
You’ll also get our weekly newsletter – coming this weekend!
>>> Pirate Counting to Ten Puzzles <<<
Scroll down to get the printable pirate ship instructions!
Try some of these other easy craft ideas for kids!
Pick up the printable paper pirate ship craft instructions below!
Paper Pirate Ship Craft for Kids
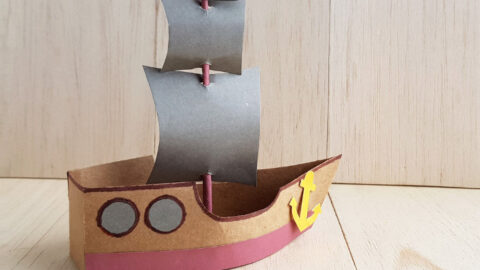
Use the printable template and a few supplies to make this fun paper pirate ship craft with kids!
Materials
- Colored craft paper
- Colored cardstock
- Markers (optional)
- Pencil
- Scissors
- Craft glue
- Printable paper ship template (link in post)
Instructions
- Download and print the printable paper pirate craft template.
- Cut out the individual pirate ship pieces.
- Trace the ship's parts onto colored cardstock and cut them out.
- Trace the yellow fold lines onto the ship's cut pieces and fold along those lines.
- Cut vertical slits along the lines up to the top of the creases.
- Spread glue along the crease line of one of the ship's sides. Attach the ship's base by pressing one of the edges against the side crease.
- Do the same on the other side, gluing the opposite edge of the base to the other ship's side. Be sure to fold along the crease and add glue to the folded edge.
- Glue the front of both of the ship's sides together, forming the bow.
- Attach the backside of the ship by tracing the fold lines onto the back template and folding along the lines. Glue the back piece onto the back ends of the ship's sides.
- Cut out the mast base template and trace it onto cardstock. Punch a hole in the center and fold along the fold lines on each end.
- Glue the mast base onto the center of the ship's base, leaving the center elevated.
- Trace the anchor template onto cardstock and cut it out. Glue it on the front of the ship's side.
- Trace the window cut out circles onto craft paper and add it to the rear of the ship. You may want to trace around the circles with marker.
- Trace the border onto a different color of cardstock and glue it around the bottom of the ship, if desired.
- Trace the flag, mast, and sail pieces onto colored craft paper and cut them out.
- Use glue to attach the skull and crossbones to the flag.
- Roll the mast paper tightly, forming a vertical tube. Secure the ends with craft glue.
- Attach the flag to the top of the mast using glue.
- Punch holes onto the top and bottom edges of the sails. Thread the mast through the holes in the sails, causing them to billow in the center.
- Insert the bottom end of the mast into the hole in the mast base to stand the flag up.
Leave a Reply