Shapes are one of my very favorite concepts to cover with preschoolers and kindergarteners.
They’re all around us, so it’s fun to show students the circle in the clock on the wall or the square in the window.
Transportation is another of my favorite themes for preschool.
Which makes this easy shape train craft a perfect way to teach both at the same time!
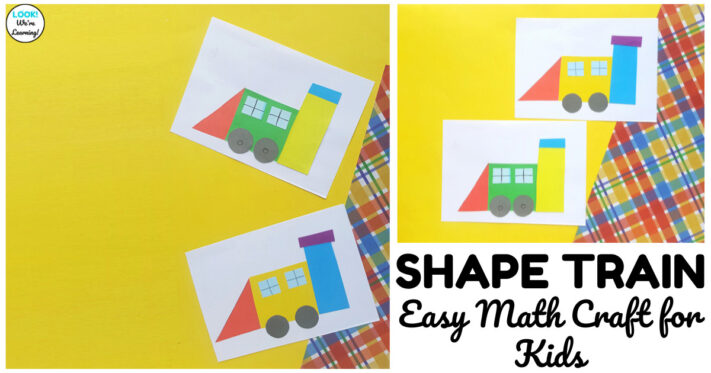
If you’re looking for a simple, hands-on way to talk about shapes or transportation, this is it!
It’s simple enough for young learners to complete on their own.
But it also provides a good way to talk about real world math with students, even in preschool.
Get the full instructions and the printable template below!
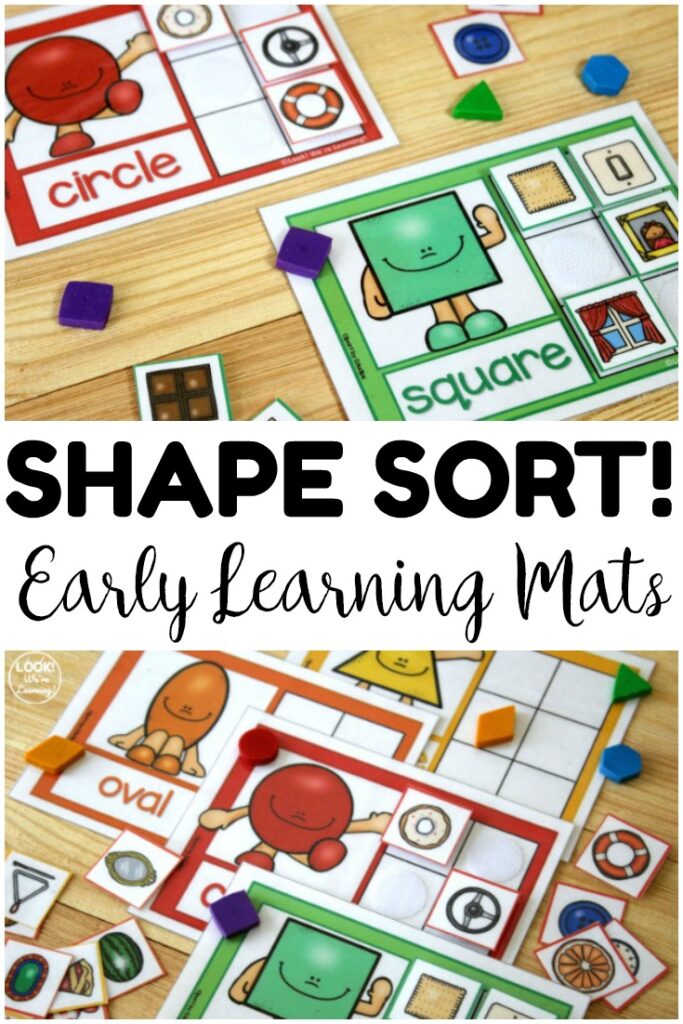
Need more ways to talk about shapes in early grades? Take a look at our hands-on Shape Sorting Mats!
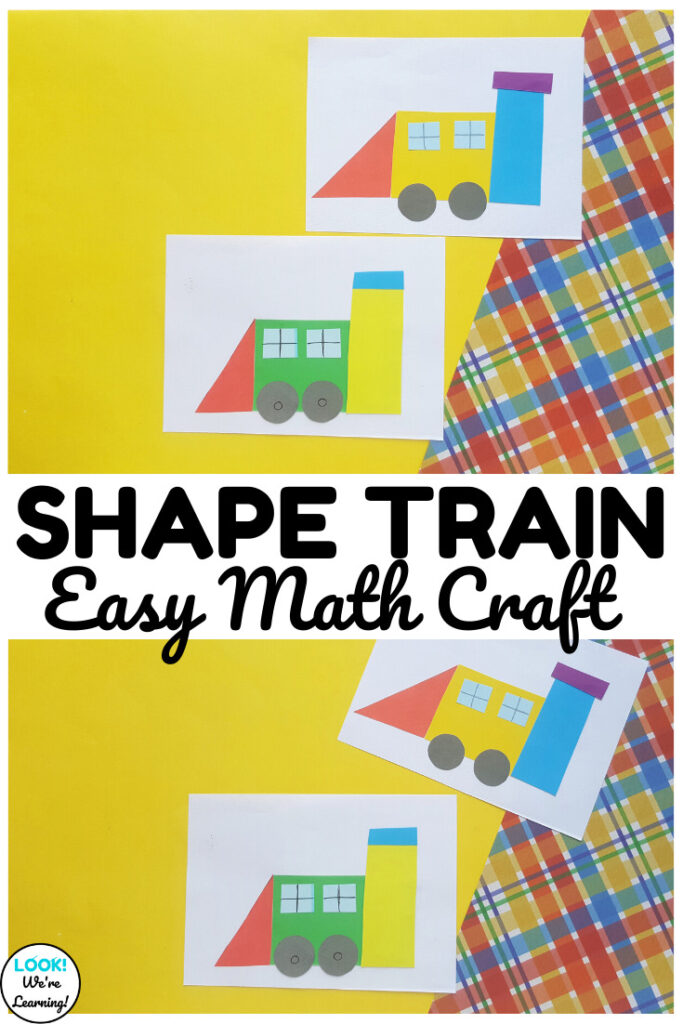
Easy Shape Train Craft for Kids
This simple shape craft is a perfect low-prep activity for a shape or transportation unit with preschoolers or kindergarteners.
Once you’ve cut out the template pieces, students can assemble the craft with just a few directions.
To make this easy shape train craft, you’ll need the following: (This post contains affiliate links. For details, see our Disclosure Policy.)
- Printer (with ink)
- Printer paper
- Scissors (if you plan for students to cut out the pieces themselves, use child-safe scissors)
- Construction paper
- Glue stick
- Pencil
- Ruler
- Printable Train Craft Template
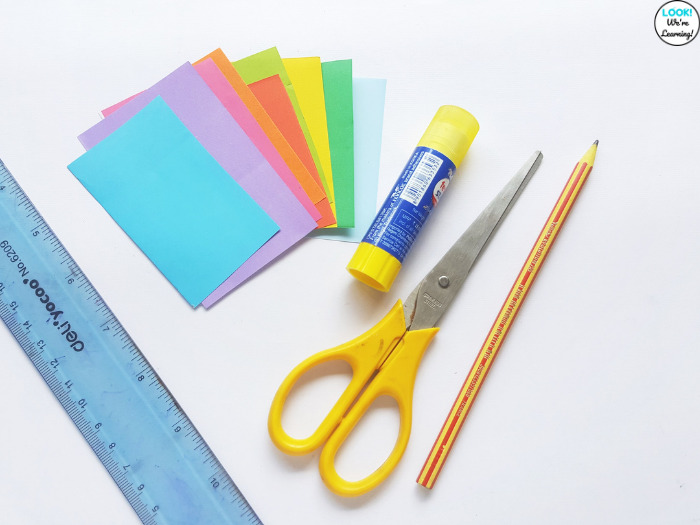
Get started by printing the craft template.
Then use a pencil to trace the shape pieces onto colored construction paper and cut them out.
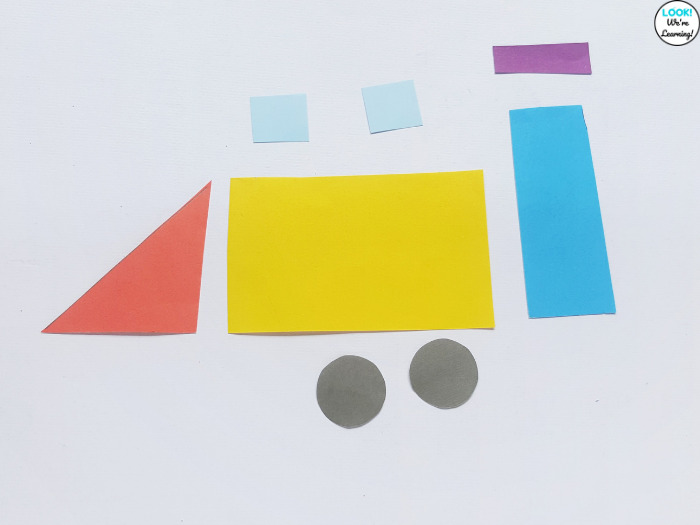
I find it best to use different colors for each piece. That way, it’s easy to point out each geometric shape without confusing the students.
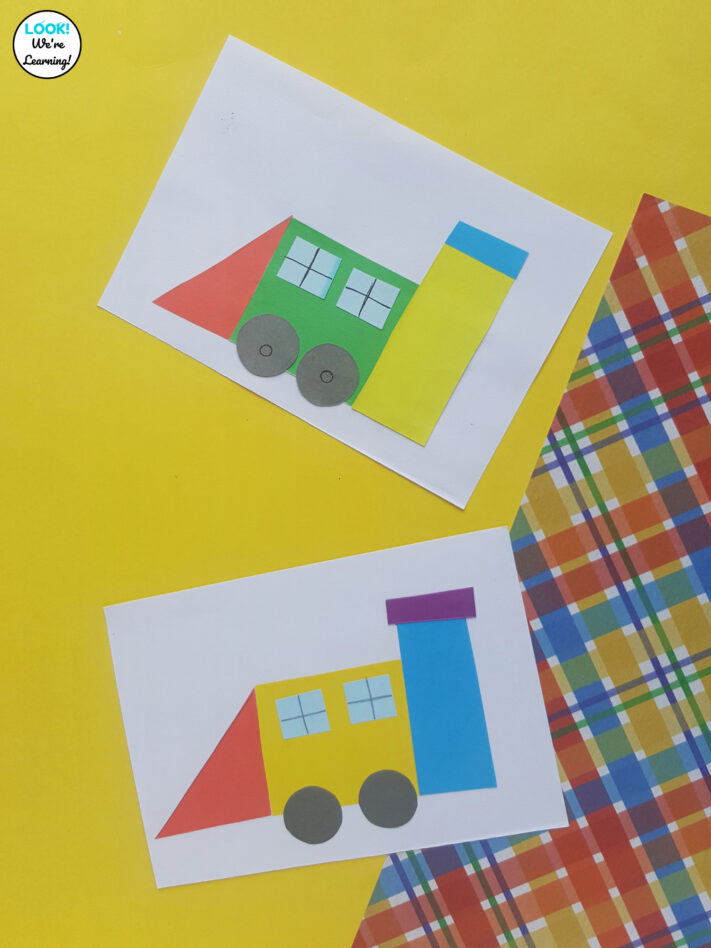
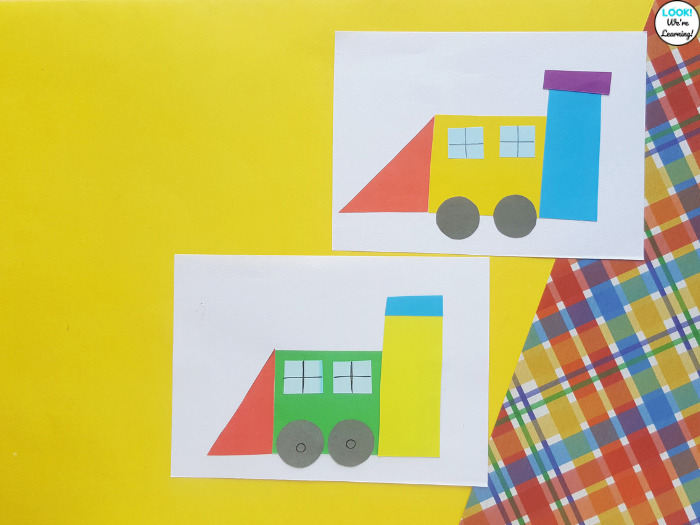
The finished project includes three rectangles, one triangle, two squares, and two circles.
How to Make a Shape Train Math Craft
Now it’s time to assemble our train!
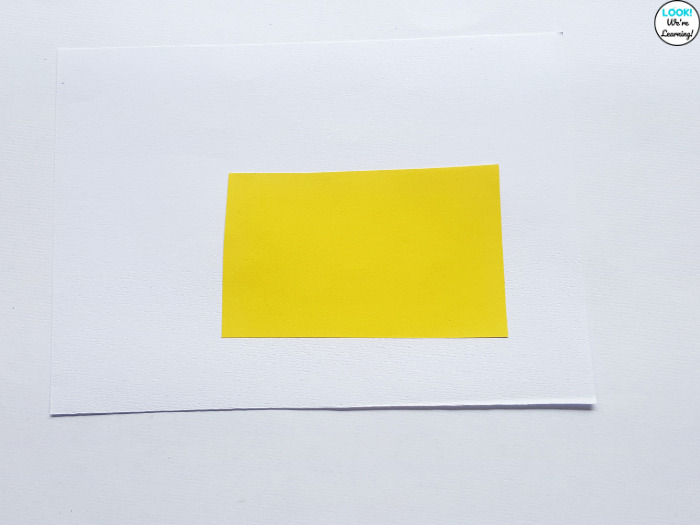
Use a piece of construction paper as your background.
Start by gluing the large rectangle down towards the right edge of the paper.
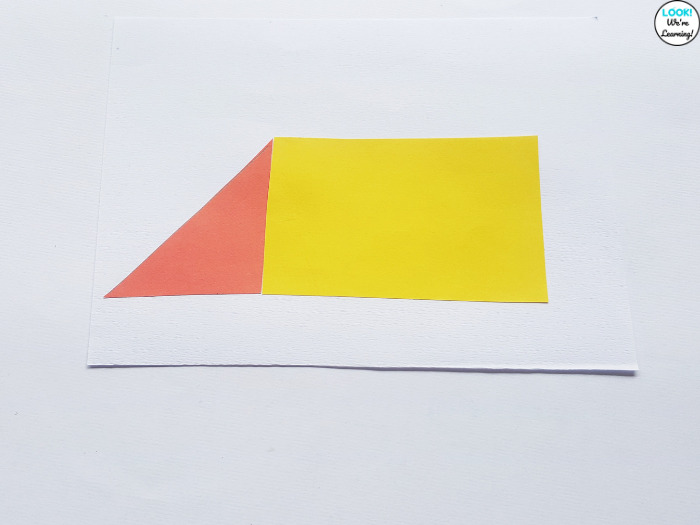
Glue the triangle on the left side of the rectangle. The two pieces should touch.
Make sure students rotate the triangle so that the longest edge is facing up and out. This will be the front of the train.
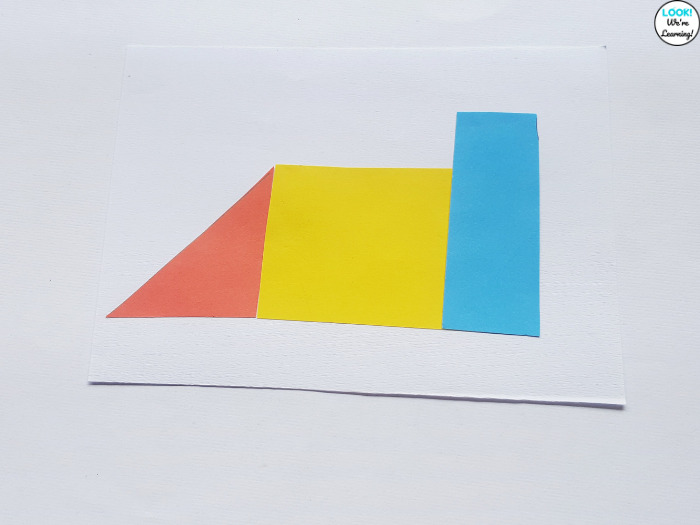
Complete the body by adding the thinner rectangle vertically along the right side of the large rectangle.
Place it so that it covers the right edge of the large rectangle. This will form the back of the train.
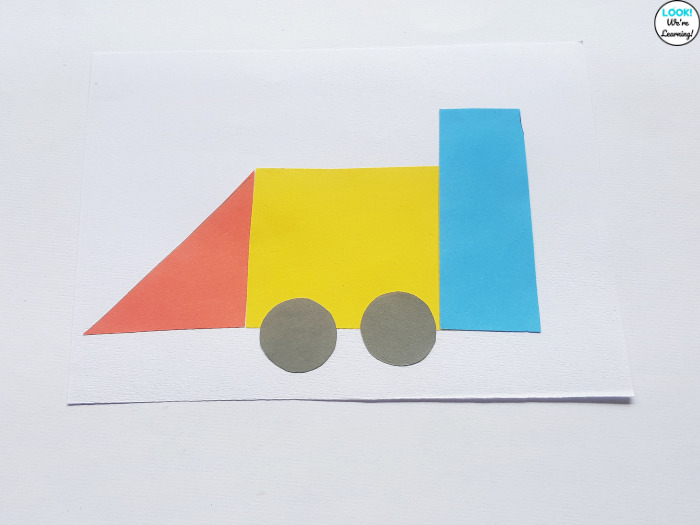
The two circles go in the bottom center of the train, forming the wheels.
An easy way to direct students is to have them glue the circles on the bottom of the large rectangle only.
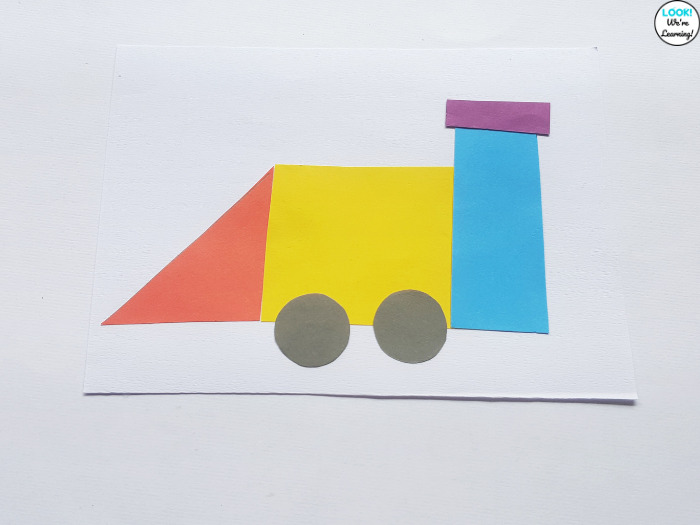
Add the final small rectangle by gluing it onto the top of the thin vertical rectangle.
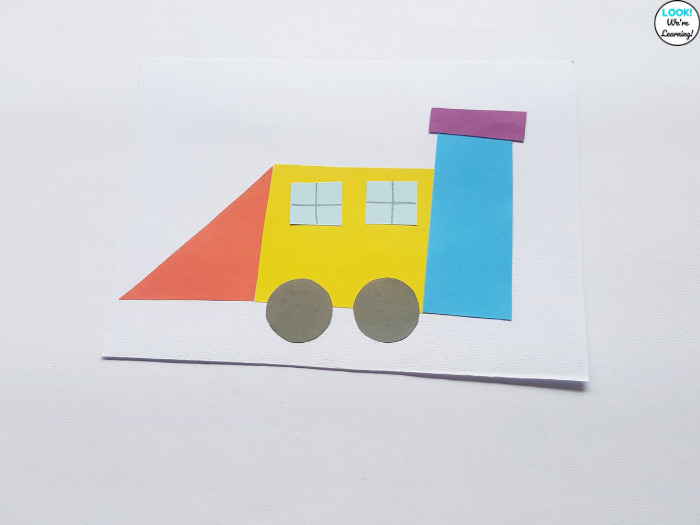
Add the two squares (windows) by gluing them towards the top of the center rectangle.
If you like, you can have students draw perpendicular lines to form windowpanes.
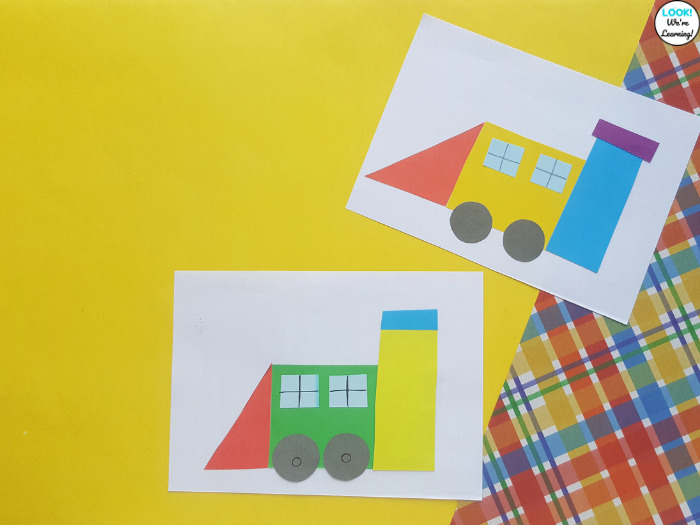
And we’re all finished!
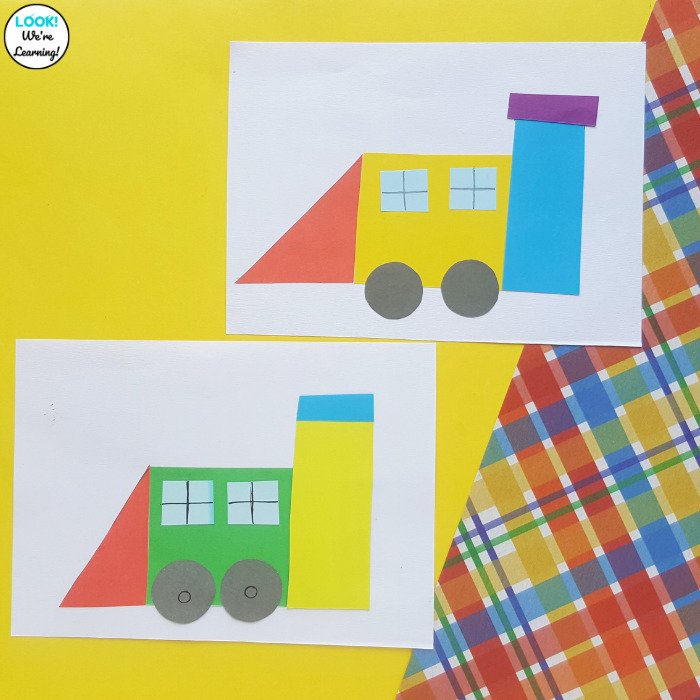
These would make an excellent class project for parents’ night!
Let the students try different colors of paper and add their own touches afterwards: a plume of smoke coming from the smokestack, a conductor in the window, tracks under the train – whatever they can think of!
See the full project directions below!
Easy Shape Train Craft for Kids

This simple shape train craft is a perfect way to teach early learners about geometry and transportation. Plus, they'll get some fine motor skills practice too!
Materials
- Construction paper
- Pencil
- Printer paper
Tools
- Printer
- Ruler
- Child-safe scissors
- Glue stick
Instructions
- Print the shape train craft template.
- Cut out the template pieces and then use a pencil to trace each shape onto colored construction paper.
- Cut out the paper pieces.
- Glue the large rectangle down onto a piece of white construction paper.
- Glue the triangle onto the front of the rectangle, forming the front of the train.
- Glue the thin rectangle vertically along the back edge of the large rectangle, forming the back of the train.
- Glue the small thin rectangle horiztonally along the top edge of the thin rectangle.
- Glue the two circles onto the bottom of the large rectangle, forming the wheels.
- Glue the two squares onto the top section of the large rectangle, forming the windows.
Notes
- Encourage your students to add details, such as: tracks under the train, smoke coming from the smokestack, a railroad crossing sign, or a conductor in the window.
- Have students use different colors for each train and make a group of trains for a class display.
- Talk about each shape before adding it to the picture. Ask students: "What shape is this?" or "How many sides does this shape have?"
- For shapes that are similar, such as the rectangles, talk about how each one is different. Ask: "How is this rectangle different from that rectangle?" Encourage students to examine the differences in height, width, and orientation.
- If you need to save time, print the template pieces and cut out shapes ahead of time. Then students can simply assemble the craft as you provide instructions.
Take a look at these other shapes activities for early learners!
Leave a Reply