Spring is here and summer’s not far behind.
Down here in the South, we have about three weeks a year that actually feel like spring. Then it shifts directly into summer heat.
Which means that we start to see bees and butterflies pretty early in the year – around April.
Once we learned that bumblebees don’t sting, my kids started to feel a lot more comfortable about them. They’re like little furry friends.
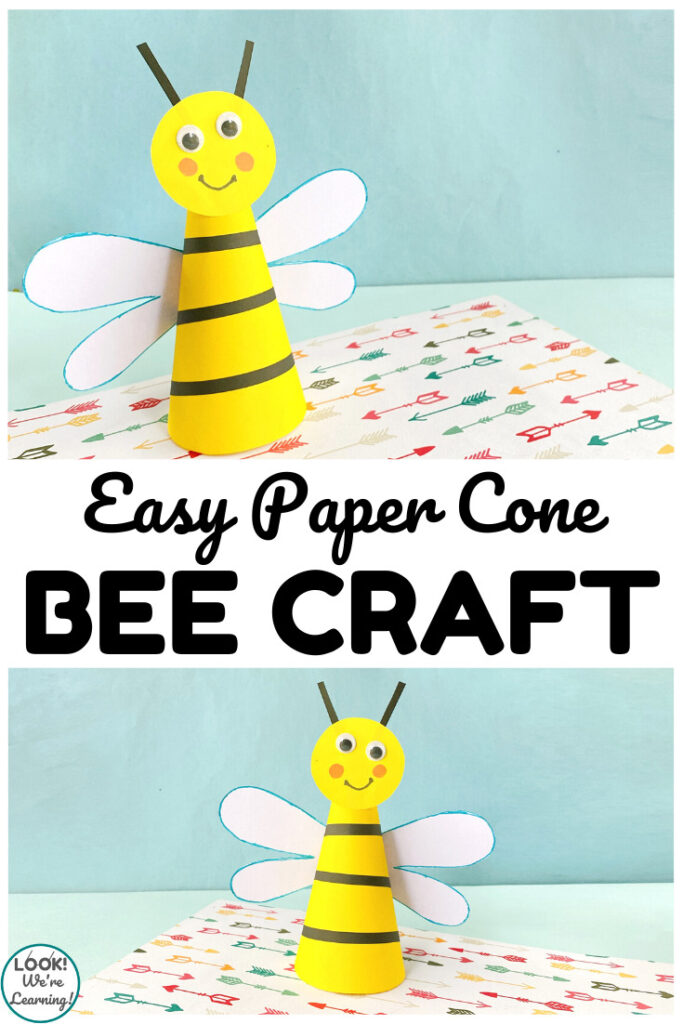
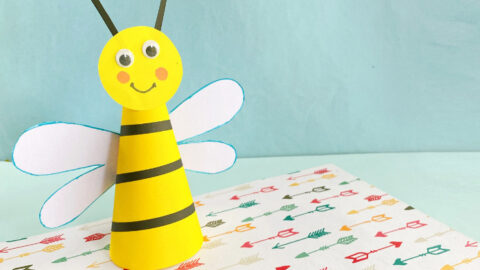
So this fun and easy paper bee craft for kids is a cute way to celebrate our flying friends this spring!
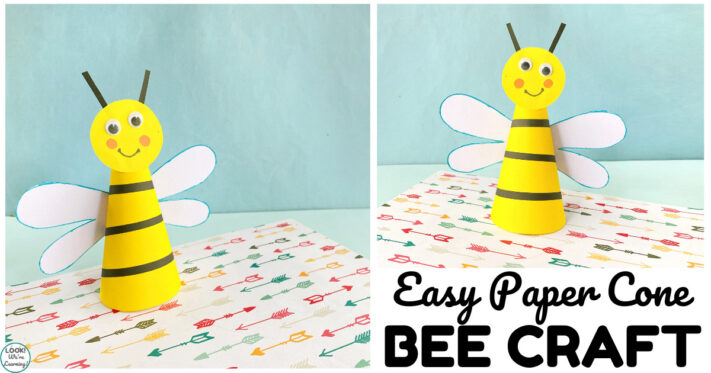
Read on to see the full instructions and to get the free printable template. There’s a printable instruction card below as well.
And, for more easy crafting, check out our Paper Ladybug Craft for kids too!
What Supplies Do I Need to Make an Easy Paper Bee Craft for Kids?
This is a perfect quick spring or summer craft activity for little ones. You only need a few supplies that you almost certainly have in your home already.
Even better, you can make adjustments for anything you don’t have on hand.
To make this easy paper bee craft, you’ll need the following: (This post contains affiliate links. For details, see our Disclosure Policy.)
- Colored craft paper
- Glue stick or clear tape
- Child-safe scissors
- Wiggly eyes
- Washable markers or colored pencils
- Printable bee craft paper template (GET IT HERE)
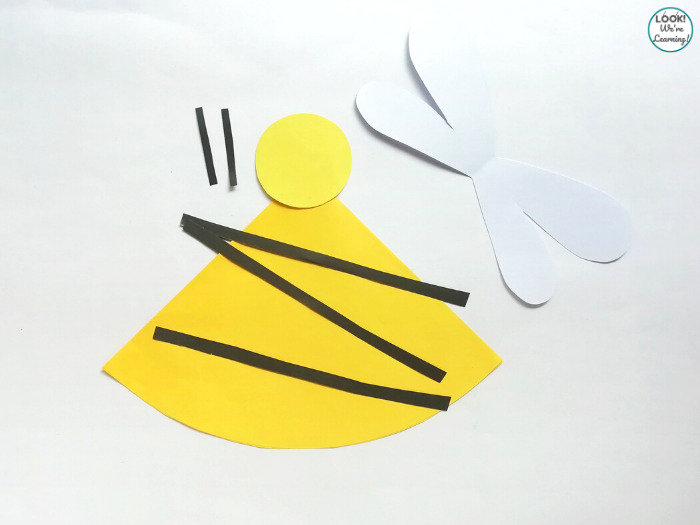
After you print the paper bee craft template, just trace the shapes on colored paper, cut them out, and go from there.
If you’re making this with a group of kids, you can prep the activity by cutting out the template shapes ahead of time.
That way, kids can get right to crafting!
If you don’t have wiggly eyes on hand, skip those and just let the kids draw eyes on their bees. Still works!
How to Make an Easy Paper Bee Craft for Kids
Now that you have the printable template and your shapes are cut out, it’s time to make our paper bee!
Start by gluing the black strips to the yellow cone shape. Roll the yellow paper to form the cone and glue the ends together.
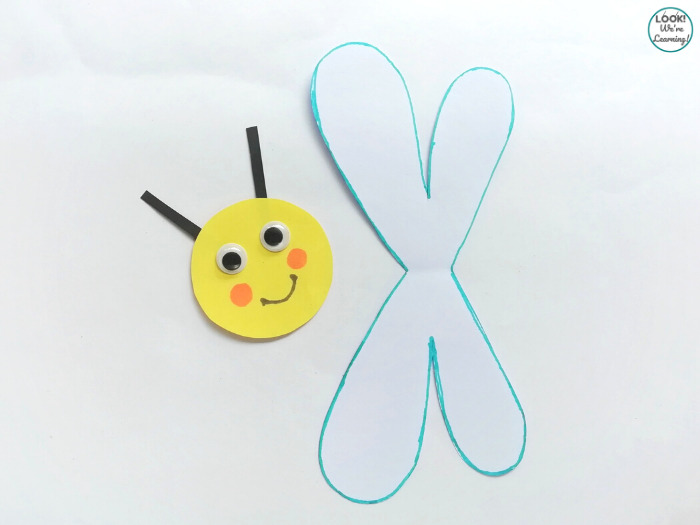
Now, fold the white “wings” in half vertically so that they’ll bend forward a bit.
Glue the two short black strips to the back of the yellow circle and add wiggly eyes to the front of the circle.
Draw circles on the cheeks and a smile!
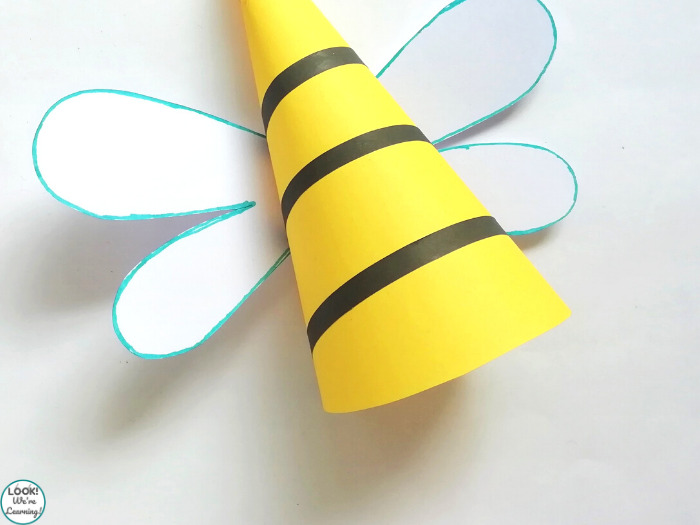
Glue or tape the wings to the back of the bee’s cone body. You’ll want to place them about halfway up.
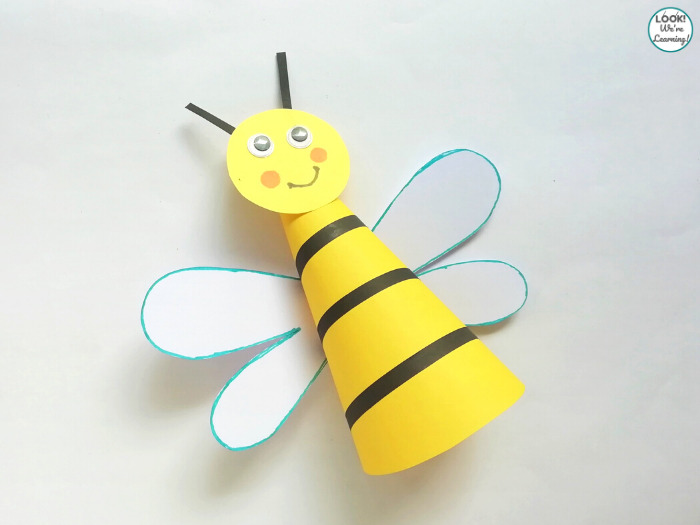
Now, just glue the back of the face to the top front of the cone.
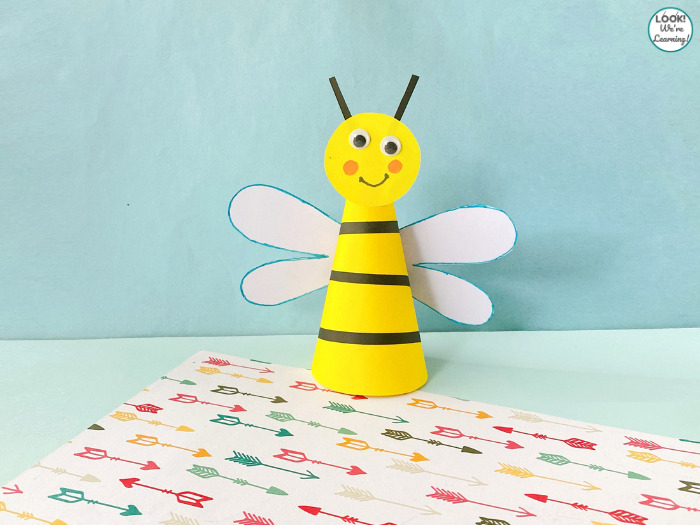
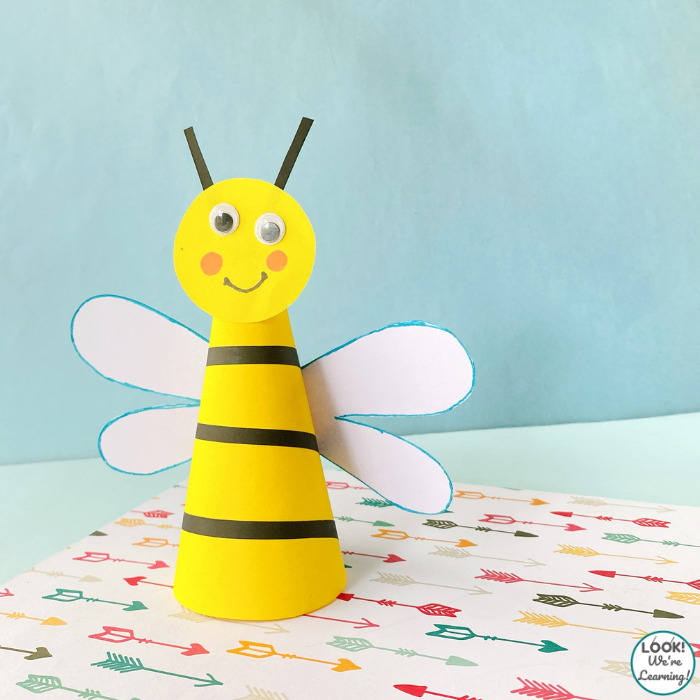
That’s it! Your bee is ready to stand up.
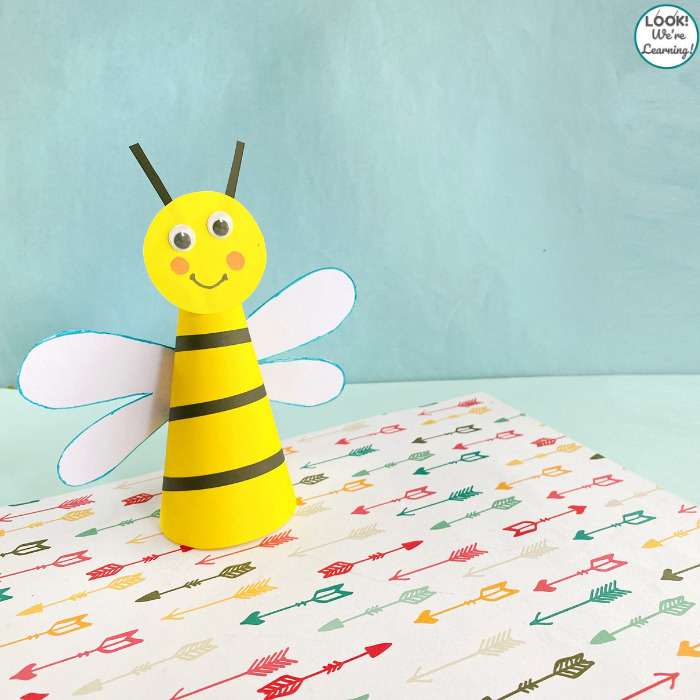
Isn’t he sweet?
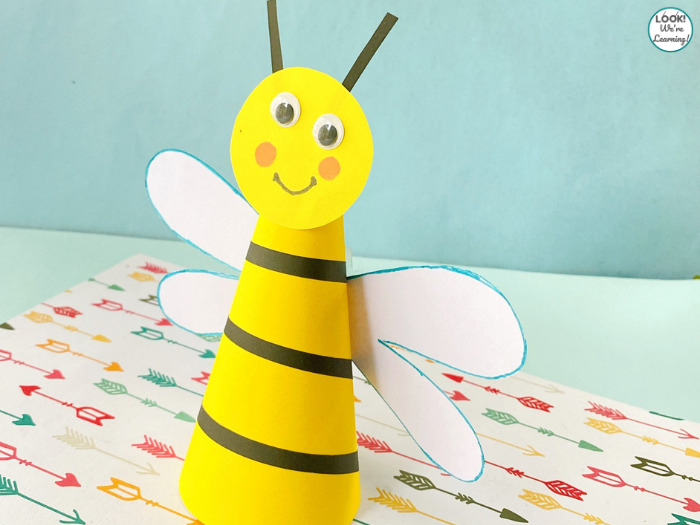
Scroll down to get the printable bee craft instructions!
Try some of these other easy paper crafts for kids!

Easy Paper Bee Craft for Kids
This simple paper bee craft is a perfect spring or summer art activity for kids!
Materials
- Yellow paper
- Black paper
- White paper
- Glue or tape
- Wiggly eyes
- Printable paper bee craft template (link included above)
Tools
- Markers or colored pencils
- Child-safe scissors
Instructions
- Print the paper bee craft template.
- Use scissors to cut out the template shapes.
- Place the cone shape on yellow colored paper. Use a marker or colored pencil to trace the outline. Then cut it out.
- Place the circle shape on yellow colored paper. Use a marker or colored pencil to trace the outline. Then cut it out.
- Place the rectangular strip shapes on black colored paper. Use a marker or colored pencil to trace the outlines. Then cut them out. (You will need four of the longest rectangular strips.)
- Place the wing shape on white paper. Use a marker or colored pencil to trace the outlines. Then cut it out. Fold the wing shape in half vertically.
- Lay the yellow cone shaped paper out on a surface. Lay the longest black strips across it horizontally. Space them out evenly and glue them down.
- Use scissors to trim any black paper that hangs off the edge of the yellow cone.
- Roll the yellow paper to form the cone shape for the bee's body. Use tape or glue to secure it together.
- Place glue along the center fold of the wings. Attach them to the back of the yellow and black striped cone.
- Lay the yellow circle shape down and glue the two smaller black strips close to the edge to form the bee's antennae.
- Flip the circle over and add two wiggly eyes.
- Use a marker or colored pencil to draw circles on the cheeks and a smile.
- Flip the circle over again and add glue on the back.
- Press the circle onto the top front of the yellow and black body.
- Your bee is done!
Notes
This craft is designed with traditional bee colors (black and yellow). Feel free to change the colors as you wish.
Kids can add more details to their bees, such as eyelashes, a winking eye, eyebrows, makeup, and more!
Make several copies of these bees to form a bee colony!
