If your kids are anything like mine, they’re always asking for the necklaces in the 25-cent machine at the grocery store. You know those fake gold necklaces that turn your neck green? Yeah, those.
I got tired of saying “no” over and over again, so I thought we’d come up with a simple jewelry craft that the kids could make and then wear on their own. That’s when we found this simple straw bead necklace craft and it was a perfect alternative! Plus, it didn’t turn their neck green, which was a plus. 🙂
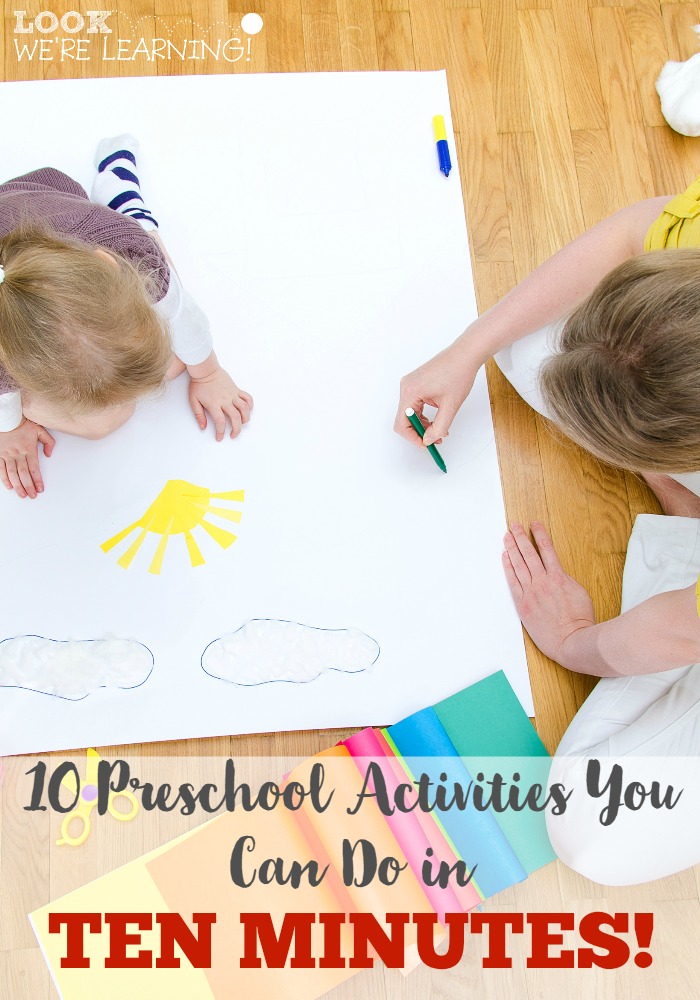
Read on to see how to make these with your kids! And don’t miss my list of super easy preschool crafts you can make in just 10 minutes!
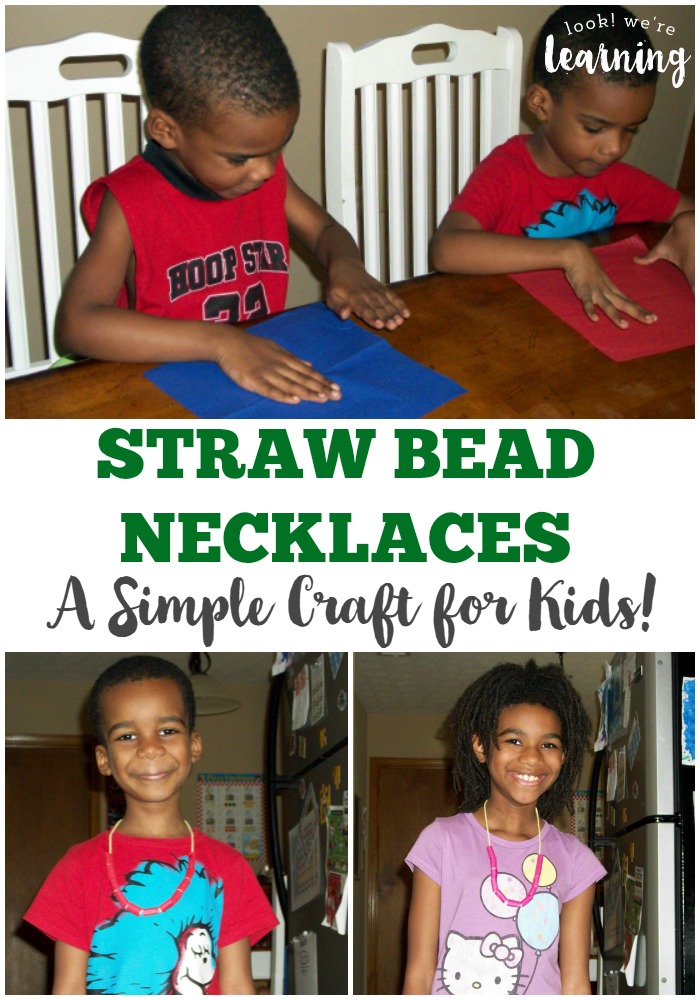
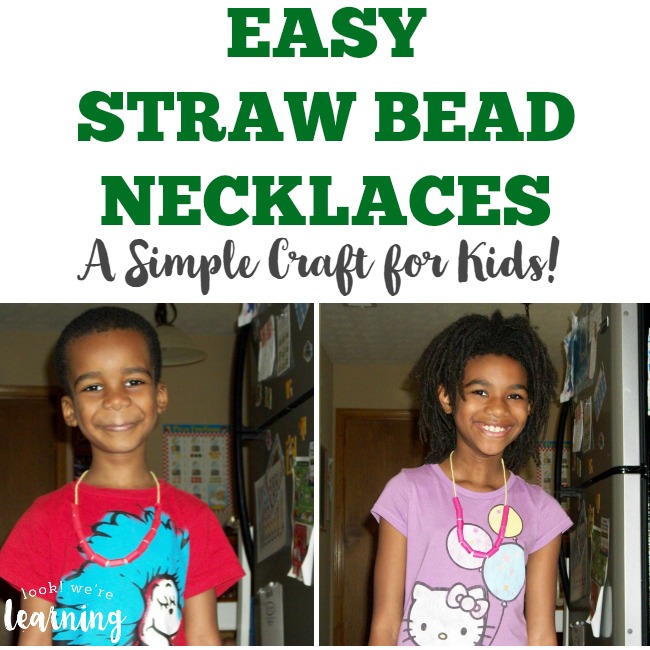
Simple Straw Bead Necklace Craft for Kids
This week, we jumped into the great book The Arts & Crafts Busy Book: 365 Art and Craft Activities to Keep Toddlers and Preschoolers Busy and found a super easy craft for kids of all ages: straw beads! And yes, it’s exactly what it sounds like.
Here’s what you need to make this craft:
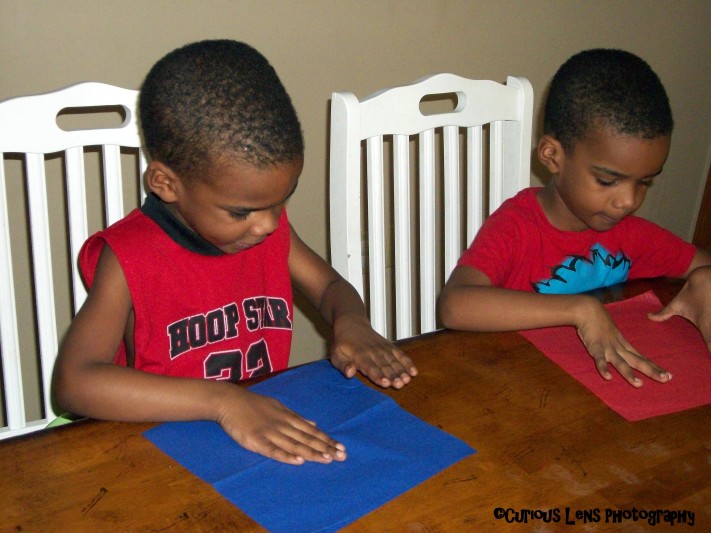
We passed out tissue paper to the kids. They chose their own colors. Surprisingly, Roo picked blue as his new “favorite” color. He’s been hung up on red for years.

Then we spread glue over the paper. At first, we used glue sticks and they worked somewhat, but we ended up reinforcing them with liquid glue. So, to save yourself some time, use regular glue in the first place.
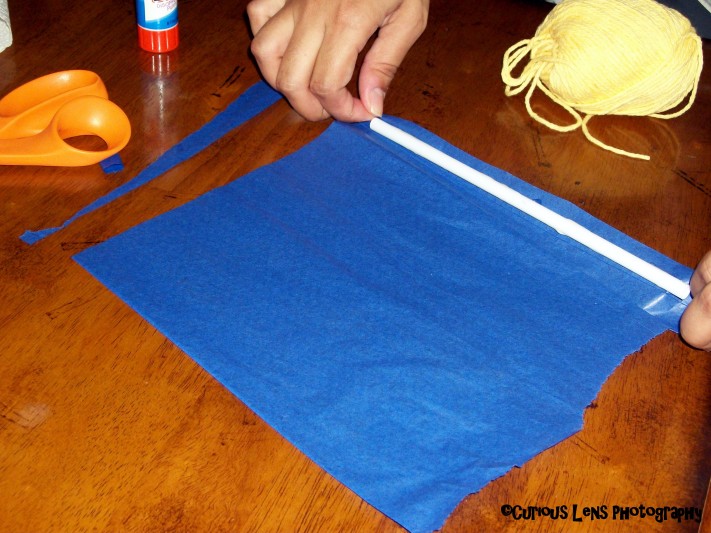
After that, you just place the straw at one end of the paper…
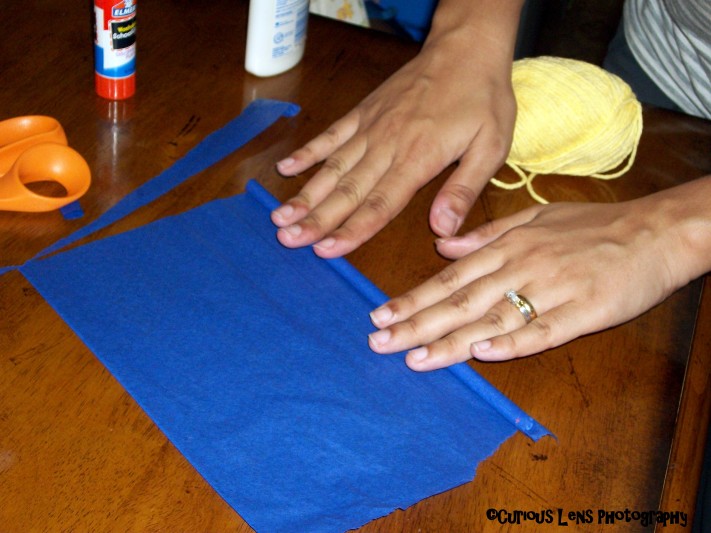
and roll it up tightly. We ended up adding a bit more glue to the very end of the paper just to make sure that the ends stayed closed.
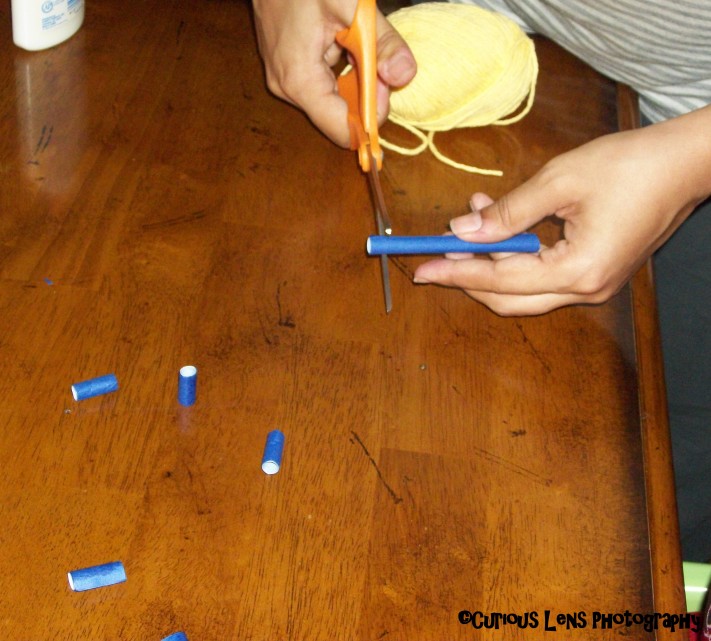
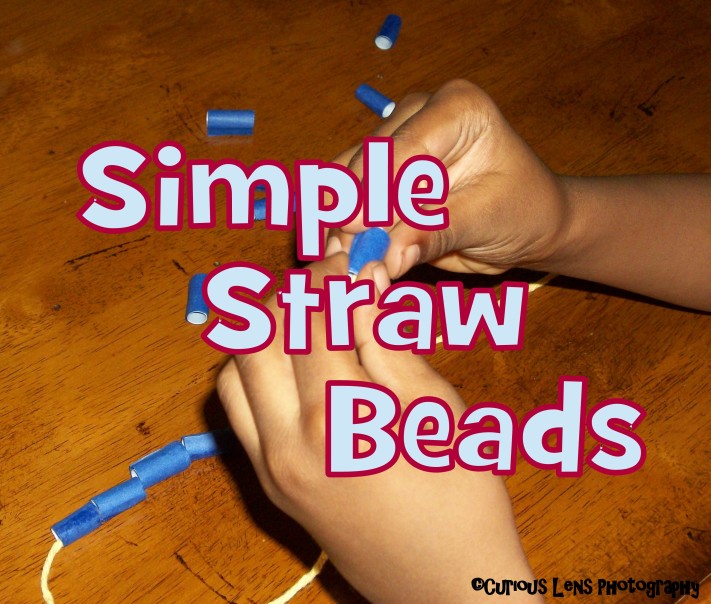
Cut the straw into small pieces with a pair of scissors to make stringable beads. Have the kids string the beads onto a length of yarn, tie it around their neck, and you’re done!
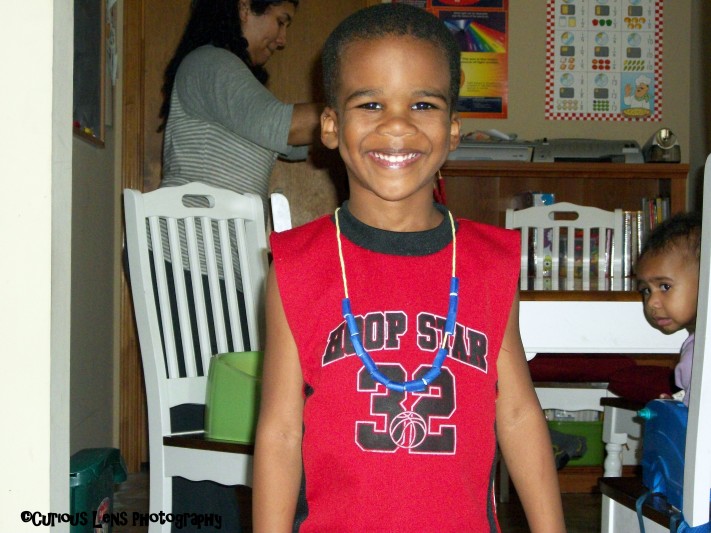
Roo adored his necklace. He wore it the rest of the evening.
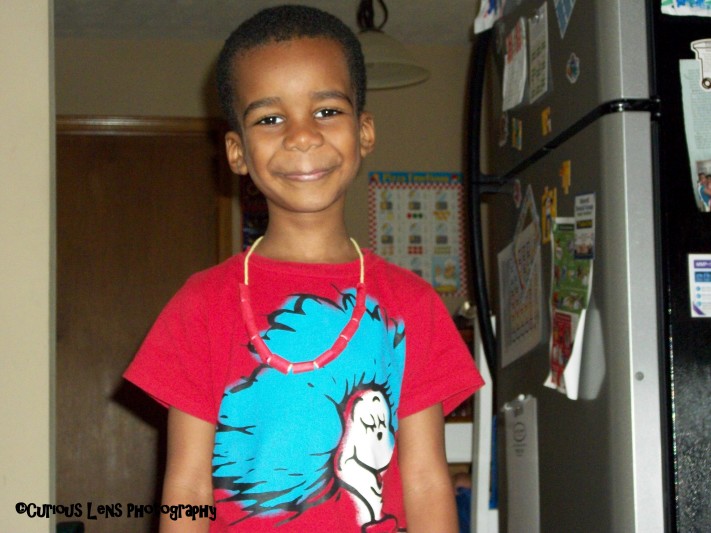
Pooh fiddled with his most of the day afterward, but he’s asked to wear it everyday since.
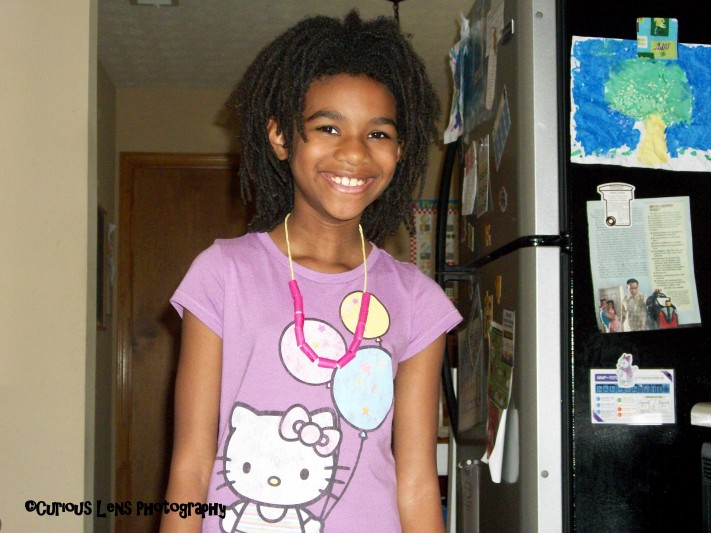
Tigger just loved her necklace! Right now, anything even remotely girly is a big hit with her.
Have you tried this straw bead necklace craft? How did it go? Share your experiences in the comments!
Don’t miss these other craft ideas!
Plus, see more crafting fun on my Simple Crafts for Kids Pinterest board!