I’ll be honest.
I’m not the biggest fan of insects.
And I live in the South, where every spring and summer is basically an insect family reunion, so those months are a little bit of a struggle for me.
But I do like ladybugs. They’re so adorable that I’ll even pick them up to show the kids.
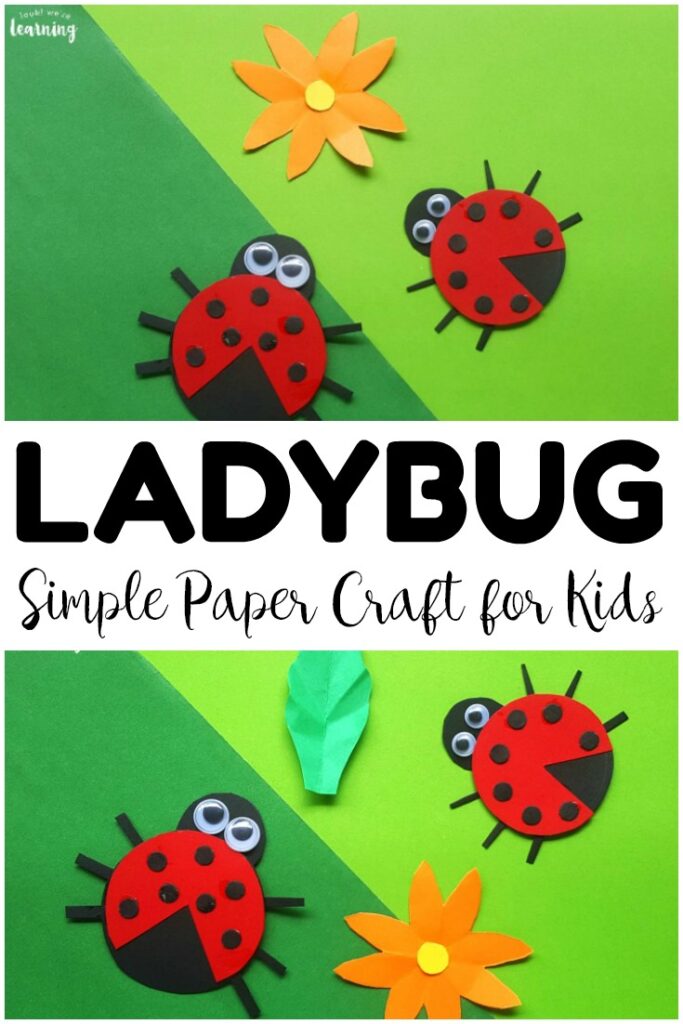
So I wanted to share a super cute (and easy!) toilet paper roll ladybug craft that will be perfect for a spring or insect unit with early learners!
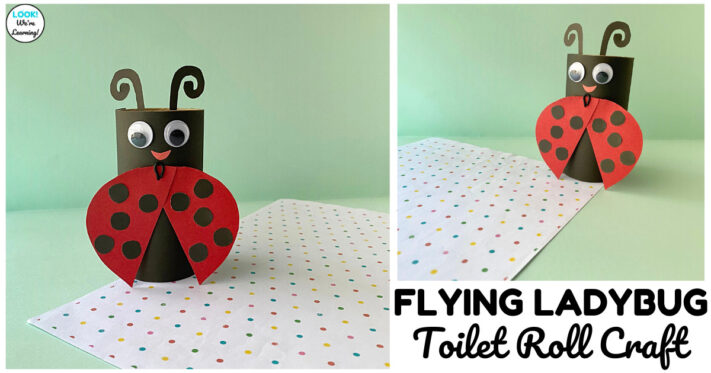
This project only requires a few crafting supplies that you likely already have.
And it’s so cute too!
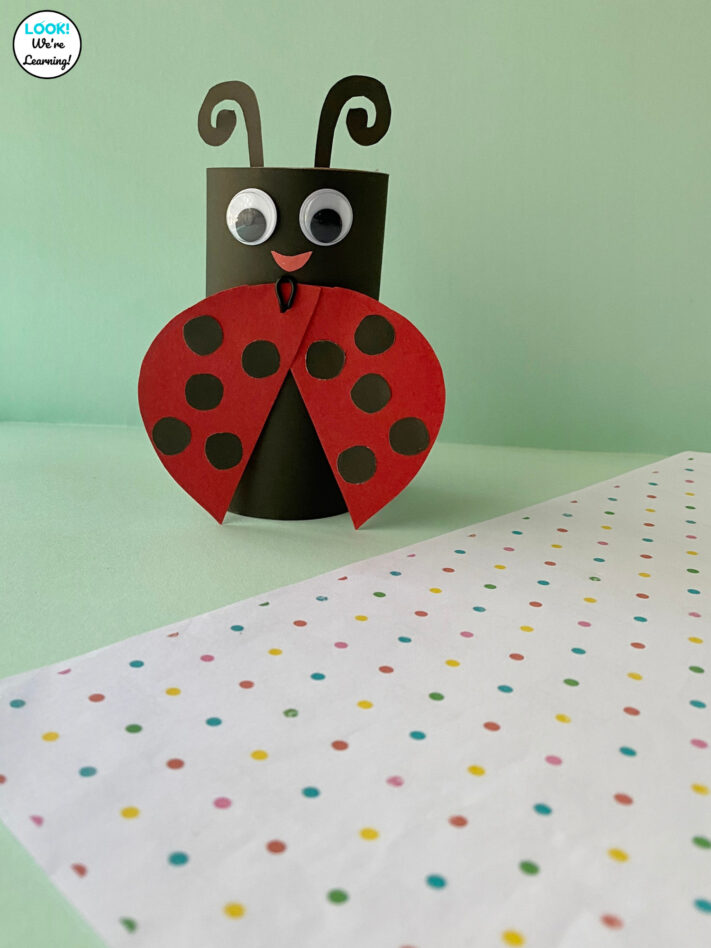
Keep reading to get the full instructions and the printable template.
And, for more spring learning ideas in early grades, take a look at our All About Flowers Early Elementary Unit!
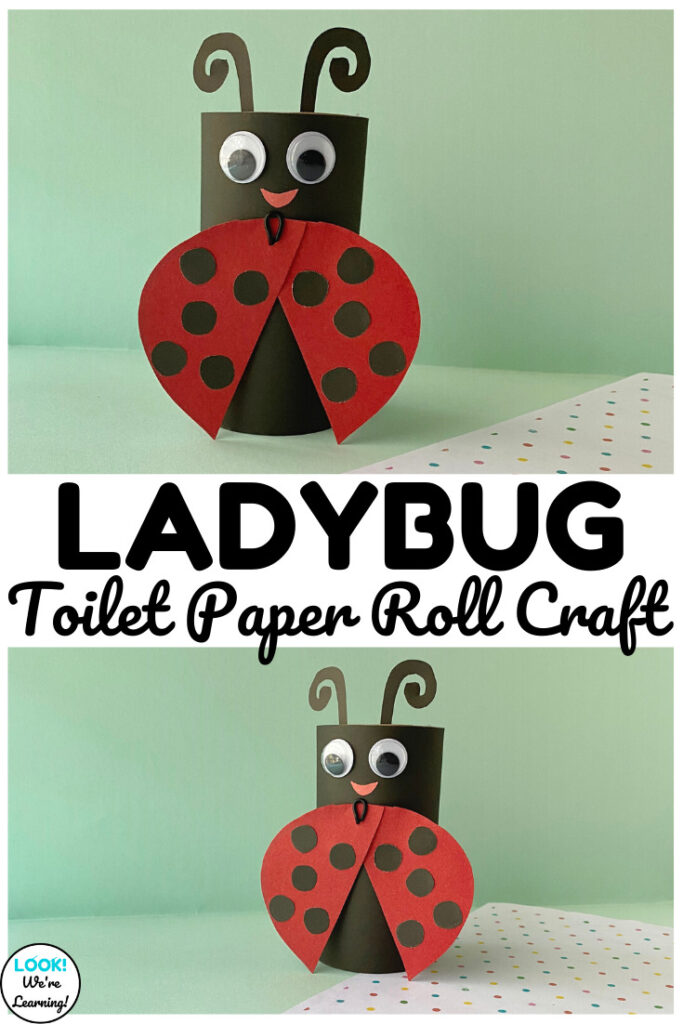
Easy Toilet Paper Roll Ladybug Craft for Kids
This simple ladybug is a great spring craft for kids to make.
You can walk students through each step and let them add their own ideas as they go along.
They’d be perfect for a spring class display or for parent night!
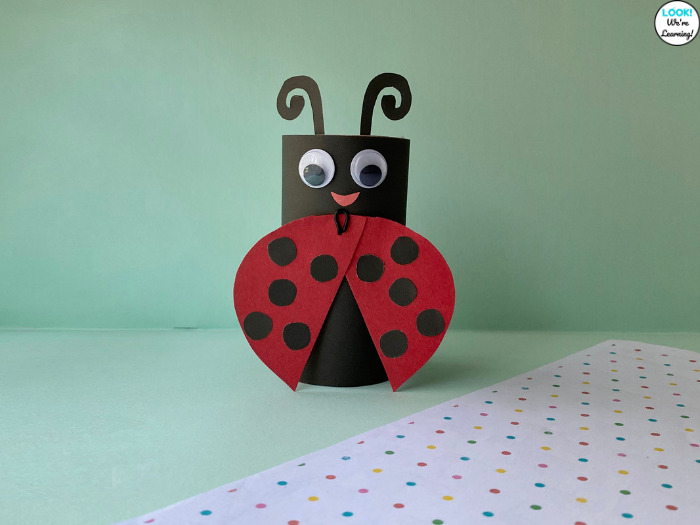
To make this spring craft, you’ll need the following: (Affiliate links are used below. For details, see our Disclosure Policy.)
- Empty toilet paper roll
- Printer (with ink)
- Printer paper
- Pencil
- Scissors
- Construction paper
- Plastic wire – or – brass paper fastener
- Wiggly eyes
- Glue stick
- Printable ladybug template (Blackline or color)
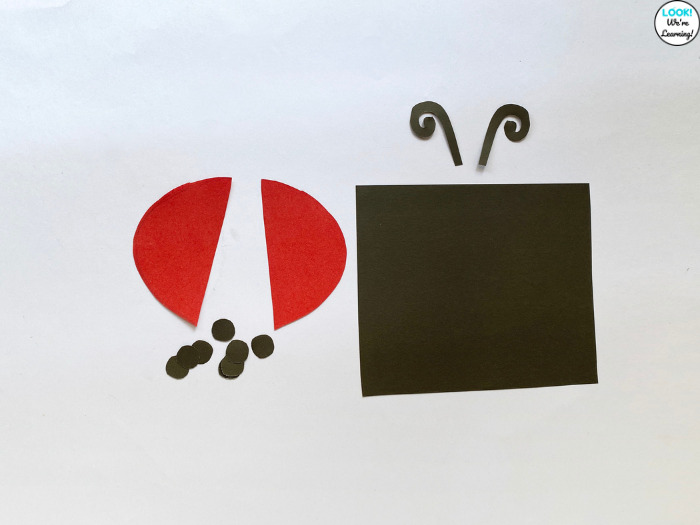
Once you’ve printed the template, you can get started by tracing the pieces onto construction paper.
If you plan to cut the pieces out yourself, regular scissors will do. But if you want your students to complete that step, be sure to use child-safe scissors.
A note: If you use the blackline template, you can have your students color the pieces in too!
How to Make a Paper Roll Ladybug
Now we’re ready to get started.
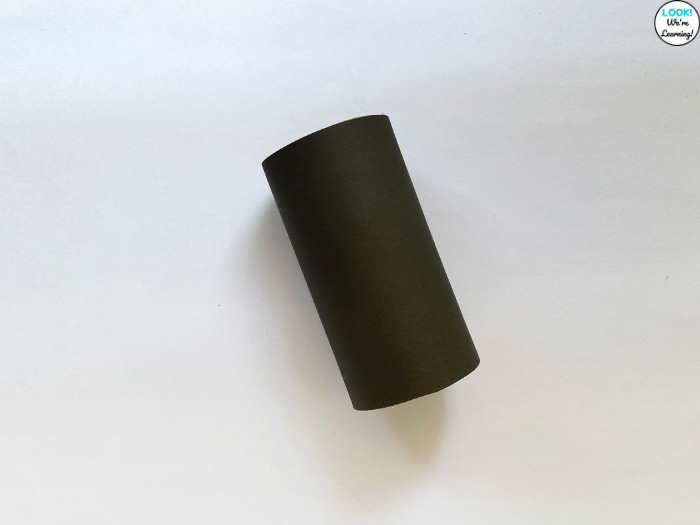
Begin by wrapping the black body piece around the empty toilet roll.
Use glue to secure the ends.
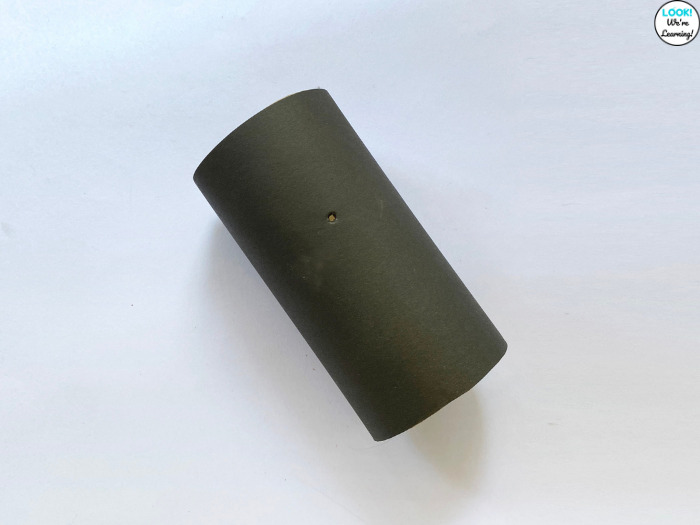
Take a sharpened pencil or the point of a pair of scissors and make a small hole about 1/3 of the way from the top of the toilet roll.
This step should only be completed by an adult.
You may want to prepare the rolls to this step in advance before you have the kids get involved.
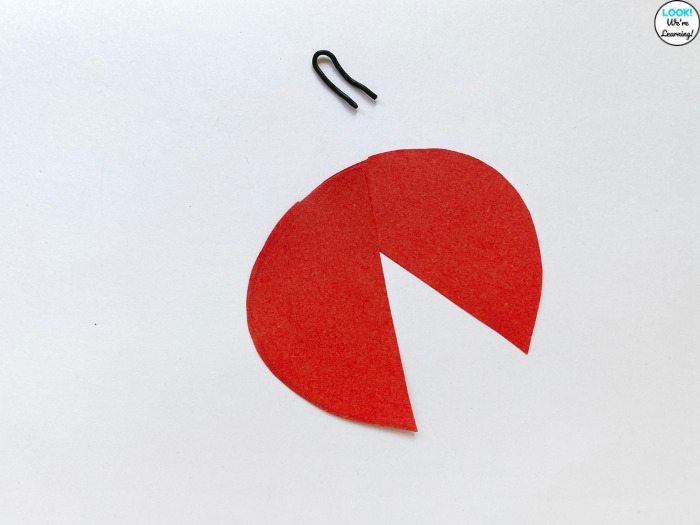
Cut a piece of plastic wire and bend it into a narrow semi-circle. You’ll use this to attach the bug’s “wings”.
Lay the two wing pieces on top of each other so that the points of the wings overlap.
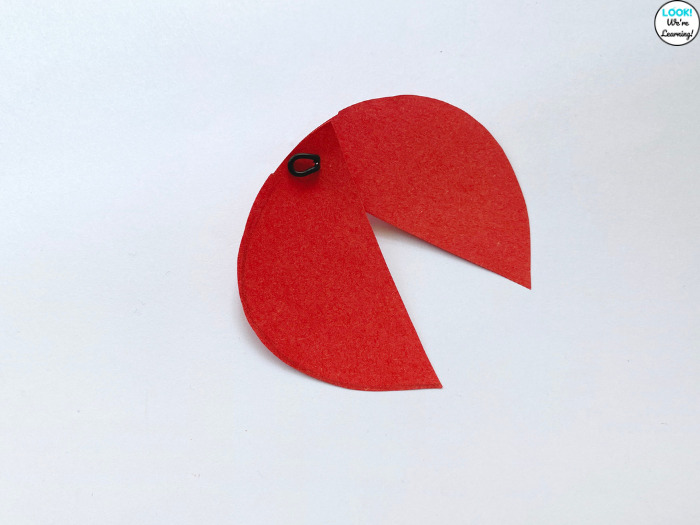
Press the open ends of the wire together to close the loop.
Then poke both ends through the overlapping wings.
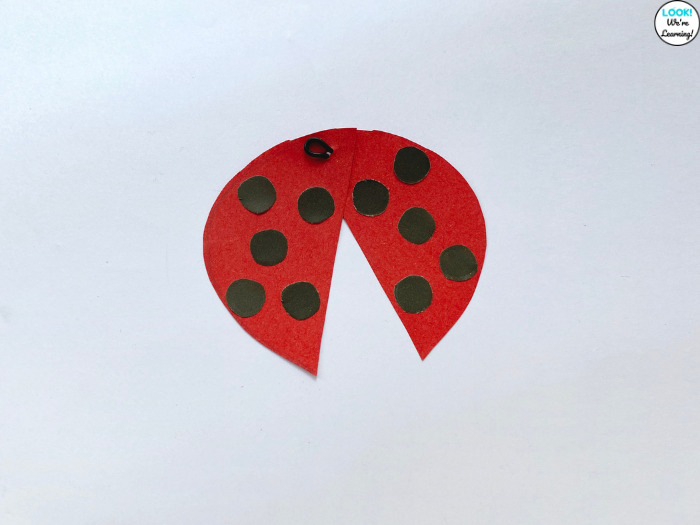
Use glue to attach the ladybug’s spots to both of the wings.
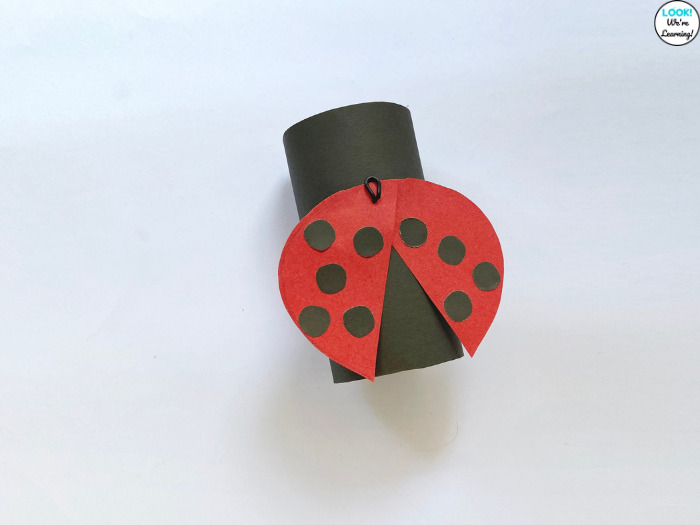
Now it’s time to attach the wings!
Press the closed wire loop through the hole in the toilet roll. The wings should appear on top.
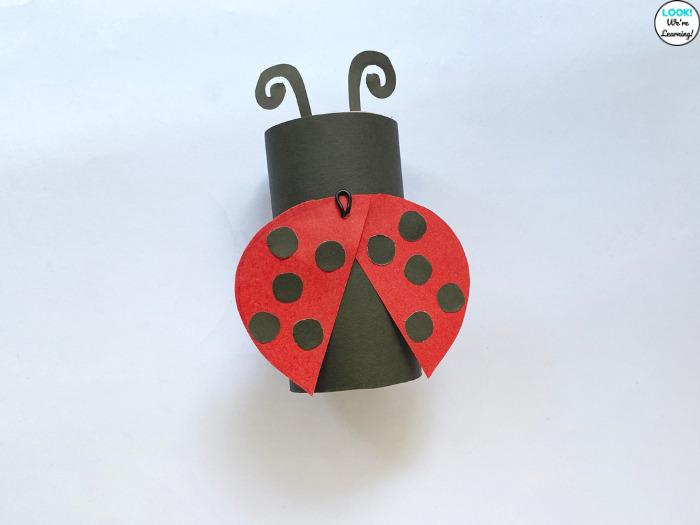
Use glue to attach the antenna inside the front edge of the toilet roll.
You’ll want them to appear towards the front.
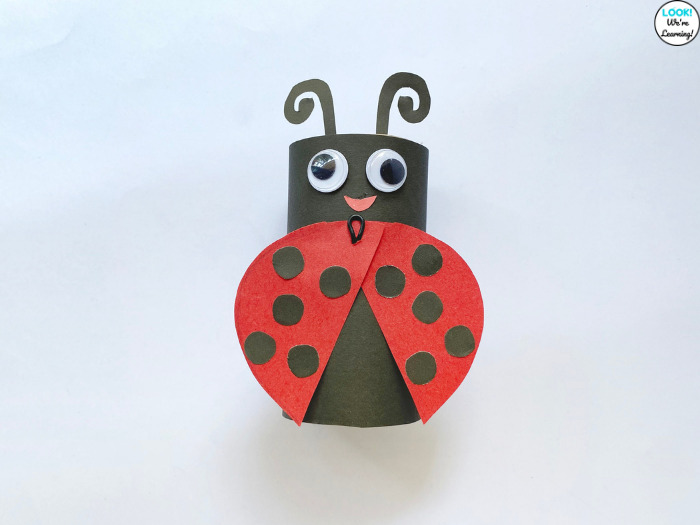
All that’s left to do now is to add the face!
The templates include paper eyes, so you can have students use those. Or you can stick a pair of wiggly eyes on instead.
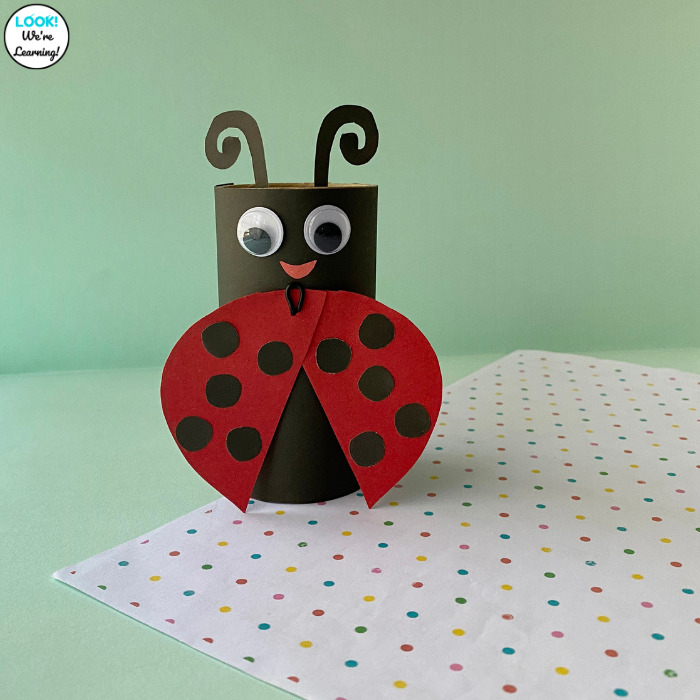
Then cut out a small smile.
Glue it on and we’re all done!
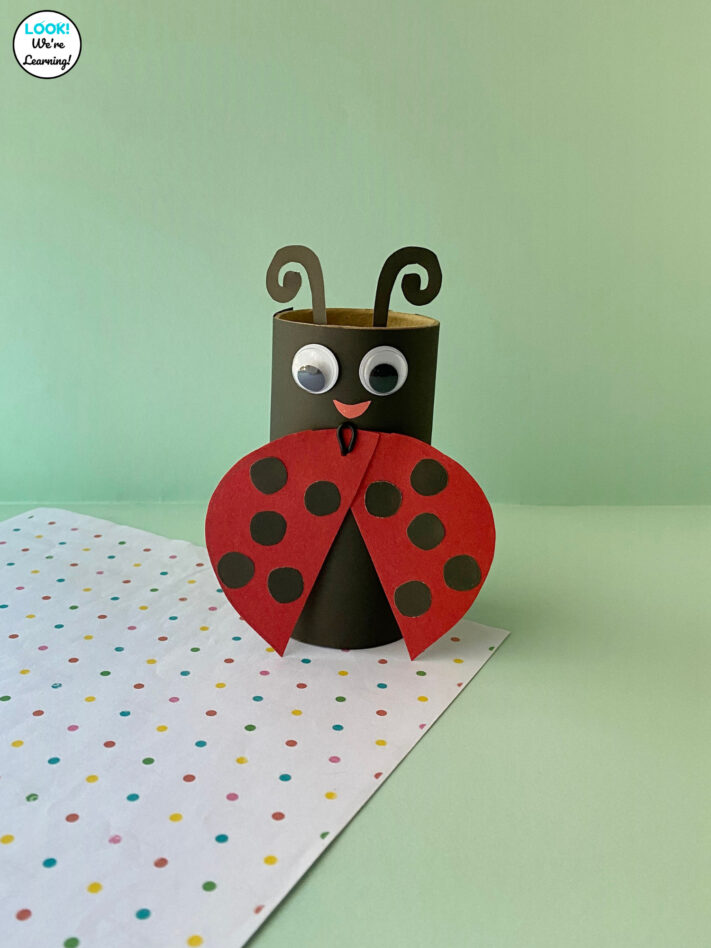
Ta-da! Let students make their bugs fly by moving the wings out and in.
See the printable toilet paper roll ladybug craft project instructions below!
Easy Toilet Paper Roll Ladybug Craft for Kids
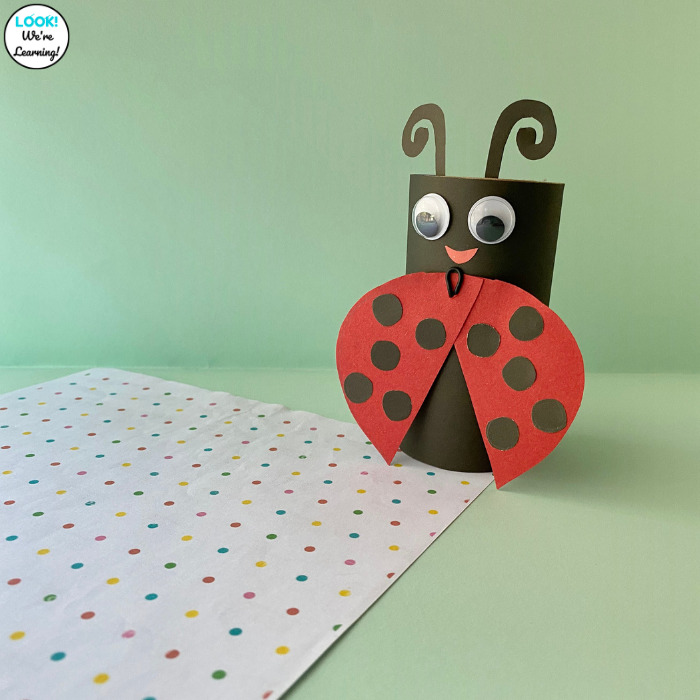
Make up a quick spring animal craft with this fun toilet paper roll ladybug craft! The wings actually move!
Materials
- Empty toilet paper roll
- Construction paper
- Printer paper
- Wiggly eyes
- Plastic wire
Tools
- Printer
- Scissors
- Glue stick
Instructions
- Start by printing the Blackline Ladybug Craft Template or the Color Ladybug Craft Template. (If you use the blackline version, have students color the pieces before proceeding.)
- Trace the template pieces onto construction paper and cut them out.
- Wrap the body piece around the empty toilet paper roll. Use glue to secure the ends.
- Use a sharp point to poke a hole in the top 1/3 of the toilet paper roll. (Only adults should complete this step.)
- Cut a piece of plastic wire and bend it into a narrow semicircle.
- Overlap the ladybug's wings and poke a small hole through both of them.
- Press the open ends of the wire together and push the closed ends through the hole in both wings.
- Glue the ladybug's spots onto each of the wings.
- Press the closed end of the wire (with the wings) through the hole in the paper roll. The wings should appear on the front.
- Glue the antenna onto the inside front edge of the paper roll.
- Add wiggly eyes.
- Cut out a small smile and glue it under the eyes.
Notes
Make an entire family of ladybugs! Try letting students choose different colors or make different facial expressions.
Try some of these other spring animal crafts for kids too!
Leave a Reply