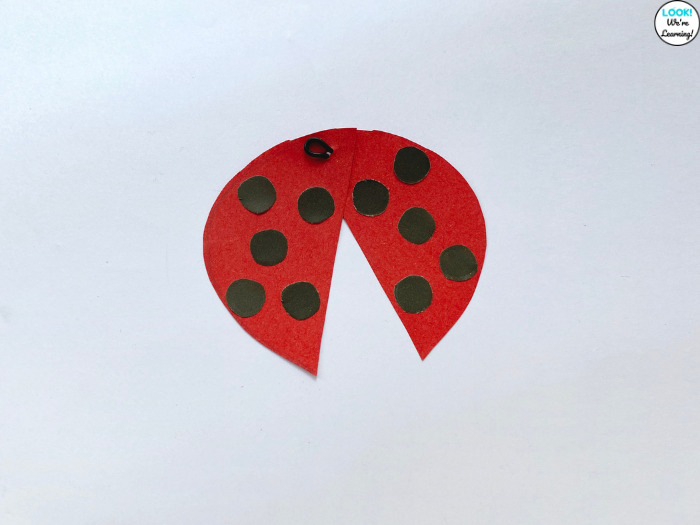
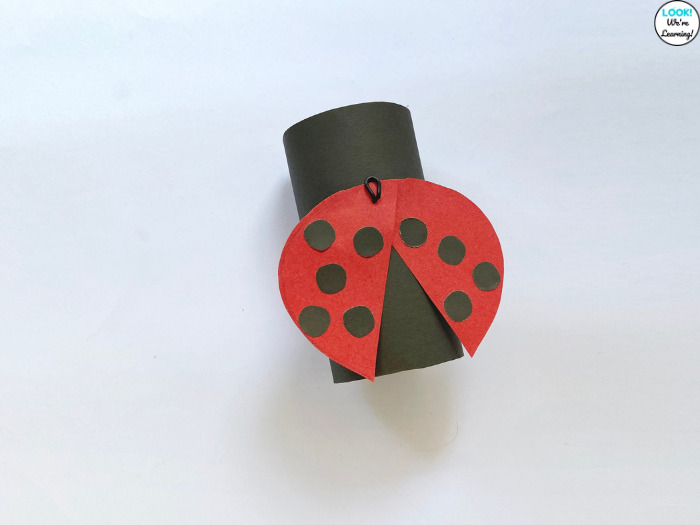
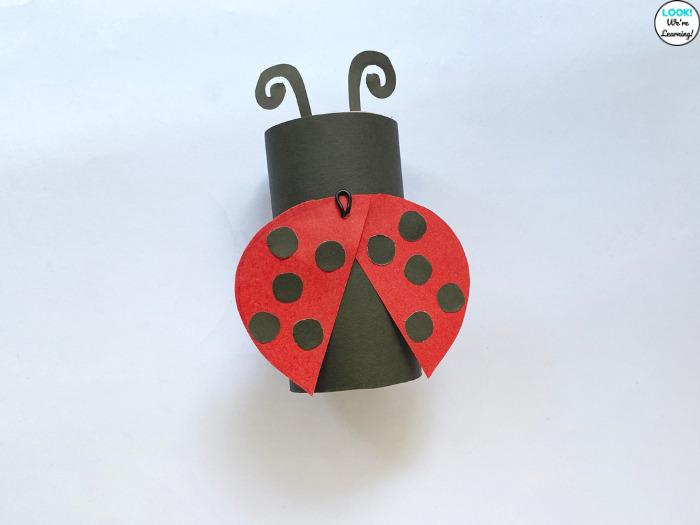
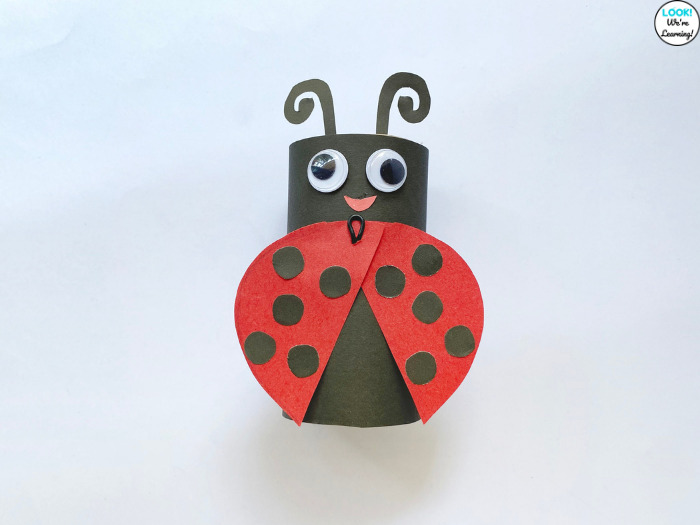
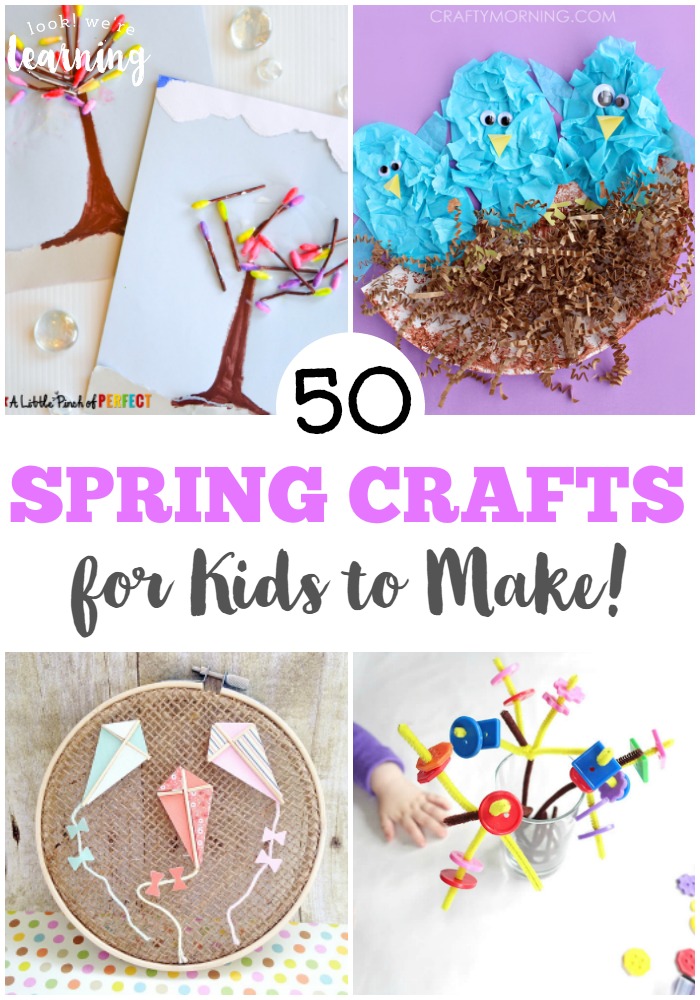
The air is still cold, but spring is right around the corner!
Before we know it, we’ll be seeing birds migrate back. And it won’t be long after that before we hear the chirps of baby birds.
Which is why I wanted to share this simple spring animal craft – a toilet paper roll chick craft for kids to make!
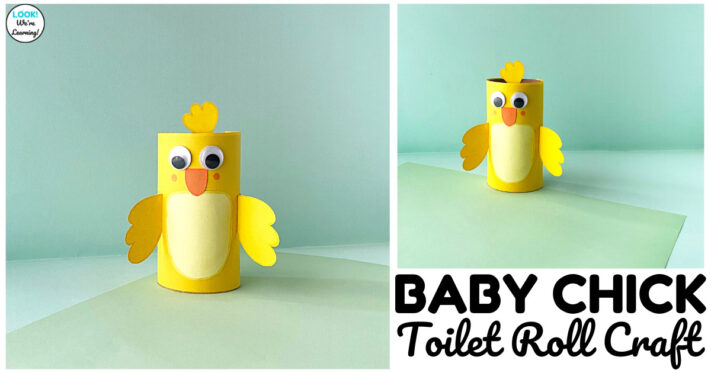
This is a super easy spring kids’ craft that only takes a few supplies you already have.
Always a plus in my book.
It would make an excellent addition to a spring unit or a farm unit (in either spring or fall) as well!
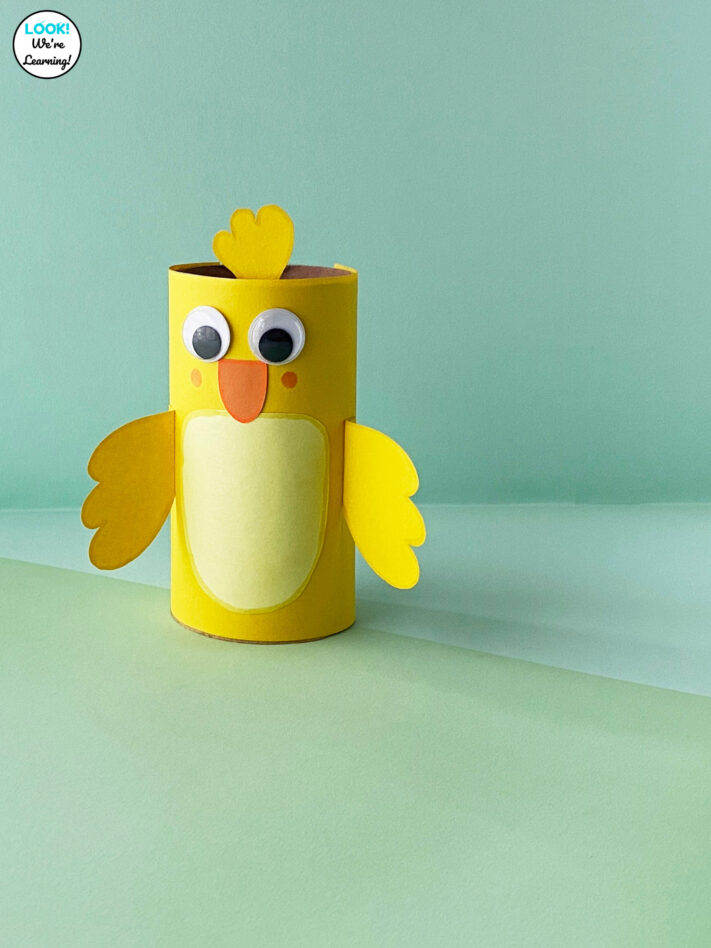
Read on to get the instructions and the free printable craft template.
Need more fun early learning ideas for spring? Take a look at our printable Farm Dot Shape Mats too!
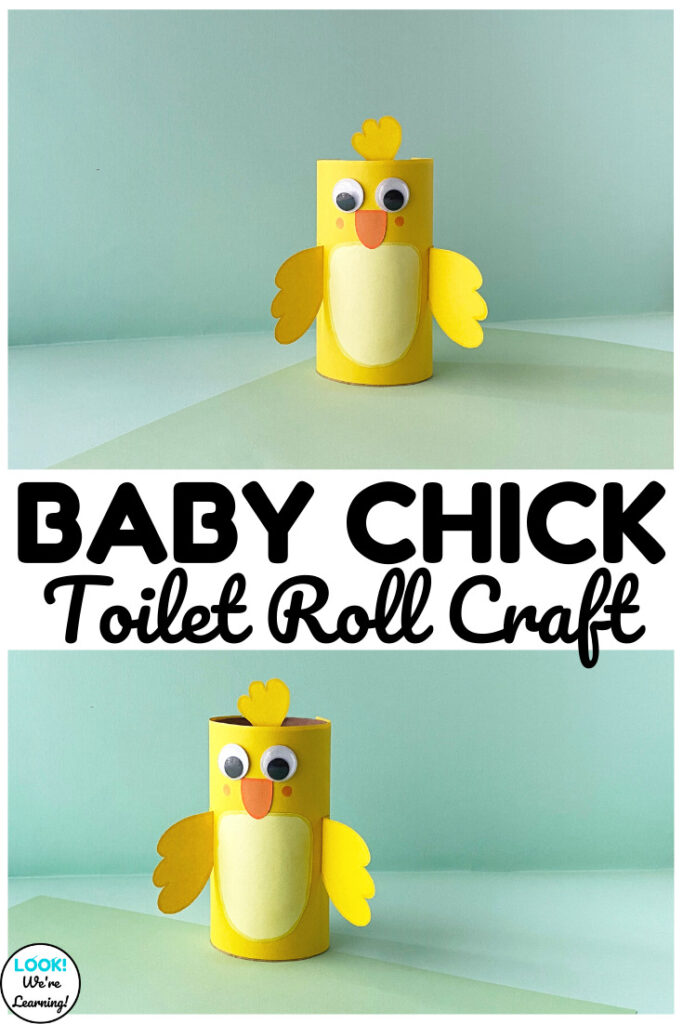
Easy Toilet Paper Roll Chick Craft for Kids
To make this toilet paper roll chick craft, you’ll need the following: (Affiliate links are listed below. For details, see our Disclosure Policy.)
- Empty toilet paper roll
- Colored craft paper
- Craft glue
- Child-safe scissors
- Washable markers (optional)
- Wiggly eyes (optional)
- Printable Toilet Paper Roll Chick Template (color)
- Printable Toilet Paper Roll Chick Template (black/white)
- Printer (with ink)
- Printer paper
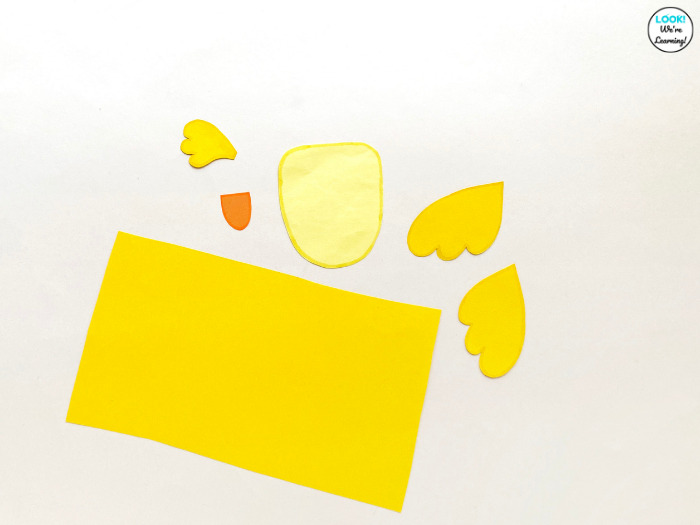
Once you’ve printed out the color or the black/white chick craft template, use scissors to cut out each piece.
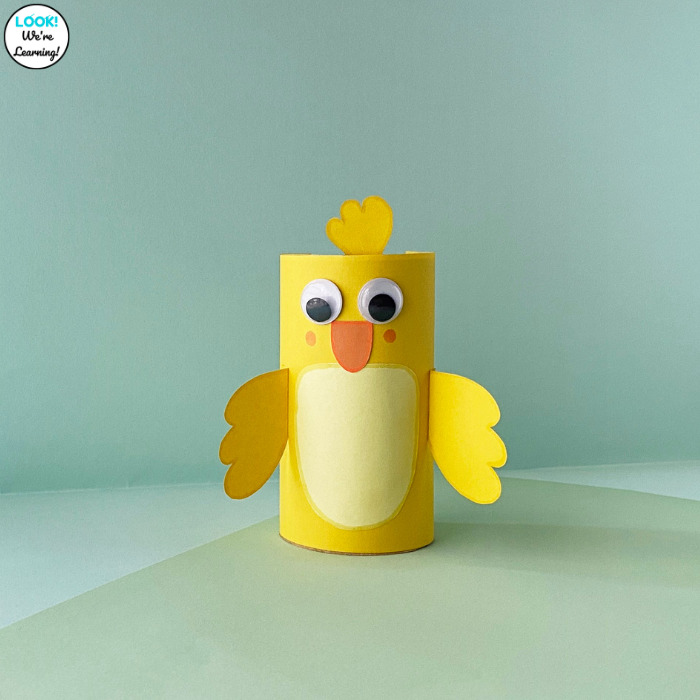
You’ll notice that there are eyes included on the template. So you can cut those out and simply glue them on the finished chick.
Or you can use wiggly eyes instead.
How to Make a Toilet Paper Roll Chick Craft
Now that you have all of the craft template pieces cut out, you can trace them onto craft paper. Then cut them out and you’re ready to get started!
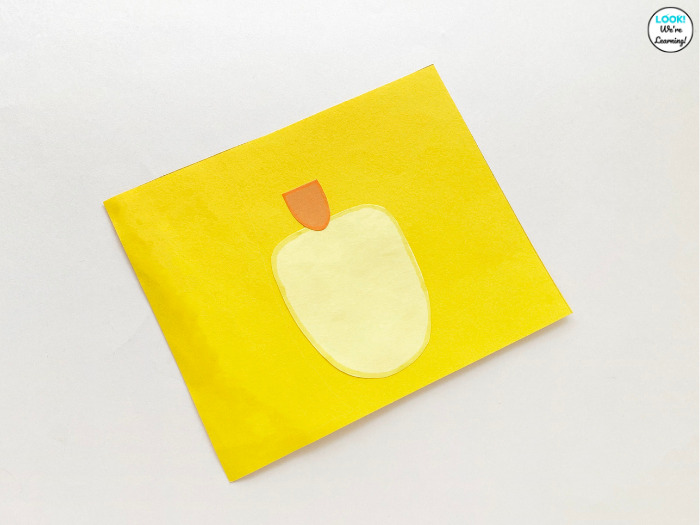
Begin by gluing the beak and chest pieces onto the center of the body piece.
You’ll want to glue the chest on first, then add the beak so that it overlaps.
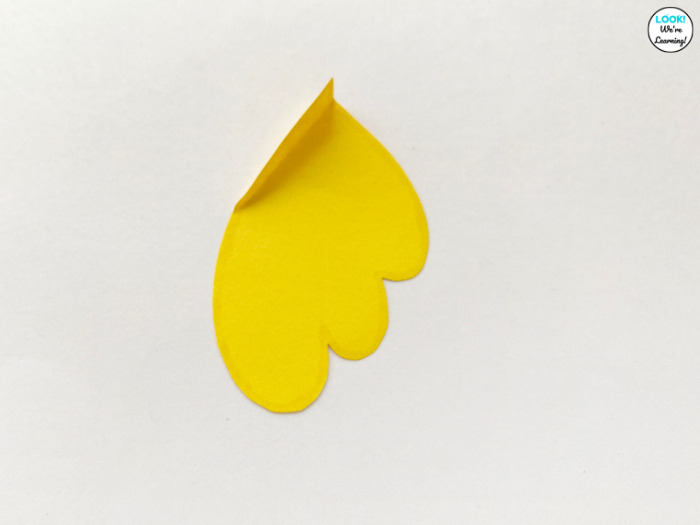
Fold each of the wing’s flat edges up. They’ll be used to attach the wings onto each side of the chick’s body.
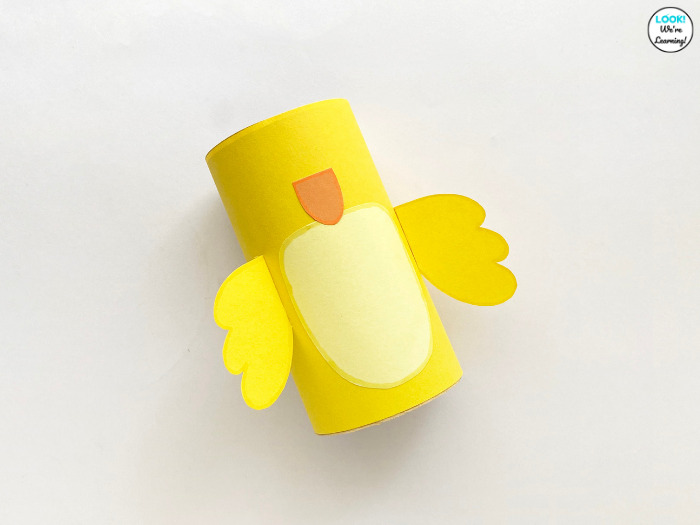
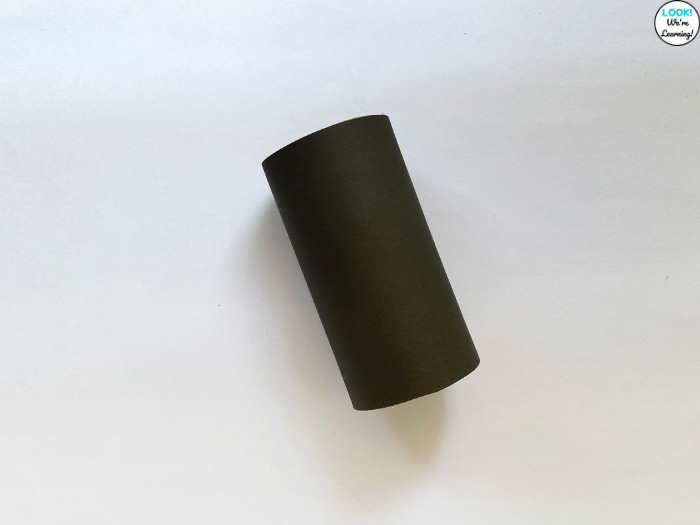
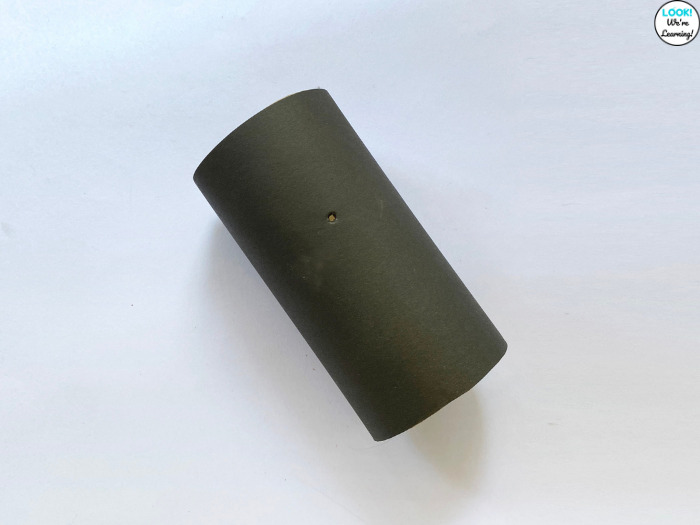
Wrap the body piece around the empty toilet paper roll and secure it with glue in the back.
Then glue the flat wing edges against each side of the body so that one wing is on the left and the other on the right.
We’re almost done!
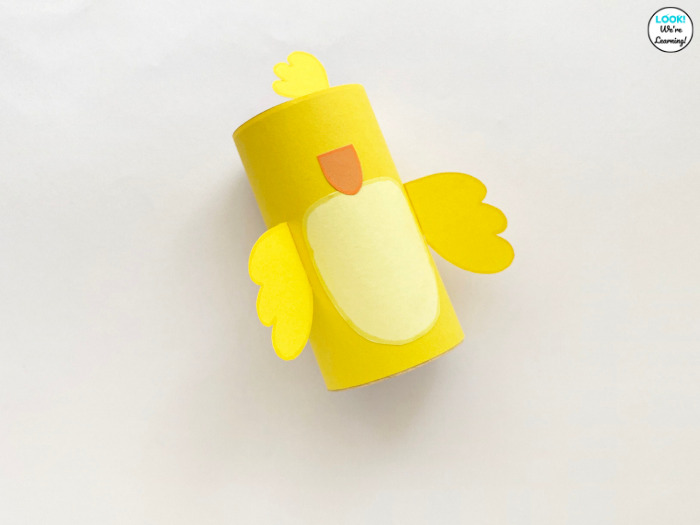
Attach the “comb” (the crest at the top) by gluing it inside the top of the toilet paper roll.
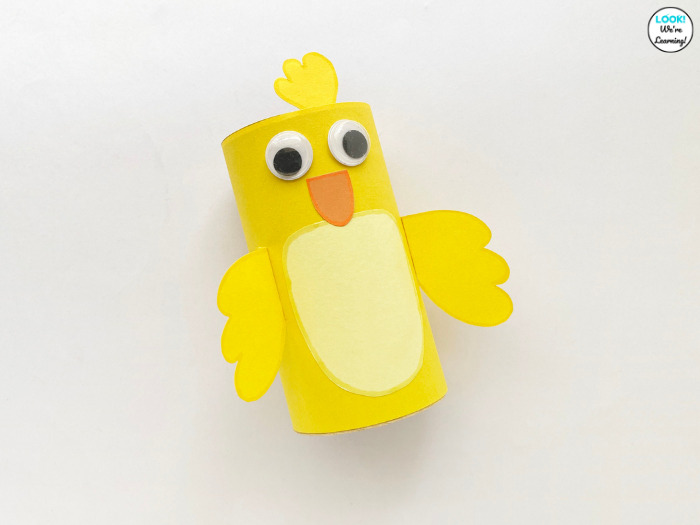
Then add the wiggly eyes! Or you can add the eye template pieces if you cut those out instead.
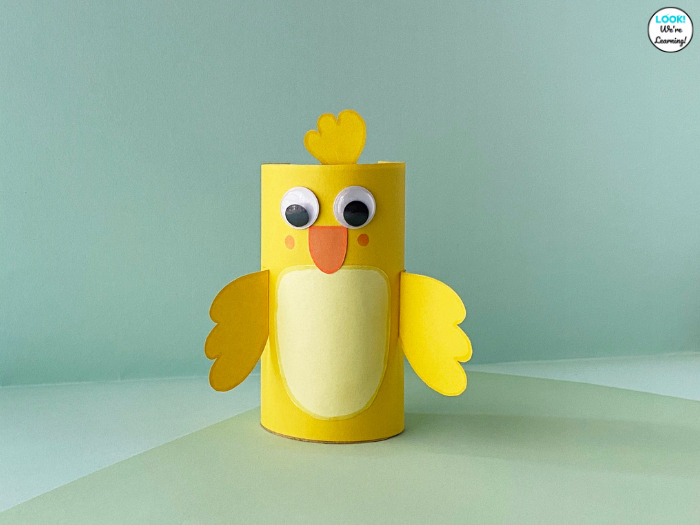
Ta-da! We’re finished!
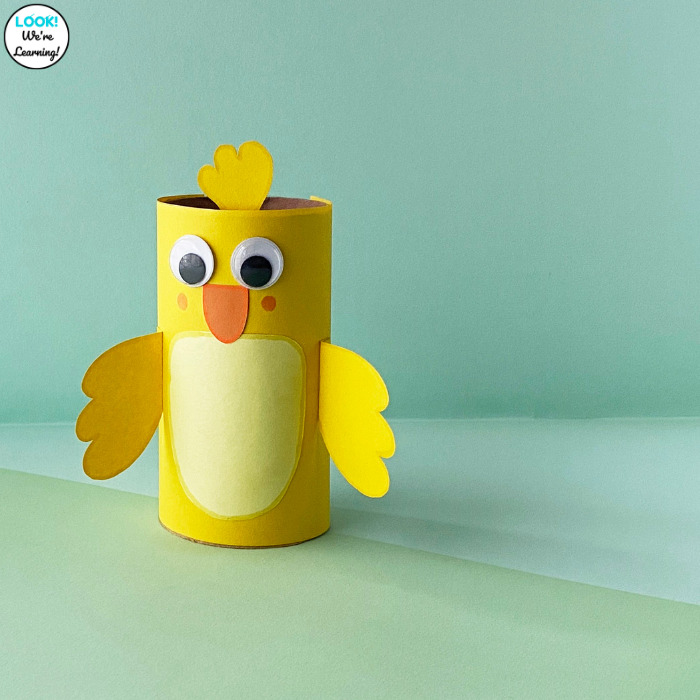
If you decide to use the black and white version of the template, kids can color each piece before they put the chick together.
This is a perfect spring craft for parents’ night! Your class can make an entire brood of chicks!
See the printable instructions for this toilet paper roll chick craft below.
Easy Toilet Paper Roll Chick Craft for Kids

Make up this simple toilet paper roll chick craft for a spring or farm animal craft with young learners!
Materials
- Toilet paper roll
- Empty toilet paper roll
- Colored craft paper
- Craft glue
- Washable markers (optional)
- Wiggly eyes (optional)
- Printable Toilet Paper Roll Chick Template (color)
- Printable Toilet Paper Roll Chick Template (black/white)
- Printer paper
Tools
- Child-safe scissors
- Printer (with ink)
Instructions
- Print out each the color chick craft template or the black and white chick craft template.
- Cut out each template piece using scissors. (If you are using the black and white template, you may want to color the pieces before cutting them out.)
- Trace each template piece onto colored craft paper and cut them out.
- Glue the chest onto the center of the body piece.
- Glue the beak so that it directly overlaps the chest.
- Wrap the body piece around the empty toilet paper roll and glue the edges down in the back.
- Fold the flat edge of each wing piece at a right angle.
- Attach each wing to the left and right side of the body by gluing the folded edges to the body.
- Glue the crest inside the top of the paper roll.
- Add wiggly eyes or glue the eye templates onto the face.
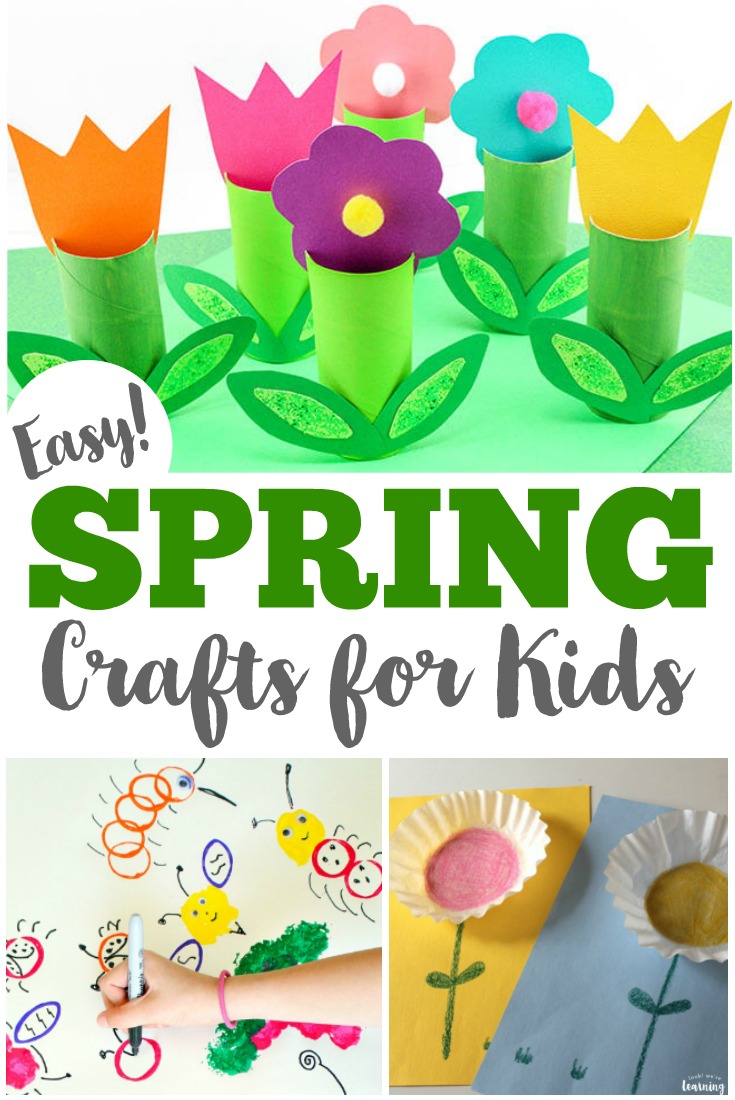
Try some of these other spring craft projects for kids!
