Transportation is one of my very favorite early learning themes.
Preschoolers get so excited whenever it’s time to talk about something that moves. (Maybe because they move so much themselves?)
When I was young, I grew up in a very small town with a train track. Hearing the sound of the train was a pretty common occurrence.
When I was a teenager, my father even turned our entire backyard into a model railroad layout. Honestly, that was a bit too far, but I digress.
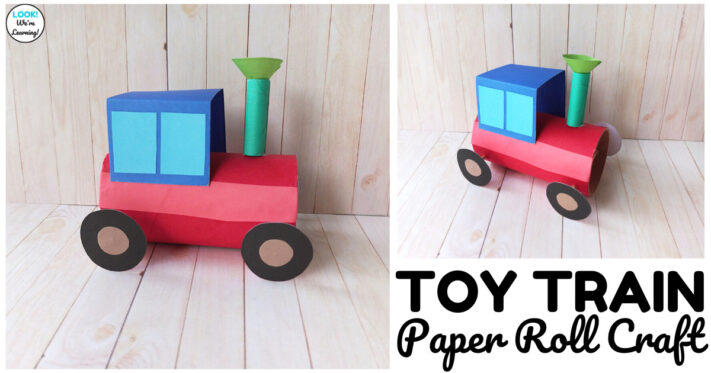
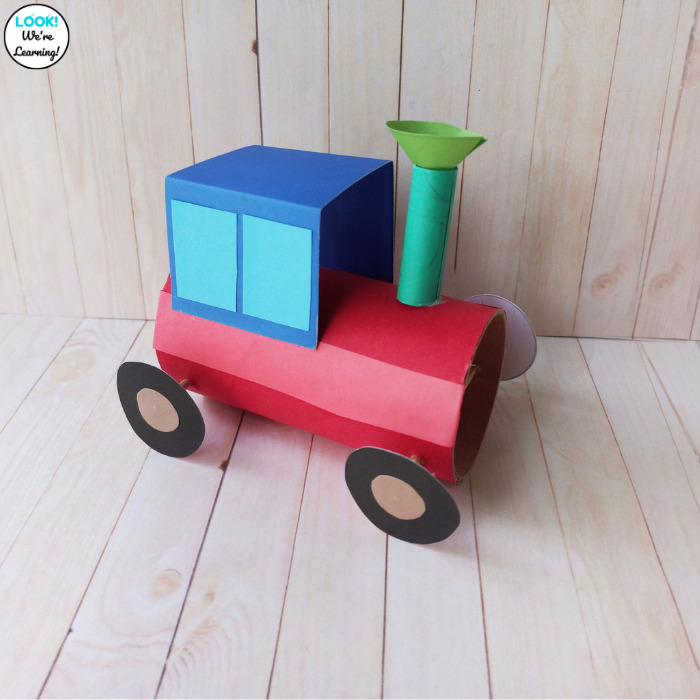
I still love trains. And I thought this fun toy train paper roll craft would make a simple and fun transportation activity to share with all of you!
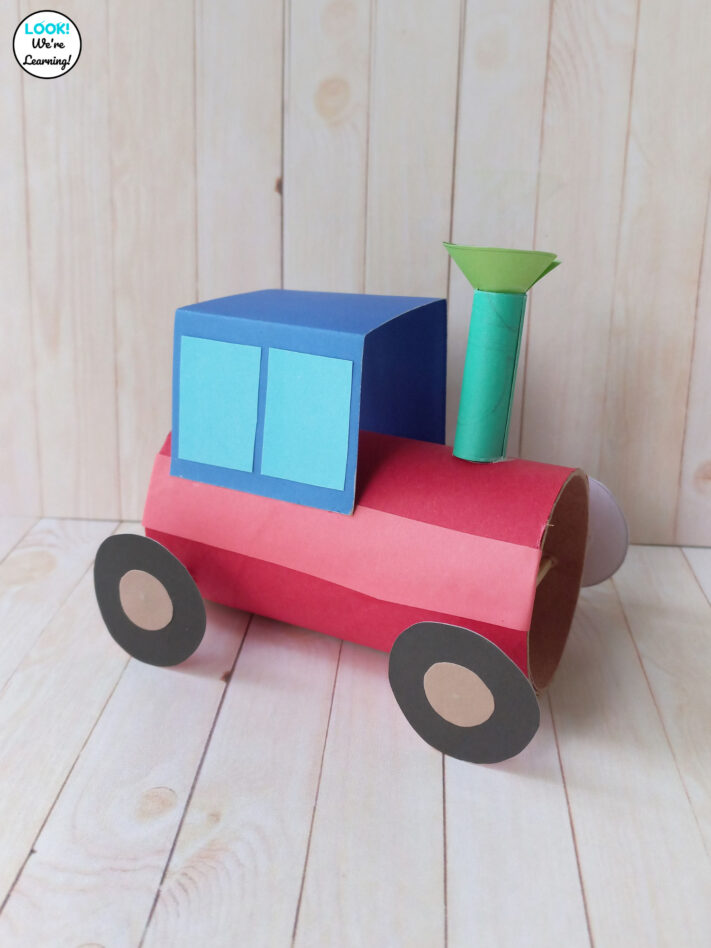
Keep reading to see how to make one with your students.
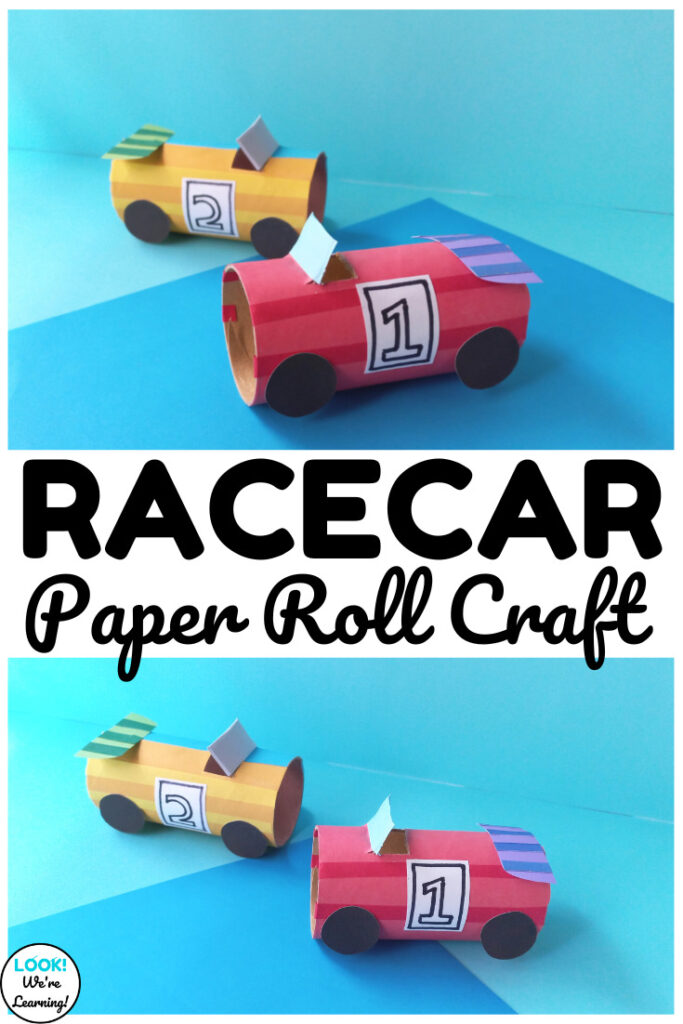
And for more fun with transportation, take a look at our Revving Racecar Scissor Skills Printables!
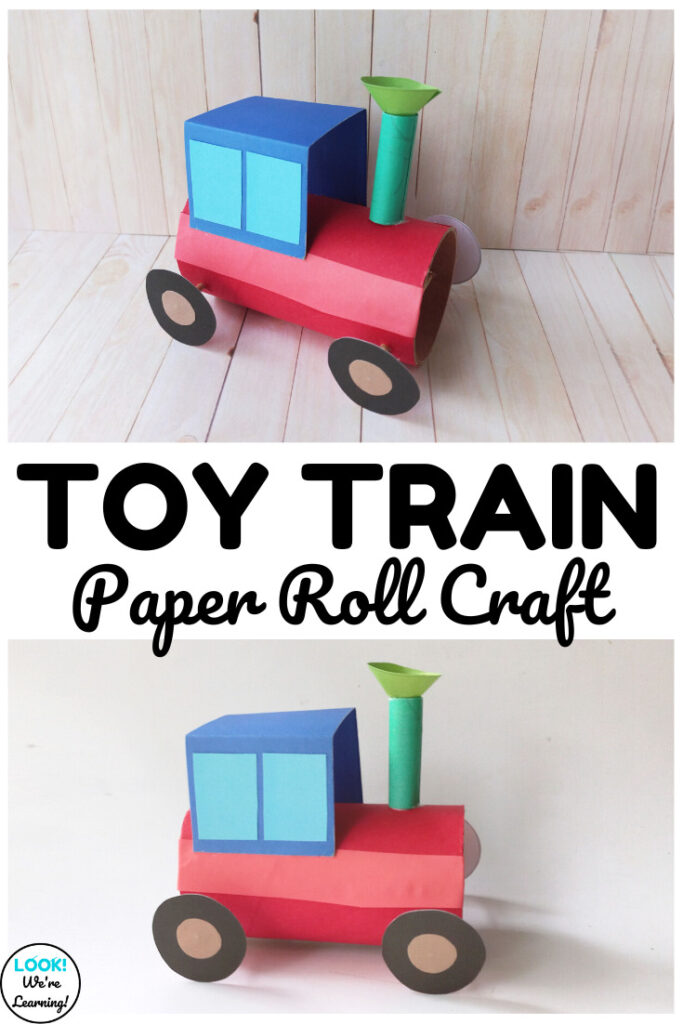
What You’ll Need to Make the Easy Paper Roll Train Craft
To make this toilet paper roll train craft, you’ll need the following: (Affiliate links are used below. For details, see our Disclosure Policy.)
- Colored craft paper
- Pencil
- Scissors
- Craft glue
- Toothpicks
- Toilet paper roll
- Printer (with ink)
- Printer paper
- A copy of the Toy Train Paper Roll Craft Printable Template
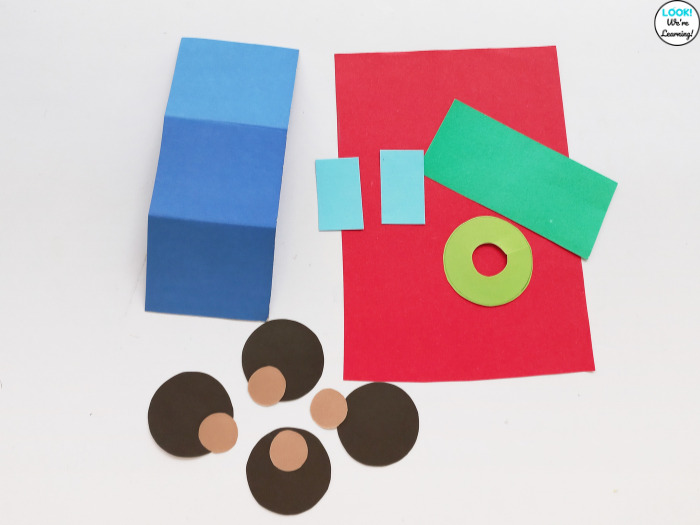
Once you’ve printed the paper template, use a pencil to trace the individual pieces onto colored craft paper. Then cut each piece out.
If you’re working with very young children, you may want to do this step yourself before you begin the activity.
After you’ve cut out all the pieces, you’re ready to go!
How to Make a Train Paper Roll Craft for Kids
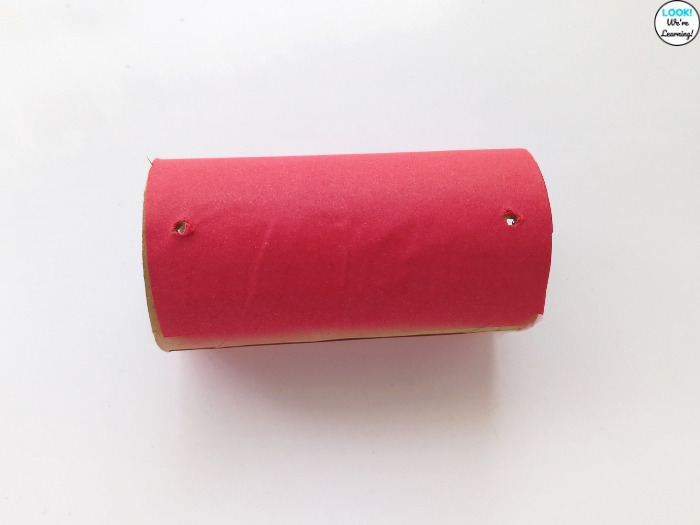
Glue the body of the train around the empty paper roll to form the train chassis.
Use the end of the scissors to poke holes through the paper roll.
You’ll need a total of four holes – one for each train wheel. (This step should be done by an adult.)
Now it’s time to make the train “wheels”.
Glue the small circles onto the larger circles to form the wheels.
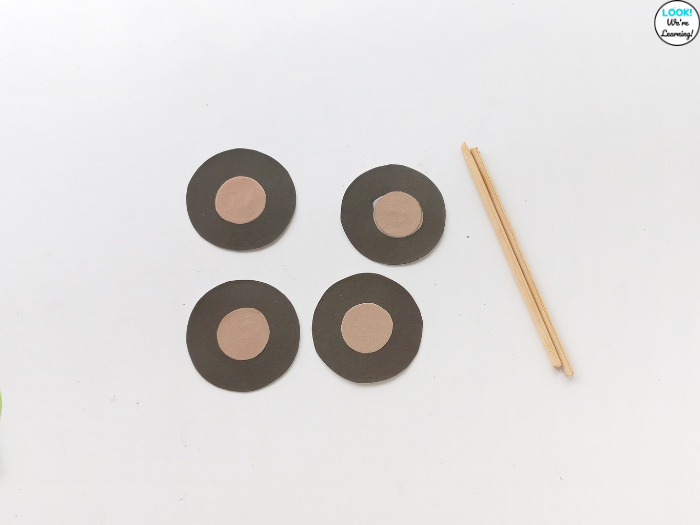
Attach a toothpick to the end of one wheel using craft glue.
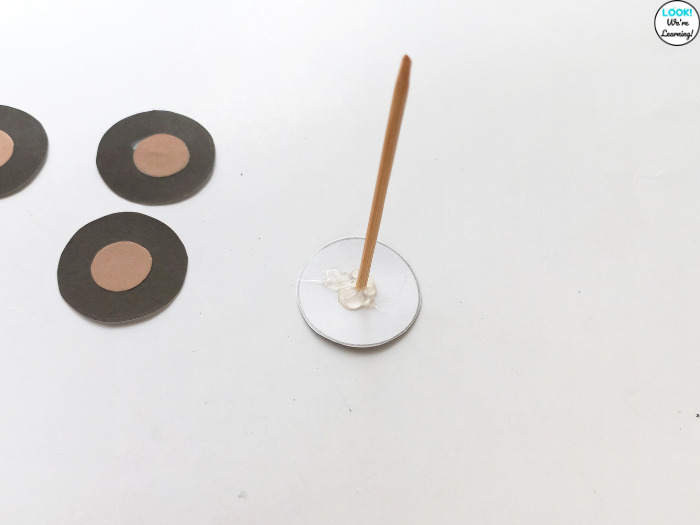
Insert a toothpick through the hole on one end of the paper roll and push it through to the hole on the other side.
Attach the second wheel to the open end of the toothpick.
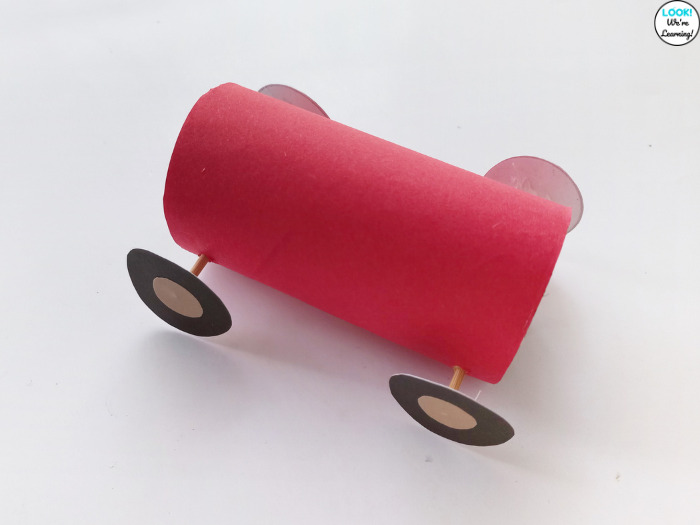
Do the same on the other side to form the second set of wheels.
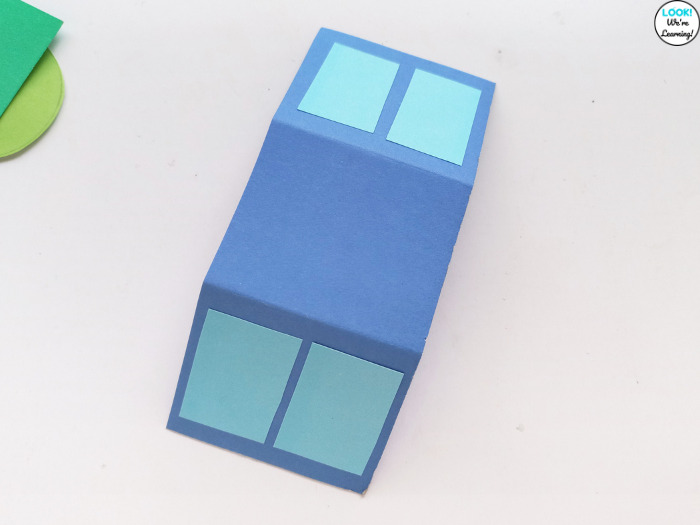
Now, make two fold lines in the train “top” piece.
Glue the four smaller rectangles on each end – two on each side. These are the train “windows”.
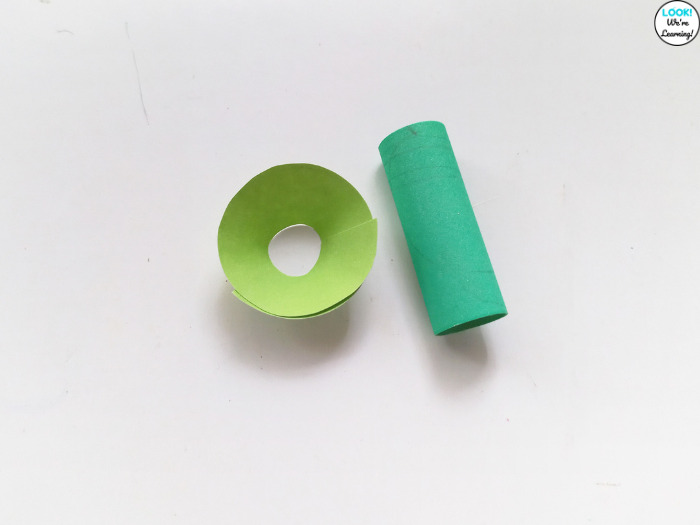
Finally, you’ll make the funnel.
Fold the smaller cylindrical piece into a tube and secure the end with craft glue. Fold the top funnel piece into a circle and glue the ends together.
Glue the two pieces together to form the funnel.
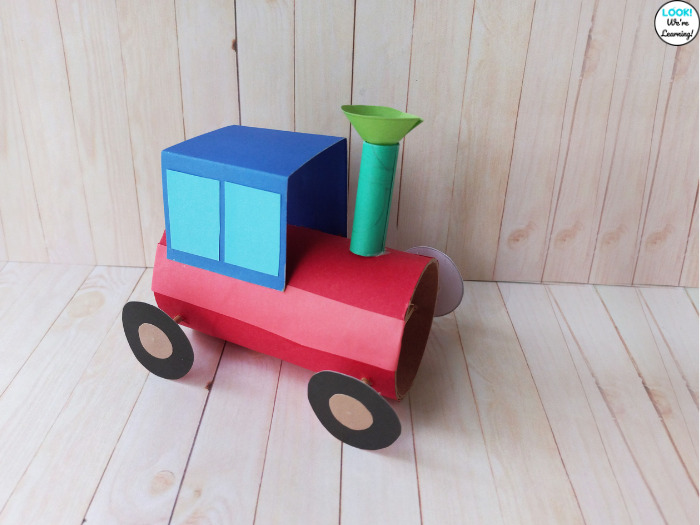
All that’s left now is to glue the cabin and the funnel onto the train!
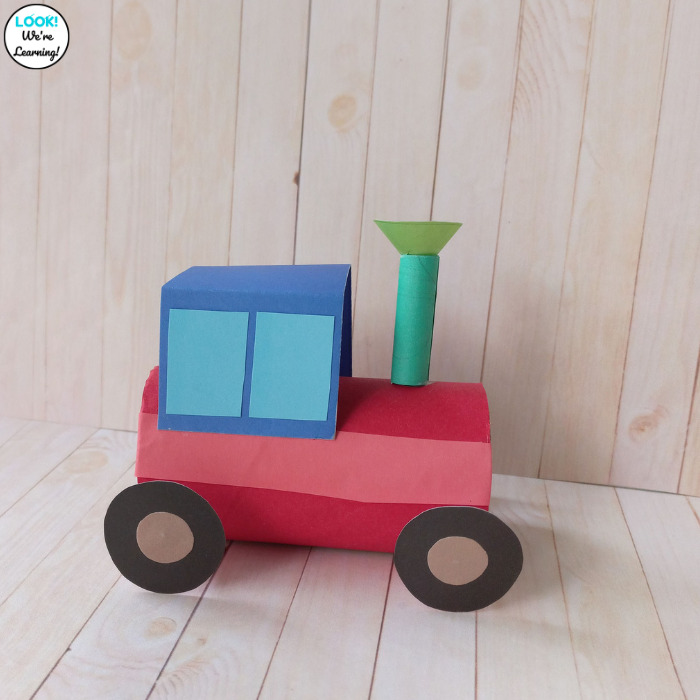
Such a cute train craft to make with little ones!
Looking for more activities about things that go? Try these transportation theme activities for early learners!
Leave a Reply