I’m kind of an old, so the whole concept of 3D printing is still kind of “weird science” to me. But 3D printing holds a LOT of promise. Scientists are even trying to use the technology to make organs for organ transplants!
So it’s worth it to introduce it to kids. And that’s why I was excited to get a chance to try the Atmosflare 3D Drawing Pen! While it’s an artistic tool, it’s also a cool way to introduce 3D printing for kids! Take a look at how the pen works below!
Disclosure: I received this product in exchange for this post and I was compensated for my time. All opinions are my own and I was not required to post a positive review.
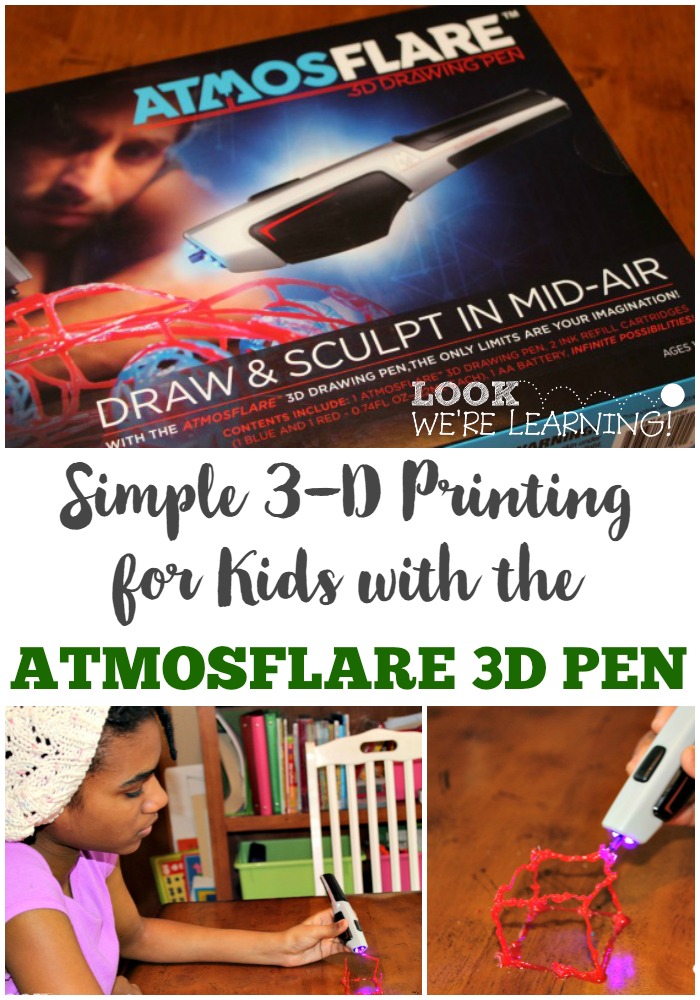
How the Atmosflare 3D Pen Introduces Kids to 3D Printing
In short, 3D printing works by layering molded plastic into a specific design shape to make a product. And that’s how the Atmosflare 3D Drawing Pen works as well!
For me, understanding how 3D printing works was a bit…difficult. But when I broke it down into steps (design, layer, create), it made more sense. And that’s why using the Atmosflare pen is a simple introduction to how 3D printing works: you can use the exact same steps!
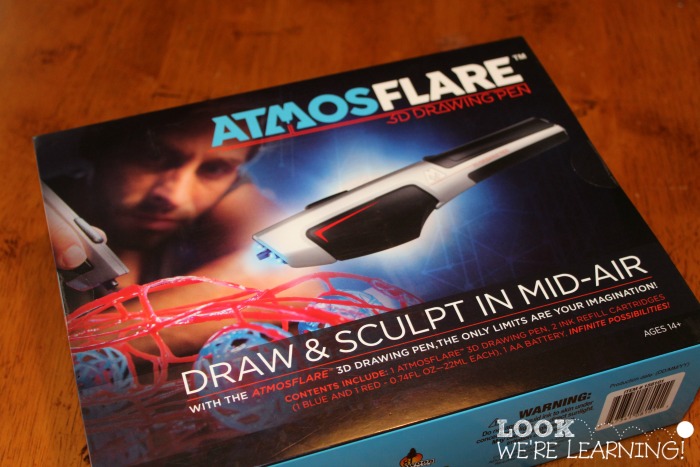
As you can see, the Atmosflare pen comes with the pen, two ink cartridges (blue and red), and a battery.
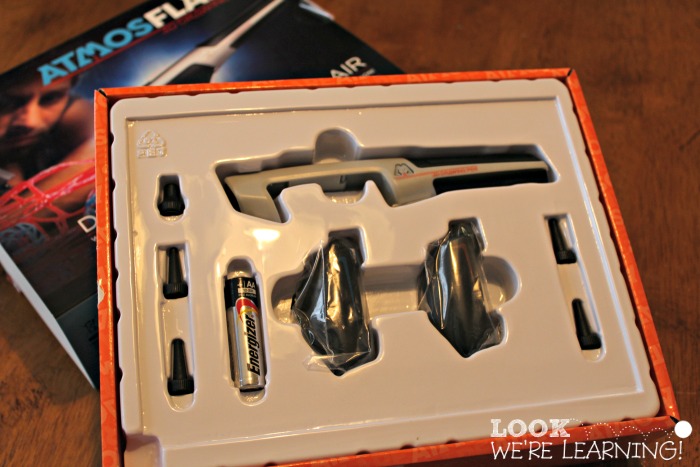
In the box, there are all the pen components and a very simple instruction diagram. But if you’re unsure how to assemble the pen, you can find instruction videos directly on the Atmosflare website.
How to Use the Atmosflare 3D Drawing Pen
So, here’s my take on the Atmosflare pen: simple to assemble, not so simple to master.
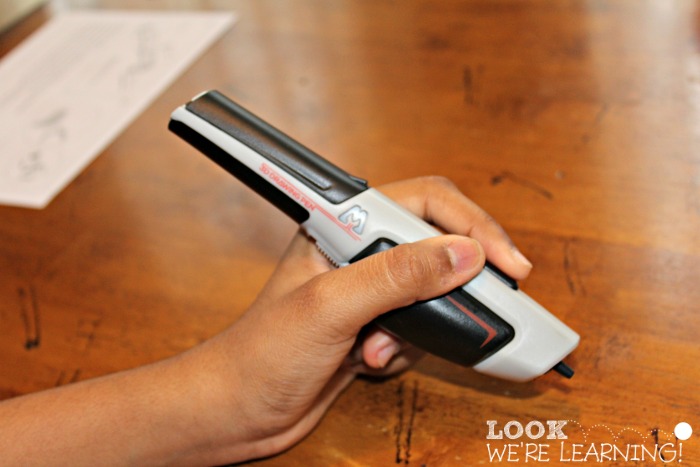
As you can see, it fits nicely in your hand – just like a pen. To use the pen, you just squeeze the ink cartridge between your fingers….
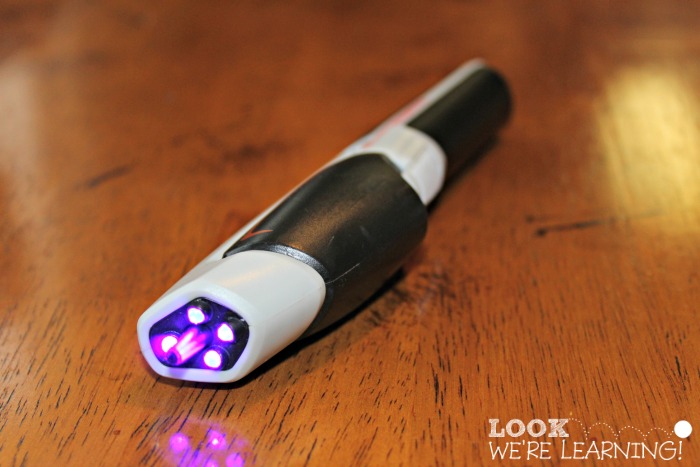
and hold down the light curing button on top to harden the ink as it flows out.
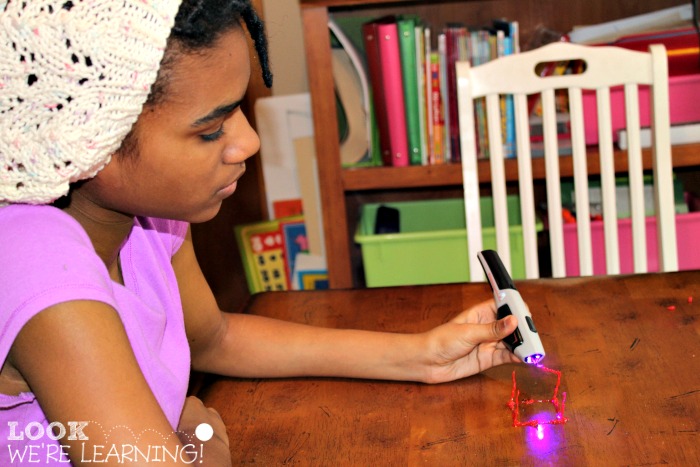
After a few practice shots, we built a simple 3D shape – a cube.
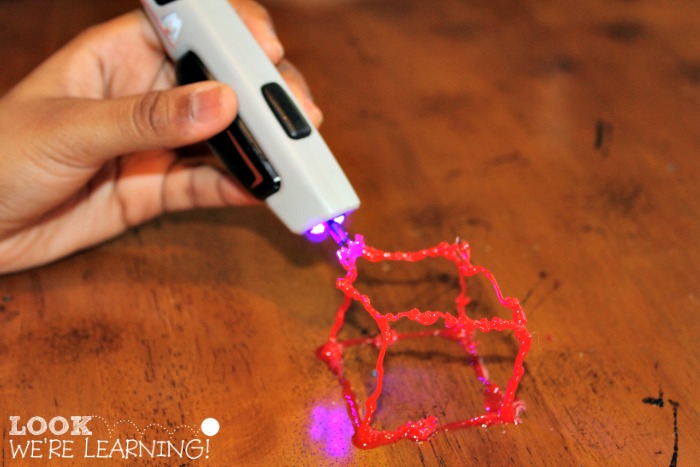
We established a base, drew the sides, and then connected the top. We had to add a bit more ink at the corners to hold it together.
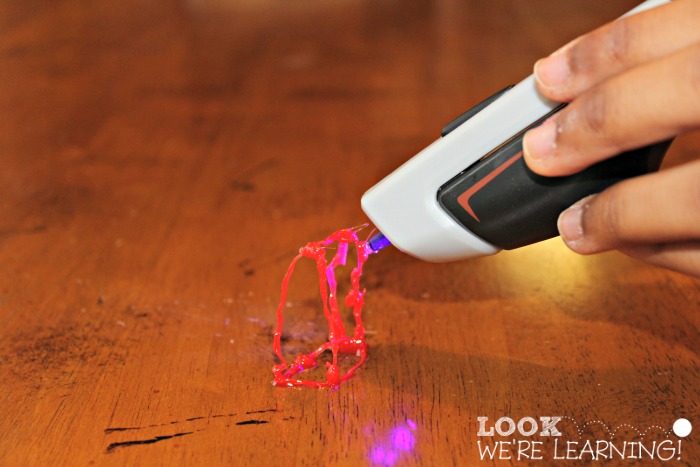
On to our first structure!
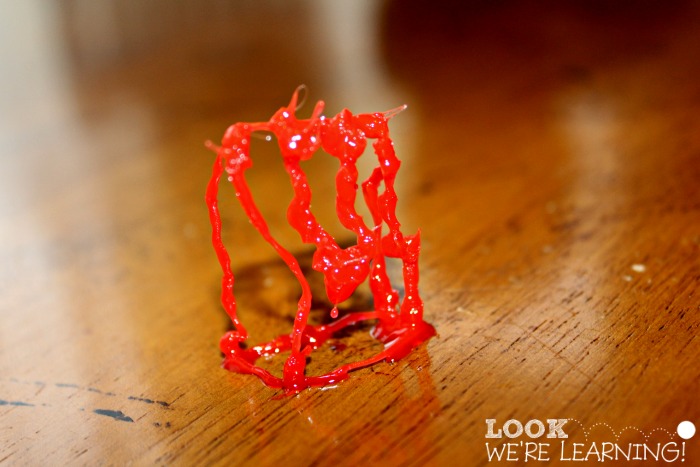
It’s a swing set! Kind of…
This pen is a lot of fun to work with, but it takes some practice to learn to use it properly. So if you have a child who’s easily frustrated, prepare him or her in advance for the fact that it will take a while to learn how to actually make something with the pen.
Atmosflare 3D Pen Usage Tips:
There is definitely a learning curve with the Atmosflare 3D Pen, so you can find helpful instruction videos on the company website. But here are a few tips we picked up as we used it:
- Decide what you’re going to make before you begin. Once you start using the pen, it’s kind of hard to improvise without making a mess. Have an idea in mind before you start.
- Always start with a base. It’s nice to think that you can just start drawing in the air, but you can’t. You need a base first, then you can start building up from there.
- Go slowly. When you push the curing button, the ink tends to harden on the tip and clog. So try to work slowly to give the ink a chance to catch up with your movements.
- Work in stages. I found that if you’re creating a structure, it’s best to work on one part at a time. You can even form a complete shape flat on the table and then attach it to another shape by just joining them at a corner and using the curing function on the pen.
Are you ready to introduce 3D printing for kids to your family? You can get an Atmosflare 3D Pen at ToysRUs, Best Buy, Amazon, and from the Atmosflare website!
But if you want to get one for FREE, you can win one in the huge Atmosflare giveaway! 30 winners will get an Atmosflare 3D Drawing Pen absolutely free! Use the giveaway widget below to enter.
For more 3D drawing tips, keep up with Atmosflare using the social media links below!

Leave a Reply