Look! We're Learning!

Early Learning. Happy Teaching.

  • Shop
  • Printables
  • Homeschool
  • Crafts
  • Parenting
  • Blog

Advanced Coding Lessons for Kids with Bitsbox

March 3, 2017 by Selena Robinson Leave a Comment

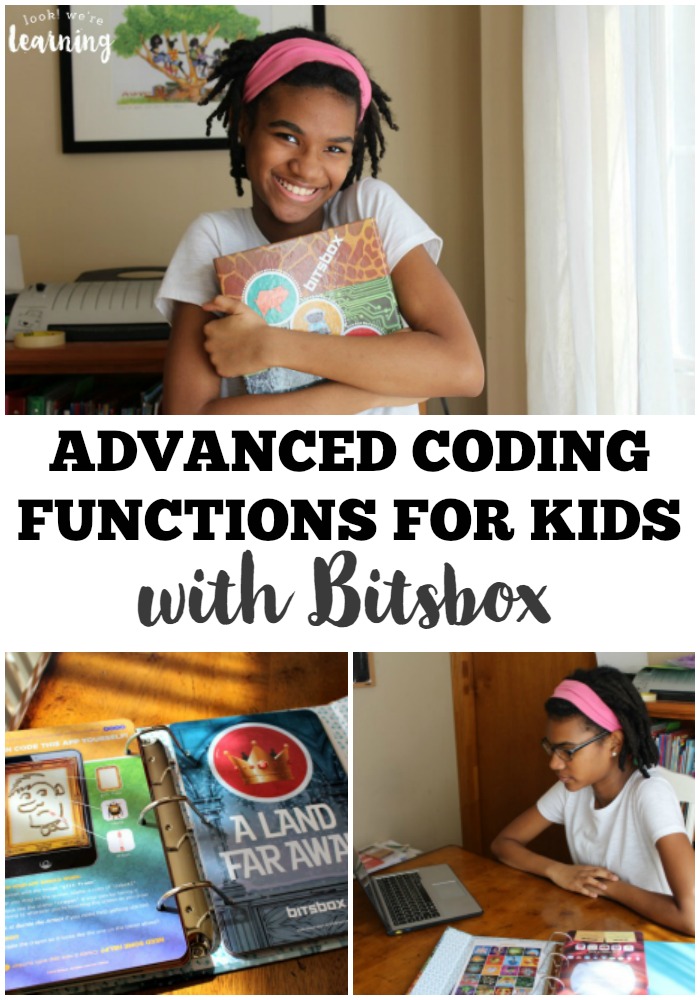
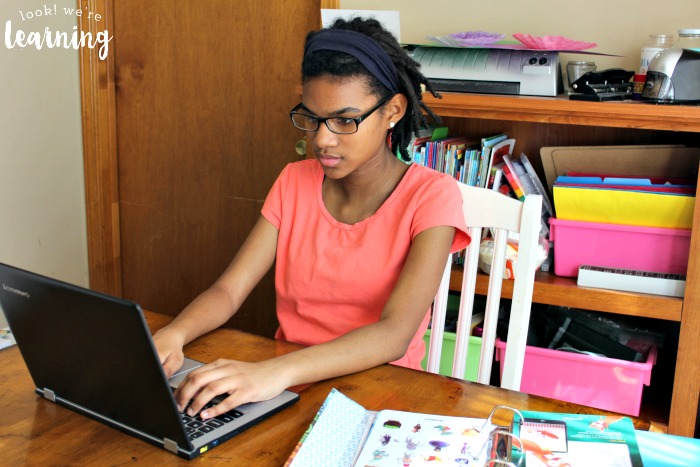
Since we’ve been working on coding with our middle schooler this year, she’s learned how to write code for apps, video games, and more! So in this month’s Bitsbox box, we were excited to see her branching into some advanced coding lessons for kids, including if – else statements and sin() functions.

And to top if all off, she got to explore these coding techniques while creating fun fairy-tale inspired apps and art! See how we used the Bitsbox A Land Far Away box to introduce advanced coding skills with absolutely no tears!

Why Our Kids Love Coding with Bitsbox

If you want to see more Bitsbox coding in action, be sure to check out how we used our first box to introduce coding for kids to our tween and how we used our second box to explore robotics!

Disclosure: I received this product in exchange for this post and I was compensated for my time. All opinions are my own and I was not required to write a positive review.

Learn to use if else statements and other advanced coding functions for kids with Bitsbox!

Bitsbox A Land Far Away Subscription Box Unboxing

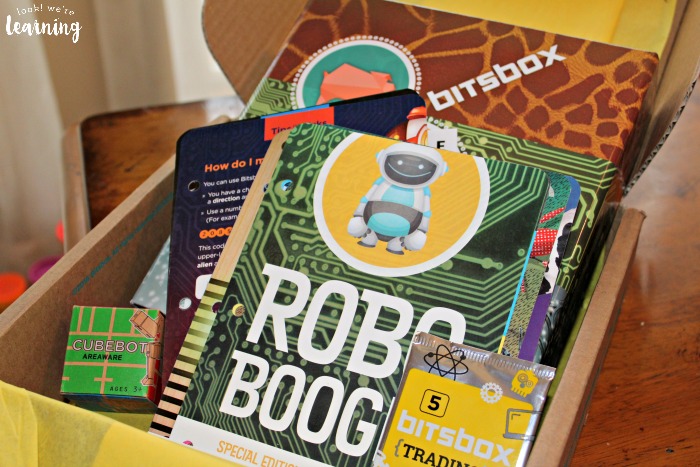
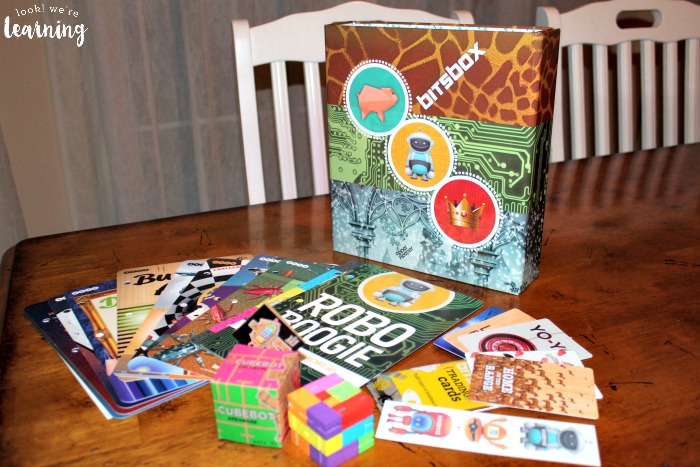
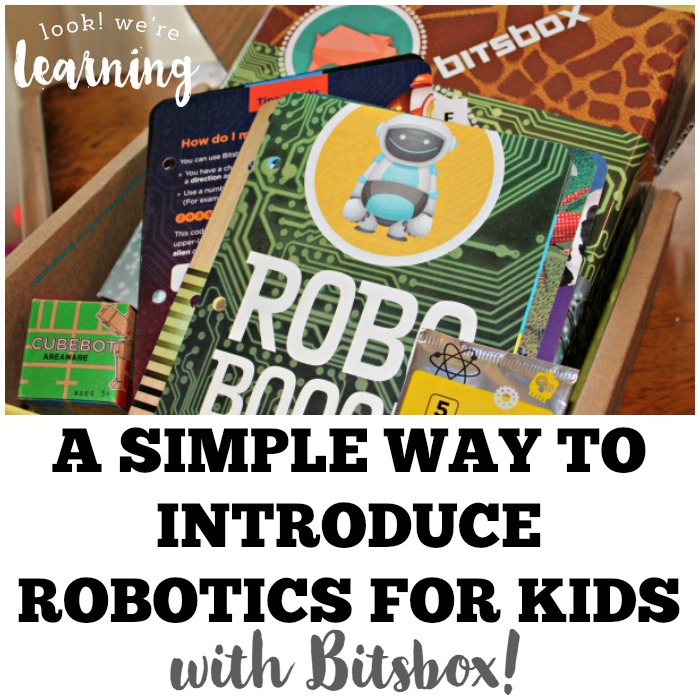
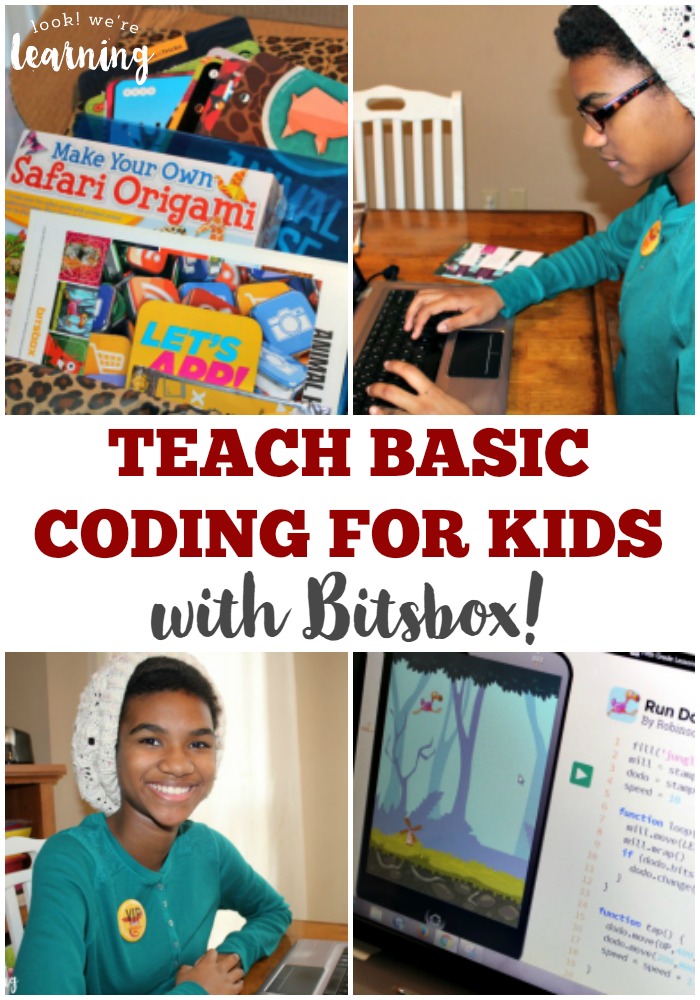
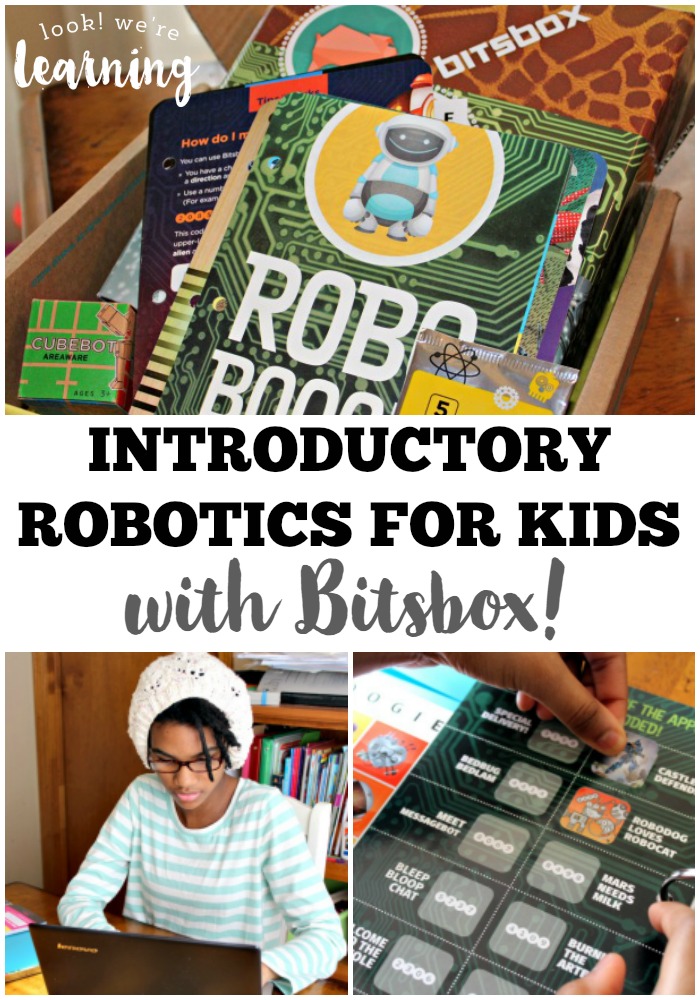
I always like to begin these posts with a look at what’s inside the Bitsbox deluxe subscription box. Each month’s box has a different theme, so when you purchase a Bitsbox subscription, your child get a new set of apps to create based on a new theme in each box. This month’s theme was “A Land Far Away” and all of the apps were inspired by fairy tales.

Bitsbox A Land Far Away Box

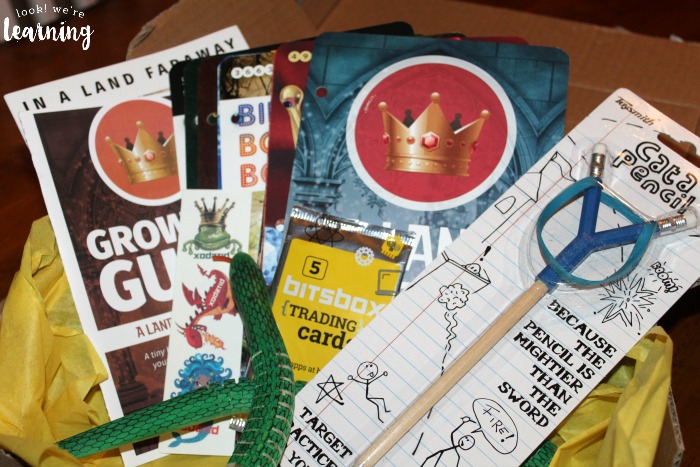
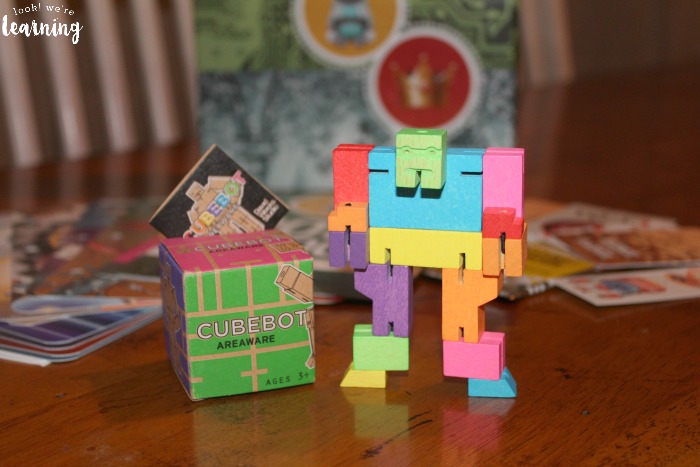
Look at all this coding goodness! What I love about Bitsbox is that they make coding fun for kids, so when you buy the deluxe subscription, you always get a few extra toys along with your coding cards for the month.

Bitsbox A Land Far Away Unboxing

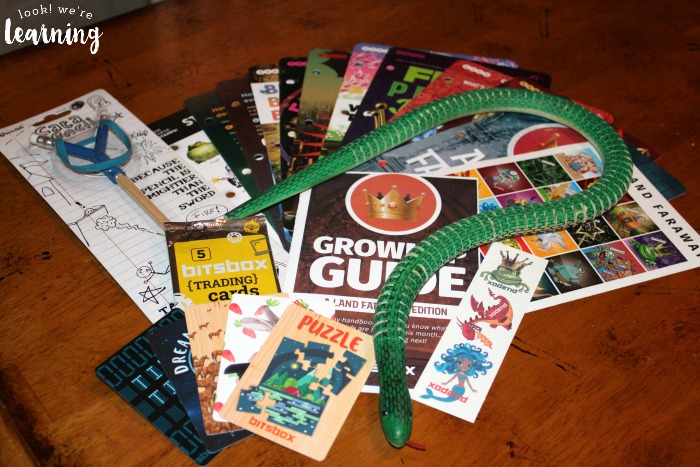
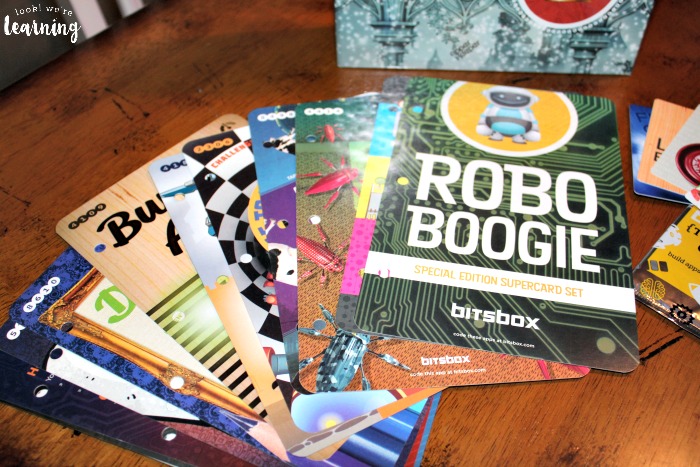
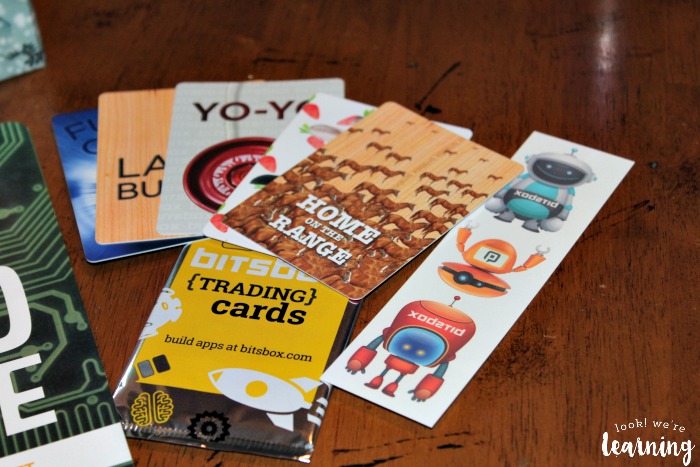
This month we had trading cards for making mini apps, supersize cards for building advanced applications, temporary fairy-tale tattoos, a sheet of app stickers for keeping track of her progress through the unit, a Cata-pencil (yep, you guessed it – a pencil with a catapult on top) and a movable wooden snake.

Shortly after this picture was taken, my sons discovered the snake and ran off with it. I’ll probably never see it again.

Assembling the Bitsbox Binder

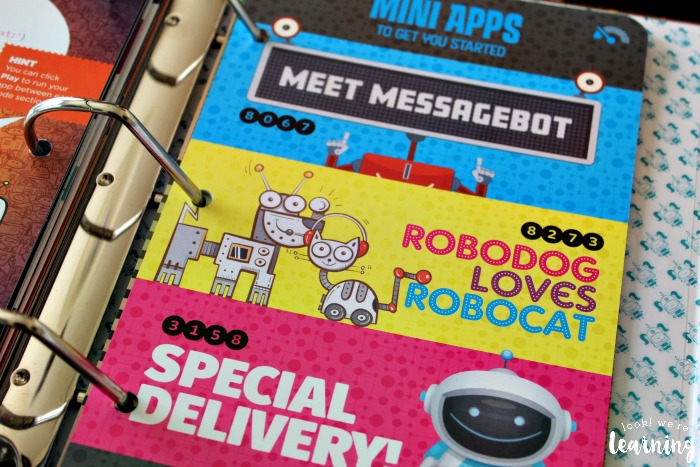
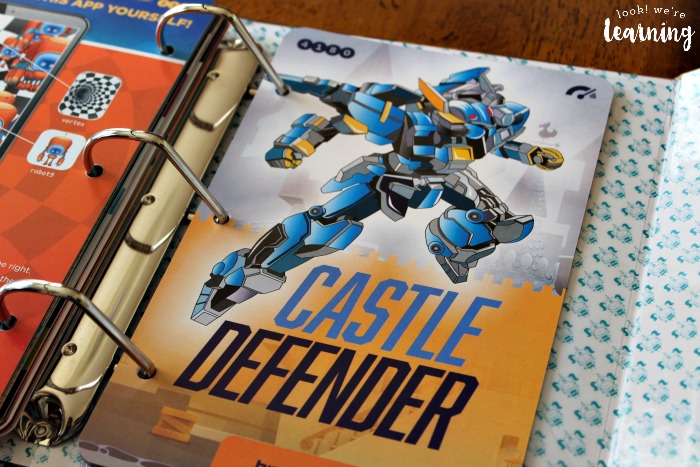
The first thing we did was to add our new coding cards to our Bitsbox binder. We received that along with our second box last month. As we shuffled through the cards, Tigger found two apps she wanted to make right away.

Choosing a Bitsbox App to Code

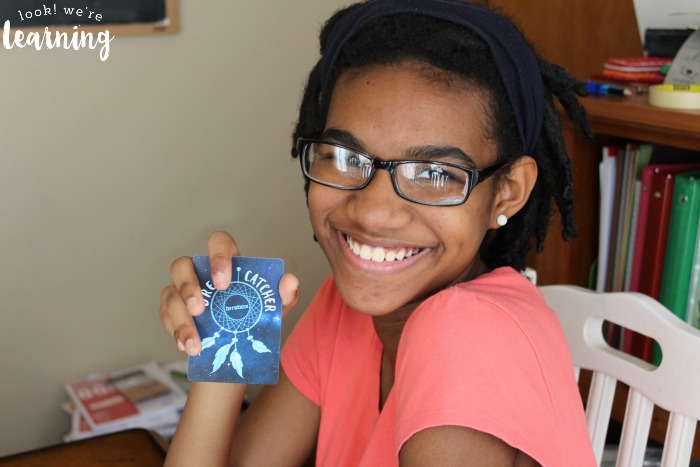
A mini app called “Dream Catcher”.

Exploring Code Functions with Bitsbox

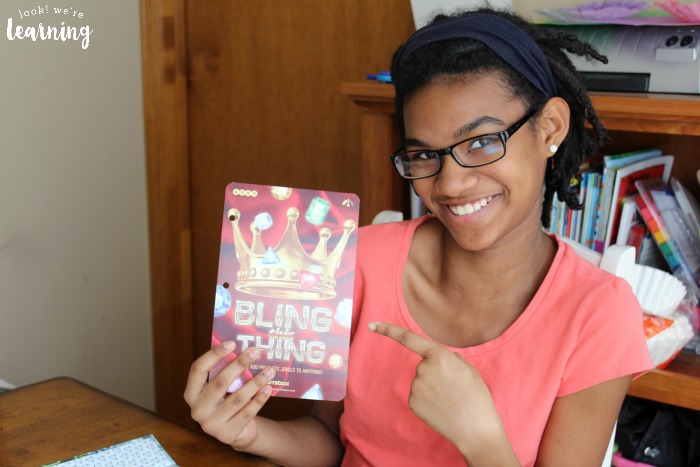
And a supersized app called “Bling This Thing”. Color me surprised.

A Look at the Bitsbox Coding Binder

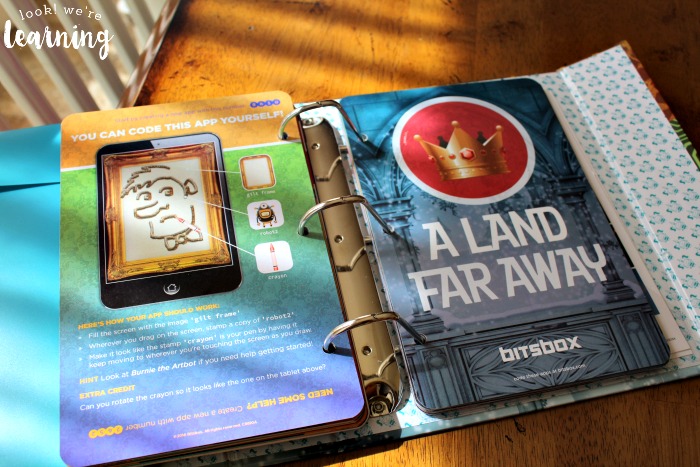
Once we had all of the app cards in the binder, it was time to get started!

Advanced Coding Lessons for Kids with Bitsbox

In the Grown-Up Guide (seen in the unboxing picture at the beginning), Bitsbox adds a bit of explanation for parents about exactly what our kids will learn in this box. By the way, that guide is a life-saver. A lot of us parents are like “Huh?” when we hear coding terminology, so that overview was very helpful.

One of the skills used this month is the if-else statement, which is an important skill to use for JavaScript programming. If-else statements are also used in Microsoft Excel and in basic logic, so they’re very useful.

Coding the Bitsbox Dream Catcher App

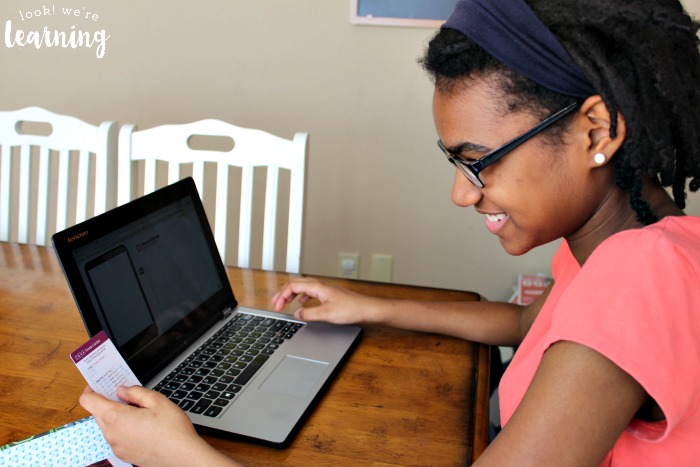
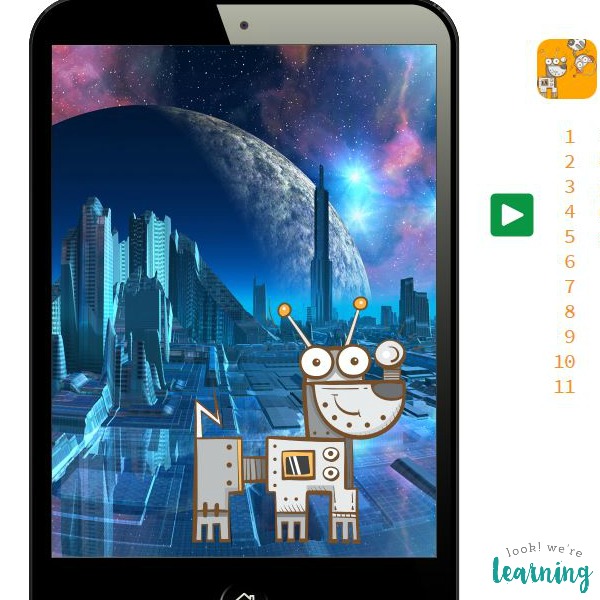
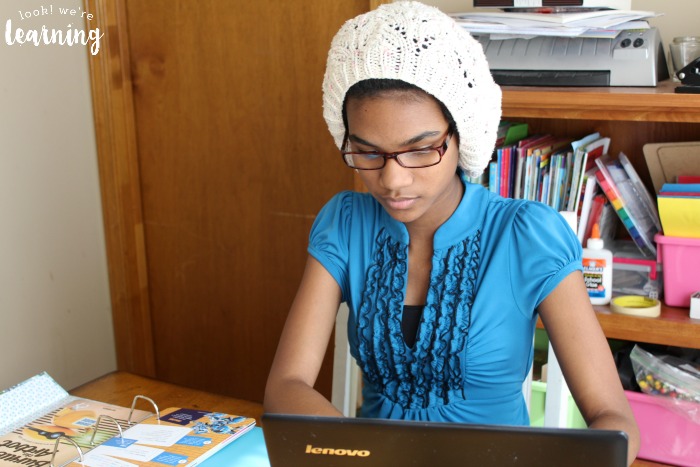
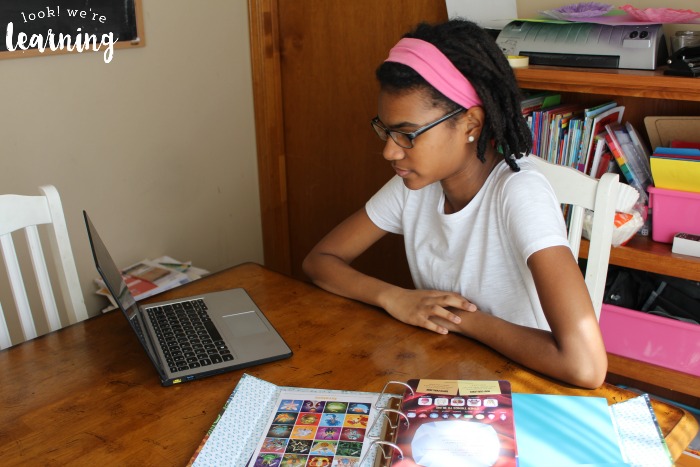
The apps Tigger wanted to work with first don’t use this function. But one does use the sin() function, a skill used in C programming. When she saw that one app let her make art, she was off and running with that one, no matter what programming functions it used.

Working with Advanced Coding Functions

Since Dream Catcher is a mini app, it only requires a few lines of code. She had it completed in just a few minutes. And it creates this:

Pretty neat, right? It’s a look at how math can be used to create actual art!

After that, it was on to the app “Bling This Thing” – the one she was most excited to create this month.

Coding with Advanced Functions

“Bling This Thing” lets kids choose an object to decorate with jewels. And you can choose really any of the available coding stamps in the unit: cupcakes, crowns, thrones, even monsters!

You can also choose which jewels you’d like to show up as available stones, whether you want the app to select random jewels, and if you want to add any sounds when the jewels appear. It’s a really great exercise in customizing coding to create a desired result – super helpful if your kids are thinking about coding or graphic design for a living.

Exploring Coding as Siblings

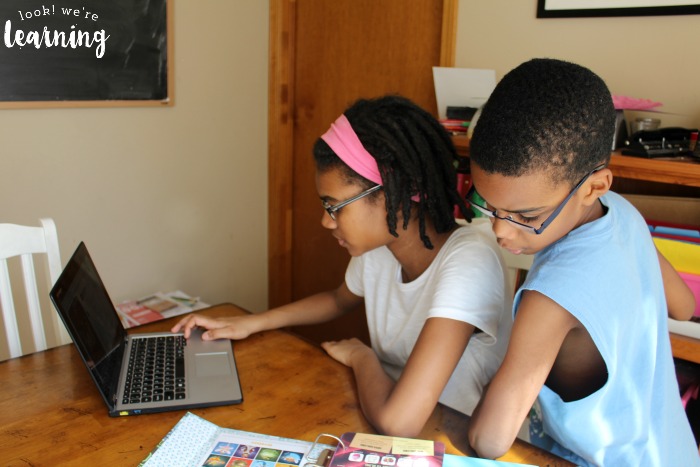
This app was such a big hit that my third-grader tore himself away from the wooden snake to come out and watch. (Side note: There is no doubt that these children are siblings. Wow.)

It works! Tigger found that she could customize the app even more, slowing down or speeding up the appearance of each jewel or deciding which way the jewels would rotate as they showed up.

Keeping Track of Completed Bitsbox Apps

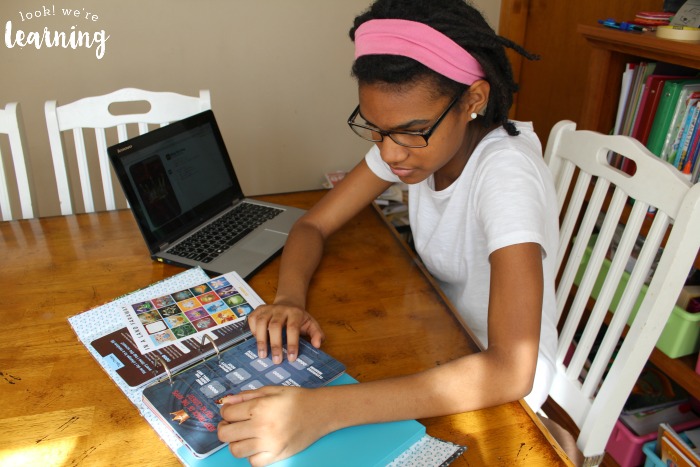
After we were done, she added the “Bling This Thing” sticker to her app tracker guide to mark it as completed.

We have absolutely loved learning to code with Bitsbox! In just three months, my tween has learned that computer coding is used to create apps, video games, graphic design, sound effects, and images.

Plus, she’s learned how to use coordinate geometry, sin() functions, and JavaScript programming language – without any mind-numbing boredom. After all, when your twelve-year-old asks you to code for fun, you know you’re on the right track.

Learning to Code at Home with Bitsbox

Sign up for a Bitsbox subscription yourself and let your children take some advanced coding lessons for kids at home! If you want to try just one box to see how you like it, visit the One-Time Product Shop to buy a single box!

Don’t forget: You can save 20 percent on a brand new Bitsbox subscription with you use the promo code SELENA20! (This code is only valid on new subscriptions and does not apply to purchases from the One-Time Product Shop. All subscriptions automatically renew on the first of the month.)

Want to learn more about Bitsbox? Sign up for the Bitsbox mailing list to learn about new products, boxes, and upcoming promotions! And if you want more ideas for teaching with Bitsbox, sign up for the educator mailing list!

Be sure to check out Bitsbox on social media:

  • Facebook
  • Twitter
  • Pinterest
  • Instagram

See our other Bitsbox reviews below!

Stumped by how to teach computer coding? Make basic coding for kids easy and fun with Bitsbox!

See how we used our Bitsbox subscription box to cover introductory robotics for kids! My middle schooler loved it!

And follow my STEM for Homeschoolers Pinterest board for more engineering inspiration!

Filed Under: Curriculum Reviews, STEM for Homeschoolers Tagged With: advanced coding for kids, basic coding for kids, bitsbox, bitsbox subscription, bitsbox subscription for kids, c++ programming for kids, coding, coding for kids, computer coding, computer coding for kids, how to teach kids to code, javascript, javascript programming for kids, programming for kids, stem for homeschoolers, stem for kids

Introductory Robotics for Kids with Bitsbox!

February 10, 2017 by Selena Robinson

We’ve been working on STEM concepts with our middle schooler for the past several months and she’s been enjoying learning science, technology, and even math concepts along the way. Our Bitsbox subscription has been a huge help in this. This girl absolutely hated math a year ago, but now that she’s learning how to use it to make things, she’s seeing mathematics in a whole new way!

This month’s Bitsbox subscription box came with a new theme: Robots! And it was a perfect way to cover introductory robotics for kids with my sixth-grader! Read on to see what’s in the Bitsbox Robo Boogie box and how we used it to code a robot video game!

Disclosure: I received this product in exchange for this post and I was compensated for my time. All opinions are my own and I was not required to write a positive review.

See how we used our Bitsbox subscription box to cover introductory robotics for kids! My middle schooler loved it!

Bitsbox Robo Boogie Subscription Box

Last month, we got the introductory Bitsbox basic subscription box: Animal House. So this month we were on the next box with the theme: Robo Boogie! As you might guess, it’s all about having fun with robotics!

Bitsbox Subscription Box Review - Look! We're Learning!

One of the best things about a Bitsbox subscription is that it starts being fun as soon as you pop open the box. There’s absolutely no drudgery about learning to code with these kits.

Bitsbox Subscription Box Unboxing - Look! We're Learning!

The Robo Boogie box included a new set of app supercards, a miniature app trading card pack, a set of temporary robot tattoos, a super nifty deluxe binder for storing all of our cards, and a fun Cubebot toy. (As a mom nerd, I was most psyched about the binder. I am not ashamed of this.)

Bitsbox Robo Boogie Supercards - Look! We're Learning!

Each supercard contains a fun robot-themed app that kids can code using the code on the back. There are also cards with tips and tricks for making each app a bit unique.

Bitsbox Subscription Box Trading Cards - Look! We're Learning!

The trading cards are tiny little app instructions for mini coding sessions.

Bitsbox Cubebot Toy - Look! We're Learning!

And the Cubebot was a fun “extra” in the kit. It’s actually a really neat toy. It comes as a perfect cube. But if you move the pieces around, you get a robot! The challenge is getting him back into a perfect cube again. It’s hard!

Introductory Robotics for Kids with Bitsbox

Bitsbox Robo Boogie Mini Apps - Look! We're Learning!

After we organized all of the supercards into our brand new binder, Tigger decided to start with the app “Robodog Loves Robocat”. At the risk of sounding condescending, I knew she’d pick that one first. 🙂

Working on Bitsbox Robo Boogie Apps - Look! We're Learning!

So she read the coding instructions, signed in to her Bitsbox account, and got to writing the code. After completing the initial app, she wanted to add a bit of “flair”. So we flipped to another supercard and found a unique fill to add as the background.

Robodog Loves Robocat Bitsbox App - Look! We're Learning!

Ta-da! This is Robodog Loves Robocat with the Future City background. When you click Play, the robot dog chases the robot cat off the screen. Neat!

Keeping Track of Completed Bitsbox Apps - Look! We're Learning!

As you move through a Bitsbox subscription box, you can keep track of the apps you’ve completed with this fun sticker page. One down, eleven to go.

Bitsbox Castle Defender App - Look! We're Learning!

For the next app, Tigger really wanted to code “Castle Defender.” If you look at the top right corner, you’ll see that this app has an icon that shows the needle all the way to the right. That means this is an app with a higher degree of difficulty.

I pointed that out to Tigger, but she would not be swayed. She was determined to code that app. I love it.

Coding the Bitsbox Castle Defender App - Look! We're Learning!

She read the instructions, stopping to test it after each step. According to the instructions, the game includes two characters: a heroic, selfless rock and an evil robot. After double-checking the code and re-reading the instructions, we ended up with a pretty neat robot video game!

As you can hear, even my little ones came in to watch the game being played. They all wanted a chance to try!

The original coding instructions call for the rock to spin at a rate of 15, but when we tried to play it that way, we had a hard time hitting the robot. With a little tweaking (reducing the speed to 5), we got a speed we could manage better.

And that’s one of the biggest parts of engineering: tweaking code to suit your (or your client’s) vision. I love how easily she’s learning these concepts without feeling bored or overwhelmed.

Completed Bitsbox App Tracker - Look! We're Learning!

Boom! Another app successfully coded in this month’s box!

Coding a Robot Video Game with Bitsbox - Look! We're Learning!

Now that Tigger sees what you can code robots to do in an app, we’re going to start researching how robotics engineers use coding to program actual robots to move, speak, and more. This was a wonderful way to start learning about that field!

Introductory Robotics for Kids with Bitsbox - Look! We're Learning!

Our Bitsbox subscription just keeps getting better. We’re looking forward to sharing next month’s box with you!

Be sure to check out the Bitsbox Basic Subscription and sign up! You can choose from one-month, three-month, or twelve-month plans – and they are all amazing! Or if you just want to buy a box outright, you can do that in the One-Time Shop! Great for testing the box to see if your kids love it! (They will.)

PROMO CODE: Save 20% on a new Bitsbox subscription of any length with the special Bitsbox promo code SELENA20! This code does not expire, but it does not apply to purchases from the One-Time Shop or to subscription renewals. New subscriptions only. All subscriptions renew automatically on the first of the month, unless canceled.

For more information about Bitsbox subscription offers and boxes, sign up for the Bitsbox mailing list! And get special tips for teaching with Bitsbox when you sign up for the teachers’ mailing list! Plus, keep up with Bitsbox online at:

  • Facebook
  • Twitter
  • Pinterest
  • Instagram

Want more details about Bitsbox? Check out our review of the first subscription box!

Stumped by how to teach computer coding? Make basic coding for kids easy and fun with Bitsbox!

Plus, learn more about teaching STEM to kids on my STEM for Homeschoolers Pinterest board!

Filed Under: Curriculum Reviews, STEM for Homeschoolers Tagged With: bitsbox, bitsbox review, introductory robotics for kids, middle school stem projects, robotics for kids, stem, stem for homeschoolers, stem for middle schoolers

STEM for Homeschoolers: How to Build a Toothpick Bridge with Pitsco Education!

January 3, 2017 by Selena Robinson 1 Comment

STEM education is a huge priority in our homeschool these days. We’ve got a busy middle schooler and I want her to get a good introduction to science, technology, engineering, and math during these years. That way, as she goes on in her schooling, she won’t be intimidated by these subjects later. And who knows? Maybe she’ll become an engineer herself!

So I jumped at the chance to try the Toothpick Bridges Maker Project from Pitsco Education! See how this curriculum helps kids learn how to build a toothpick bridge and learn about design and engineering at the same time!

Disclosure: I received this product in exchange for this post. All opinions are my own and I was not required to give a positive review.

Engineering a Toothpick Bridge for Kids

Pitsco Education Toothpick Bridges Maker Project

Pitsco Education offers many, many resources for homeschoolers who want to work on STEM concepts with their kids. Each of the resources are grouped by category. For example, if you want to focus on math, you can browse plenty of awesome math projects. What I love about Pitsco’s product selection is that all of the lessons feature hands-on projects, which are an incredible teaching method for active homeschoolers (like ours).

The Pitsco Education Toothpick Bridges Maker Project was the foundation for our lesson. In the kit, there are:

  • Structural glue
  • A ton of toothpicks
  • Bottles for handling the glue
  • A toothpick bridge tester
  • And an instructional video on how to design your own toothpick bridge

We also received the complete lesson plan Masterpiece Toothpick Bridges: A Guide for Teachers and Students, which was a huge help for me as the educator. The plan includes plenty of activities, research, and illustrations to make an entire month of lessons based on this concept. It’s very, very detailed and an excellent in-depth lesson we’ll be working on through the rest of the year.

How to Build a Toothpick Bridge

I was so thankful for the Toothpick Bridges DVD. It really helped my middle schooler to “see” exactly what the process is for designing and creating her bridge.

Pitsco Toothpick Bridge DVD Lesson

Since she has ADHD, she watched the video once and said “I got it!” As we started on the project, though, I could see that she didn’t really get it quite yet. So I played it a second time and watched it along with her, pausing frequently to ask about her understanding. That really helped her get a clearer idea of what was involved in the process.

Pitsco Toothpick Bridge Lesson Plan

In the Toothpick Bridges teachers’ guide, there are examples of stunning toothpick bridges constructed by students. Some of these are practically works of art. This time, though, we stuck to the basics.

Drawing a Toothpick Bridge Template

We started by creating a paper template to use as the design for our bridge sides. My middle schooler used the template on the DVD as her guide.

Designing a Toothpick Bridge

Then it was time to start measuring how many toothpicks we’d need for each side. We laid them down on the template to get a look at how to place them before we started adding glue.

Drying Toothpick Bridge Sides

As the video shows, building these bridges takes time. You can only create one side at a time and you can only construct one set of diagonals at a time. Which meant that we’d work on it for a while, let it set up, then resume working on it. For a child with a short attention span, this was an excellent activity for working on a longer-term project.

Assembling a Toothpick Bridge

Once the individual sides dry, you can stand them up and attach them together, forming your bridge. As you can see, we used a LOT of glue. Next time, we’ll cut back on that a bit…lol.

Preparing to Test a Toothpick Bridge

Once our bridge was constructed, it was time to test it! The goal here is to put as much weight as you can possibly can on the bridge to see how much it can bear before it breaks.

Testing the Strength of a Toothpick Bridge

As the video showed, we put on some safety goggles first. No one wants to catch a toothpick in the eye.

We placed a piece of wood (from the Toothpick Bridge tester) on the bridge and tied the bucket to a string. Our bridge wasn’t quite wide enough for the piece of wood to lie straight down, so it’s possible that our results were a bit skewed. Next time, we’ll be sure to use the piece of wood as the template for how wide the flatbed of the bridge should be.

We gradually added sand to the bucket until…the bridge broke!

Breaking a Toothpick Bridge

Afterward, we weighed the sand to see how much our bridge could hold before breaking. It was 6.5 pounds! Who knew you could hold up six and a half pounds with just toothpicks!

Testing the Strength of a Completed Toothpick Bridge

This was a STEM activity we truly loved. And we’ll be repeating it again this school year now that we have a better understanding of how to engineer a bridge from scratch.

How to Design and Build a Toothpick Bridge

Are you working on STEM concepts with your kids this year? Be sure to check out the incredible products available from Pitsco Education for kids!

Plus, get more ideas for teaching STEM on my STEM for Homeschoolers Pinterest board!

Filed Under: Curriculum Reviews, STEM for Homeschoolers Tagged With: curriculum reviews, engineering, engineering for kids, engineering projects for kids, pitsco, pitsco curriculum, pitsco curriculum review, pitsco education, pitsco toothpick bridge curriculum, stem, stem education, stem for homeschoolers, stem projects, stem projects for kids

Simple 3D Printing for Kids with Atmosflare!

March 1, 2016 by Selena Robinson Leave a Comment

I’m kind of an old, so the whole concept of 3D printing is still kind of “weird science” to me. But 3D printing holds a LOT of promise. Scientists are even trying to use the technology to make organs for organ transplants!

So it’s worth it to introduce it to kids. And that’s why I was excited to get a chance to try the Atmosflare 3D Drawing Pen! While it’s an artistic tool, it’s also a cool way to introduce 3D printing for kids! Take a look at how the pen works below!

Disclosure: I received this product in exchange for this post and I was compensated for my time. All opinions are my own and I was not required to post a positive review.

Simple 3D Printing for Kids with the Atmosflare 3D Pen

How the Atmosflare 3D Pen Introduces Kids to 3D Printing

In short, 3D printing works by layering molded plastic into a specific design shape to make a product. And that’s how the Atmosflare 3D Drawing Pen works as well!

For me, understanding how 3D printing works was a bit…difficult. But when I broke it down into steps (design, layer, create), it made more sense. And that’s why using the Atmosflare pen is a simple introduction to how 3D printing works: you can use the exact same steps!

Atmosflare 3D Drawing Pen

As you can see, the Atmosflare pen comes with the pen, two ink cartridges (blue and red), and a battery.

Atmosflare 3D Drawing Pen Unboxing

In the box, there are all the pen components and a very simple instruction diagram. But if you’re unsure how to assemble the pen, you can find instruction videos directly on the Atmosflare website.

How to Use the Atmosflare 3D Drawing Pen

So, here’s my take on the Atmosflare pen: simple to assemble, not so simple to master.

Atmosflare 3D Drawing Pen Use

As you can see, it fits nicely in your hand – just like a pen. To use the pen, you just squeeze the ink cartridge between your fingers….

How the Atmosflare 3D Pen Works

and hold down the light curing button on top to harden the ink as it flows out.

3D Printing Shapes with the Atmosflare Pen

After a few practice shots, we built a simple 3D shape – a cube.

3D Printing Cube with the Atmosflare Pen

We established a base, drew the sides, and then connected the top. We had to add a bit more ink at the corners to hold it together.

Drawing with the Atmosflare 3D Pen

On to our first structure!

3D Printing Art with Atmosflare

It’s a swing set! Kind of…

This pen is a lot of fun to work with, but it takes some practice to learn to use it properly. So if you have a child who’s easily frustrated, prepare him or her in advance for the fact that it will take a while to learn how to actually make something with the pen.

Atmosflare 3D Pen Usage Tips:

There is definitely a learning curve with the Atmosflare 3D Pen, so you can find helpful instruction videos on the company website. But here are a few tips we picked up as we used it:

  • Decide what you’re going to make before you begin. Once you start using the pen, it’s kind of hard to improvise without making a mess. Have an idea in mind before you start.
  • Always start with a base. It’s nice to think that you can just start drawing in the air, but you can’t. You need a base first, then you can start building up from there.
  • Go slowly. When you push the curing button, the ink tends to harden on the tip and clog. So try to work slowly to give the ink a chance to catch up with your movements.
  • Work in stages. I found that if you’re creating a structure, it’s best to work on one part at a time. You can even form a complete shape flat on the table and then attach it to another shape by just joining them at a corner and using the curing function on the pen.

Are you ready to introduce 3D printing for kids to your family? You can get an Atmosflare 3D Pen at ToysRUs, Best Buy, Amazon, and from the Atmosflare website!

But if you want to get one for FREE, you can win one in the huge Atmosflare giveaway! 30 winners will get an Atmosflare 3D Drawing Pen absolutely free! Use the giveaway widget below to enter.

Entry-Form

For more 3D drawing tips, keep up with Atmosflare using the social media links below!

  • Facebook
  • Twitter
  • Instagram
  • Pinterest

Save 30% off your first month!

Filed Under: Curriculum Reviews, STEM for Homeschoolers Tagged With: 3d drawing, 3d printing, curriculum reviews, stem, stem education, stem for homeschoolers

Simple STEM Challenges with Hands-On Engineering!

July 29, 2015 by Selena Robinson Leave a Comment

I’ve set a few homeschooling goals this upcoming school year and one is to include more STEM learning with the kids. My biggest problem is that my passions include literature, writing, and dance – basically everything that is the opposite of STEM….lol.

So I was excited to try the book “Hands-On Engineering” from Prufrock Press! If you’re unsure how you can set up STEM learning at home, this is a great resource for simple STEM challenges!

Disclosure: I received a copy of this book in exchange for this post. All opinions are my own and I was not required to post a positive review.

Simple STEM Challenges - Look! We're Learning!

Simple STEM Challenges with Hands-On Engineering

In “Hands-On Engineering“, you get complete teacher instructions, project descriptions, internet resource links, and student activity sheets. It’s almost a no-prep solution to planning STEM activities. 🙂

Simple STEM Challenges - Look! We're Learning!

The resource is described as appropriate for grades 4-7 and I can see why. Some of the projects are fairly detailed and require a good amount of critical thinking from kids. But I decided to use it with all three of our school-age kids – just to see.

Simple STEM Challenges - Look! We're Learning!

The teacher resources are fabulous. There are diagrams, explanations, Internet links, and summaries that give you a good background of each activity.

Simple STEM Challenges - Look! We're Learning!

We settled on the Build a Catapult challenge from the book, and that involved getting an understanding of how a lever works. I drew the same diagram from the Instructor Key on the board and we talked about the essential parts of a lever.

Simple STEM Challenges - Look! We're Learning!

Then the kids sketched their own diagrams. Afterward, we used some of the internet links listed in the Teacher’s activity sheet for the catapult activity.

Simple STEM Challenges - Look! We're Learning!

We watched a video showing how ancient catapults (or “onagers”) were assembled and we talked about some of the advantages and challenges they posed for armies in battle. Then it was time for the kids to build their own catapult!

Explore Science, Technology, Engineering, Math!
Simple STEM Challenges - Look! We're Learning!

One thing I really like about “Hands-On Engineering” is that there are no detailed instructions on how to build the item in question. As a result, the kids were forced to try various methods, brainstorm ideas, and cooperate. Among the list of available supplies were rubber bands, clothespins, popsicle sticks, and plastic spoons.

Simple STEM Challenges - Look! We're Learning!

What really impressed me was that, of all three children, Pooh (our almost seven-year-old) was the first to build a working catapult!

Simple STEM Challenges - Look! We're Learning!

We rounded up all of the pennies in the house and, before I knew it, it was raining pennies from heaven…lol.

Simple STEM Challenges - Look! We're Learning!

Look at that face. That is the face of a boy who is extremely pleased with himself.

Once Pooh figured out the basic design of a catapult, the other kids made their own. But then they started hitting the chandelier in my dining room with their pennies, so they were banished to the living room. After all, engineers have to learn to work in all kinds of environments. 😉

I loved Hands-On Engineering and I’m looking forward to making more of the projects with the kids this school year! If you’d like to try to build a catapult or any of the other simple STEM challenges in “Hands-On Engineering“, check out the book for yourself!

Filed Under: 2015-16 Curriculum, Curriculum Reviews, Homeschool Curriculum, Homeschooling, STEM for Homeschoolers Tagged With: book reviews, engineering, homeschooling, stem, stem for homeschoolers

STEM for Homeschoolers: Decomposition Lesson Ideas for Kids

September 23, 2014 by Selena Robinson 3 Comments

As I mentioned earlier this year, we’ve made a bit of a homeschooling U-turn in our family and started focusing more on STEM subjects and foreign language.

So – we’ll be sharing more science lessons and experiments on the blog, along with resources we find online that we love for learning STEM concepts. Today we’re sharing a recent activity using decomposition lesson ideas for kids!

This decomposition unit study gets into the dirty truth about living things!

Decomposition Lesson Ideas for Kids

This was NOT one of our planned lessons. A banana in our fruit bowl began to rot and the kids were fascinated by it. So I decided to let it rot so we could examine decomposition up close.

Decomposition Lesson Ideas - Look! We're Learning!

The amazing thing about kids is that they are fascinated by gross stuff. They wanted to see the rotting banana up close. So we got out a plastic fork and poked around.

Decomposition Lesson Ideas - Look! We're Learning!

That gave us a really close look at the bacteria growing inside the fruit.

Decomposition Lesson Ideas - Look! We're Learning!

Yuck.

Decomposition Lesson Ideas - Look! We're Learning!

That face says it all. But then we learned about the process of decomposition and how amazing it is! First, we watched a clip from Sid the Science Kid showing a lab experiment about decomposition.

All living things decay after dying, which is called decomposition. From plants to people.

Michigan Tech University has a great explanation of what happens during the process of decomposition. Basically, bacteria, fungi, and worms perform the work of decomposition by breaking down living organisms after death. This is a GOOD thing, because the broken down organisms become part of the soil and provide a natural fertilizer so that new things can grow. It’s the ultimate recycling!

To get an even closer look at decomposition, check out this video of a watermelon slowly decomposing over 35 days.

Gross! But also kind of cool, right? For more decomposition lesson ideas, check out these great resources!

Activities about Decomposition:

  1. Free Decomposing Worksheets for Grades 5-6: Great Schools
  2. Decomposing Experiment – Education.com
  3. Biology for Kids: An Overview of Fungi – Ducksters
  4. Easy Decomposition Experiment – Science Sparks

Books about Decomposition for Kids

Books about Decomposition for Kids:

  1. Insects as Decomposers by Lyn Sirota
  2. Composting: Nature’s Recyclers by Robin Koontz
  3. Compost Stew: An A to Z Recipe for the Earth by Mary McKenna Siddals
  4. What’s Sprouting in My Trash? A Book about Composting by Esther Porter
  5. The Magic School Bus Meets the Rot Squad: A Book about Decomposition by Joanna Cole
  6. Decomposers (Science Kaleidoscope) by Greg Roza

Decomposition Unit Study Lesson Ideas for Kids

If you enjoyed these decomposition lesson ideas, stop by and see some of our other unit studies!

Cloudy with a Chance of Meatballs Unit Study

Turtles Unit Study

Firefighter Unit Study - Look! We're Learning!

Plus, follow my It’s Science Pinterest board for more hands-on science fun!

Decomposition Lesson Ideas - Look! We're Learning!

Filed Under: Science, STEM for Homeschoolers, Unit Studies Tagged With: decomposition, decomposition lesson ideas, decomposition unit study, stem, stem for homeschoolers

Hi! I'm Selena, a teacher and a veteran homeschool mom to four. I'm so glad you're here!
About Me Contact Terms of Use Privacy Policy Places I Share
Facebook Twitter Pinterest Instagram
Homeschool Printables Unit Studies Shop the Store
Copyright ©2023, Look! We're Learning!. All Rights Reserved. Design by Pixel Me Designs