Look! We're Learning!

Early Learning. Happy Teaching.

  • Shop
  • Printables
  • Homeschool
  • Crafts
  • Parenting
  • Blog

STEM for Homeschoolers: How to Build a Toothpick Bridge with Pitsco Education!

January 3, 2017 by Selena Robinson 1 Comment

STEM education is a huge priority in our homeschool these days. We’ve got a busy middle schooler and I want her to get a good introduction to science, technology, engineering, and math during these years. That way, as she goes on in her schooling, she won’t be intimidated by these subjects later. And who knows? Maybe she’ll become an engineer herself!

So I jumped at the chance to try the Toothpick Bridges Maker Project from Pitsco Education! See how this curriculum helps kids learn how to build a toothpick bridge and learn about design and engineering at the same time!

Disclosure: I received this product in exchange for this post. All opinions are my own and I was not required to give a positive review.
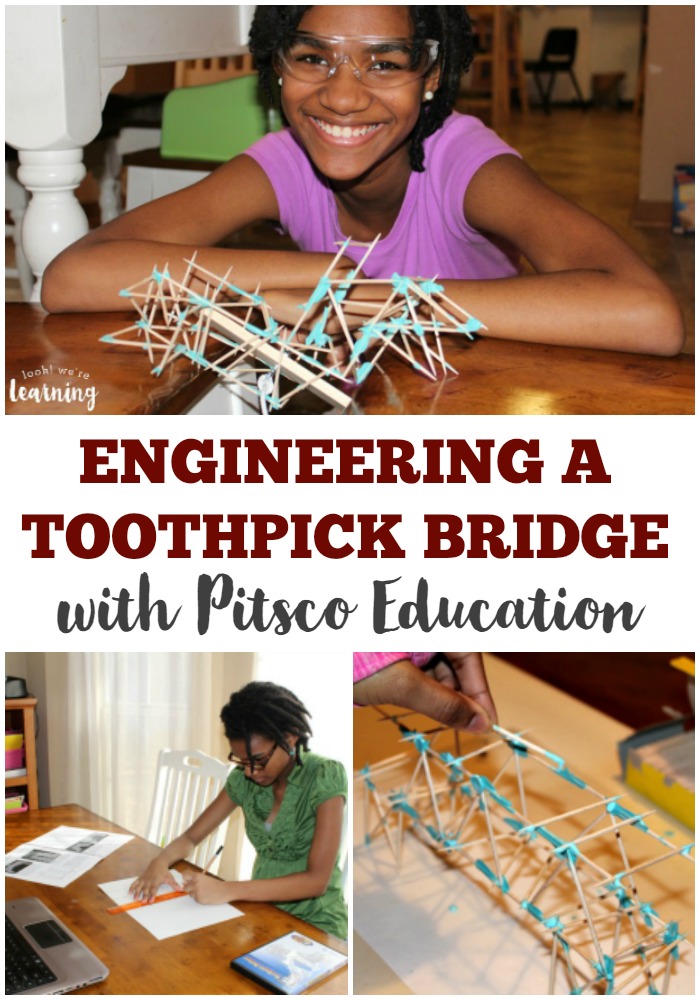
Engineering a Toothpick Bridge for Kids

Pitsco Education Toothpick Bridges Maker Project

Pitsco Education offers many, many resources for homeschoolers who want to work on STEM concepts with their kids. Each of the resources are grouped by category. For example, if you want to focus on math, you can browse plenty of awesome math projects. What I love about Pitsco’s product selection is that all of the lessons feature hands-on projects, which are an incredible teaching method for active homeschoolers (like ours).

The Pitsco Education Toothpick Bridges Maker Project was the foundation for our lesson. In the kit, there are:

  • Structural glue
  • A ton of toothpicks
  • Bottles for handling the glue
  • A toothpick bridge tester
  • And an instructional video on how to design your own toothpick bridge

We also received the complete lesson plan Masterpiece Toothpick Bridges: A Guide for Teachers and Students, which was a huge help for me as the educator. The plan includes plenty of activities, research, and illustrations to make an entire month of lessons based on this concept. It’s very, very detailed and an excellent in-depth lesson we’ll be working on through the rest of the year.

How to Build a Toothpick Bridge

I was so thankful for the Toothpick Bridges DVD. It really helped my middle schooler to “see” exactly what the process is for designing and creating her bridge.
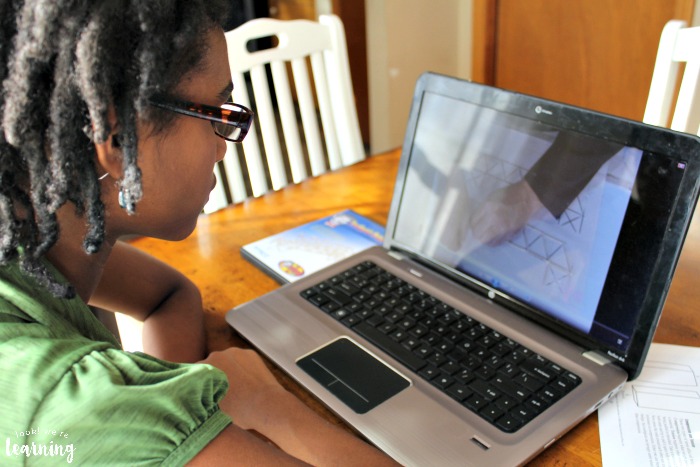
Pitsco Toothpick Bridge DVD Lesson

Since she has ADHD, she watched the video once and said “I got it!” As we started on the project, though, I could see that she didn’t really get it quite yet. So I played it a second time and watched it along with her, pausing frequently to ask about her understanding. That really helped her get a clearer idea of what was involved in the process.
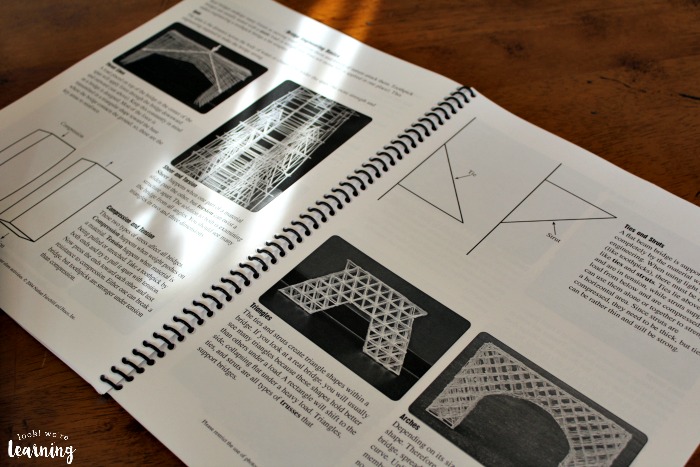
Pitsco Toothpick Bridge Lesson Plan

In the Toothpick Bridges teachers’ guide, there are examples of stunning toothpick bridges constructed by students. Some of these are practically works of art. This time, though, we stuck to the basics.
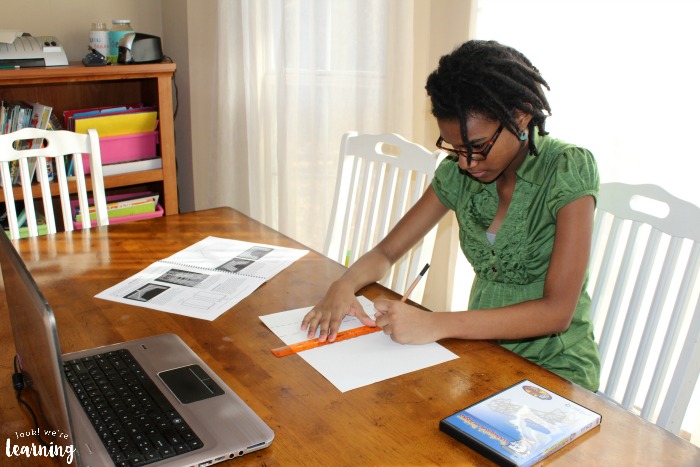
Drawing a Toothpick Bridge Template

We started by creating a paper template to use as the design for our bridge sides. My middle schooler used the template on the DVD as her guide.
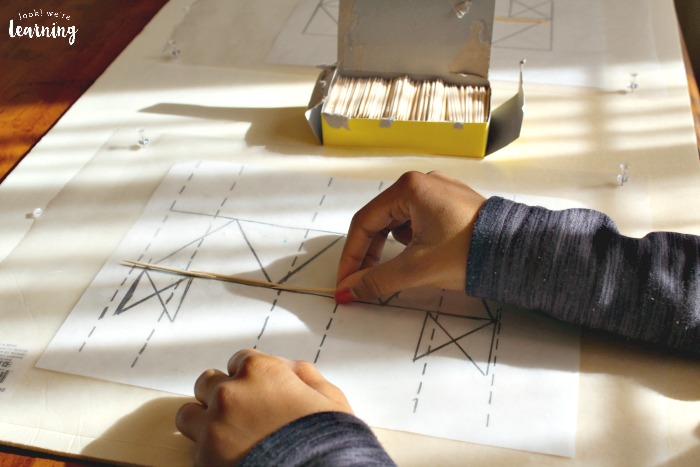
Designing a Toothpick Bridge

Then it was time to start measuring how many toothpicks we’d need for each side. We laid them down on the template to get a look at how to place them before we started adding glue.
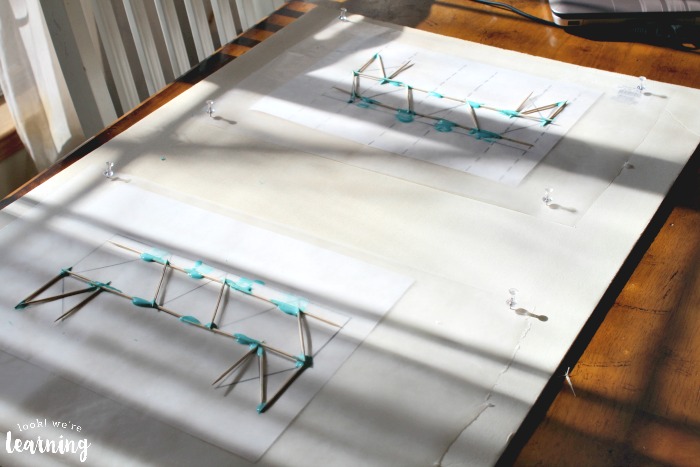
Drying Toothpick Bridge Sides

As the video shows, building these bridges takes time. You can only create one side at a time and you can only construct one set of diagonals at a time. Which meant that we’d work on it for a while, let it set up, then resume working on it. For a child with a short attention span, this was an excellent activity for working on a longer-term project.
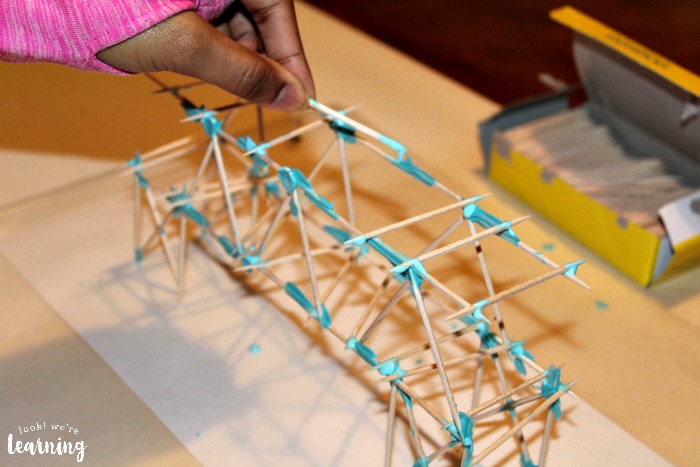
Assembling a Toothpick Bridge

Once the individual sides dry, you can stand them up and attach them together, forming your bridge. As you can see, we used a LOT of glue. Next time, we’ll cut back on that a bit…lol.
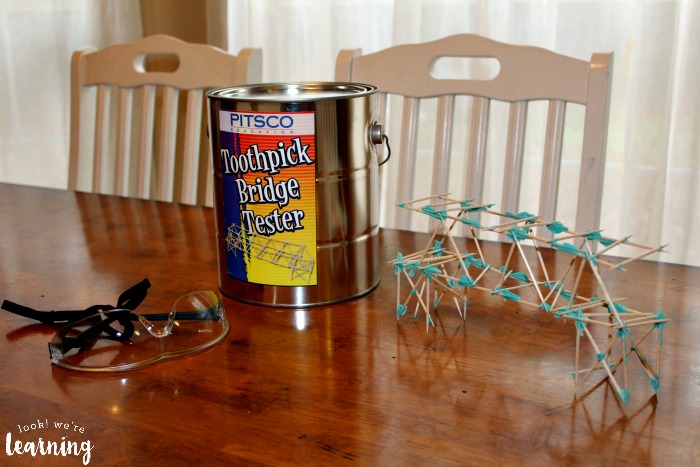
Preparing to Test a Toothpick Bridge

Once our bridge was constructed, it was time to test it! The goal here is to put as much weight as you can possibly can on the bridge to see how much it can bear before it breaks.
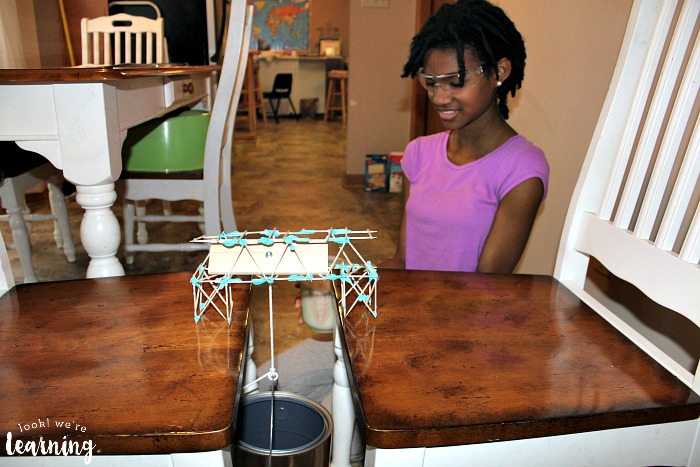
Testing the Strength of a Toothpick Bridge

As the video showed, we put on some safety goggles first. No one wants to catch a toothpick in the eye.

We placed a piece of wood (from the Toothpick Bridge tester) on the bridge and tied the bucket to a string. Our bridge wasn’t quite wide enough for the piece of wood to lie straight down, so it’s possible that our results were a bit skewed. Next time, we’ll be sure to use the piece of wood as the template for how wide the flatbed of the bridge should be.

We gradually added sand to the bucket until…the bridge broke!
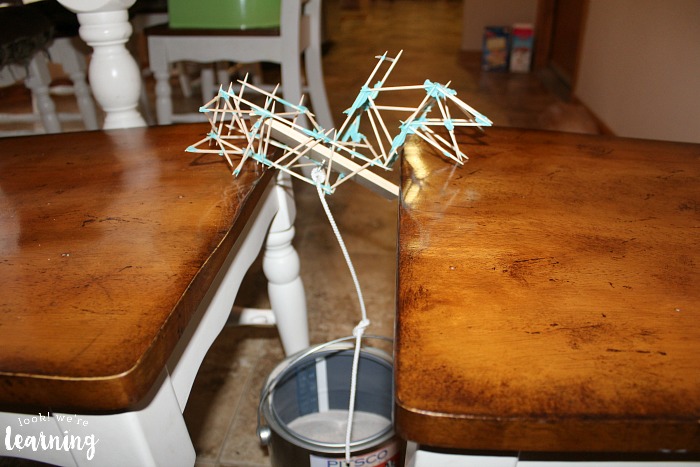
Breaking a Toothpick Bridge

Afterward, we weighed the sand to see how much our bridge could hold before breaking. It was 6.5 pounds! Who knew you could hold up six and a half pounds with just toothpicks!
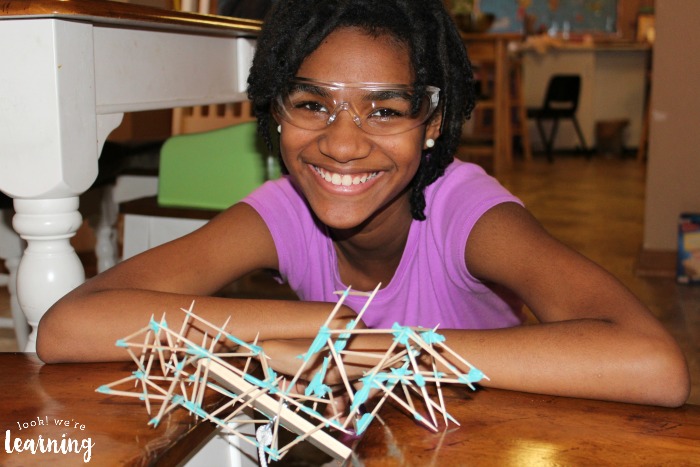
Testing the Strength of a Completed Toothpick Bridge

This was a STEM activity we truly loved. And we’ll be repeating it again this school year now that we have a better understanding of how to engineer a bridge from scratch.
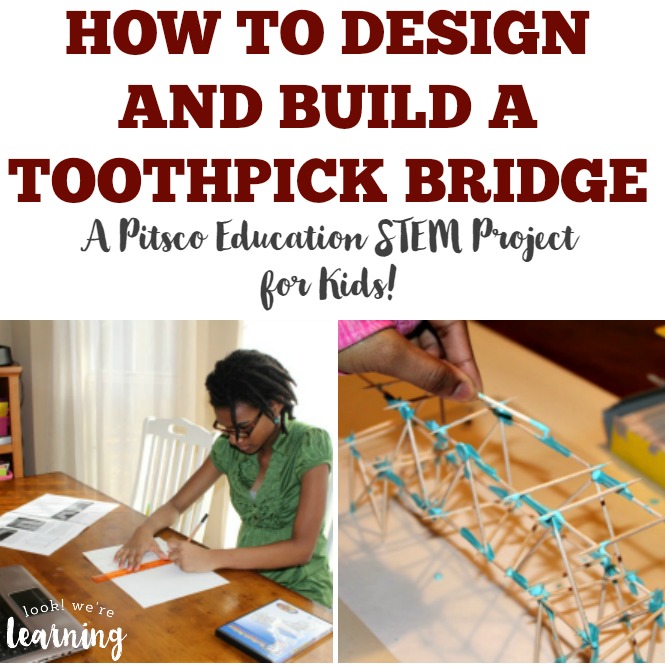
How to Design and Build a Toothpick Bridge

Are you working on STEM concepts with your kids this year? Be sure to check out the incredible products available from Pitsco Education for kids!

Plus, get more ideas for teaching STEM on my STEM for Homeschoolers Pinterest board!
Filed Under: Curriculum Reviews, STEM for Homeschoolers Tagged With: curriculum reviews, engineering, engineering for kids, engineering projects for kids, pitsco, pitsco curriculum, pitsco curriculum review, pitsco education, pitsco toothpick bridge curriculum, stem, stem education, stem for homeschoolers, stem projects, stem projects for kids

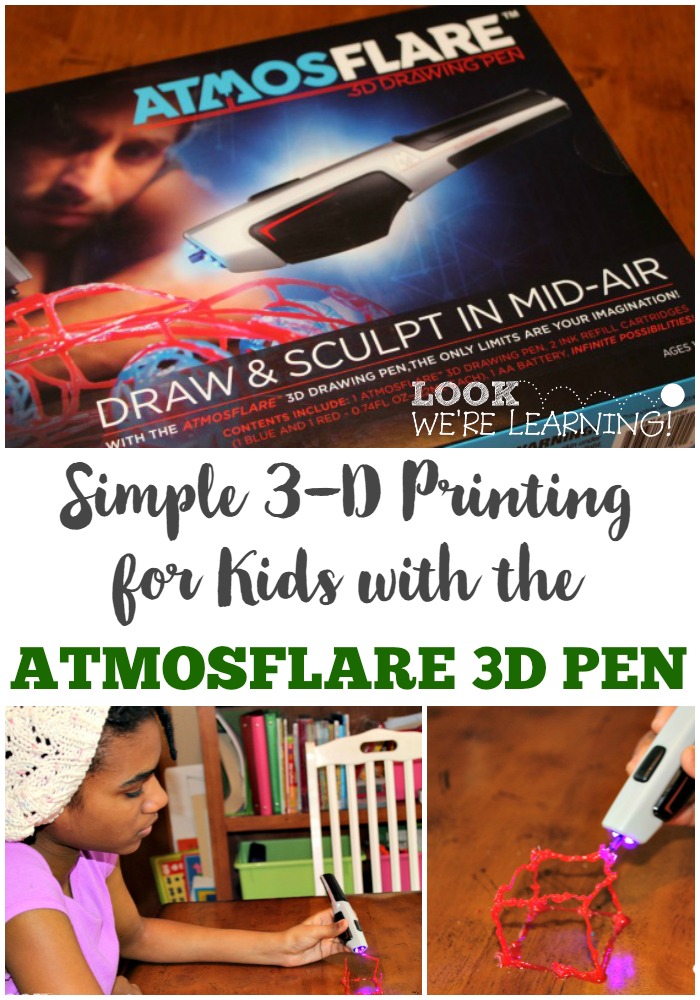
Simple 3D Printing for Kids with Atmosflare!

March 1, 2016 by Selena Robinson Leave a Comment

I’m kind of an old, so the whole concept of 3D printing is still kind of “weird science” to me. But 3D printing holds a LOT of promise. Scientists are even trying to use the technology to make organs for organ transplants!

So it’s worth it to introduce it to kids. And that’s why I was excited to get a chance to try the Atmosflare 3D Drawing Pen! While it’s an artistic tool, it’s also a cool way to introduce 3D printing for kids! Take a look at how the pen works below!

Disclosure: I received this product in exchange for this post and I was compensated for my time. All opinions are my own and I was not required to post a positive review.

Simple 3D Printing for Kids with the Atmosflare 3D Pen

How the Atmosflare 3D Pen Introduces Kids to 3D Printing

In short, 3D printing works by layering molded plastic into a specific design shape to make a product. And that’s how the Atmosflare 3D Drawing Pen works as well!

For me, understanding how 3D printing works was a bit…difficult. But when I broke it down into steps (design, layer, create), it made more sense. And that’s why using the Atmosflare pen is a simple introduction to how 3D printing works: you can use the exact same steps!

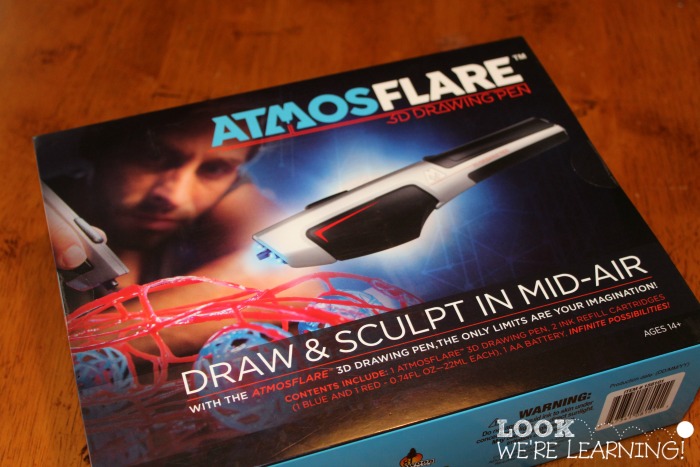
Atmosflare 3D Drawing Pen

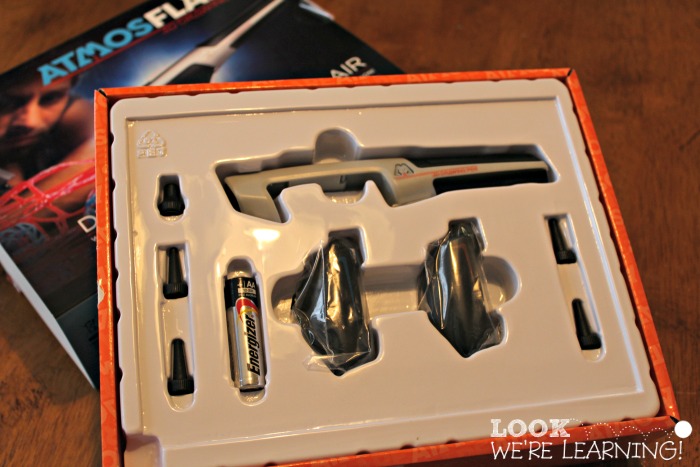
As you can see, the Atmosflare pen comes with the pen, two ink cartridges (blue and red), and a battery.

Atmosflare 3D Drawing Pen Unboxing

In the box, there are all the pen components and a very simple instruction diagram. But if you’re unsure how to assemble the pen, you can find instruction videos directly on the Atmosflare website.

How to Use the Atmosflare 3D Drawing Pen

So, here’s my take on the Atmosflare pen: simple to assemble, not so simple to master.

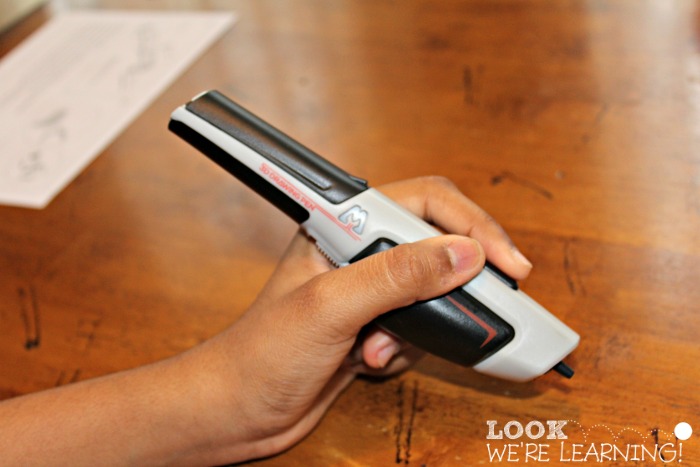
Atmosflare 3D Drawing Pen Use

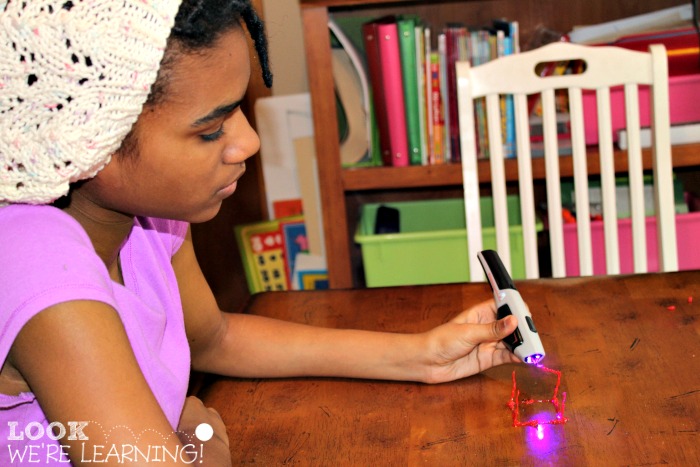
As you can see, it fits nicely in your hand – just like a pen. To use the pen, you just squeeze the ink cartridge between your fingers….

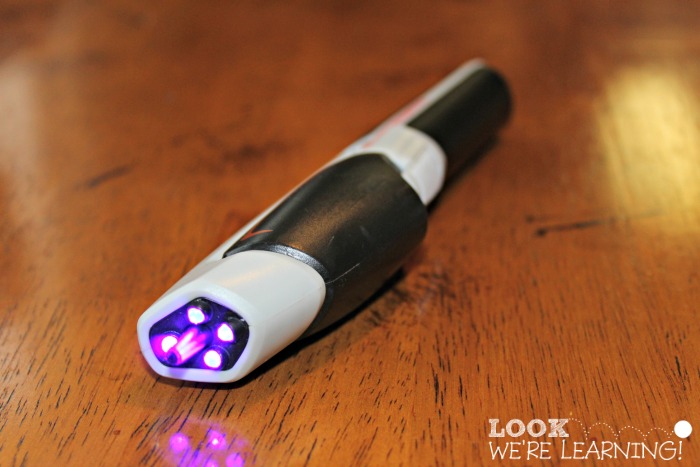
How the Atmosflare 3D Pen Works

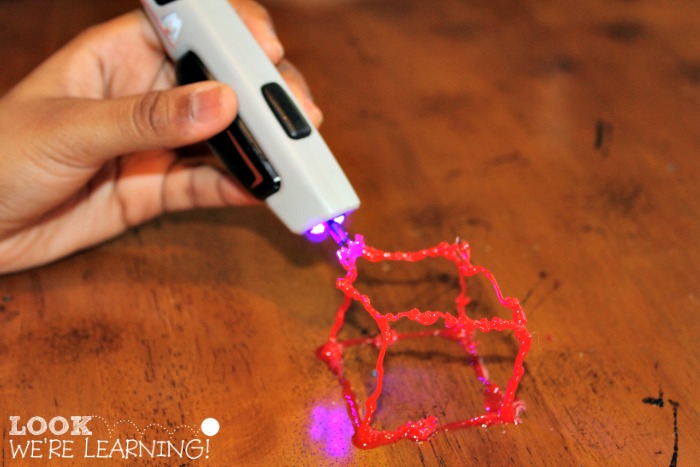
and hold down the light curing button on top to harden the ink as it flows out.

3D Printing Shapes with the Atmosflare Pen

After a few practice shots, we built a simple 3D shape – a cube.

3D Printing Cube with the Atmosflare Pen

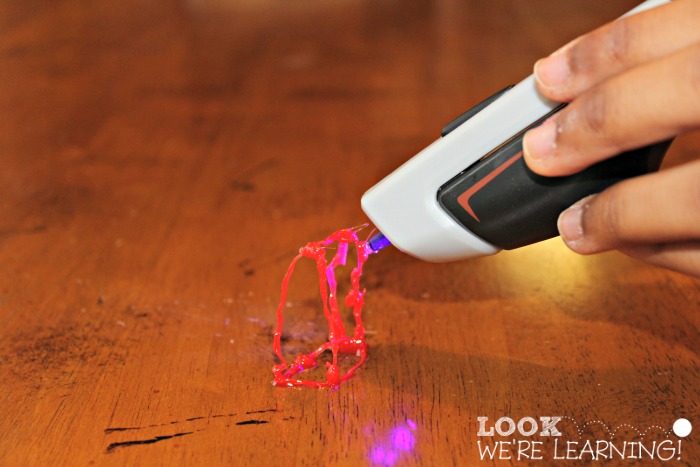
We established a base, drew the sides, and then connected the top. We had to add a bit more ink at the corners to hold it together.

Drawing with the Atmosflare 3D Pen

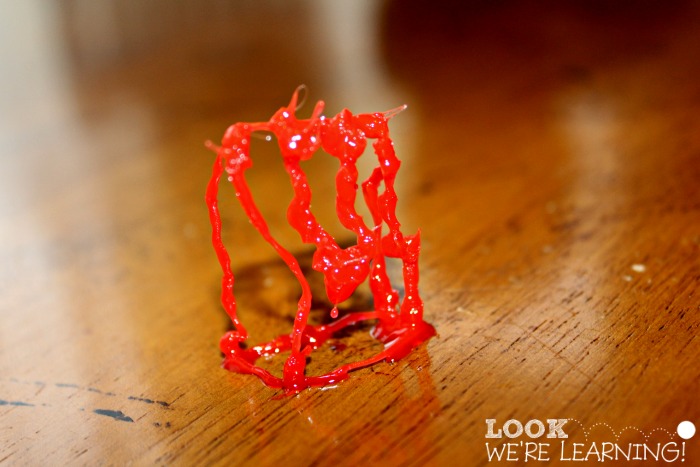
On to our first structure!

3D Printing Art with Atmosflare

It’s a swing set! Kind of…

This pen is a lot of fun to work with, but it takes some practice to learn to use it properly. So if you have a child who’s easily frustrated, prepare him or her in advance for the fact that it will take a while to learn how to actually make something with the pen.

Atmosflare 3D Pen Usage Tips:

There is definitely a learning curve with the Atmosflare 3D Pen, so you can find helpful instruction videos on the company website. But here are a few tips we picked up as we used it:

  • Decide what you’re going to make before you begin. Once you start using the pen, it’s kind of hard to improvise without making a mess. Have an idea in mind before you start.
  • Always start with a base. It’s nice to think that you can just start drawing in the air, but you can’t. You need a base first, then you can start building up from there.
  • Go slowly. When you push the curing button, the ink tends to harden on the tip and clog. So try to work slowly to give the ink a chance to catch up with your movements.
  • Work in stages. I found that if you’re creating a structure, it’s best to work on one part at a time. You can even form a complete shape flat on the table and then attach it to another shape by just joining them at a corner and using the curing function on the pen.

Are you ready to introduce 3D printing for kids to your family? You can get an Atmosflare 3D Pen at ToysRUs, Best Buy, Amazon, and from the Atmosflare website!

But if you want to get one for FREE, you can win one in the huge Atmosflare giveaway! 30 winners will get an Atmosflare 3D Drawing Pen absolutely free! Use the giveaway widget below to enter.

Entry-Form

For more 3D drawing tips, keep up with Atmosflare using the social media links below!

  • Facebook
  • Twitter
  • Instagram
  • Pinterest

Save 30% off your first month!

Filed Under: Curriculum Reviews, STEM for Homeschoolers Tagged With: 3d drawing, 3d printing, curriculum reviews, stem, stem education, stem for homeschoolers

Hi! I'm Selena, a veteran teacher and homeschool mom to four. I'm so glad you're here!
About Me Contact Terms of Use Privacy Policy Places I Share
Facebook Pinterest Instagram
Homeschool Printables Unit Studies Shop the Store
Copyright ©2025, Look! We're Learning!. All Rights Reserved. Design by Pixel Me Designs