Typing is one of those skills that was expected to die out. After all, no one uses typewriters anymore, right?
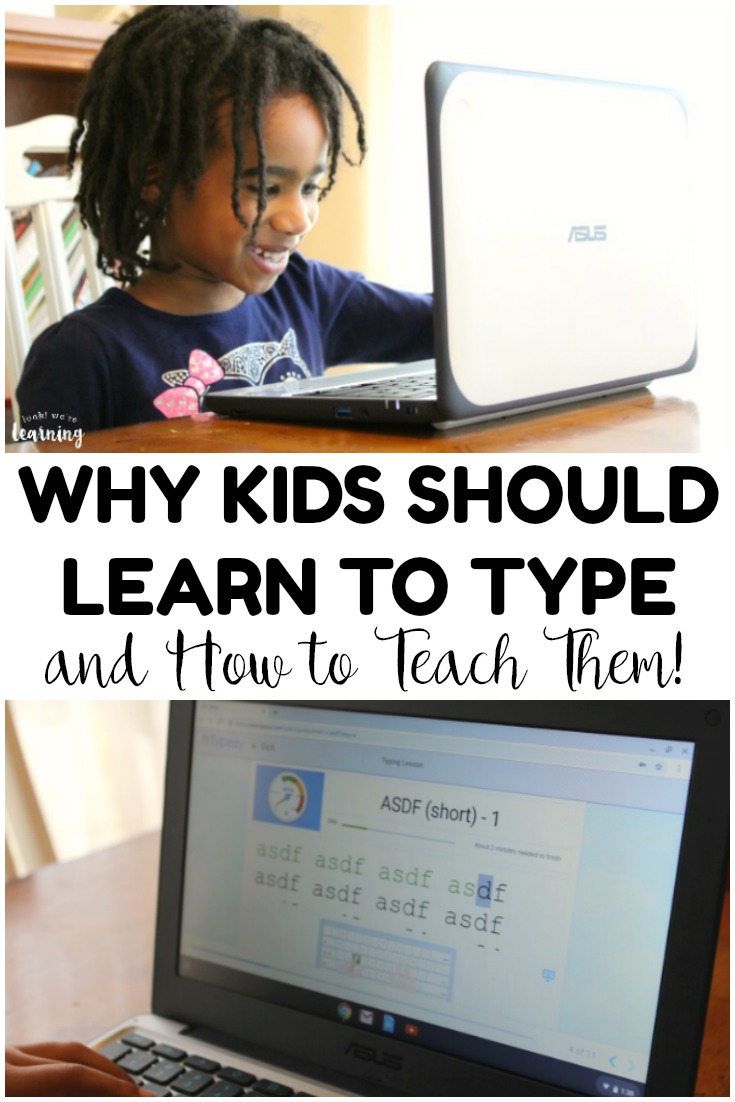
But now that so many kids, including mine, use computers at an early age, typing is actually more important than ever.
The faster and more accurately a child types, the more capable he or she is of using a computer to interact with others, complete school assignments, and work online in the future.
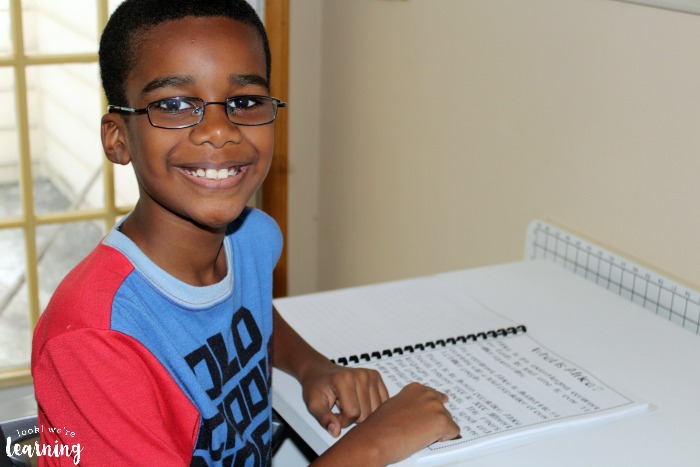
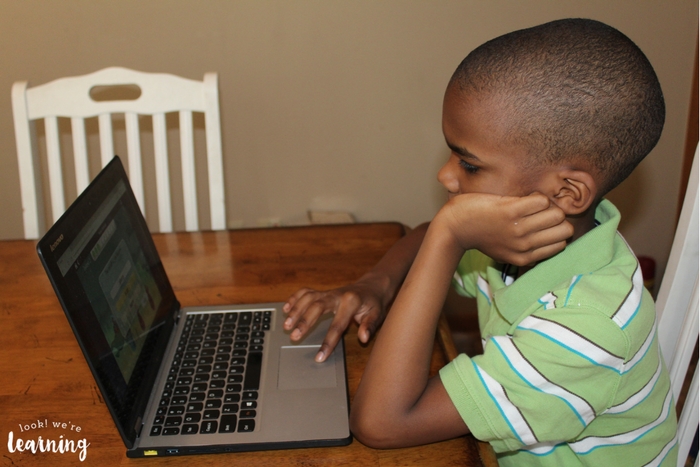
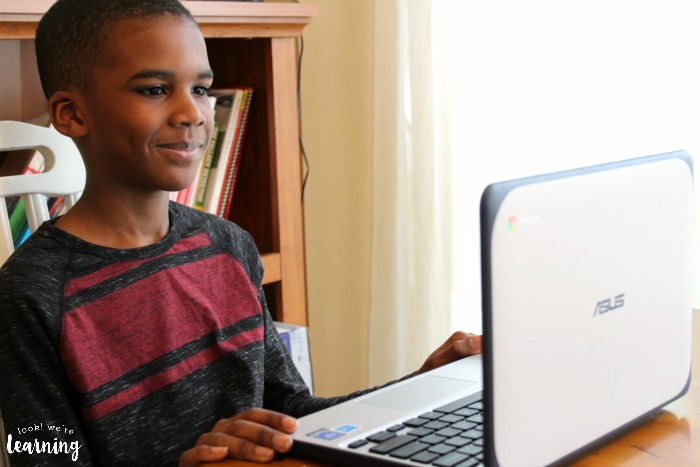
Which is why I was excited to try out Typesy Homeschool Typing with my kids!
We’ve used several homeschool typing programs in the past, but my kids have enjoyed this one the most.
Read on to see why? And for more curriculum choices for early grades, take a look at our minimalist kindergarten curriculum picks!
Disclosure: I received access to this program in exchange for this post and I was compensated for my time. All opinions are my own.
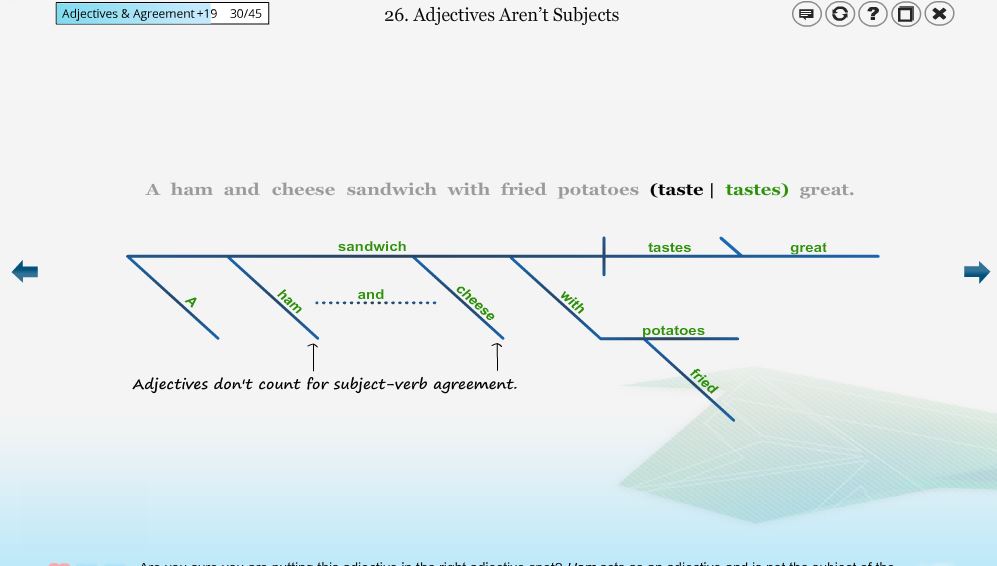
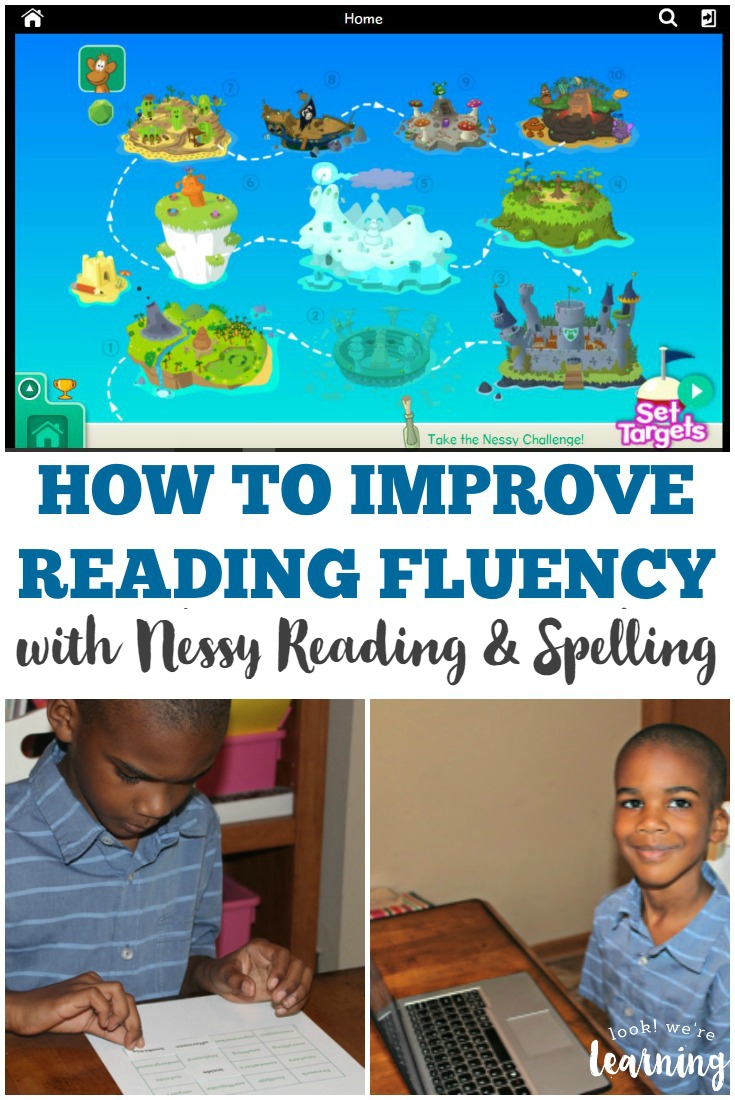
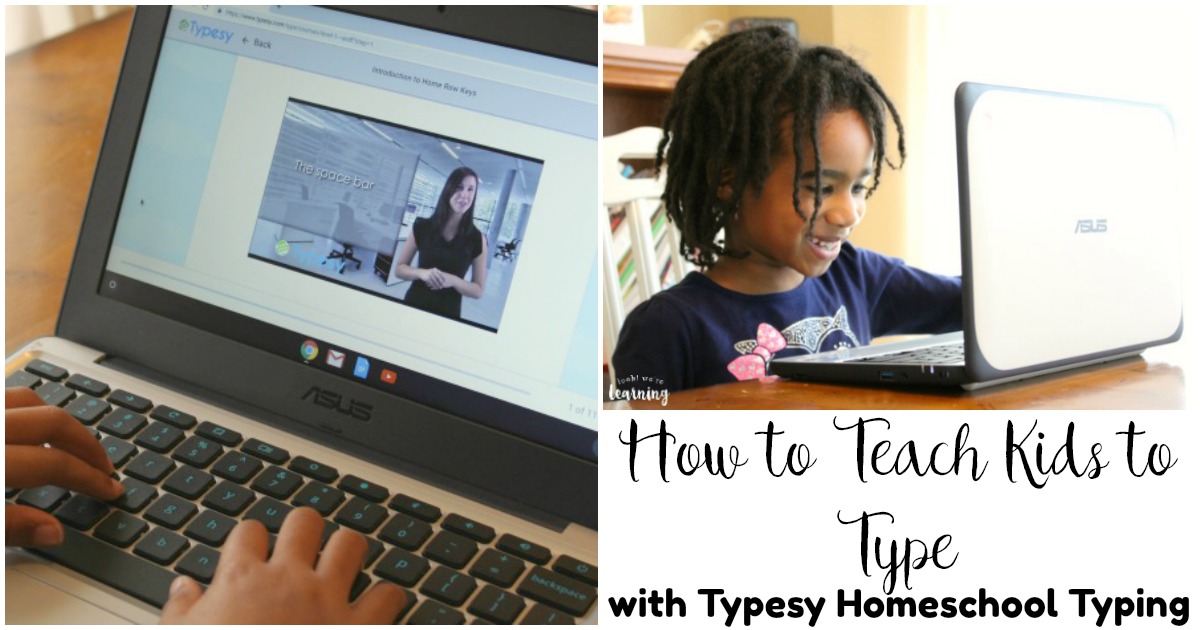
How to Teach Kids to Type with Typesy Homeschool Typing
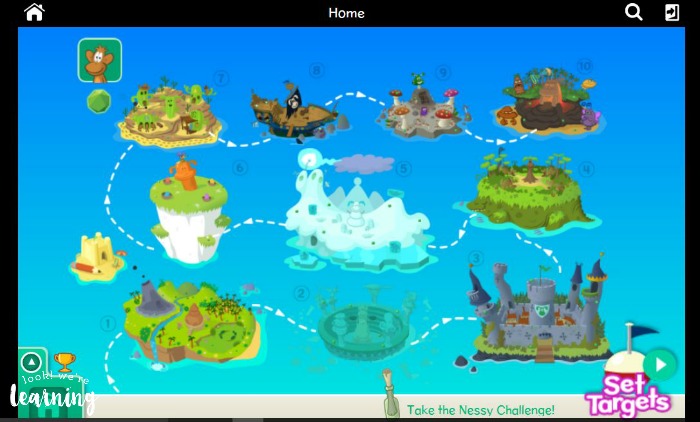
When you first begin using Typesy Homeschool Typing, you have the option to set typing and accuracy goals for your children.
If you’re unsure about their abilities, you can simply use the recommended goals and then adjust as you see fit.

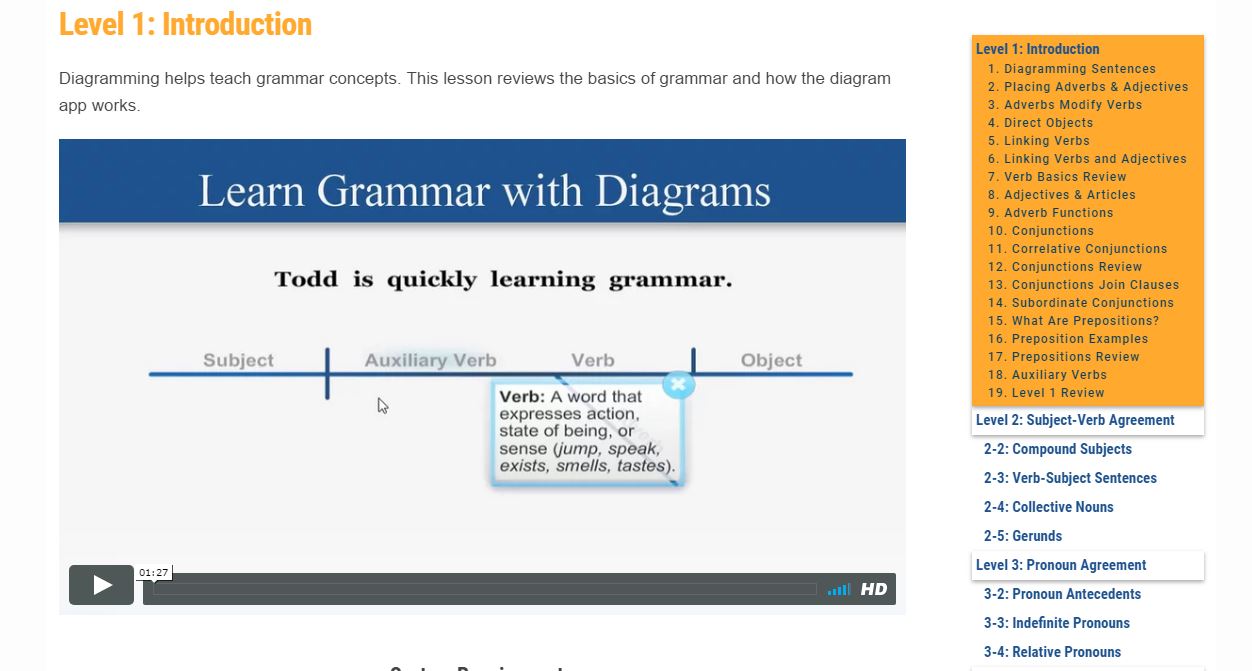
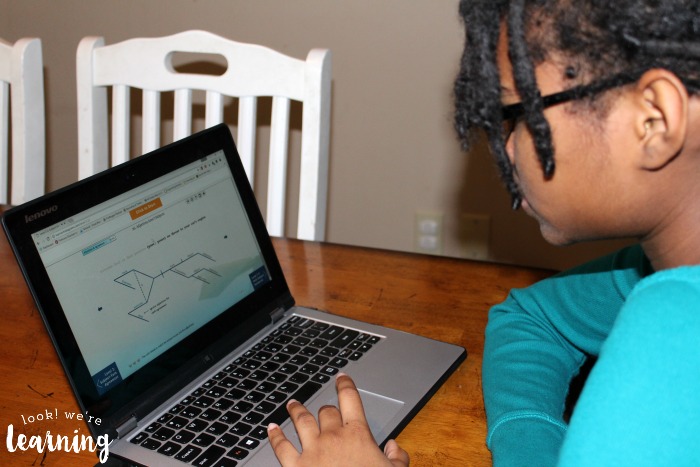
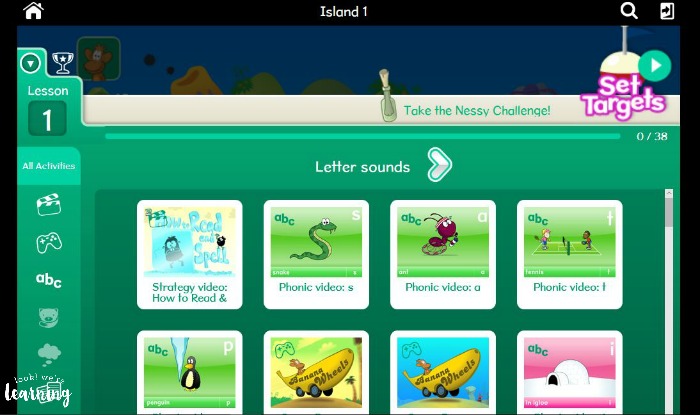
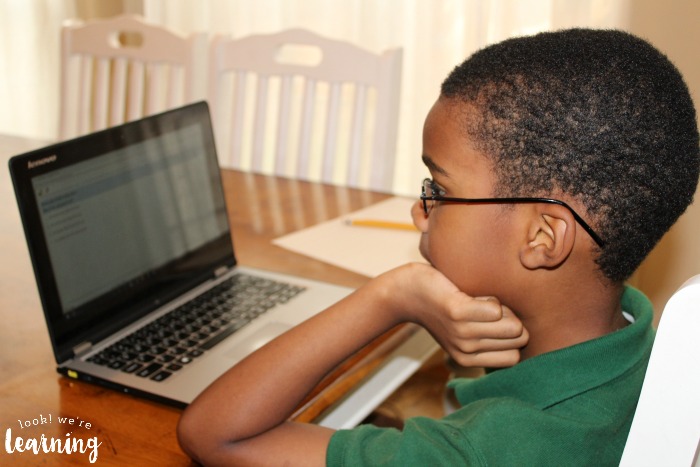
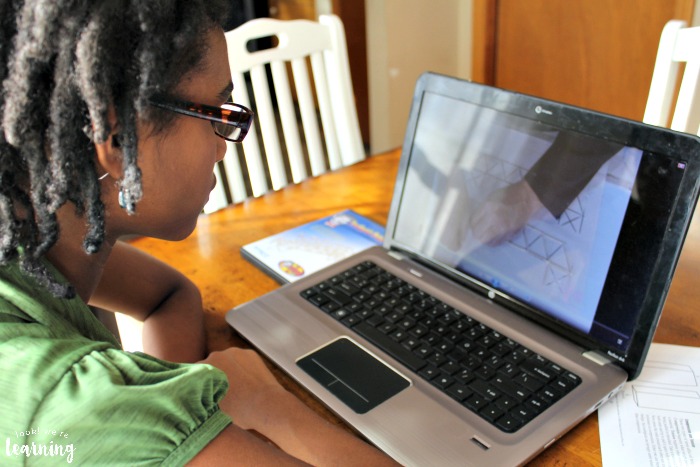
Naturally, Typesy begins with a discussion of correct hand and finger placement, as well as proper sitting posture. What I love about it is that the program uses short videos that do all of the teaching for you.
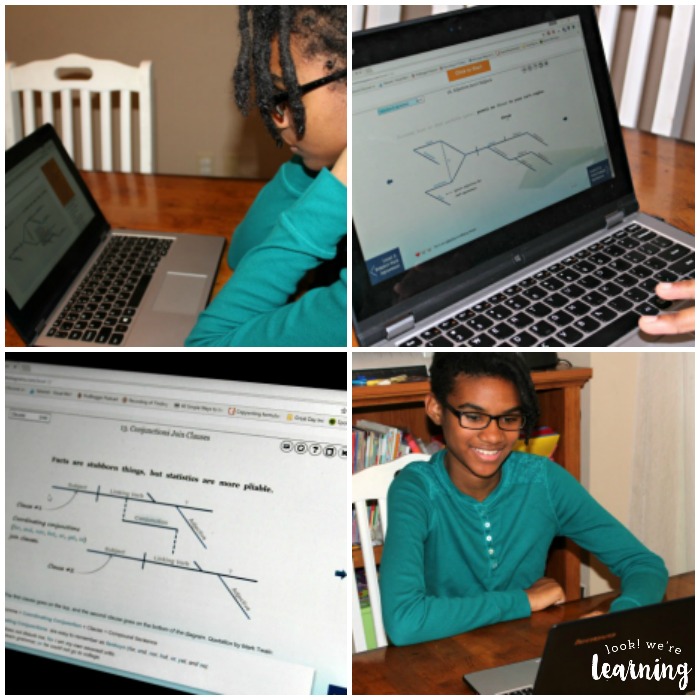
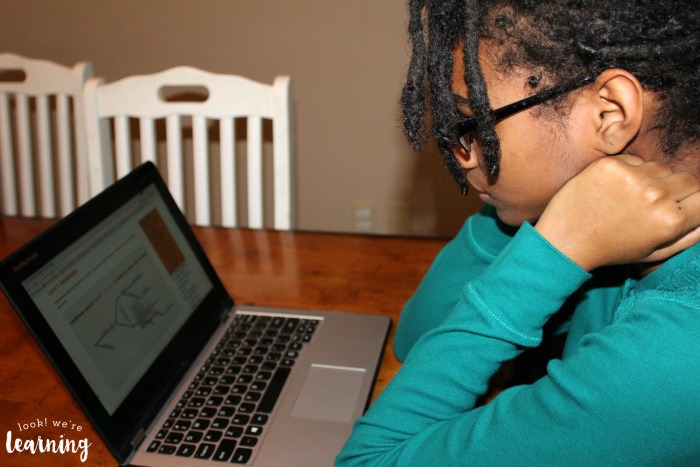
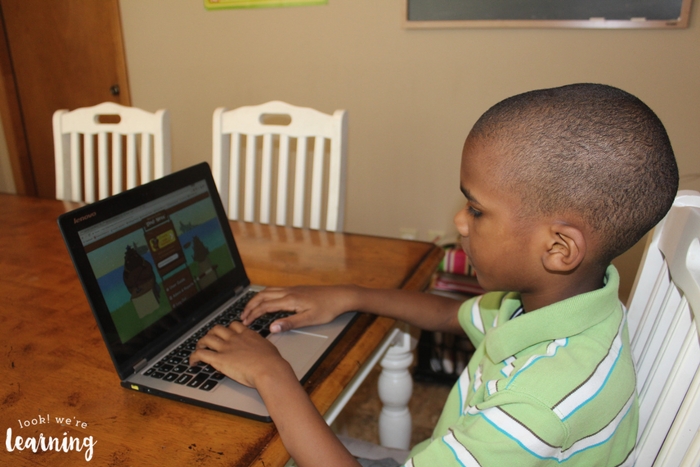
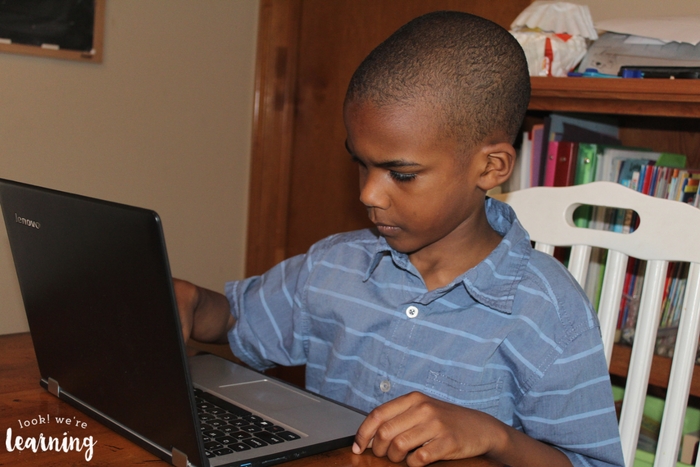
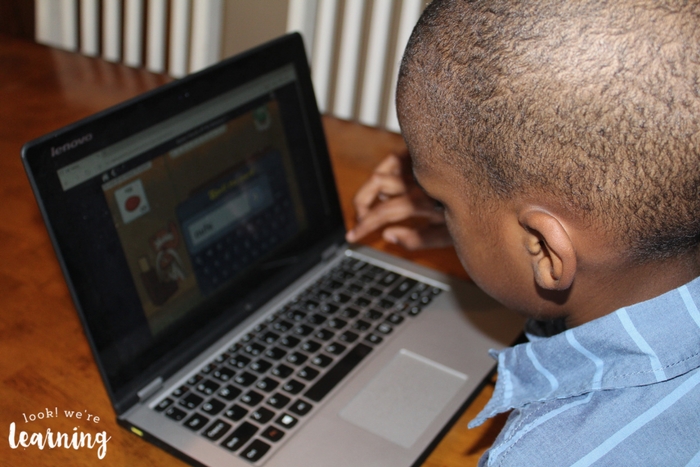
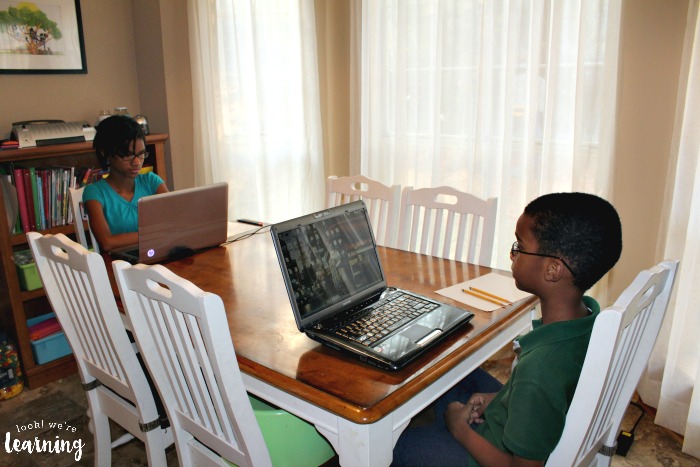
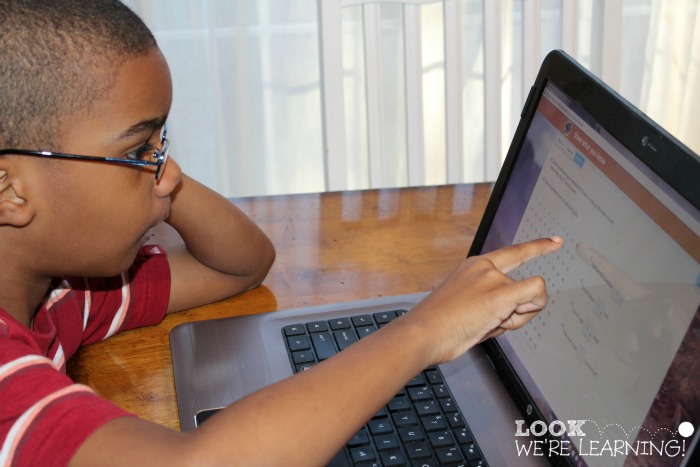
My kids just started a lesson and were off on their own in no time!
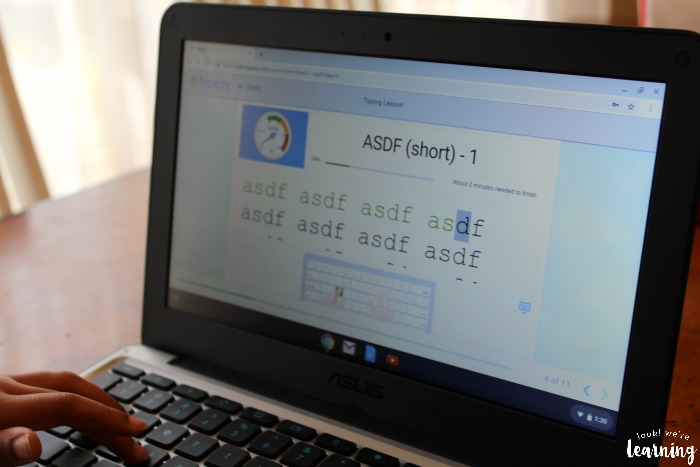
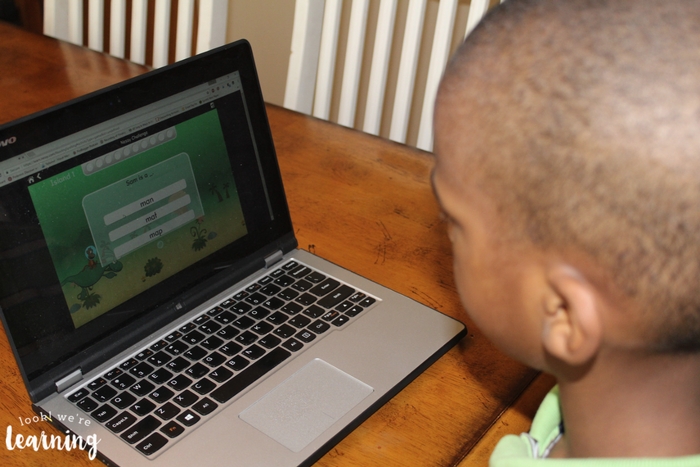
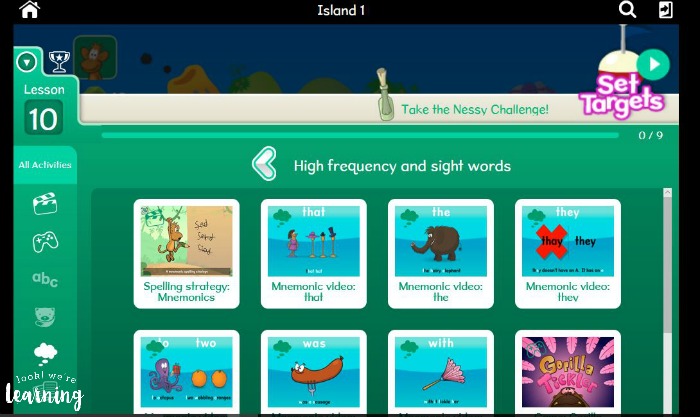
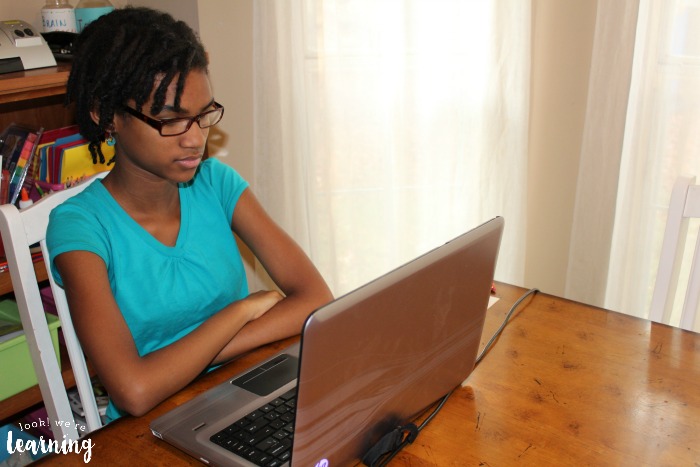
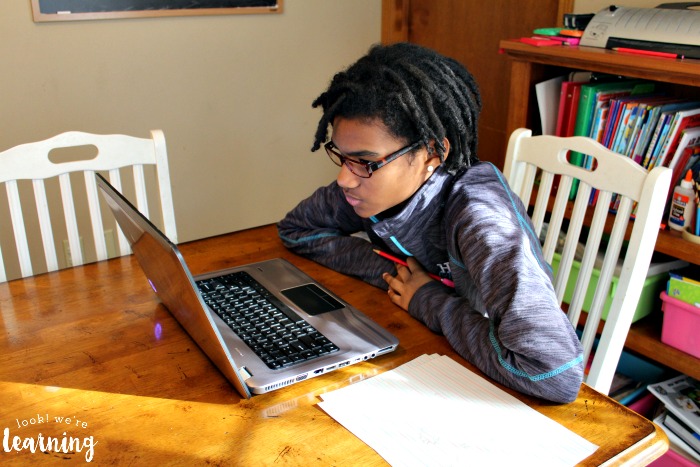
Like most typing programs, Typesy begins with a lesson on home row keys. As kids work on typing those letters fluently, they can simply follow the on-screen prompts.
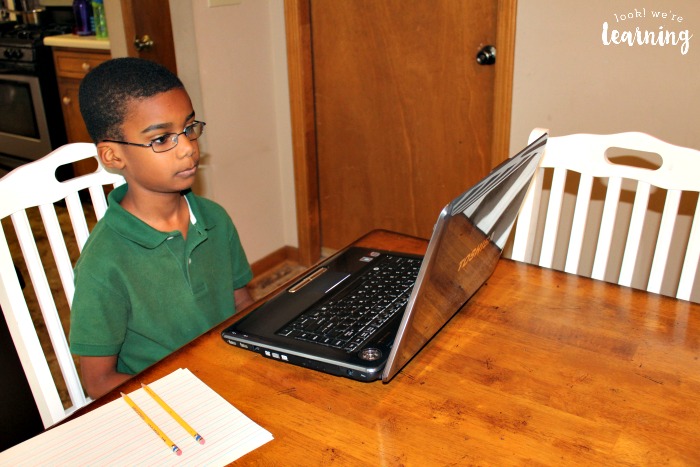
Since Typesy is completely online, there is no program to download and no special textbooks to buy. Students can simply follow the course and pick up where they leave off each day.

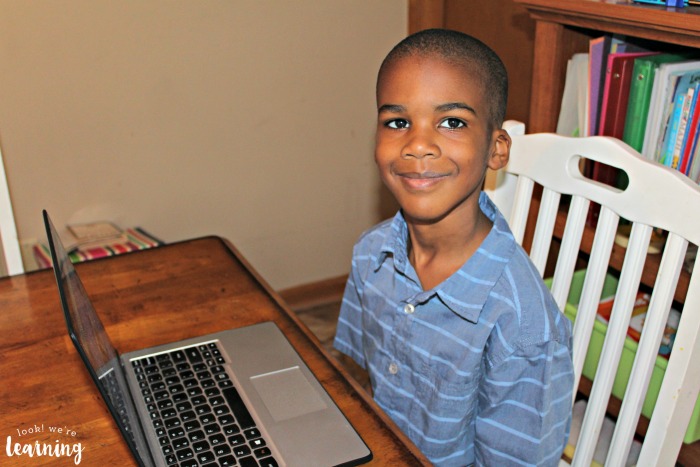
My six-year-old has been asking to do more of it every day since.
What about kids who tend to get bored easily?
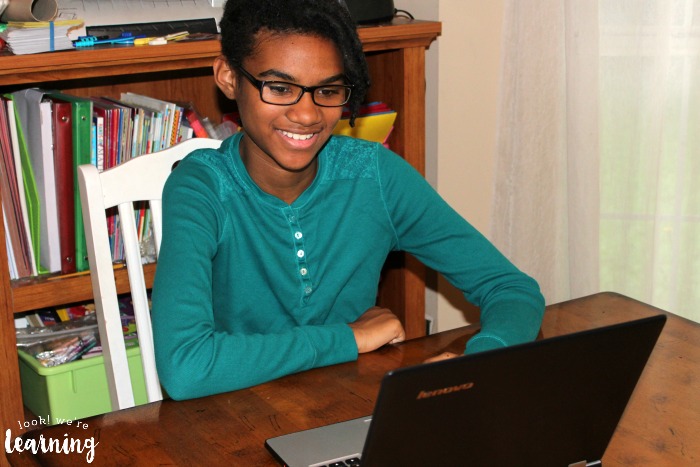
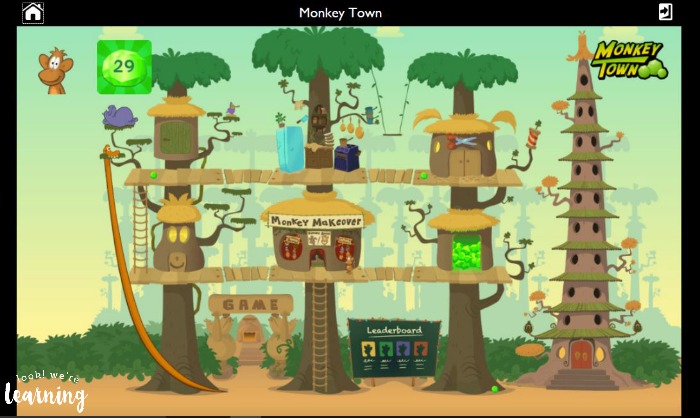
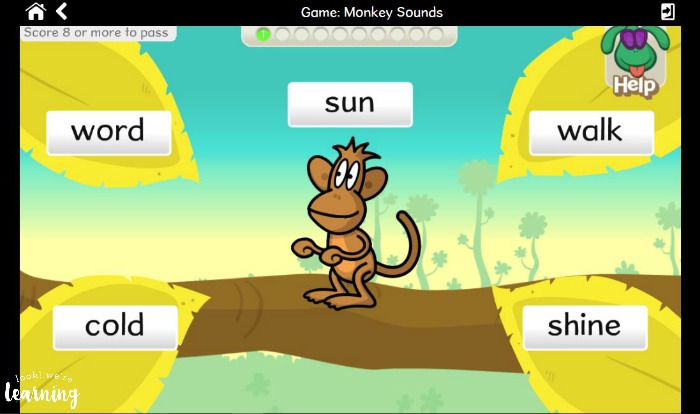
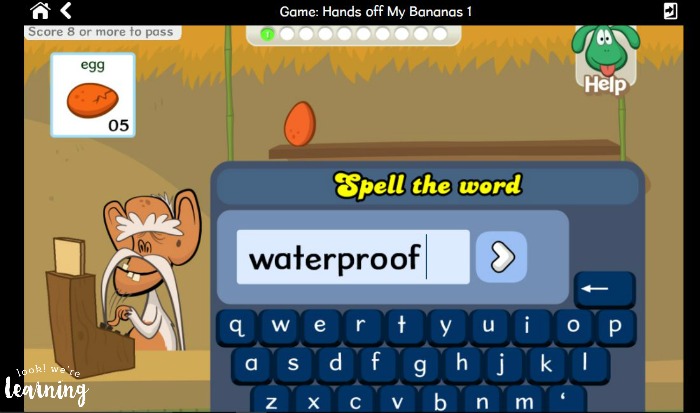
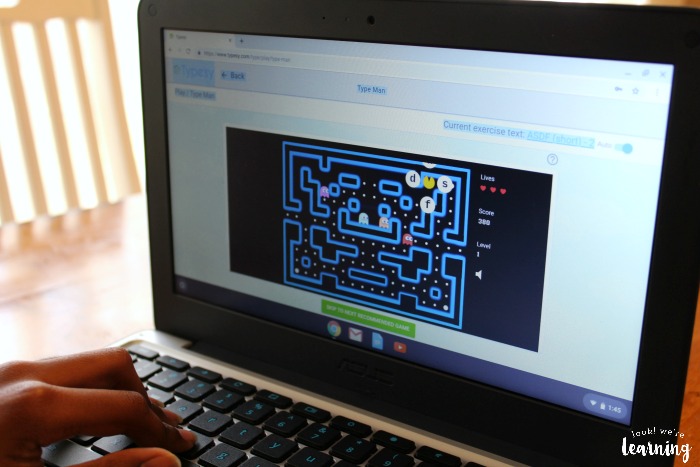
Typesy Homeschool Typing has several online typing games for kids that are great for keeping their attention and improving their typing skills.
My most active learner was thrilled to see that they have a game called “Type-Man”, a typing version of Pac-Man.
It was fun, it helped him practice his typing, and it was no-stress. After all, we want our kids to enjoy what they learn, right?
If you’re looking for a simple, no-prep, fun typing program for kids, I can definitely recommend Typesy Homeschool Typing. Check it out for yourself and see how your kids like learning to type with Typesy!
Don’t miss these other homeschool curriculum choices!

And see more choices for your homeschool year on my Homeschool Curriculum Choices Pinterest board!