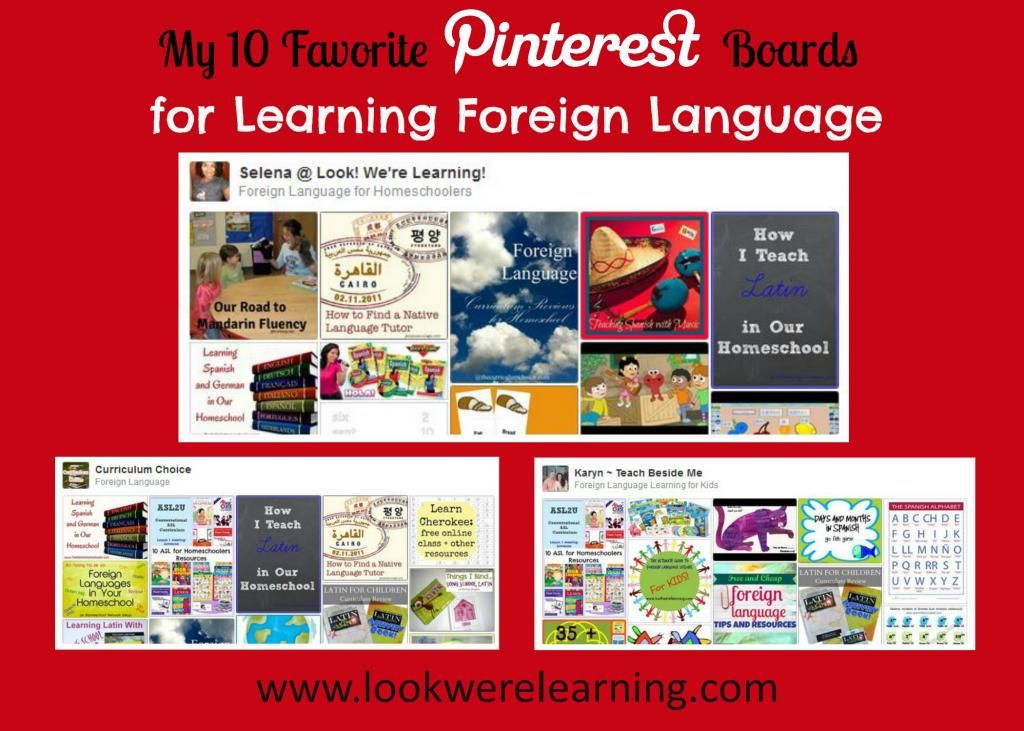
Hi everyone! We’re linking up with another great iHomeschool Network hop to share the best Pinterest boards for learning foreign languages! Browse through the boards below to find some great pinners to follow for foreign language resources!
Early Learning. Happy Teaching.

Hi everyone! We’re linking up with another great iHomeschool Network hop to share the best Pinterest boards for learning foreign languages! Browse through the boards below to find some great pinners to follow for foreign language resources!
Hey everyone! It’s time for our 12 Months of Sensory Dough linkup! Every month, I’m honored to co-host this linky with 11 other bloggers, including Dayna at Lemon Lime Adventures, Val & Alex at Glittering Muffins, Devany at Still Playing School, Sarah at Little Bins for Little Hands, Kimberly at Natural Beach Living, Melissa Ann at The Eyes of a Boy, Nicolette at Powerful Mothering, Amy at Wildflower Ramblings, Rachel at I Heart Crafty Things, Michelle at Delightful Learning, and Jennifer at The Life of Jennifer Dawn!
Hey everyone! It’s time for our 12 Months of Sensory Dough linkup! Every month, I’m honored to co-host this linky with 11 other bloggers, including Dayna at Lemon Lime Adventures, Val & Alex at Glittering Muffins, Devany at Still Playing School, Sarah at Little Bins for Little Hands, Kimberly at Natural Beach Living, Melissa Ann at The Eyes of a Boy, Nicolette at Powerful Mothering, Amy at Wildflower Ramblings, Rachel at I Heart Crafty Things, Michelle at Delightful Learning, and Jennifer at The Life of Jennifer Dawn!
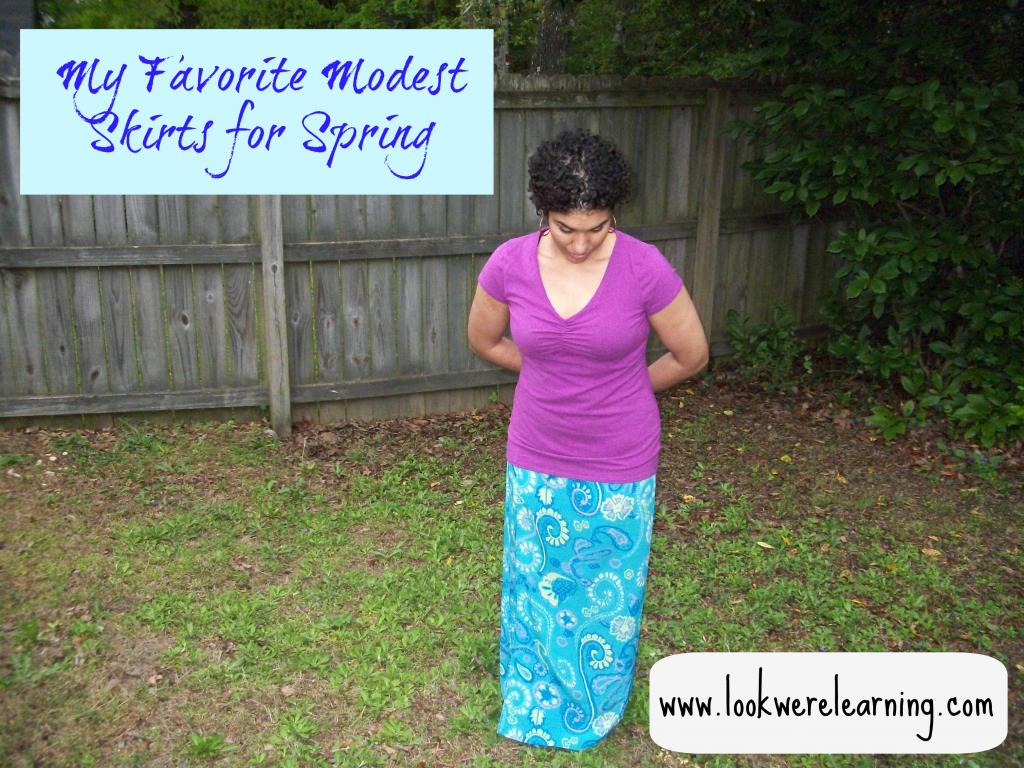
Hi everyone! This year, we’re sharing in a new quarterly linkup called “Seasonal Skirts: A Guide to Feminine Dress Throughout the Year!” I’m excited to share in this linkup with 10 other bloggers, including Dusty at To the Moon and Back, Erin at For Him and My Family, Laura at Raising Soldiers 4 Christ, Kyndra at Sticks, Stones, and Chicken Bones, Mrs. Warde at Sceleratus Classical Academy, Cynthia at Cynce’s Place, Melissa at Life Off the Paved Road, Dawnita at Fogleman Forerunner, Hilary at Our Homeschool Studio, and Annette at In All You Do!
This month, we’re focusing on our favorite modest skirts for spring. Now, I don’t wear skirts exclusively. In fact, I own quite a few pairs of Old Navy jeans. 🙂 However, we spend so much time in our Bible education work that I end up wearing skirts on most days.

Hey everyone! It’s time for our 12 Months of Sensory Dough linkup! Every month, I’m honored to co-host this linky with 11 other bloggers, including Dayna at Lemon Lime Adventures, Val & Alex at Glittering Muffins, Devany at Still Playing School, Sarah at Little Bins for Little Hands, Kimberly at Natural Beach Living, Melissa Ann at The Eyes of a Boy, Nicolette at Powerful Mothering, Amy at Wildflower Ramblings, Rachel at I Heart Crafty Things, Michelle at Delightful Learning, and Jennifer at The Life of Jennifer Dawn!

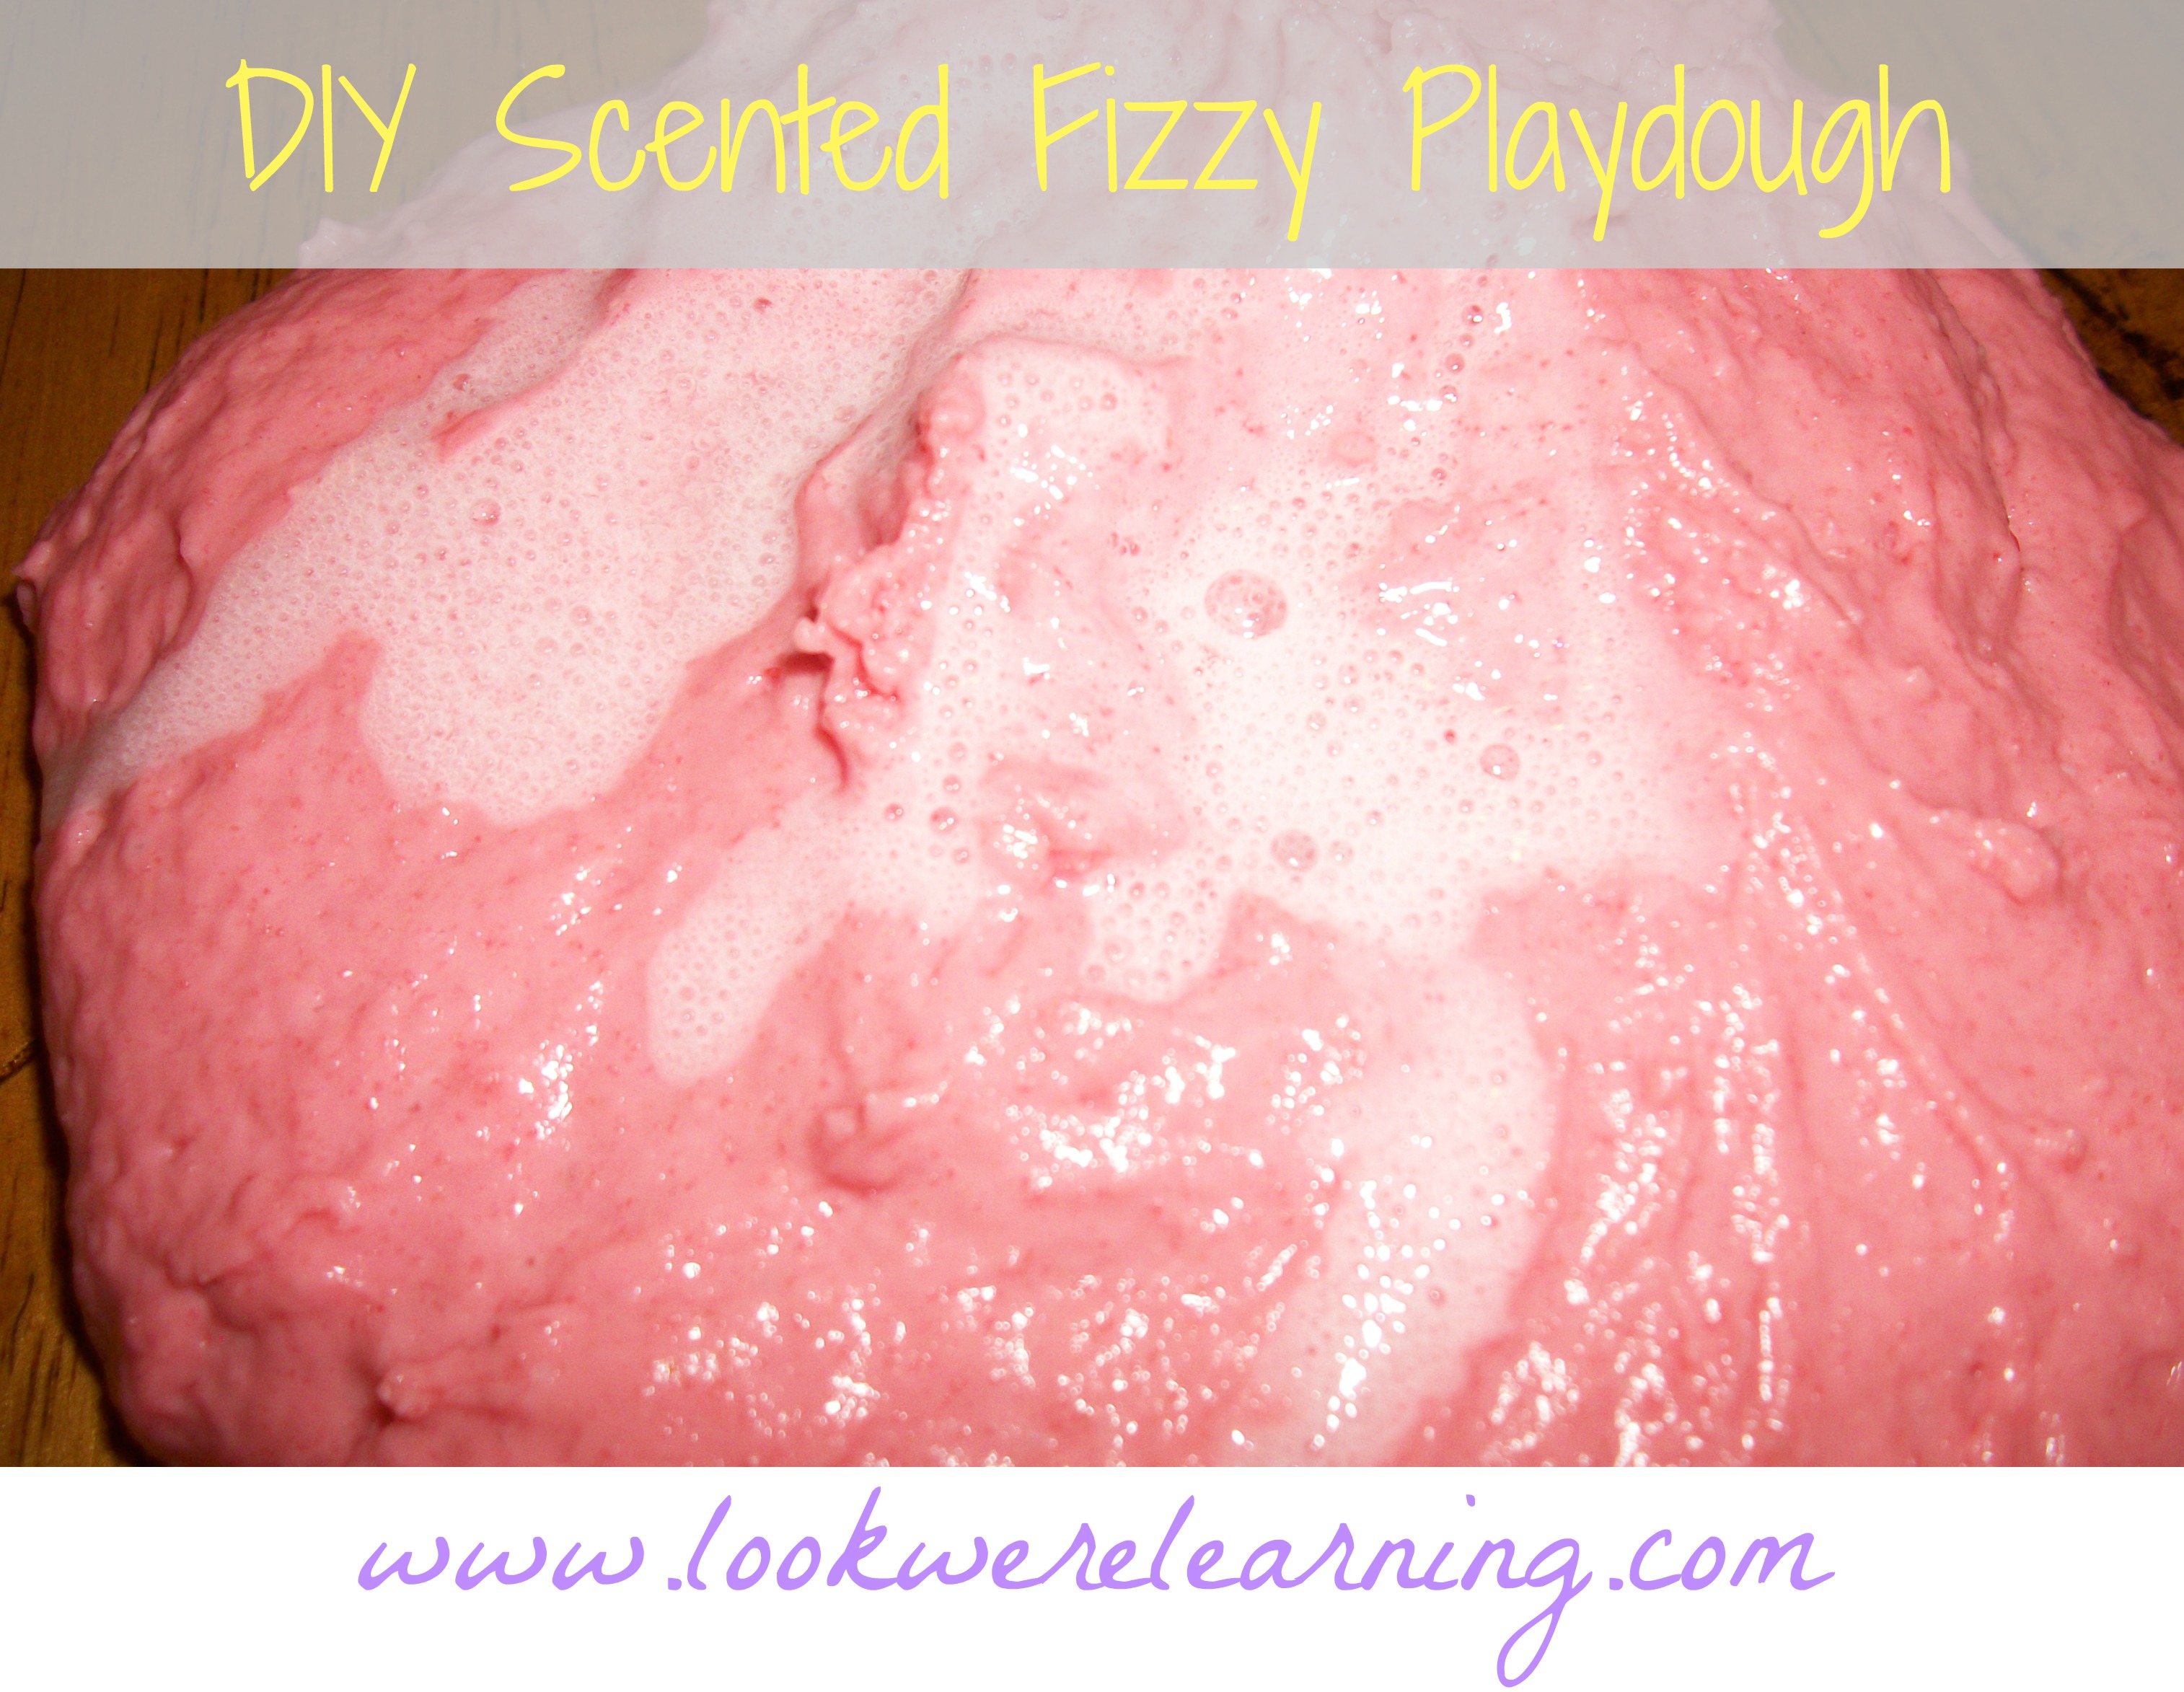
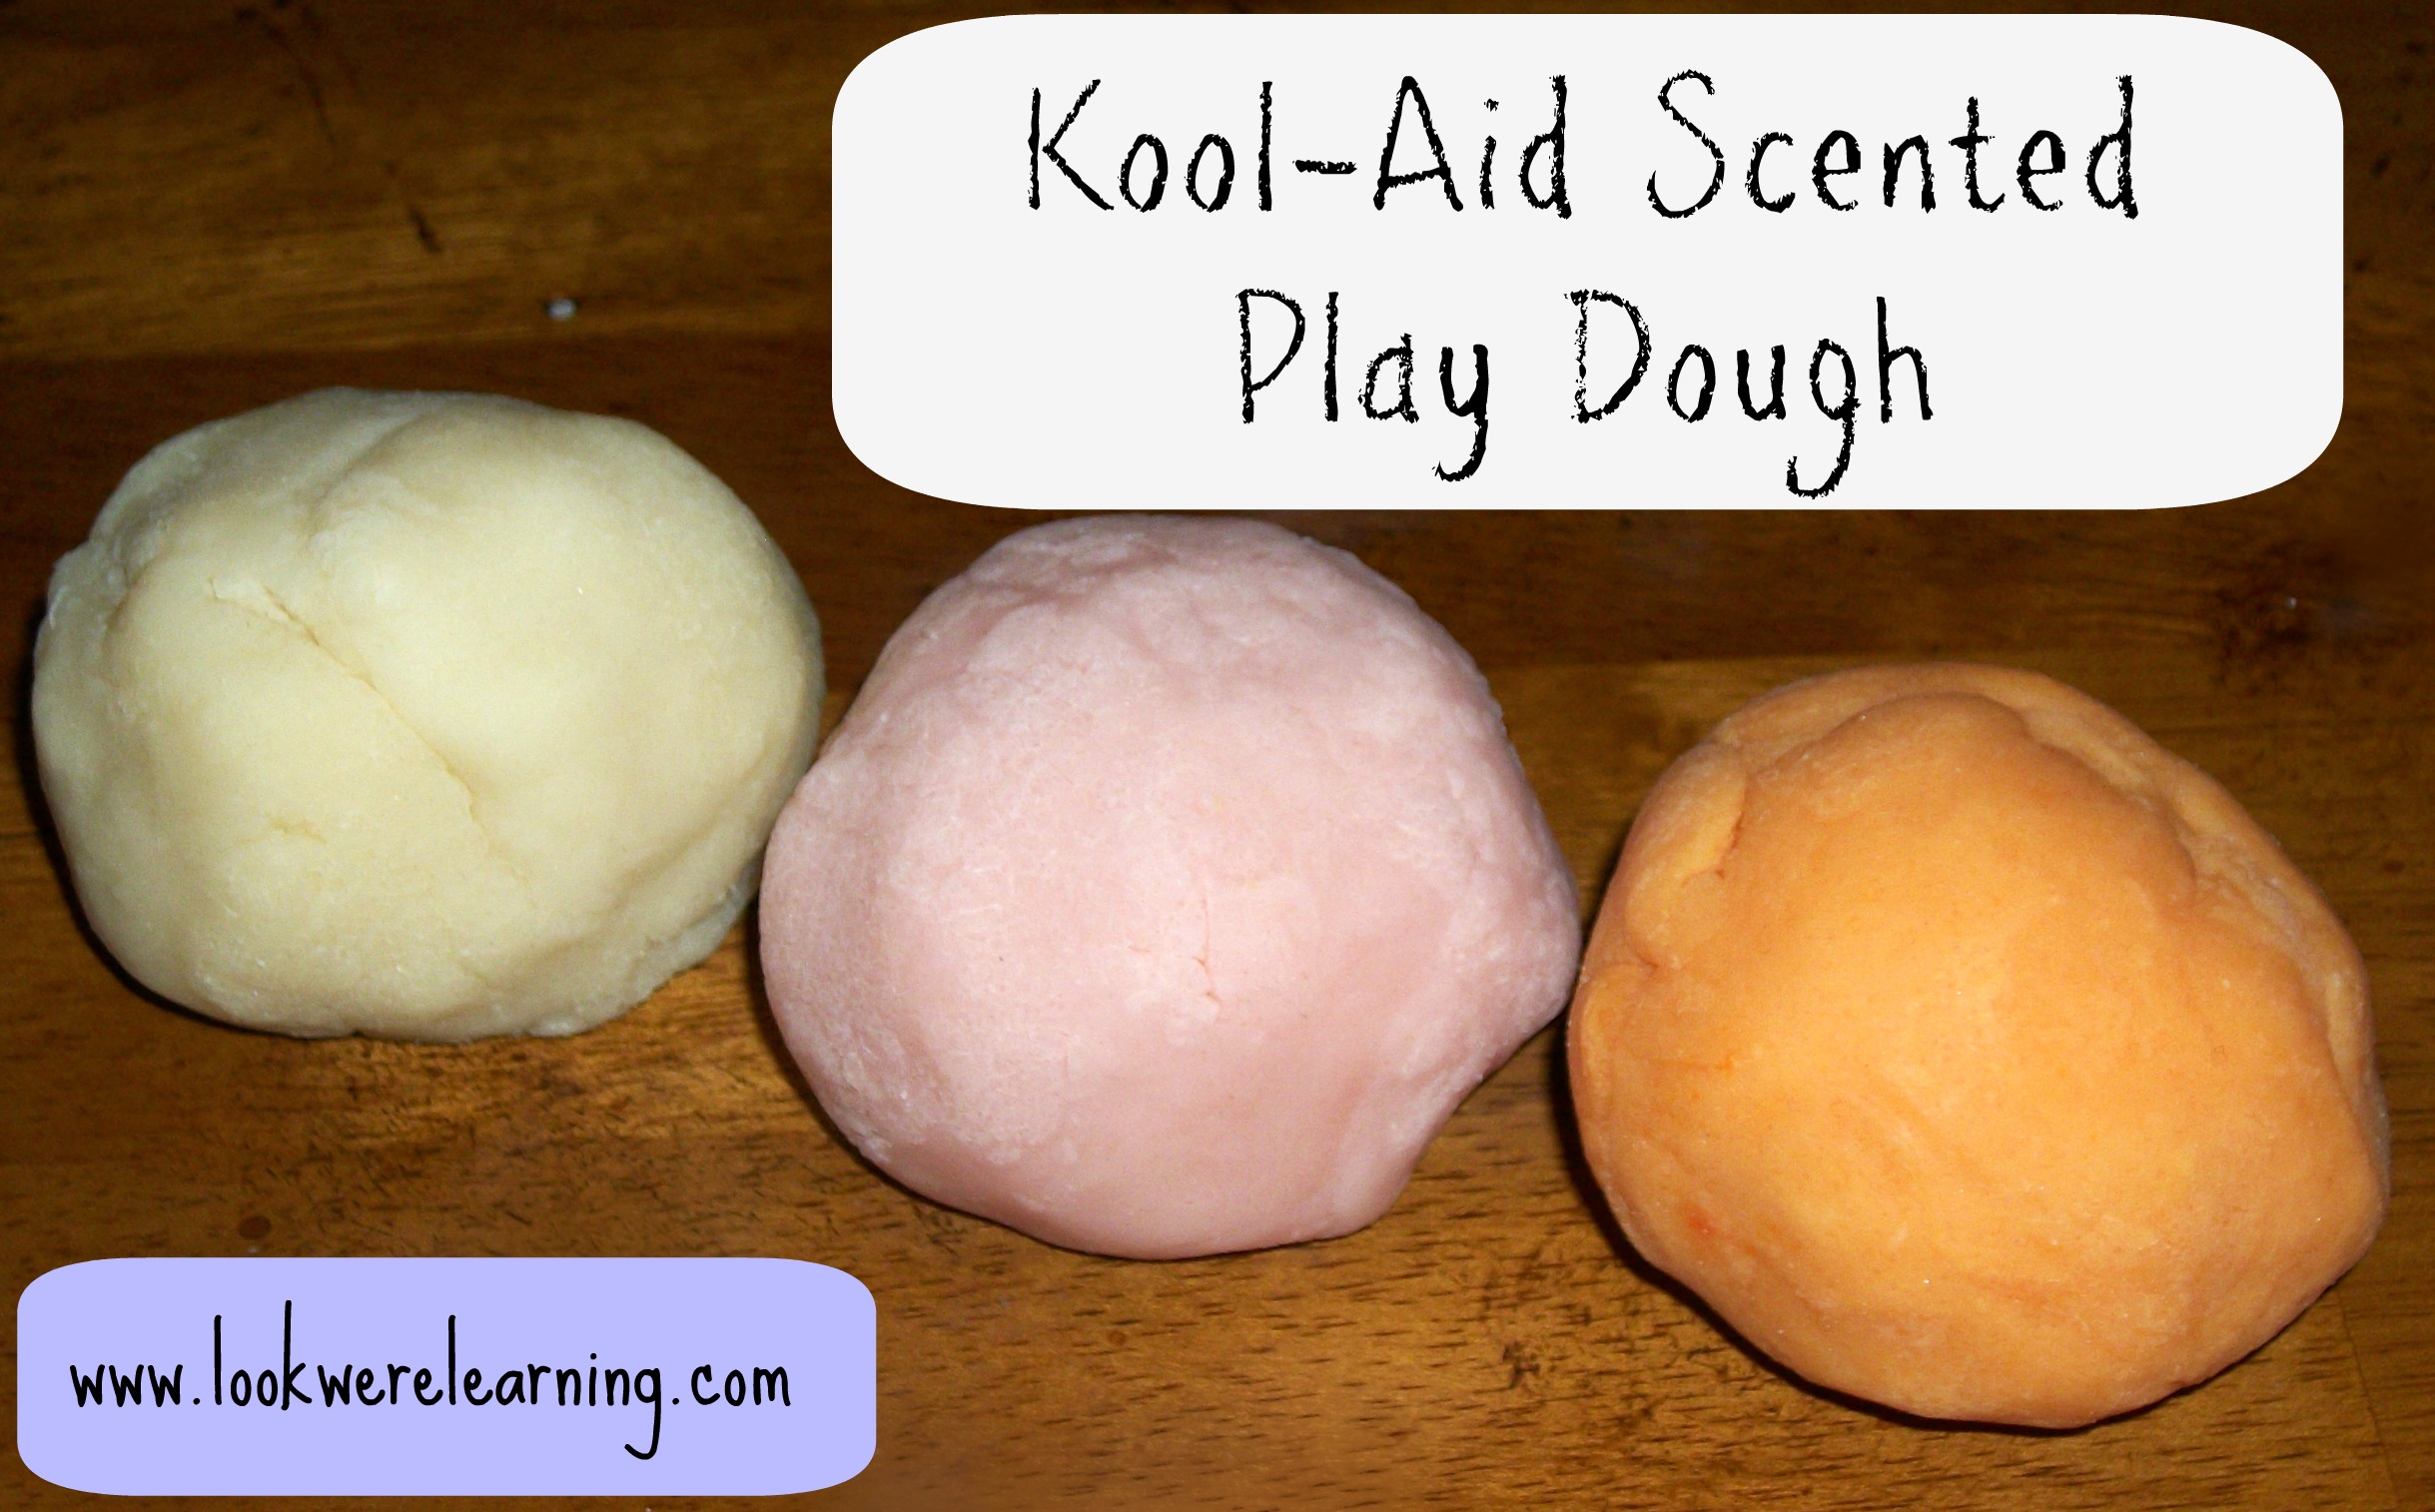
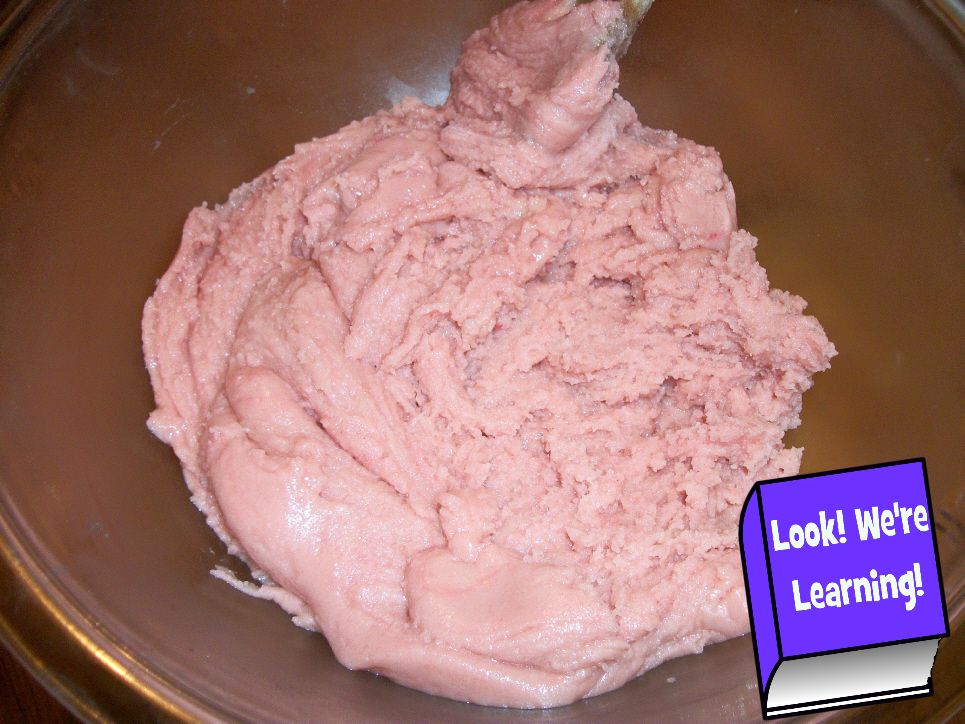
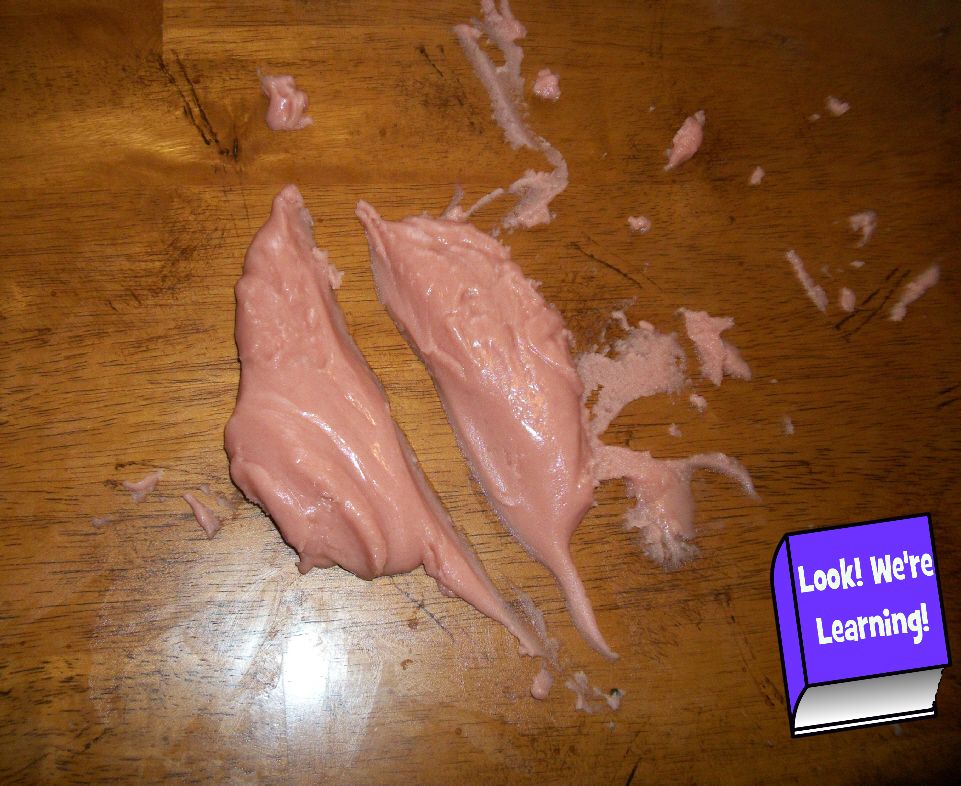
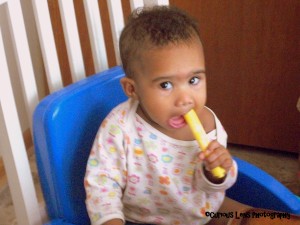
For our scented dough, we decided to make Kool-Aid scented play dough using a recipe from Kraft. I was interested to see how this would turn out using just the Kool-Aid powder for the scent and color. We went with pink lemonade, lemonade, and orange for our flavors.

I started with the pink lemonade flavor. When I mixed up the dry ingredients, I started to wonder whether the color would show or not.

But once I added the water and oil, the color showed and I felt a little less worried…lol.

Here’s the lemonade-flavored batch.

And the orange-flavored batch. You just combine the ingredients and stir over medium heat for a few minutes until you get a ball of play dough.

Let them all cool for a little bit and you’re ready to go! A word of caution: This dough dries out very quickly, so you’ll want to cover it up if you don’t intend to use it right away.

Now for the verdict: Of these three flavors, the orange was definitely the best. It produced the best color and it smelled wonderful! The pink lemonade had a slight scent, and the lemonade didn’t smell like much of anything…lol. Using a stronger flavor like fruit punch would probably be even better. 🙂
We’d love to see your sensory dough experiments! Feel to link up your sensory dough fun below!
Please read the following guidelines before linking up.
Share family-friendly posts related to the month’s theme. Feel free to link old or new posts that highlight your favorite recipes for sensory dough. Failures and unsuccessful attempts are welcome.
We ask that no posts are linked with copy/paste recipes from other sources. If you use a recipe from another source, please link back to the original recipe.
By linking up, you give permission to share your post and one photograph in future posts and through social media channels.
Visit 2-3 other posts that others have shared. Discover new ideas and meet new friends!
The linky will remain open for two weeks. On the 12th of each month, all co-hosts will post a new dough with their spin, highlighting at least one post from the month before and pin each post to the 12 Months of Sensory Dough Board.
If you would like to, please grab the 12 Months of Sensory Dough button for your blog. And be sure to stop by and visit our co-hosts to get their take on the featured dough for the month!

Follow Lemon Lime Adventures’s board Best of the Best Sensory Dough on Pinterest.
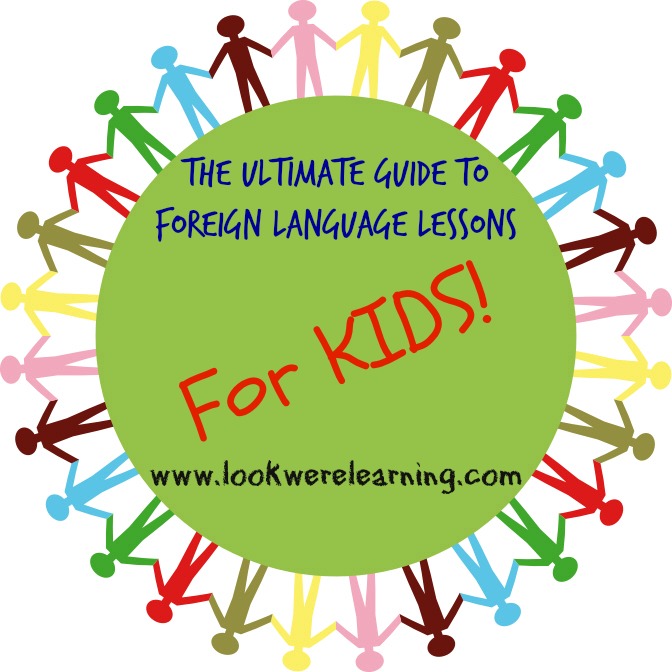
We’ll be making some HUGE changes to our educational focus this fall. (I’ll be sharing some of those with you in a few weeks.) But one of our major focuses will be foreign language. There’s no doubt that the world is getting “smaller” in a way, and we feel that our kids need to be aware of other cultures, comfortable with all kinds of people, and able to communicate freely in as many languages as they like.

So…today I’m sharing my ultimate guide to foreign language lessons for kids! We already use ASL as a family and I’m currently learning Spanish, but both Jay and I are interested in several other languages. We plan on using these links to learn right along with our little ones next year! 🙂

Chillola – Chillola offers basic words in several foreign languages, including German, Spanish, French, and Italian. To read the phrases in each language, just choose which one you’d like to learn, then scroll down to see them grouped by category.
Mango Languages – If your local library system participates in Mango Languages, then you have access to this resource absolutely free! Mango Languages offers structured online foreign language lessons for kids and adults in over 60 tongues! Sixty!
DuoLingo – DuoLingo, which is available both online and as an app, is an excellent foreign language resource for kids, because the lessons are very short. Since users have to listen and respond regularly, it’s almost impossible to get bored using it – a huge plus for learners with ADHD.
BBC Languages – There are 40 languages featured on the BBC Languages website, and the courses are very, very thorough with quizzes, videos, and pronunciation. It’s geared more toward older teens and adults, but you can still use it to introduce foreign language vocabulary to kids.
LiveMocha – LiveMocha offers free online foreign language lessons, resources, and conversation with native speakers. 35 languages are available.
Open Culture Free Language Lessons – This is an enormous list of free online foreign language resources with links for lots of languages, including Arabic, Lithuanian, Swahili, and Turkish. Links include free courses, printable foreign language lessons, and iTunes lectures. Most of these are geared toward middle grades, teens, and young adults.
Our fellow iHN blogger Angie Kauffman of Many Little Blessings and The Homeschool Classroom has written extensively about how to teach foreign language to kids. Here are a few of her resources about general foreign language lessons:
Fun Activities for Teaching a Foreign Language – There are plenty of great suggestions here for how to make foreign language learning fun for kids. Rather than sitting at a desk, you might want to try some of these suggestions, including read-alouds and dramatic play to teach foreign language.
Methods for Teaching a Foreign Language to Your Child – At Many Little Blessings, Angie shares tips about using movies, songs, and places to introduce kids to foreign language.
Lifeprint – Created by Dr. Bill Vicars, Lifeprint is the premier online ASL resource. It’s completely free and it’s comprehensive. A good place to start is with the 100 Basic ASL signs section, because it covers several of the common ASL words and terms kids need to learn.
KidCourses ASL – This site has several free ASL printable worksheets, including cut and paste activities, coloring pages, and fingerspelling handouts.
Signing Time – Our kids used to enjoy watching Signing Time on television, and this is the show’s official website. Most of their products are available for a fee, but there are ASL songs and printables that you can view for free.
Signing Savvy – Signing Savvy is a massive online ASL dictionary. There are over 7,000 signs listed, and the website offers multiple signs for just about every term. That’s very helpful, because you’ll find that all deaf people do not use the same signs.
Sign Language for Dummies – Despite the name, this is a very smartly-designed website, and there are great resources for ASL kids lessons. There are even pictures of kids demonstrating signs. I use those as coloring sheets sometimes with young kids who are learning ASL.
ASL Video Lesson Series – Of course, we’re doing an ASL video lesson series of our own! You can view past tutorials on the blog or subscribe to our YouTube channel for more ASL vocabulary.
A few more great ASL resources from Angie Kauffman’s The Homeschool Classroom, courtesy of guest blogger Megan Spires:
Teaching American Sign Language to Children – A good place to start using ASL with kids is by teaching them the alphabet. There are excellent suggestions in this post for using the ASL alphabet in activities around the house.
5 Fun Activities for Teaching American Sign Language – ASL is a picture language, so learning it should be lots of fun for kids! This post offers some great tips to keep ASL fun, such as scavenger hunts, games, and field trips!
7 Creative Ways to Teach American Sign Language – While ASL was designed as a method of communication for deaf and hard-of-hearing individuals, it’s a great language for anyone to learn! In this ost, Megan explains how to include ASL in your everyday life with the kids.

Several of my fellow iHN bloggers have written great tips about teaching Latin for homeschoolers!
Visual Latin – Tricia Hodges, who blogs at Hodgepodge and The Curriculum Choice, shares her review of Visual Latin – a program that includes both free Latin lessons for kids and a deluxe program available for purchase.
Race to the Colosseum Latin Game – Pam Barnhill has created a board game for learning Latin called “Race to the Colosseum” that looks like so much fun! It would be perfect for young students or active learners, who need a little encouragement getting excited about Latin. You can learn more about the game and how to buy it on Pam’s blog Everyday Snapshots.
Song School Latin – Amy Maze features one of her favorite resources for teaching Latin to kids: Song School. Latin is a major component of the classical homeschooling method, so if you’re considering pursuing that style of teaching, you may want to visit Amy’s blog Living and Learning at Home to learn more about classical education and the Trivium.
Studying Latin in Elementary School – Angie Kauffman shares a post from Jen at Forever, For Always, No Matter What about how you can overcome early obstacles to teaching Latin in elementary grades.
Latin for the Average Mom – What if you don’t know Latin yourself? (Like me…lol) This is a great post about how you can implement a Latin education in your homeschool and learn it yourself in the process.

Little Explorers French Dictionary – Part of the Enchanted Learning website, the Little Explorers dictionary offers English-French words for all 26 letters of the alphabet. You can also print the entire PDF French dictionary if you want to use a paper version.
French Games – Instead of learning French from flashcards, the French Games website allows kids to learn through playing online French games! There are more than 100 different topics from which you can choose, including family, school, and food.
Alpha Buddies French – Alpha Buddies is the French alphabet section of DLTK, which has a ton of printable worksheets for early grades. This is a good resource for young kids who are new to French. You can print French alphabet coloring pages and let the kids color them.
Bonjour – Rocket Language operates this site, so you’ll see ads for its paid programs at the bottom of the page. But, the free introductory course is pretty good. There are sections with audio guides for French greetings, weather, and how to ask for help.
BBC French for Kids – On this site, kids can learn how to introduce themselves in French, spell in French, and use French numbers. Songs and free printable worksheets are also available for use with the program.
Resources for Studying French in Your Homeschool – 10 resources you can use to teach French in homeschool are listed in this post. As Angie Kauffman mentions, there really aren’t a lot of French resources available, so this is a great list!

Spanish Town – The Spanish Town website features free online Spanish lessons for kids on topics such as food, time, animals, and grammar. You’ll also find free printable Spanish worksheets and videos that correspond to each lesson plan.
Language Guide: Spanish – Language Guide is a basic Spanish vocabulary resource that offers audio pronunciation guides for selected Spanish words such as greetings, articles of clothing, and food.
Word Dynamo Spanish – Part of the Word Dynamo section at Dictionary.com, the Word Dynamo Spanish area is a fun way to test Spanish vocabulary through flashcards, definitions, and crosswords. They’re grouped by topic, which is helpful, but they’re also very short activities, so they’re perfect for young learners! (I use these a lot to study for class.)
Los Opuestos Flashcards – Naturally, I can’t leave out our free Los Opuestos flashcards, which you can print and use to introduce Spanish opposite words to your kids!
Some of the iHN bloggers have written quite a bit about learning Spanish in homeschool. Here are some of the great resources they’ve shared:
Excelerate Spanish – Michelle Cannon of The Holistic Homeschooler shares a review of the Excelerate Spanish program – a multi-sensory Spanish curriculum that includes workbooks, lessons, and DVDs.
Learning Spanish at Home – Writing at The Homeschool Classroom, LaToya Edwards shares some of her favorite resources for teaching Spanish at home.
Homeschool Spanish Resources for Kids – Karyn Tripp of Teach Beside Me provides a super list of Spanish resources that are available online. She’s even included Mi Vida Loca, which is one of my personal favorites. It’s geared toward older teens and adults, and it sends you on a mission that allows you to learn Spanish along the way.
Speekee Spanish – In this post, Karyn reviews Speekee Spanish, an online Spanish video tutorial series for kids. The program carries a fee, but you can receive a free trial that includes access to all the videos and lessons.

Wikibooks: Basic Korean – These five Korean lessons are part of the WikiBooks project, so they’re subject to revisions. However, they are excellent (and free) introductions to the Korean alphabet, along with proper Korean pronunciation.
L-CEPS Korean – Once you’ve mastered the Korean alphabet, you may be ready to learn basic conversation in Korean. This website explains how to say greetings, common phrases, and numbers in Korean. It also contains a link to a free trial web app for learning Korean.
Linguanaut – Linguanaut is another basic Korean online tutorial resource. It features instructions in Korean greetings, Korean phrases, and “survival” phrases that you’ll need if you face a medical emergency in Korea.
Fellow iHN blogger Aadel Bussinger, who is currently living in South Korea, has experience in teaching Korean to kids and she’s shared some of her wisdom on her blog These Temporary Tents.
10 Great Apps for Learning Hangul – Aadel shares several great, inexpensive apps for learning Korean. These would be great for kinesthetic learners like Tigger!
Italki – In this post, Aadel reviews Italki, an online foreign language tutoring resource for kids that allows students to talk virtually with native speakers and work with a tutor.

Miss Panda Chinese – Miss Panda Chinese is a Chinese program for children that features songs, videos, and a phonetic guide. If you don’t want to buy the program, you can view several of the videos and an explanation of Chinese tones and phonetics right on the website.
BBC Primary Mandarin – There are several videos and games for learning Mandarin on the BBC Primary Languages Mandarin site. Kids can learn how to talk about themselves, school, and food in Mandarin. There’s also a section about Chinese culture.
Chinese iLab – This site offers both paid Chinese lessons for kids, as well as 10 free introductory lessons about how to use Chinese tones and how to talk about basic subjects in Chinese. Each free lesson has both an mp3 file and a video slide presentation.
Semanda – If you want a simple way to introduce Chinese vocabulary to kids, you might like the free printable Chinese flashcards available from Semanda. You can choose from Chinese or Pinyin, and all of the terms include pictures and the English words to make learning easier.
Eva Varga, an iHN blogger, is teaching Mandarin to her children, even though she doesn’t speak it! She’s shared some great tips on her blog EvaVarga.net and on the webite Better Chinese.
How to Teach Mandarin – In this post, Eva explains how she teaches Mandarin in her homeschool, despite the fact that she doesn’t know the language. There are great suggestions here for Mandarin immersion through cultural experiences and conversation.
Chinese Pro – Eva reviews the iPad app Chinese Pro and how she uses to reinforce Chinese vocabulary with her kids.
Using Dubbed Movies to Learn Mandarin – Writing at Better Chinese, Eva discusses how watching dubbed movies is helping her kids to get a better grasp on Mandarin.
Whew! Those are the resources I’ve found so far, but I know there are a lot of other foreign language resources out there for kids. If you have any good ones, we’d love to hear about them in the comments!
This post is part of the Ultimate Guides linkup at iHomeschool Network! Stop by to read great in-depth learning guides from our fellow bloggers!


Hey everyone! It’s time for our 12 Months of Sensory Dough linkup! Every month, I’m honored to co-host this linky with 11 other bloggers, including Dayna at Lemon Lime Adventures, Val & Alex at Glittering Muffins, Devany at Still Playing School, Sarah at Little Bins for Little Hands, Kimberly at Natural Beach Living, Melissa Ann at The Eyes of a Boy, Nicolette at Powerful Mothering, Amy at Wildflower Ramblings, Rachel at I Heart Crafty Things, Michelle at Delightful Learning, and Jennifer at The Life of Jennifer Dawn!
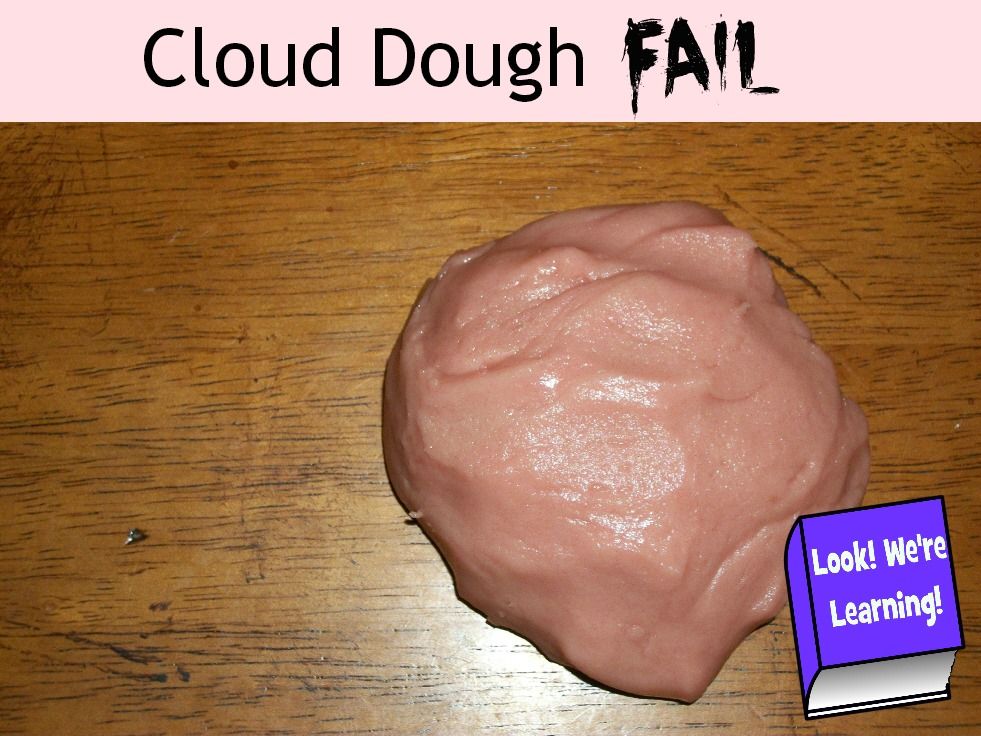
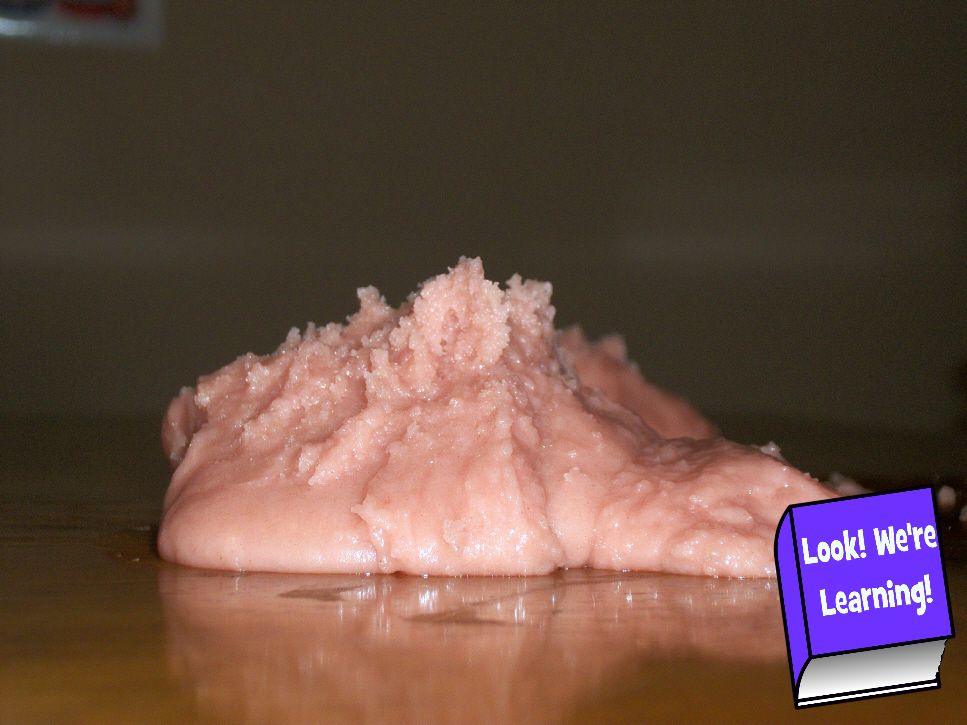
This month, we tried our hand at making cloud dough. It was a complete and utter fail…lol. So as you read our experience below, remember DO NOT DO THIS.
I got the original idea from PBS.org, where they feature a very simple recipe for cloud dough using flour and oil. I had my first college biology exam last week and I spent most of my time studying. So – I looked at the cloud dough recipe and saw two ingredients: flour and oil. I did not realize that the original recipe called for baby oil. Mistake #1.

Here’s what I used: flour, vegetable oil, and red food coloring.

I started with 4 cups of flour, which is actually what the recipe called for. But instead of reading the recipe to find out the proper flour to oil ratio, I figured I could just mix it until it “looked” right. Mistake #2.

I put 1 1/3 cup of vegetable oil in it, then mixed it up. (The recipe says 1/2 cup, by the way.)
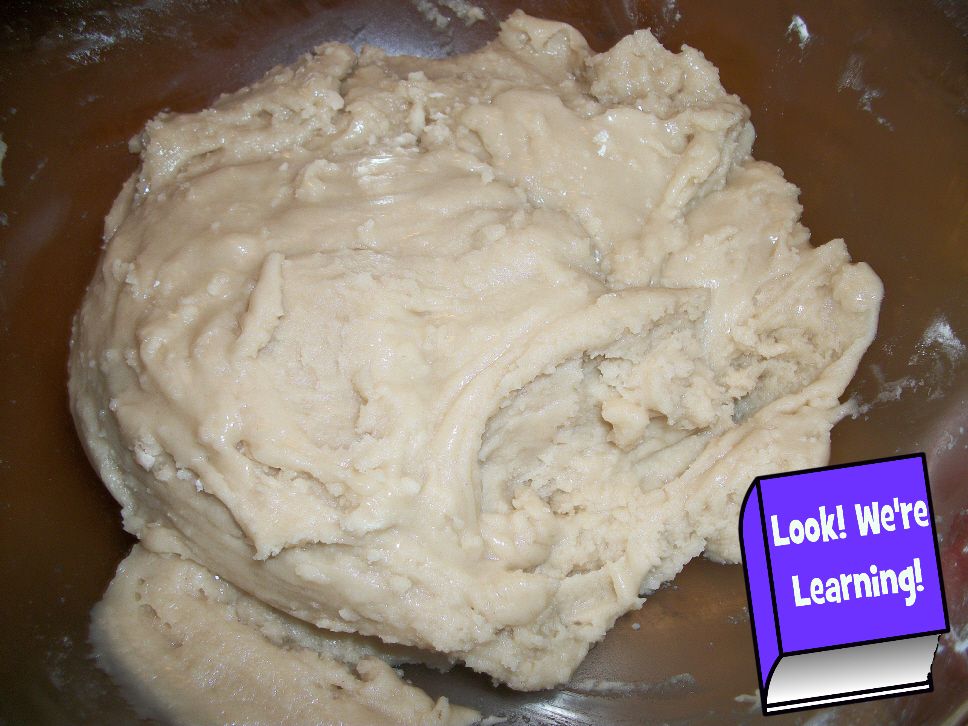
Right about here is when I started to think “This doesn’t look right”. But I was not about to use another four cups of flour.
I added 20 drops of red food coloring, and the dough looked so pretty that I had a tiny bit of hope.
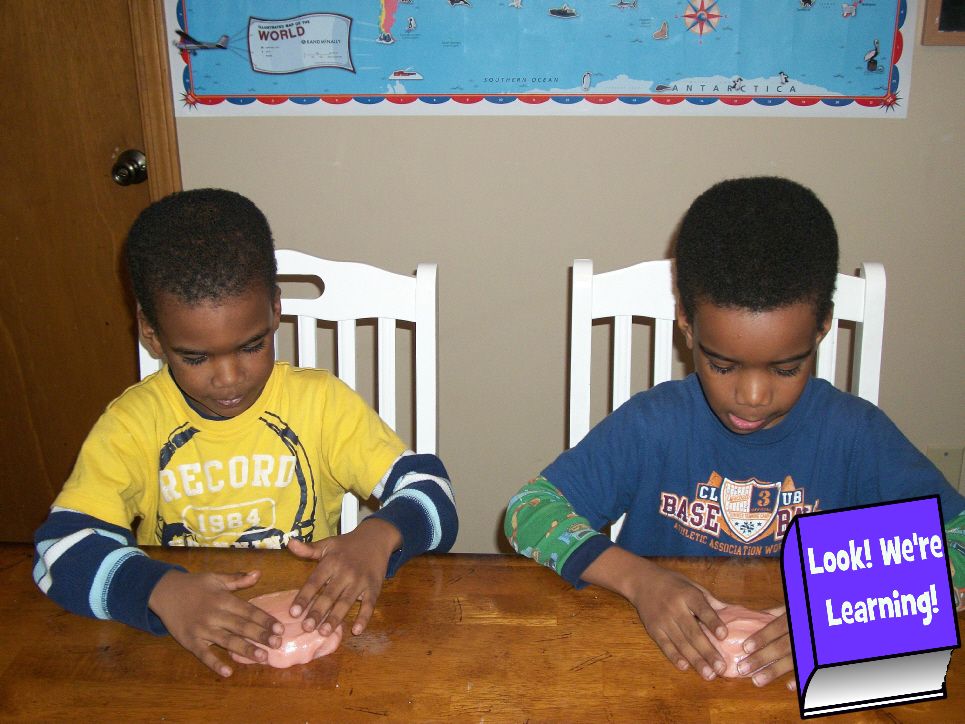
That was shattered when we actually touched it. It was slick and oily to the touch. For a while, the kids just poked it.
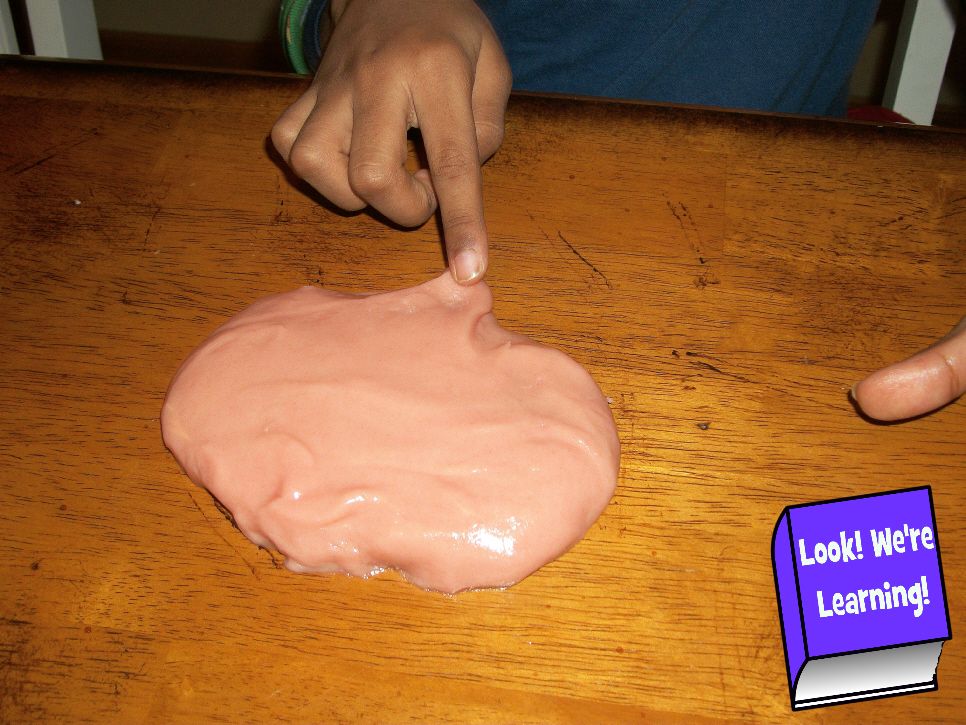
Like this.
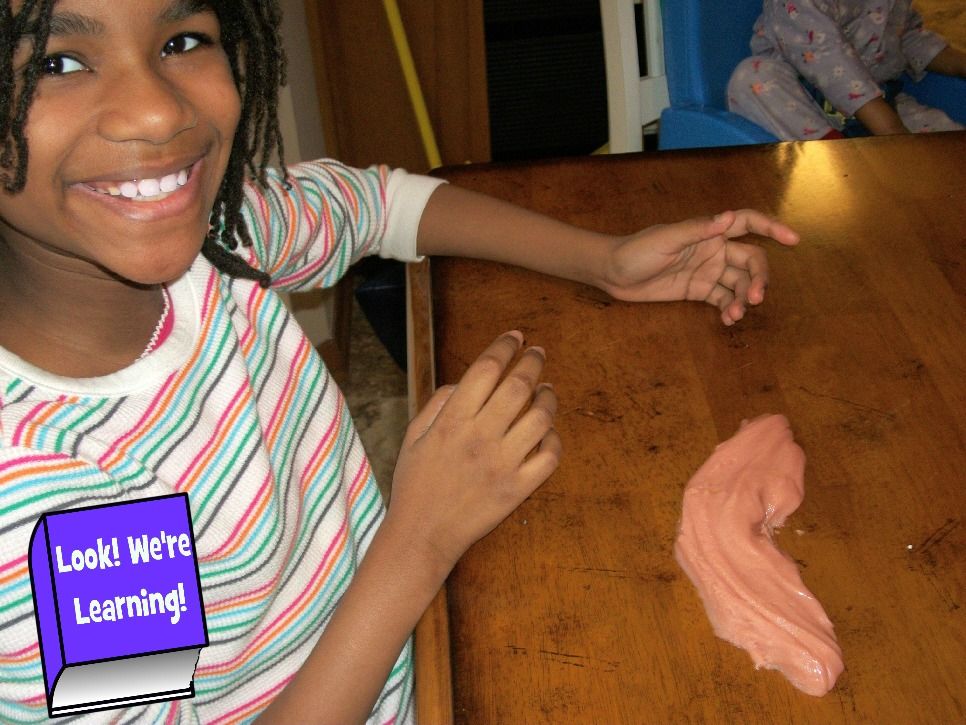
Tigger, bless her heart, tried to make the best of it by forming a “smile”.

Jay’s been studying the brain with the kids, so I thought I’d make a brain. By the time I got the picture, my brain had settled into more of a tongue.

Roo kept saying “Can I wash my hands please?” I mean, I know it’s a sensory experiment and all, but they’re not supposed to dislike how it feels on their hands.
Pooh made two lungs, and that’s about all we could make out of this stuff.
But it was neat to look at!
So if you decide to make cloud dough, don’t be like me! Read the instructions and pick a time when you’re not studying biology…lol.
Next month, we’ll be making edible play dough!
We’d love to see your sensory dough experiments! Feel to link up your sensory dough fun below!
Please read the following guidelines before linking up.
Share family-friendly posts related to the month’s theme. Feel free to link old or new posts that highlight your favorite recipes for sensory dough. Failures and unsuccessful attempts are welcome.
We ask that no posts are linked with copy/paste recipes from other sources. If you use a recipe from another source, please link back to the original recipe.
By linking up, you give permission to share your post and one photograph in future posts and through social media channels.
Visit 2-3 other posts that others have shared. Discover new ideas and meet new friends!
The linky will remain open for two weeks. On the 12th of each month, all co-hosts will post a new dough with their spin, highlighting at least one post from the month before and pin each post to the 12 Months of Sensory Dough Board.
If you would like to, please grab the 12 Months of Sensory Dough button for your blog. And be sure to stop by and visit our co-hosts to get their take on the featured dough for the month!


Hey everyone! It’s time for our 12 Months of Sensory Dough linkup! Every month, I’m honored to co-host this linky with 11 other bloggers, including Dayna at Lemon Lime Adventures, Val & Alex at Glittering Muffins, Devany at Still Playing School, Sarah at Little Bins for Little Hands, Kimberly at Natural Beach Living, Melissa Ann at The Eyes of a Boy, Nicolette at Powerful Mothering, Amy at Wildflower Ramblings, Rachel at I Heart Crafty Things, Michelle at Delightful Learning, and Jennifer at The Life of Jennifer Dawn!
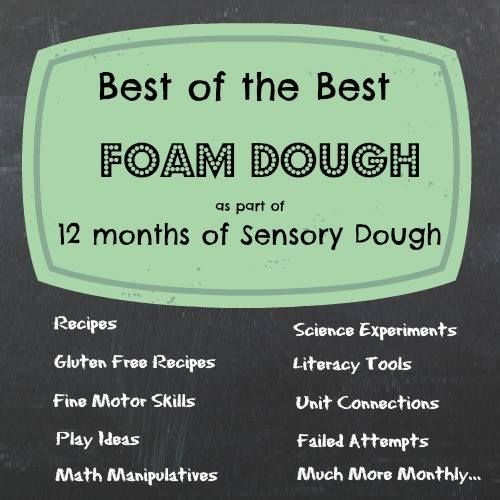
This month, we’re all focusing on foam dough. I got a great recipe for two-ingredient foam dough on Instructables and we decided to try it out with the kids. On Friday, we shared our unit study based on the movie “The Aristocats” and our foam dough activity was our own kid-friendly sensory version of Plaster of Paris. Without the actual work and serious mess, though. 🙂
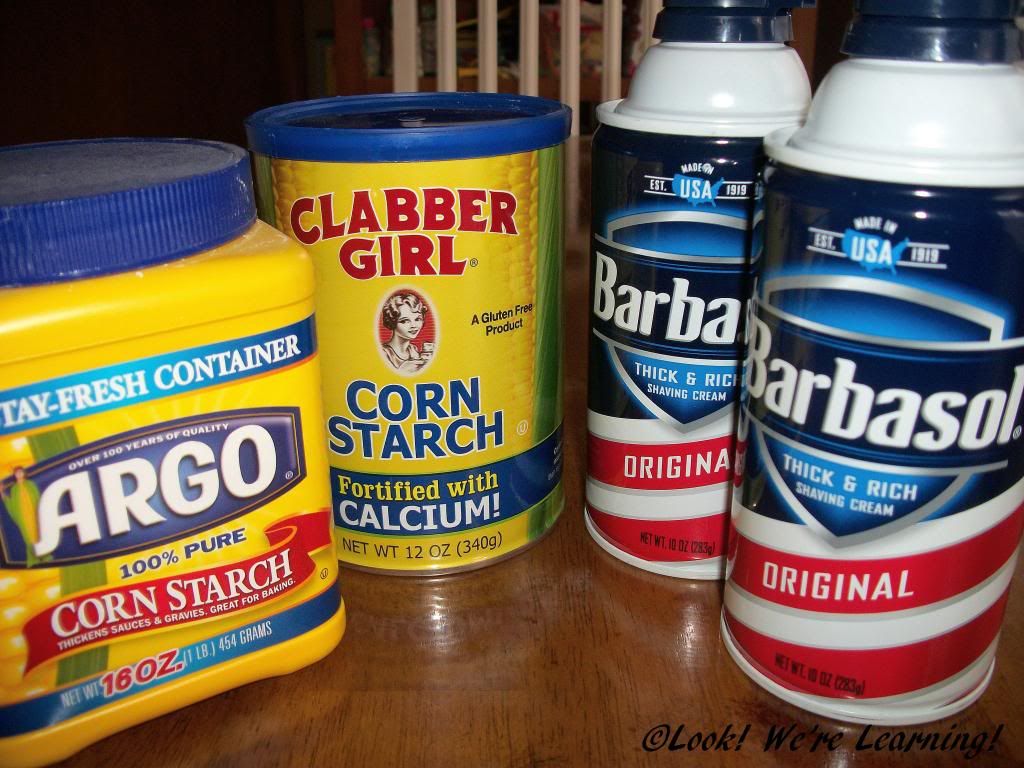
As the recipe shows, this foam dough literally requires two ingredients: cornstarch and shaving cream. That’s it.
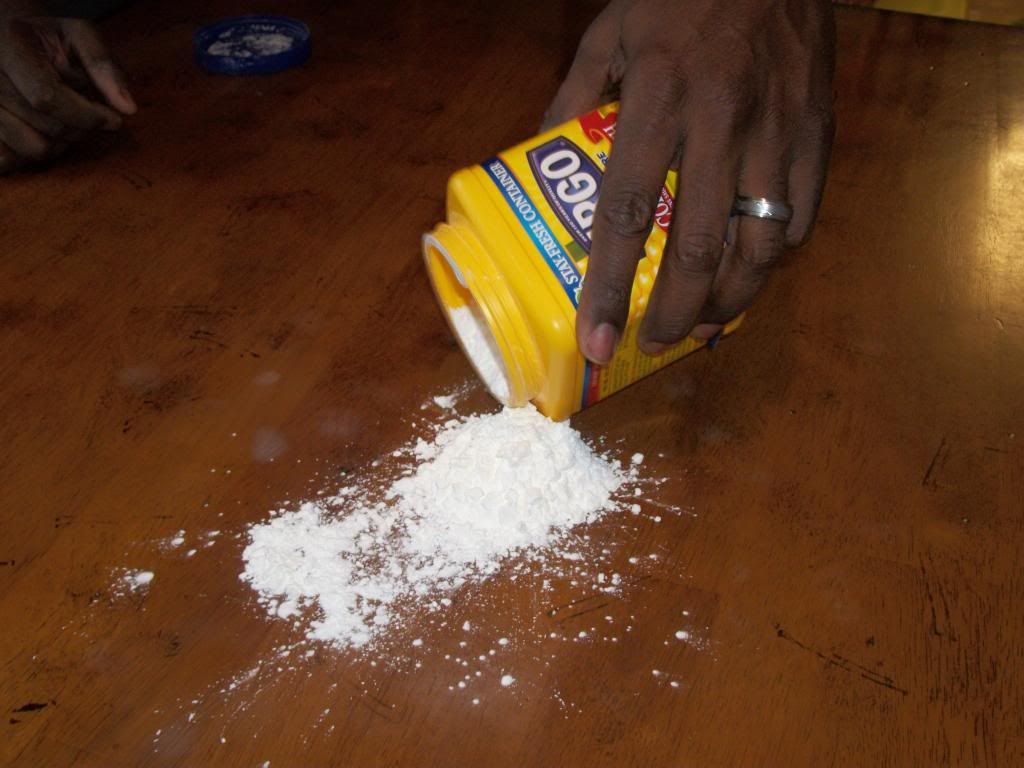
We poured the cornstarch onto the table – slowly. Don’t dump it all out at once, unless you like not being able to breathe…lol.
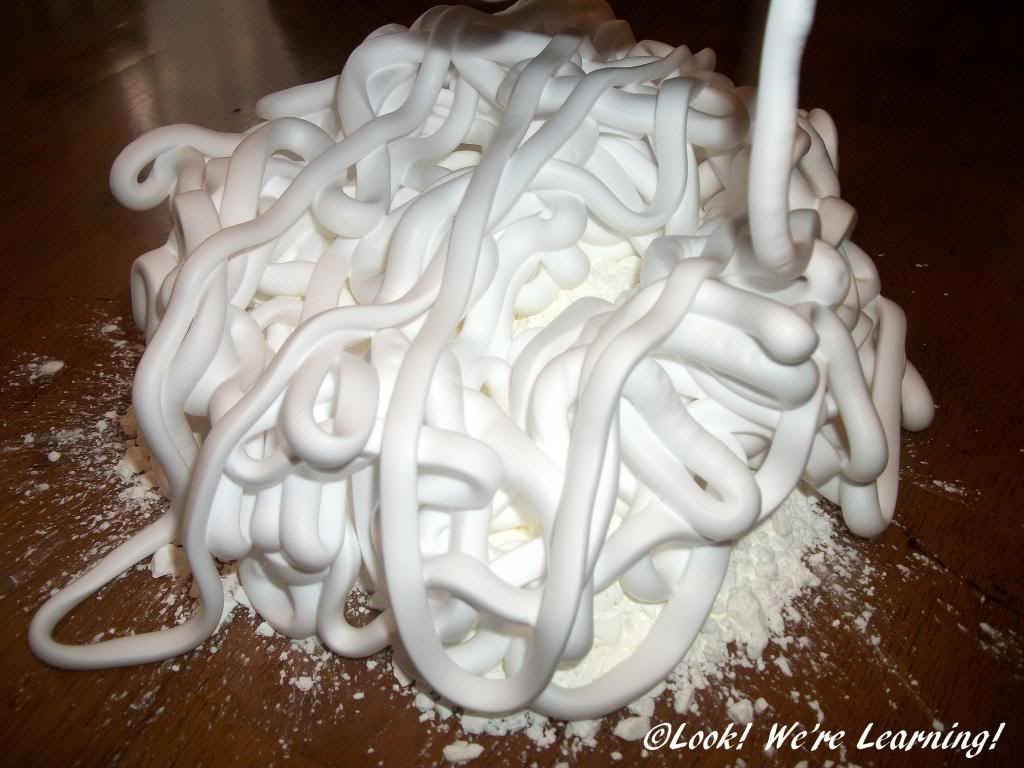
Then we added the shaving cream. You know, it’s not until you actually squeeze out an entire can of shaving cream at once that you realize just how much is in each can.

We went a little bit crazy with the shaving cream. 🙂
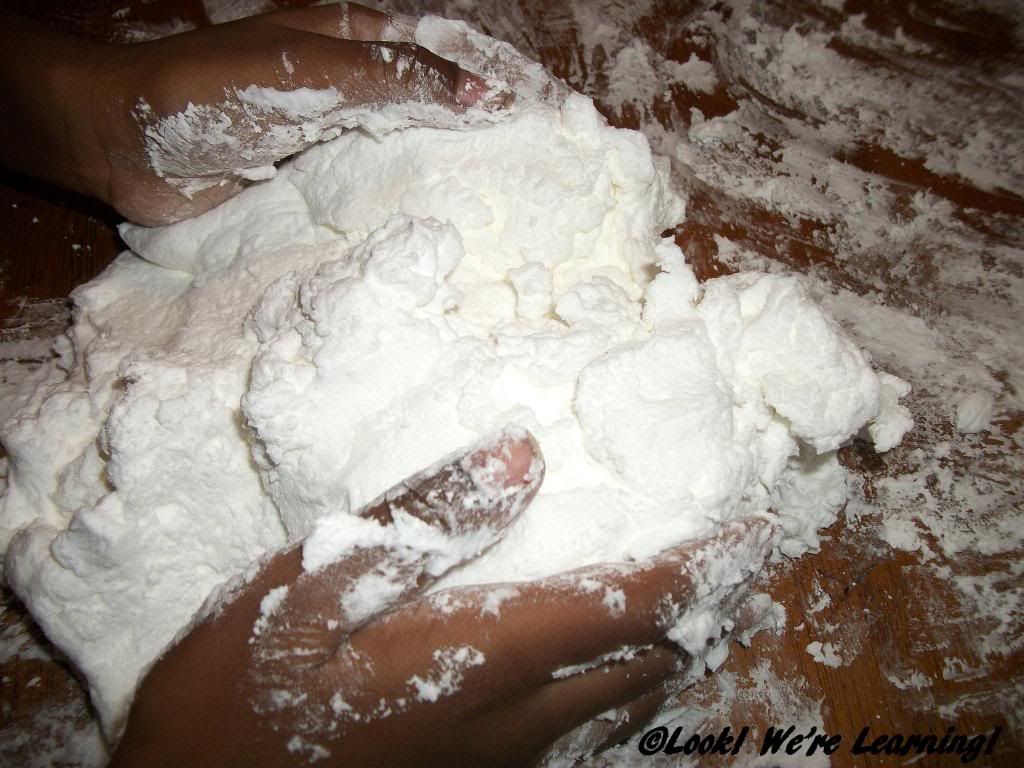
The interesting thing about making this dough is that when you first start to combine it, it looks like the cornstarch won’t stick to the shaving cream. We ended up using a rubber spatula to combine it. But the longer you work with it, the firmer it becomes.
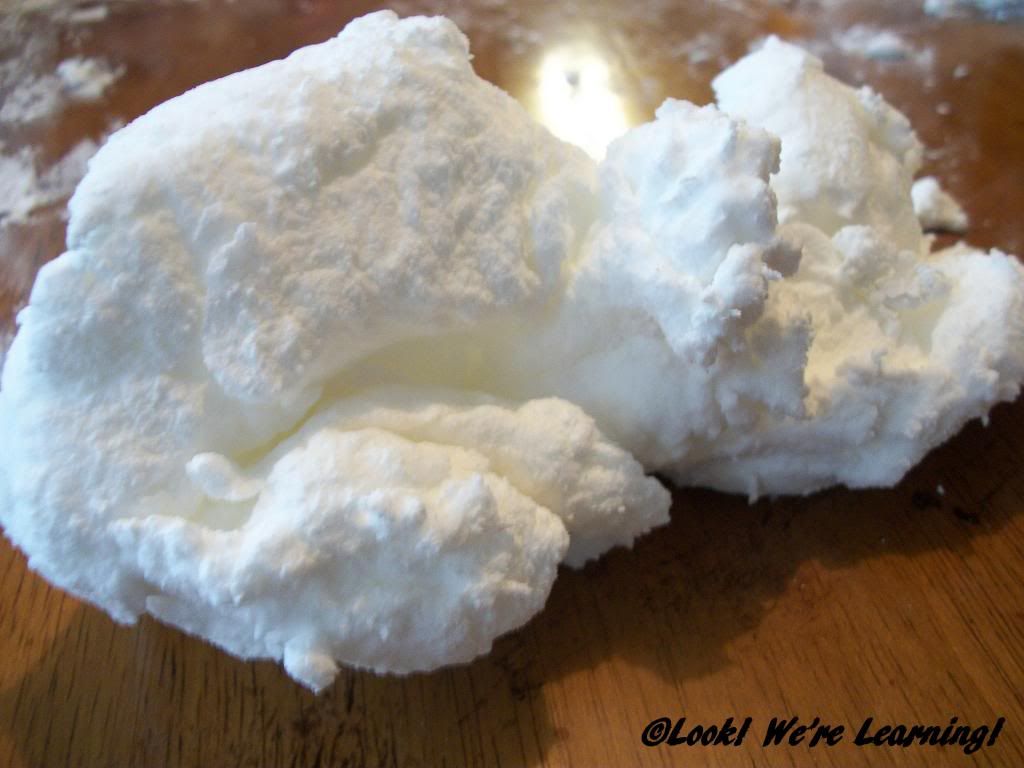
Until, eventually, you have foam dough!
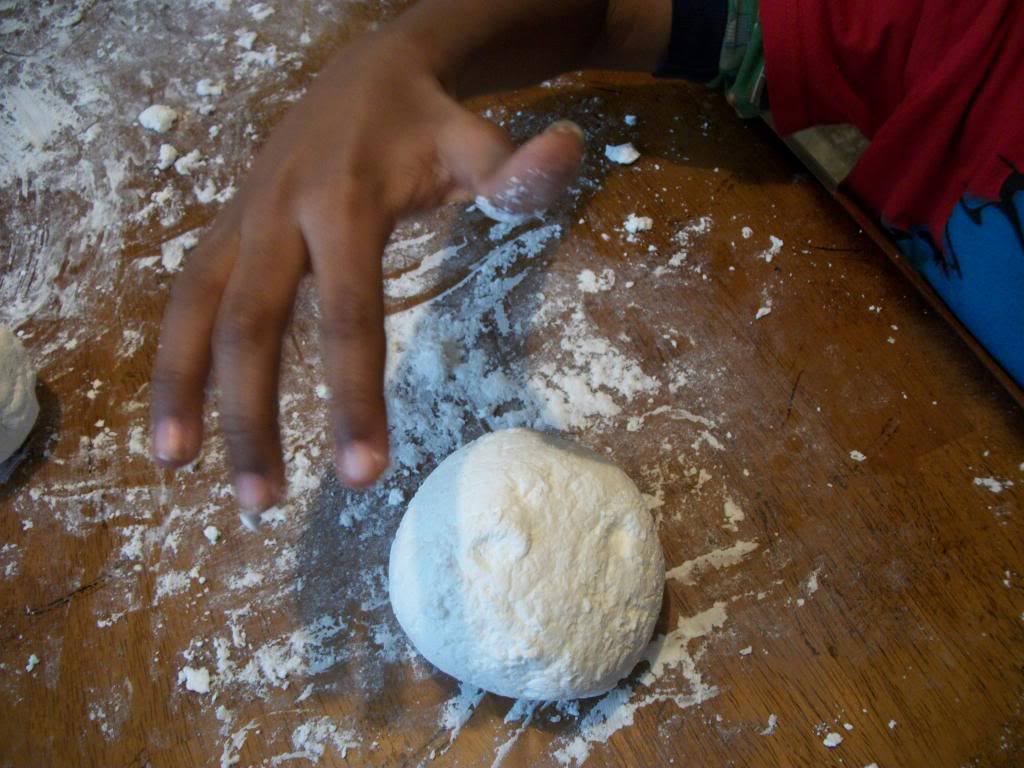
Interestingly, Jay decided to add a bit of water to his batch. At first, it got slippery, but as he worked it, it got firmer and firmer until it was almost solid like chalk. The kids did the same thing and thought it was very, very cool.
It seems like if you were to add enough water and form the dough into a shape, you could probably actually make a sculpture – like you could with real Plaster of Paris. Just don’t expect it to last as long…lol.

What I really liked about this recipe is that it’s fairly easy to clean. When we were done, we just took a wet cloth and wiped the table down. Easy peasy!
We’d love to see your foam dough experiments! Feel free to share your foam dough fun below!
Please read the following guidelines before linking up.
Share family-friendly posts related to the month’s theme. Feel free to link old or new posts that highlight your favorite recipes for sensory dough. Failures and unsuccessful attempts are welcome.
We ask that no posts are linked with copy/paste recipes from other sources. If you use a recipe from another source, please link back to the original recipe.
By linking up, you give permission to share your post and one photograph in future posts and through social media channels.
Visit 2-3 other posts that others have shared. Discover new ideas and meet new friends!
The linky will remain open for two weeks. On the 12th of each month, all co-hosts will post a new dough with their spin, highlighting at least one post from the month before and pin each post to the 12 Months of Sensory Dough Board.
If you would like to, please grab the 12 Months of Sensory Dough button for your blog. And be sure to stop by and visit our co-hosts to get their take on the featured dough for the month!

Happy Friday everyone! It’s time for another Bee Crafty Kids Link Up! Every Friday, I get to co-host this roundup with Dusty from To The Moon and Back, Jolene from Monsters Ed Academy, and Melanie from Our Crafts N Things! You can find out more about all four of us here.
One of the recurring problems with homeschooling is keeping track of all the papers you accumulate during the week. But, I found a really cute and simple project on Pinterest to help: a cereal box organizer! Like most of our projects, this one is really easy. You just need two cereal boxes, some masking tape, scrapbook paper, and glue.
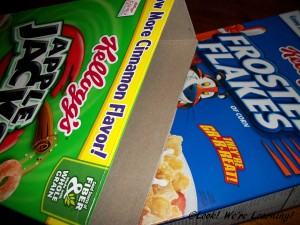
Cut the top flaps off of both boxes.
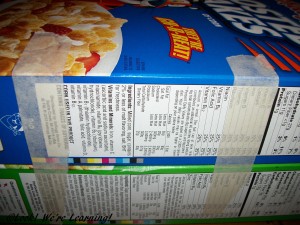 Stack them on top of each other and add a little masking tape to hold them steady.
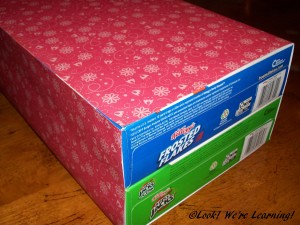
In the original tutorial from Wilde Designs, Elizabeth Howard uses colored duct tape, which makes for a neater and sturdier finish. I didn’t have duct tape, though, so scrapbook paper it is!
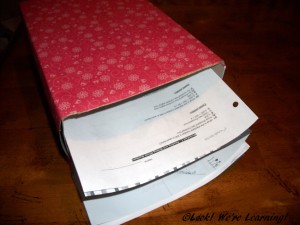
All done! The top box serves as the “in” box and the bottom box serves as the “out” box. Since we only have one child who completes regular homework assignments, I just made the small version. But for multiple kids, you can just stack several boxes on top of each other and add labels with their names inside. Super simple!
We’d love to see what you made with your family this week! To share the button for this linkup, grab the code below!

<div align="center"><a href="https://www.lookwerelearning.com" title="Look! We're Learning!"><img src="http://i1165.photobucket.com/albums/q594/dustybug83/BeeCraftyKids3_zps44074ad6.png" alt="Look! We're Learning!" style="border:none;" /></a></div>
Link up your kid-approved craft activities below! And be sure to visit the other posts in the link up this week!
Rules are simple:
~Enter the direct link to one or more of your own posts that showcase a craft or hands on activity for children.
~A link back with the above button is appreciated, but not required
~Try to at least comment on one or two of the other blogs that took the time to share and join!

Did you know that October 9 is National Chess Day? I had no idea until this past Monday. But better late than never, right?
We’ve been talking about teaching the kids how to play chess for some time, but we’ve just never gotten around to it. A big part of the problem is that we don’t know how to play chess either! (That’s pretty important if you’re going to teach it to someone else.)
The Internet is just great, though. Rather than having to hunt down someone we know who can play chess, we can learn just by using several great websites that feature online chess lessons. Here is a roundup of some of the free online chess lessons for kids we’ve found on the Internet!
Want even more ideas for teaching chess to kids? Try these kid-friendly chess games and books!
1. No Stress Chess Game – Winning Moves
2. Chess for Children: How to Play the World’s Most Popular Board Game – Murray Chandler
3. Chess Teacher Game – Cardinal Industries
4. The Kids’ Book of Chess and Chess Set – Harvey Kidder
5. Chess for Kids – Michael Basman
We’ll be trying these resources out with the kids in the coming weeks! If you decide to try these or any other chess lesson websites, let us know how it goes in the comments!
Happy Friday everyone! It’s time for another Bee Crafty Kids Link Up! Every Friday, I get to co-host this roundup with Dusty from To The Moon and Back, Jolene from Monsters Ed Academy, and Melanie from Our Crafts N Things! You can find out more about all four of us here.
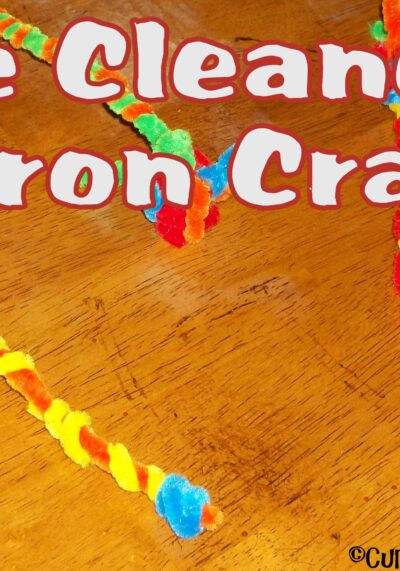
During a recent science lesson on the brain, Jay took the time to make pipe cleaner neurons with the kids.Keep Reading…

Happy Friday everyone! It’s time for another Bee Crafty Kids Link Up! Every Friday, I get to co-host this roundup with Dusty from To The Moon and Back, Jolene from Monsters Ed Academy, and Melanie from Our Crafts N Things! You can find out more about all four of us here.
This week we decided to finally put our old clothespins to use. I grabbed several great clothespin crafts on Pinterest and simplified them for a quick art activity.
I handed out markers for everyone to color their clothespins. Piglet knew just what to do with that marker. That girl is smart, I tell ya!
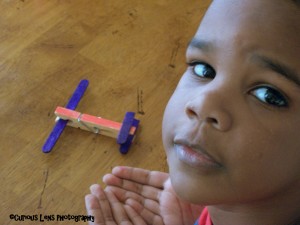
Roo wanted to make an airplane. We used a clothespin with colored popsicle sticks. I asked him if he wanted to put googly eyes on his. He said, “No. I want it to be a real airplane.” I guess he told me!
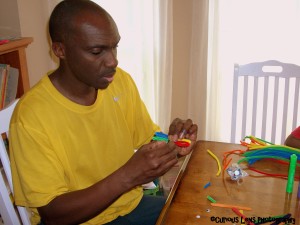
Jay got in on the crafting by making a butterfly out of a clothespin and some chenille sticks.
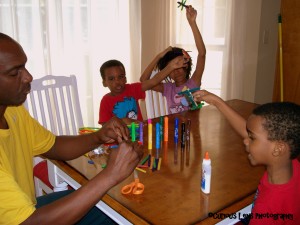
What happens when you allow the kids to make crafts based on things that fly? You get a picture full of flailing arms!
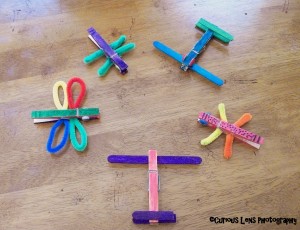
All done! Tigger and I made dragonflies, Pooh and Roo made airplanes, and Jay made a colorful butterfly. I think the kids actually had more fun playing with these afterward than making them!
Link up your kid-approved craft activities below! And be sure to visit the other posts in the link up this week!
Rules are simple:
~Enter the direct link to one or more of your own posts that showcase a craft or hands on activity for children.
~A link back with the above button is appreciated, but not required
~Try to at least comment on one or two of the other blogs that took the time to share and join!

Happy Friday everyone! It’s time for another Bee Crafty Kids Link Up! Every Friday, I get to co-host this roundup with Dusty from To The Moon and Back, Jolene from Monsters Ed Academy, and Melanie from Our Crafts N Things! You can find out more about all four of us here.
This week, we decided to try out a tissue paper mosaic project. It’s another simple one, so it’s perfect if you’re in a time crunch! I started by drawing very simple shapes on construction paper. Pooh picked the house, Roo picked the flower, and Tigger got the goldfish. Then I handed out contrasting colored tissue paper to each child.

Then came the part they liked the most: tearing the tissue paper into little pieces!

Since Tigger didn’t get the picture she wanted (the flower), I let her choose her own color of paper. It was only right.

After we had the ideal sized paper pieces, everyone traced their picture with a glue stick and stuck the pieces on the drawings. Since the project was so easy, it was very hands off for me, which was a nice change from some of our more intensive art activities.

Ta-da! The kids really liked this activity and it only required four supplies: construction paper, glue, colored tissue paper, and black marker. Great for a fast time-filler!
To share the button for this linkup, grab the code below!
<div align="center"><a href="https://www.lookwerelearning.com" title="Look! We're Learning!"><img src="http://i1165.photobucket.com/albums/q594/dustybug83/BeeCraftyKids3_zps44074ad6.png" alt="Look! We're Learning!" style="border:none;" /></a></div>
Link up your kid-approved craft activities below! And be sure to visit the other posts in the link up this week!
Rules are simple:
~Enter the direct link to one or more of your own posts that showcase a craft or hands on activity for children.
~A link back with the above button is appreciated, but not required
~Try to at least comment on one or two of the other blogs that took the time to share and join!
*This post contains affiliate links.*
Hi everyone! Once again, we’re joining up with the monthly virtual book club Poppins Book Nook! Every month, we’re sharing our favorite books on a specific topic and a few activities we plan around the theme. Our Poppins Book Nook activity will always post on the last Monday of the month. This month’s theme is Beach and the Ocean, so look for our new post on July 29!
If you’d like to follow along for the next few months, here are the upcoming themes:
July – Beach and Ocean
August – Fairy Tales
September – School
October – Seasons
November – Animals and Pets
December – No Book Club
January – Greek Myths
February – Presidents
We’re busy planning our beach and ocean activities for this month, but in the meantime, check out some of the books we’ll be highlighting!

![]()

![]()

![]()

![]()
Here’s a list of all the bloggers participating in June’s Poppins Book Nook. Stop by and show them some love in the meantime and then come back on July 29 for all the ocean and beach fun we’ll be sharing!
*Disclosure: This post contains affiliate ads.*
It’s our first time joining the Poppins Book Nook blog hop and we’re extra excited to show you a couple of our transportation-themed activities! First we got started by reading a couple of Anne Rockwell books:

![]()

![]()
In both books, our kids took to the helicopters and trains. That’s actually pretty natural, since until a few months ago, they were Thomas and Friends addicts. Naturally, we followed up our reading by watching Go-Go Thomas.

![]()
As we watched the show, the kids called out the different vehicles they saw: trains, helicopters, boats, front loaders, buses, and more. (Of course, they called them all by name.) Afterwards, we decided to make our own helicopters. I stuck a push pin through a popsicle stick and then stuck the pin tip into a pencil eraser to make DIY helicopters.

Now the trick with these is to rub them back and forth between your palms and then roll it once all the way through to make them fly. It takes quite a bit of practice, but the kids were up to it!

Look at the determination and intensity on Pooh’s face!

Success!

Piglet was rather bored by it all, but we had a great time!
Be sure to visit the other blogs participating in the Poppins Book Nook fun this month!
And stop by tomorrow to see another one of our transportation activities from June! Keep on learning!
*This post contains affiliate links.*
Hi everyone! Big news today! We’re joining up with the monthly virtual book club Poppins Book Nook. Every month, we’ll be sharing our favorite books on a specific topic and a few activities we plan around the theme. Our Poppins Book Nook activity will always post on the last Monday of the month and this month’s theme is Travel and Transportation, so look for our new book club post on June 24th!
If you’d like to follow along for the next few months, here are the upcoming themes:
June – Travel and Transportation
July – Beach and Ocean
August – Fairy Tales
September – School
October – Seasons
November – Animals and Pets
December – No Book Club
January – Greek Myths
February – Presidents
We’re busy planning our travel and transportation activities for this month, but in the meantime, check out some of the books we’ll be highlighting!
![]()

![]()

![]()

![]()
![]()

![]()
Here’s a list of all the bloggers participating in June’s Poppins Book Nook. Stop by and show them some love in the meantime and then come back on June 24 for all the traveling fun we’ll be sharing!
 We have two preschoolers in our home and we’ve been gradually introducing them to reading through phonics and sight words. When you try to find online resources for phonics and reading, though, you might have to visit several websites to put together a comprehensive introduction to letter sounds. Which is why we love Easy Peasy All-in-One Homeschool!
Lee, the homeschooling mom who put this together, has literally gathered hundreds of educational videos, printables, and activities in one place, so that all we have to do is click the correct grade level and then follow the directions for each day. And since she used all free homeschool resources, her site is absolutely free!
Easy Peasy All-in-One Homeschool isn’t just for preschoolers and phonics either. She’s compiled enough resources to cover ALL of the course objectives for grades kindergarten through eight and she’s hard at work on high school. Lee’s even provided an instruction page outlining how to use her curriculum to meet your local or state homeschool reporting requirements.
If you’re tired of compiling endless numbers of lesson plans, you might just find that this site gives you the outline and resources you need.
Keep on learning!