Slime is all the rage for kids these days. But when you’re trying to arrange for sensory play with young kids, it’s nearly always best to have a recipe that won’t hurt them if they try to eat it.
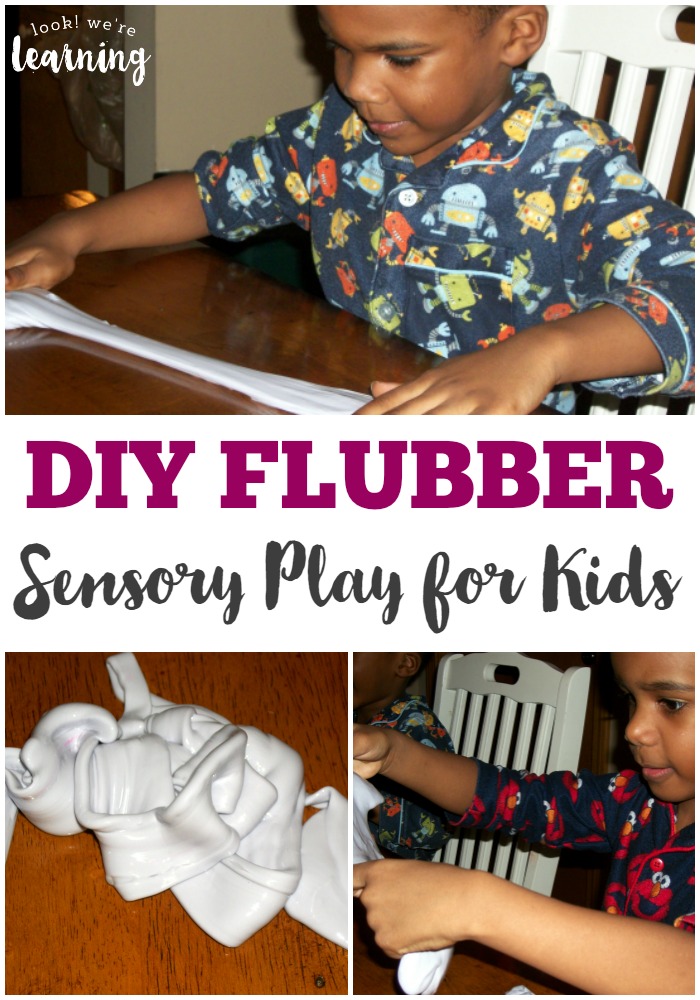
Because, as we all know, kids love to taste playdough, floam, flubber, and nearly anything else they can find. (Spoiler: Playdough does NOT taste good. Trust me on that.)
So we decided to try an easy DIY taste safe slime recipe that only requires two ingredients and it was a blast! Read on to see how we made this simple orange slime!
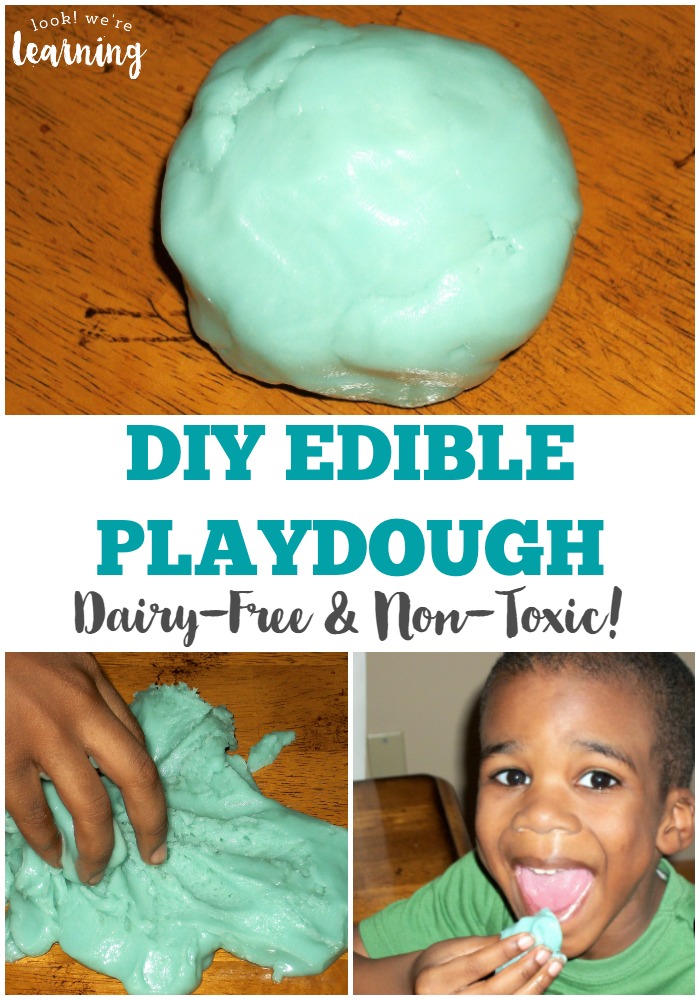
By the way, if your kids also want to…ahem..taste playdough, they can totally eat our bright blue edible playdough! Plus, it’s dairy free! Give it a try soon!
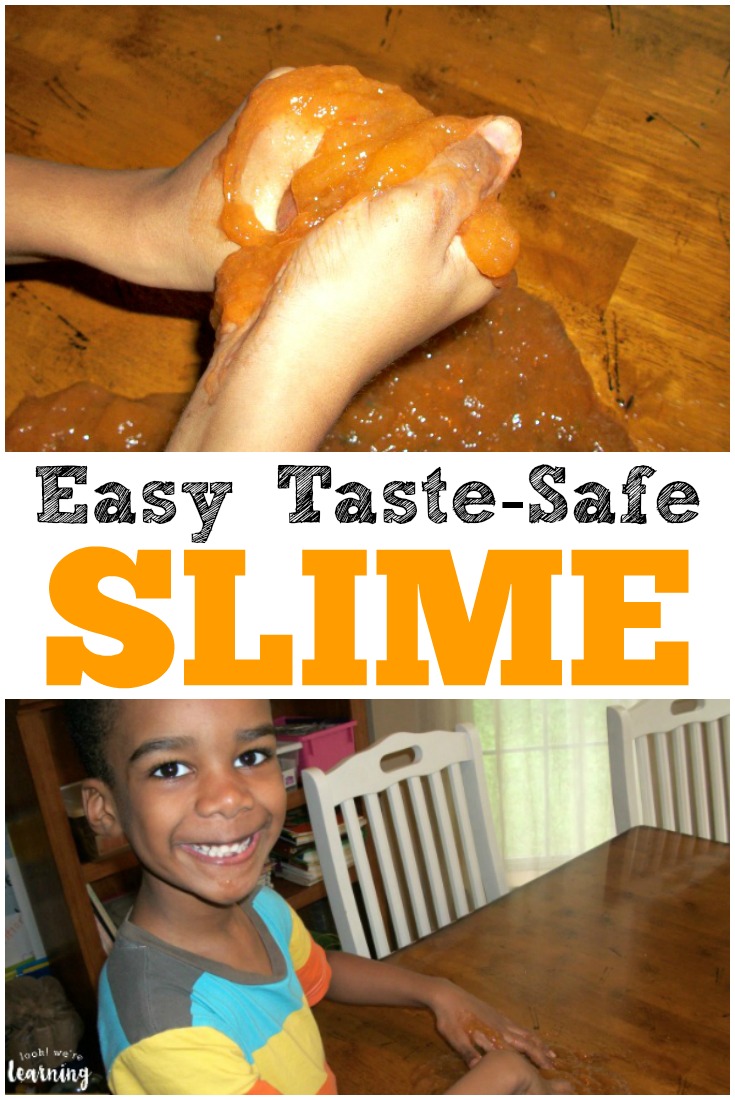
Easy DIY Taste Safe Slime Recipe
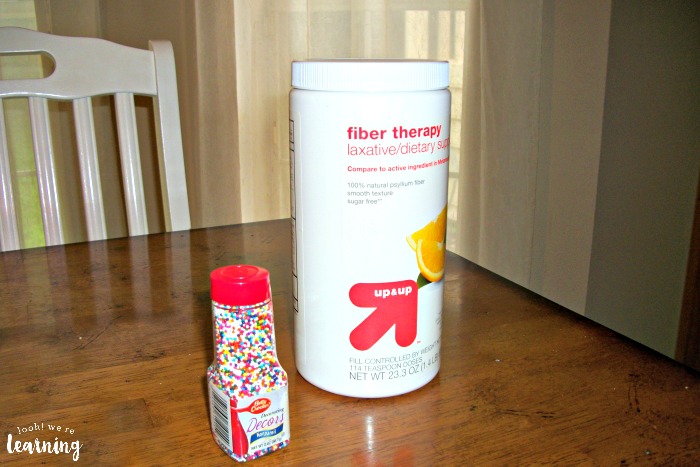
To make this slime, we decided to use a taste safe slime recipe from Blog Me Mom. For this, you only need psyllium fiber powder (like Metamucil) and water. That’s it.
We added the nonpareil sprinkles just to see if the different colors would change the slime a bit. If you use a clear psyllium fiber powder, you may want to add some food coloring. But we used the orange flavor, so we already had a color.
After you mix the psyllium fiber powder and water together in the right quantities (check the Blog Me Mom recipe for exact amounts), you boil it for five minutes while stirring.
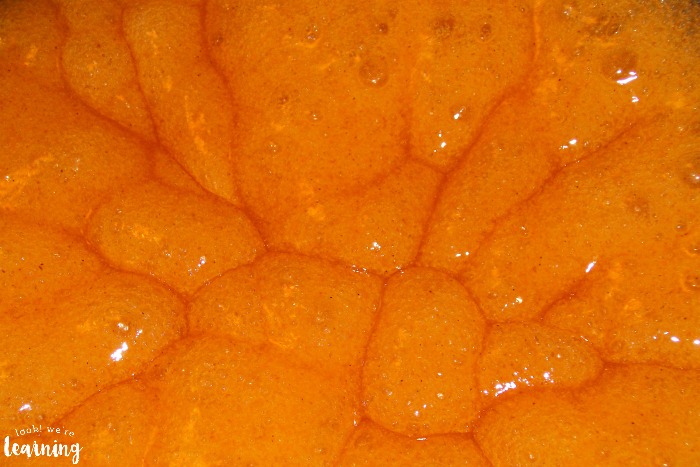
When it starts looking like this, you’re getting close.
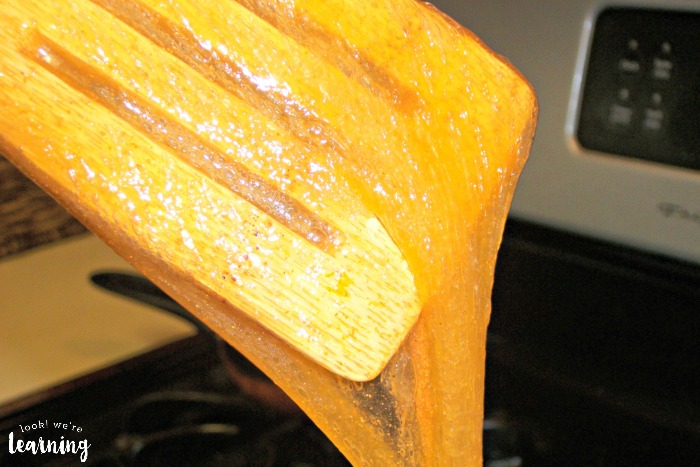
When it starts stretching like this as you stir, you’re there!
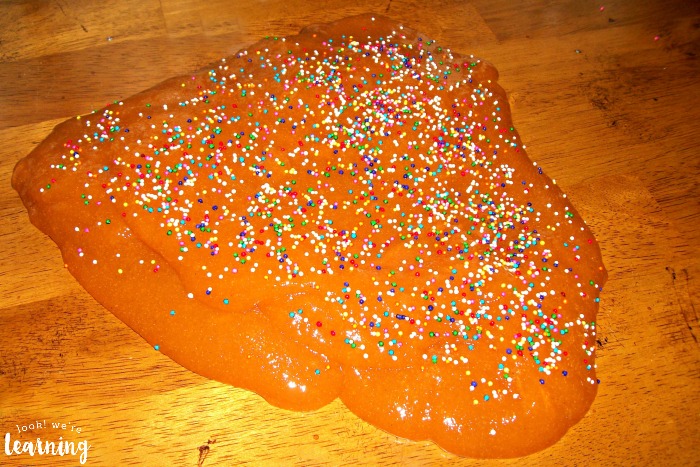
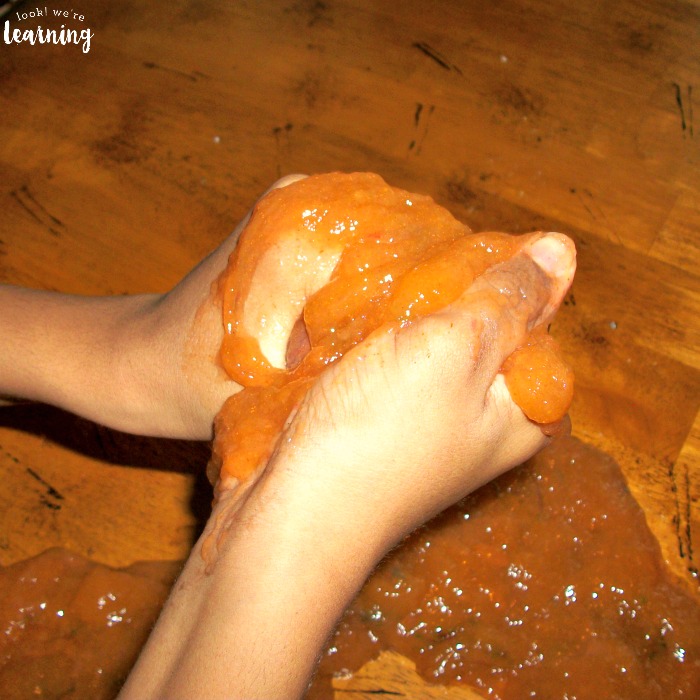
After the slime cooled down, I plunked it on the table.
Note: It took a good 20 minutes for this mixture to cool down so that the kids could touch it safely. I ended up spreading it on a cookie sheet to get it to room temperature faster. We sprinkled the nonpareils over the top and mixed them in. The sprinkles turned the bright orange slime a burnt green-orange color. Definitely a good “ewww” color for slime.
Then it was time to explore!
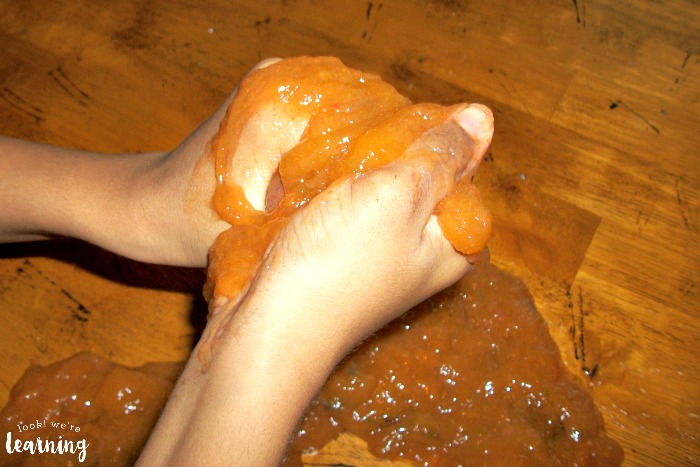
The kids were hesitant to touch it at first, but once they found out they could taste it, they were definitely interested.
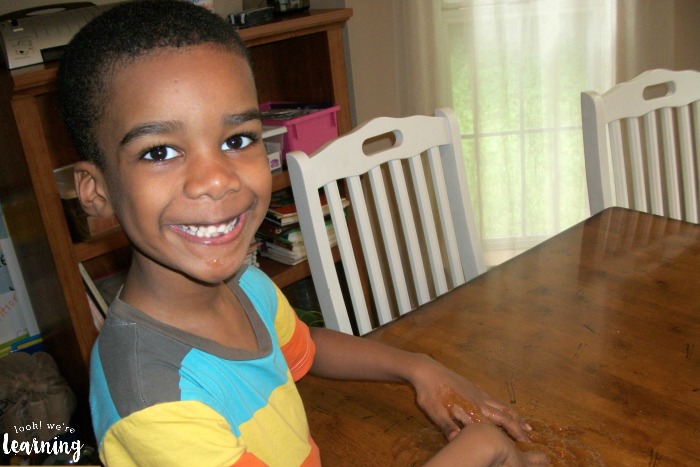
Interestingly, Pooh (who usually isn’t interested in sensory play at all), loved the slime! He played with it for about 15 minutes straight, which is a record for him. Naturally, he had to taste it. On the other hand, Tigger (who is the biggest sensory seeker in the house), hated it. Go figure.
This was such a good activity! It took about 30 minutes from start to finish and it was a cinch to clean up. Always a win!
Want to try more sensory activities?
See even more sensory activities kids will love on my Sensory Play Pinterest board!
