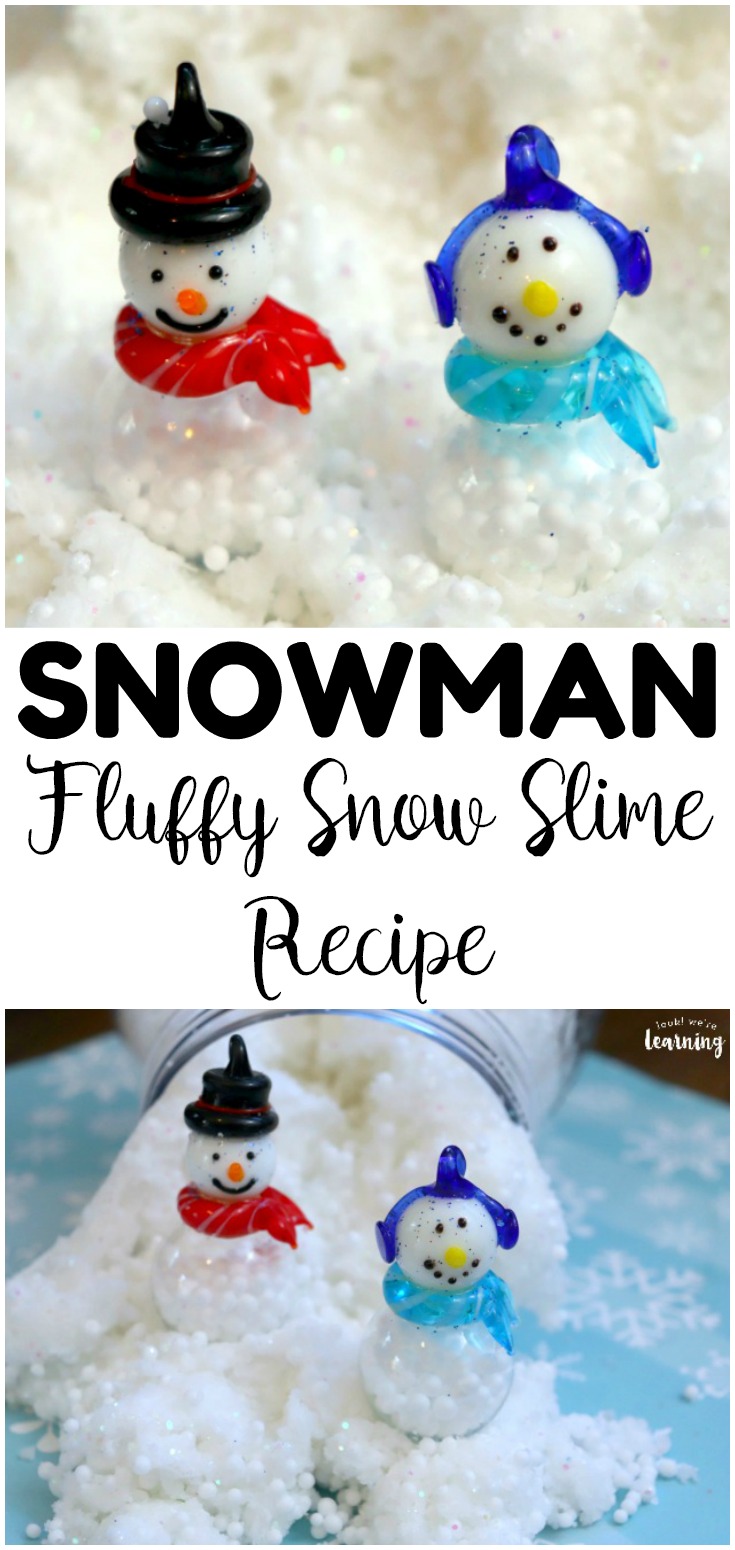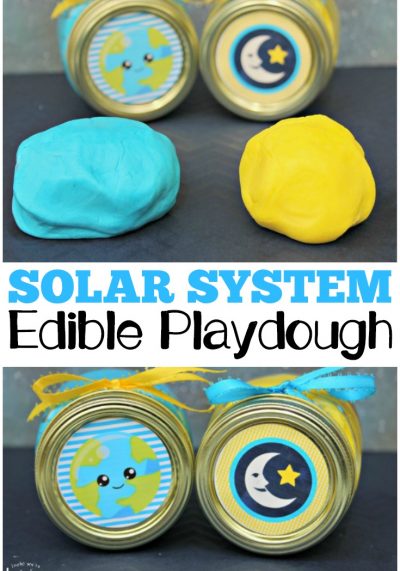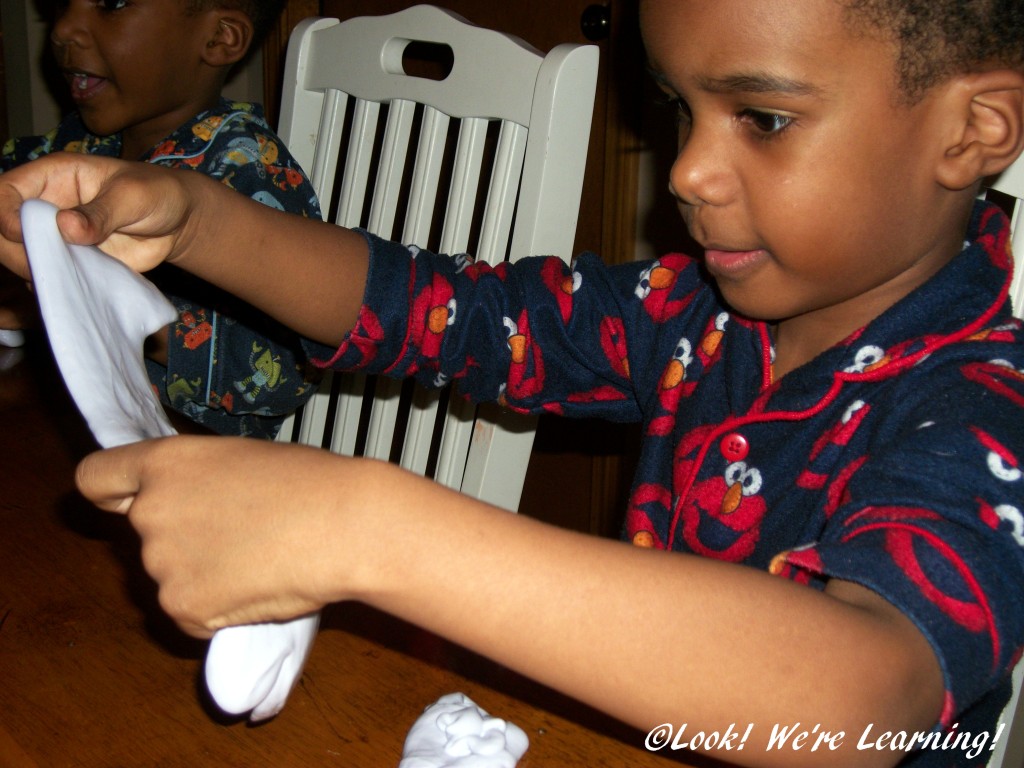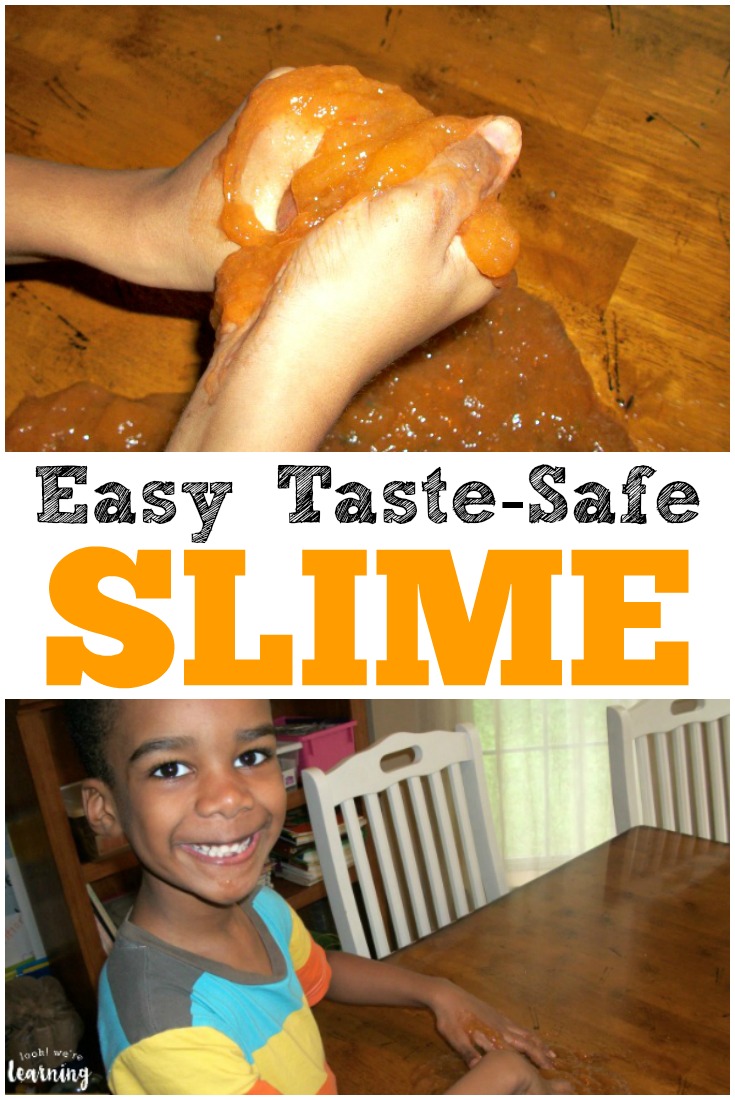
When I think of an easy sensory activity, the first thing that comes to my mind is making playdough.
It doesn’t take long, it’s a quiet play material, and you can usually find a playdough recipe that smells good. It’s a total win.
Personally, though, it’s even better if the recipe is edible, because my kids always wanted to taste the dough they made.
(In fact, I remember tasting commercial playdough as a kid. Not a good experience.)
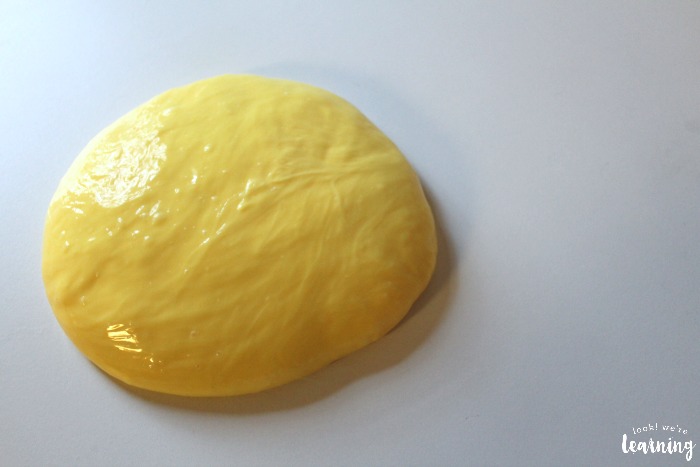
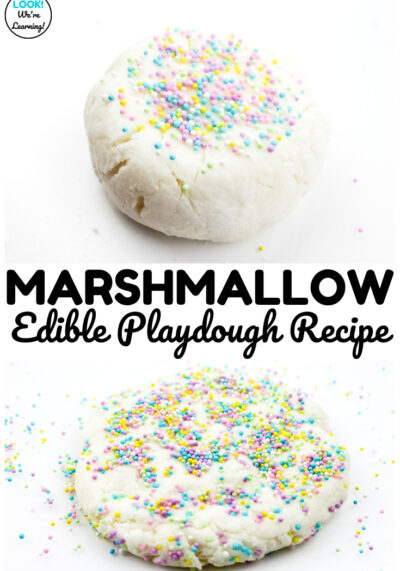
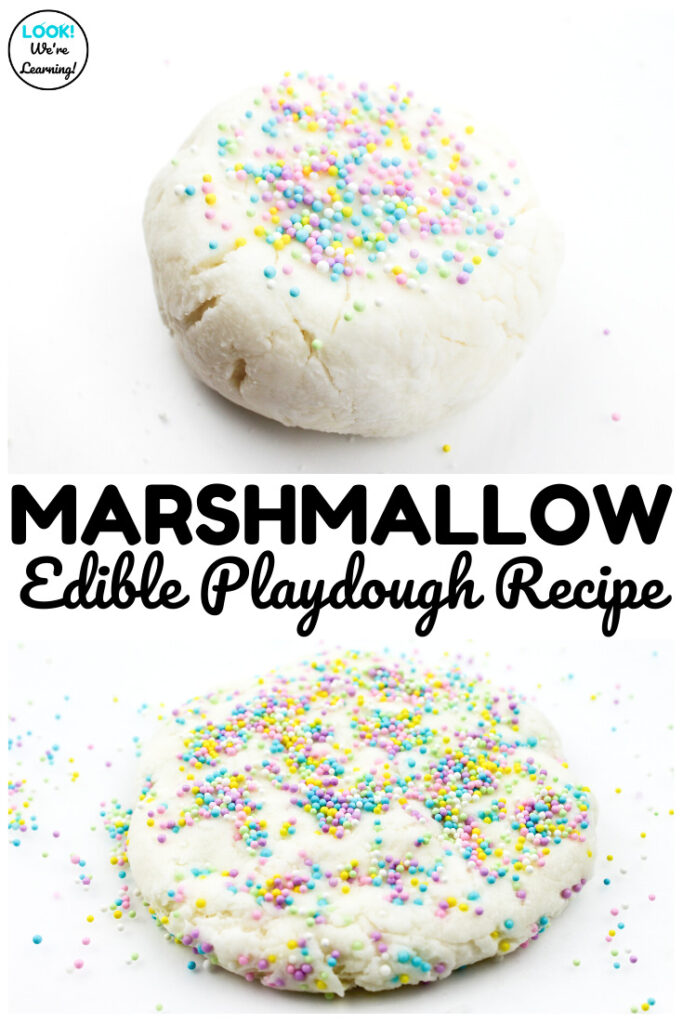
So this easy marshmallow edible playdough recipe hits all the right notes!

This homemade playdough recipe smells good, is safe to taste, and only needs a few ingredients. Perfect!
Read on to see how to make it and to get the printable recipe.
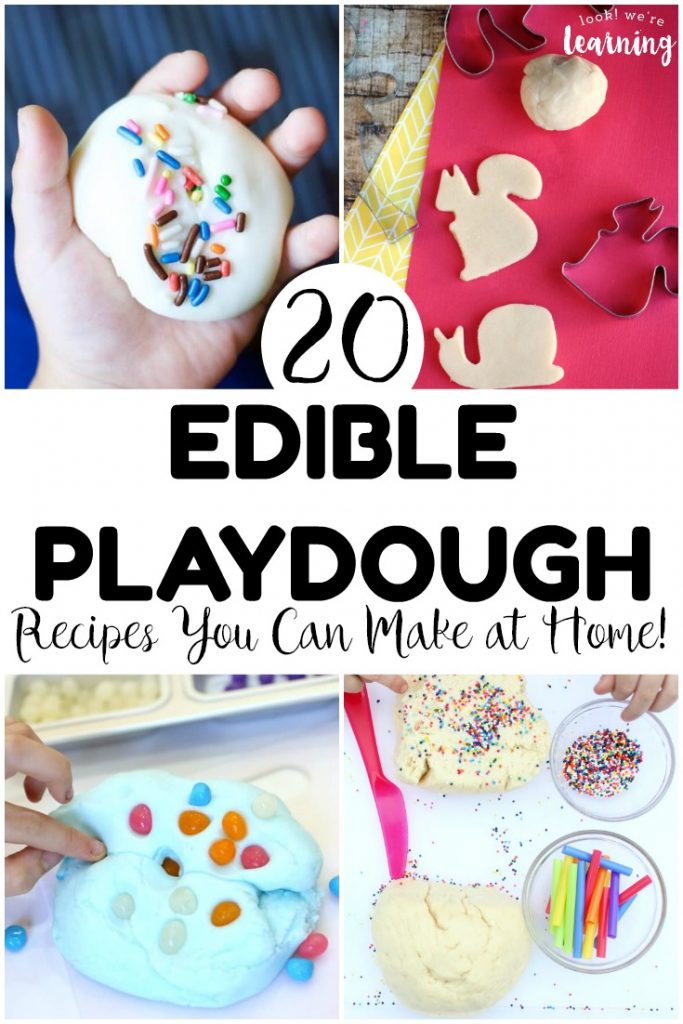
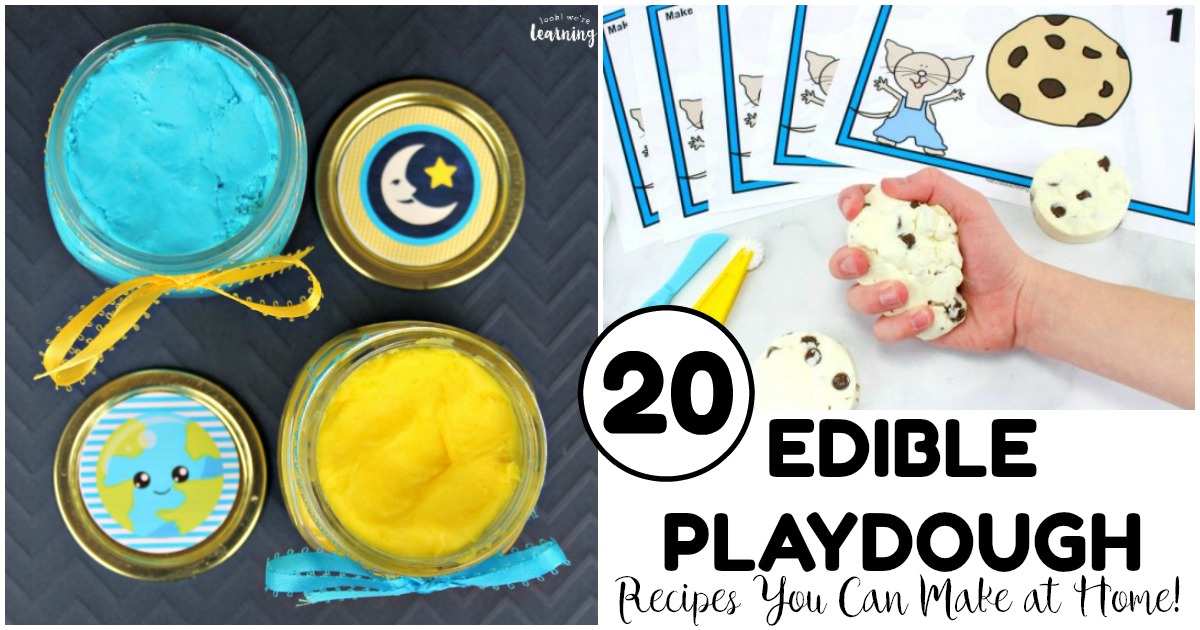
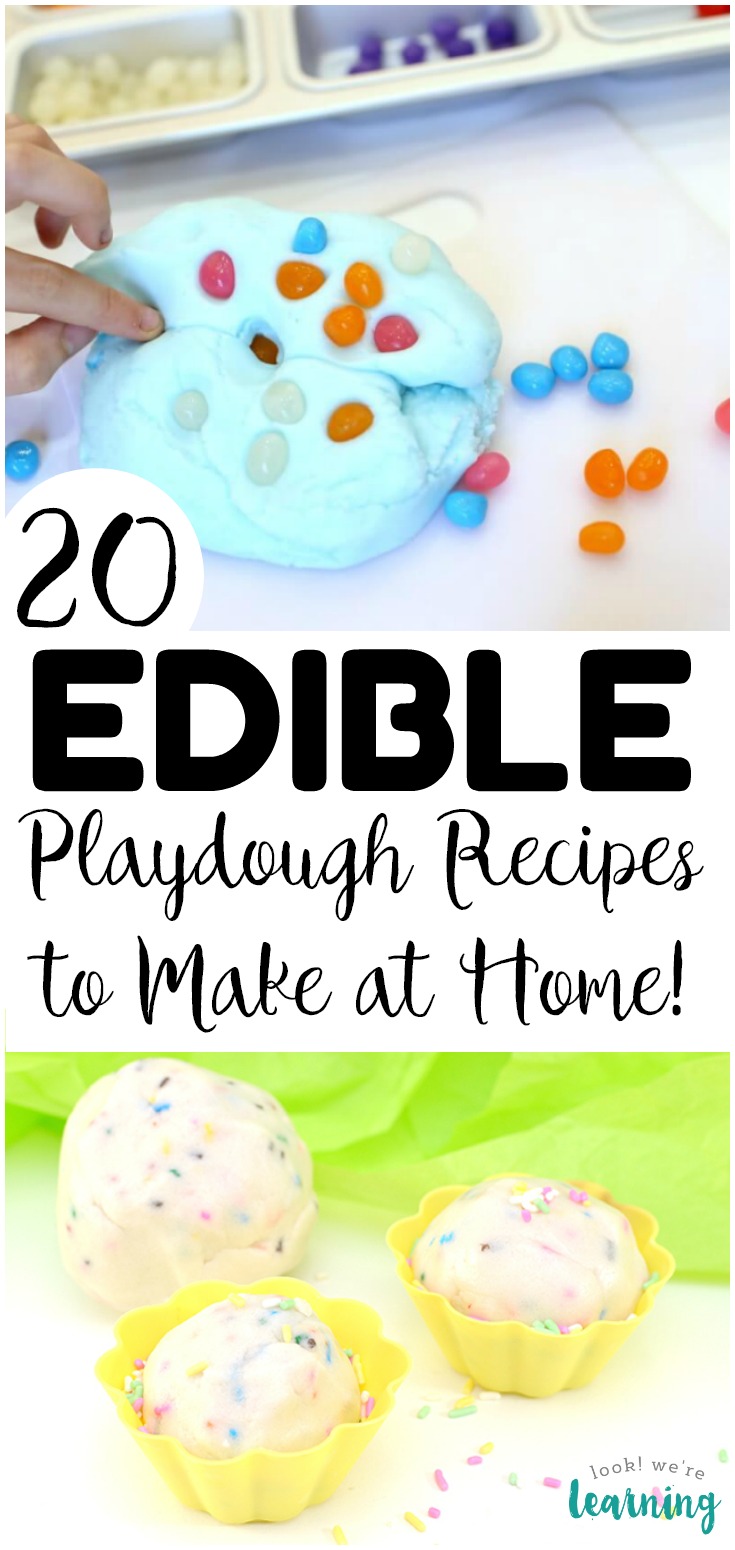
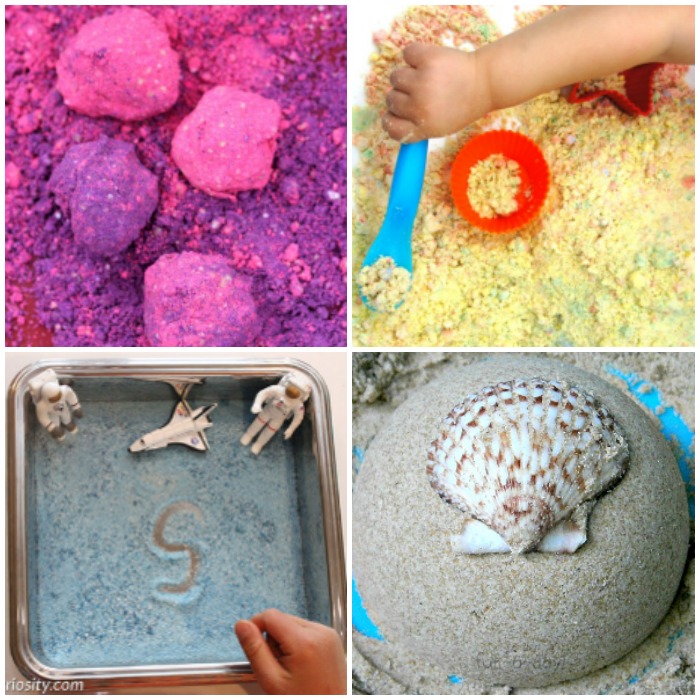
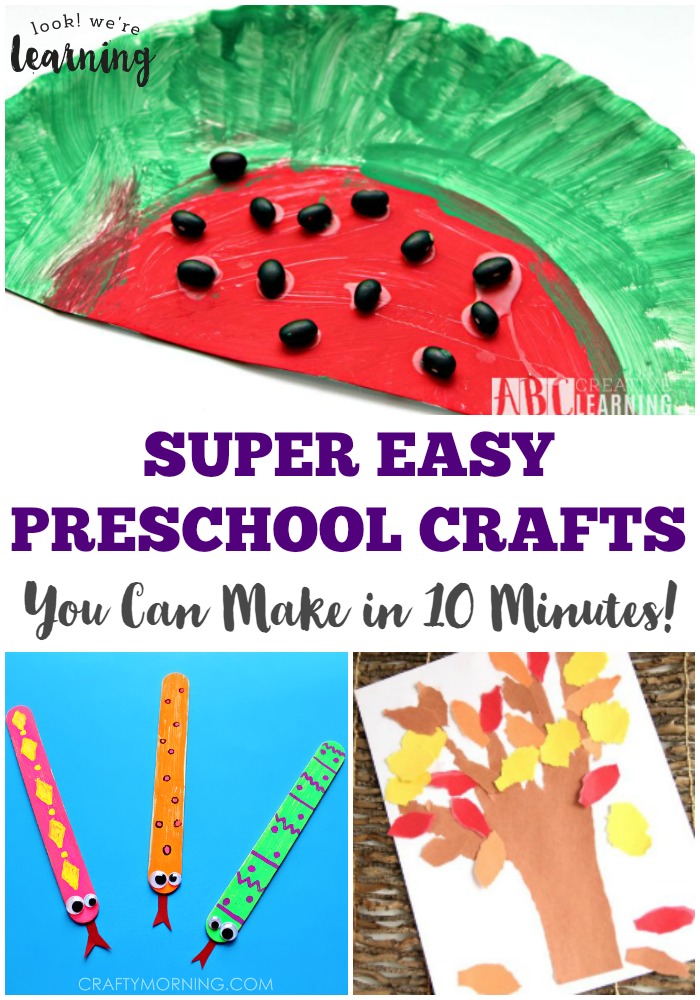
And, for more sensory ideas, take a look at our list of 20 edible playdough recipes you can make at home!
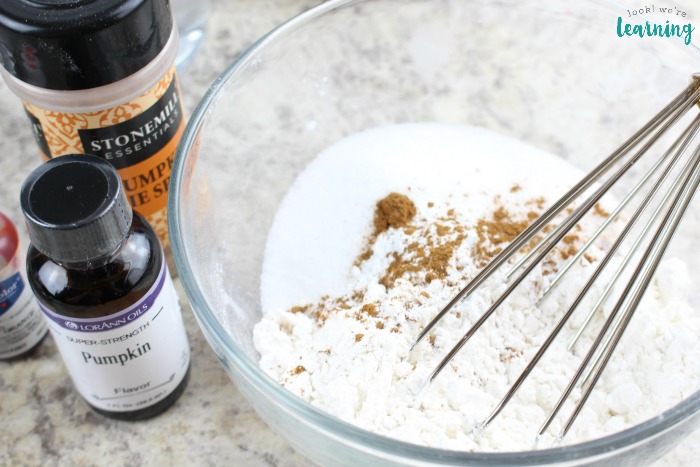
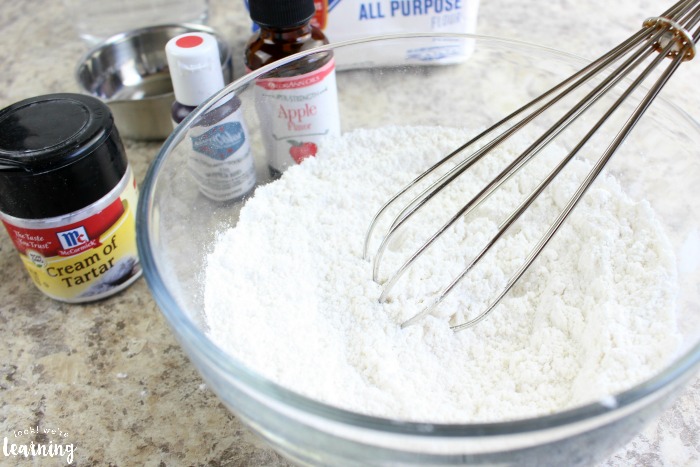
What Ingredients Do You Need to Make Marshmallow Edible Playdough?
I said this was an easy recipe and I wasn’t bluffing.
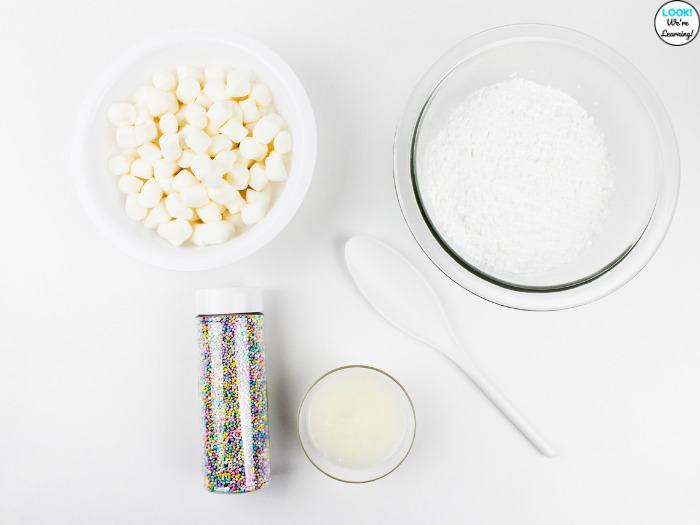
This recipe only needs four ingredients. Four.
We totally got this.
Here’s what you’ll need:
- Mini marshmallows
- Coconut oil
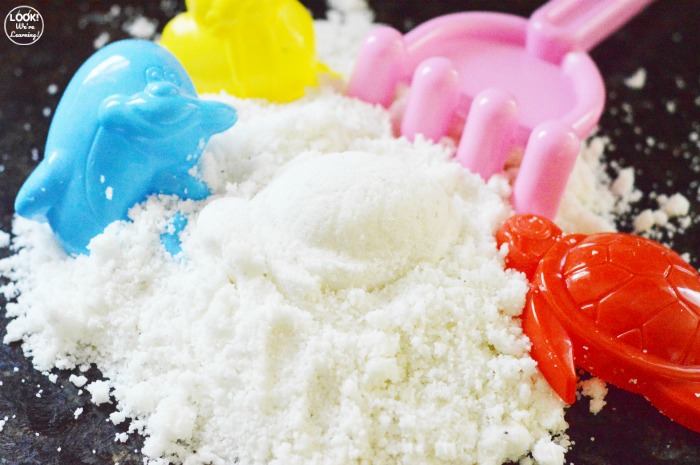
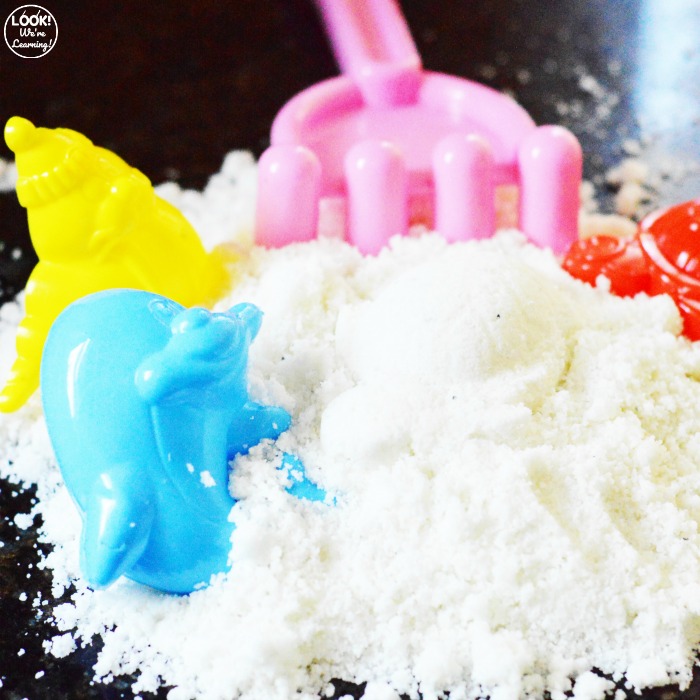
- Powdered sugar
- Sprinkles
You probably have all of these in your house already.
And, if you don’t keep mini marshmallows in your pantry, you are seriously missing out on a simple sweet tooth fix.
Handfuls of mini marshmallows and chocolate chips are what get me through some days.
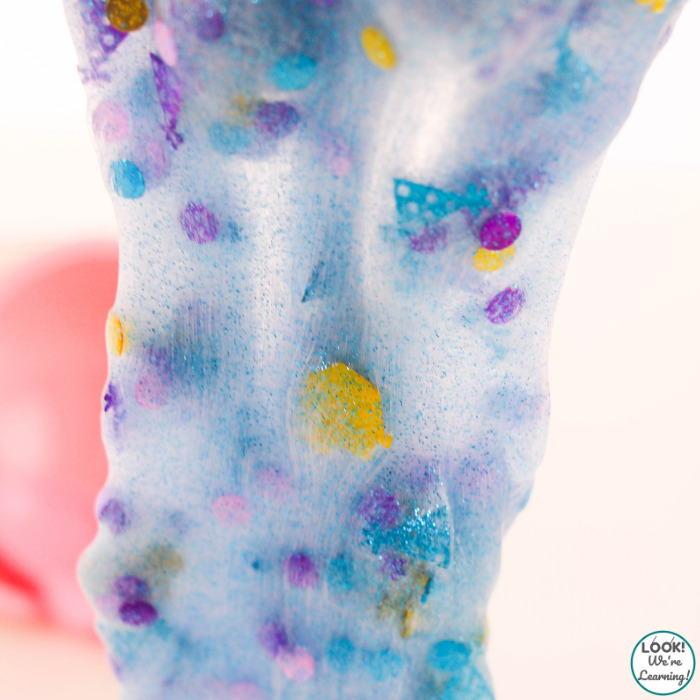
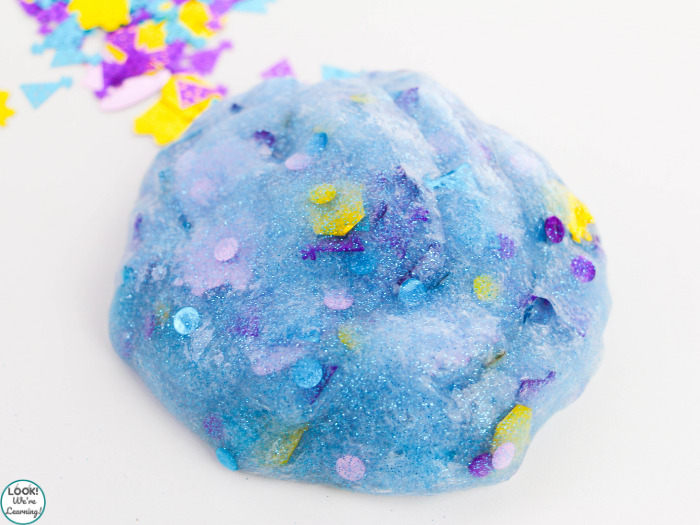
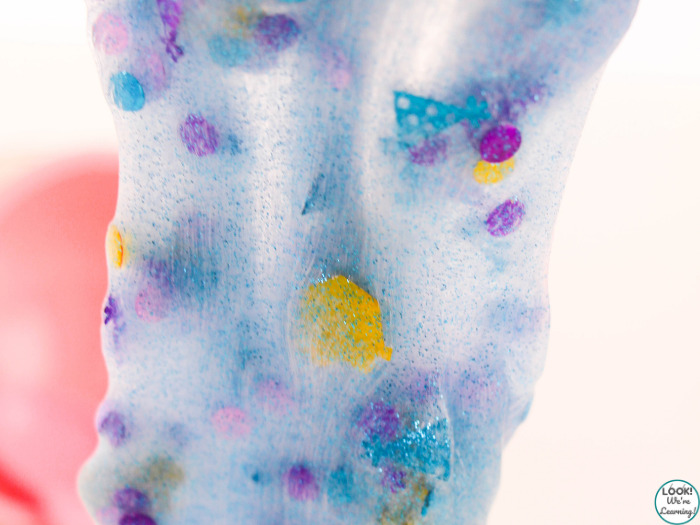
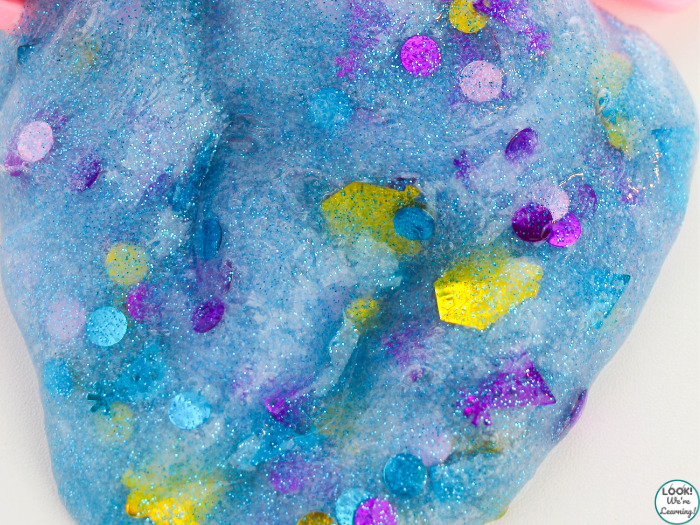
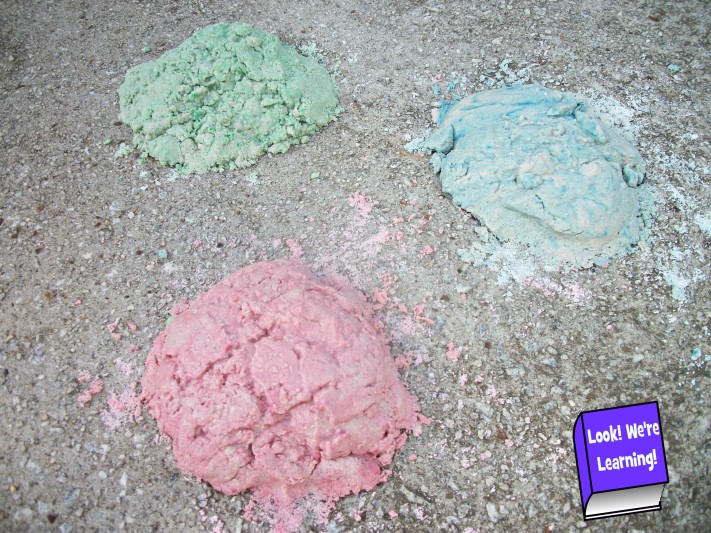
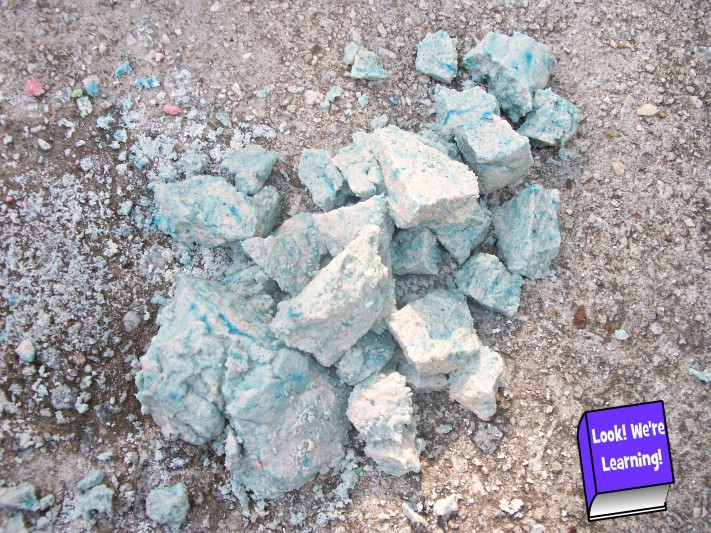
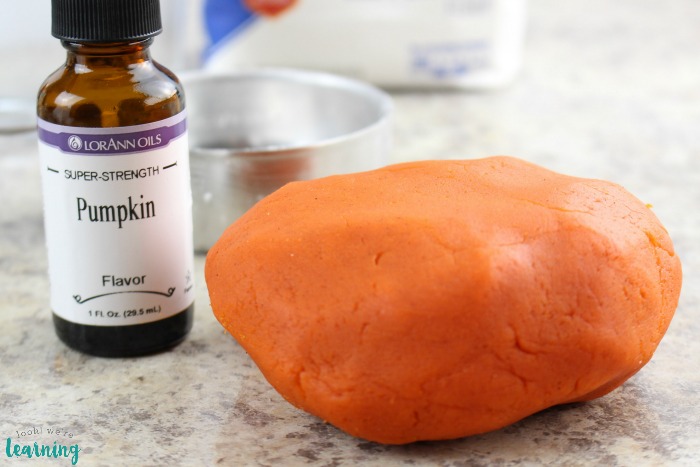
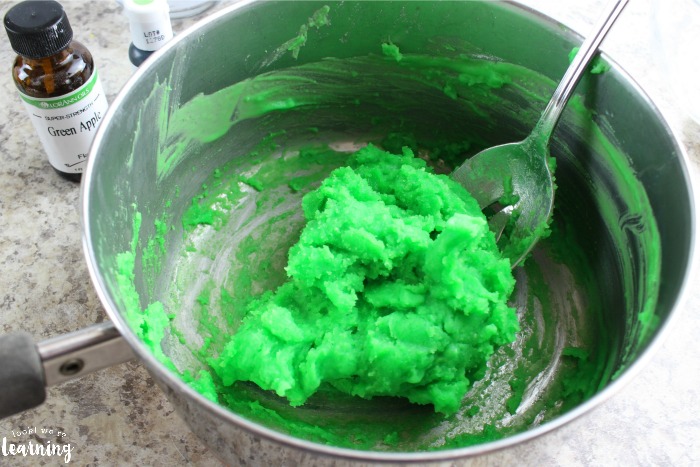
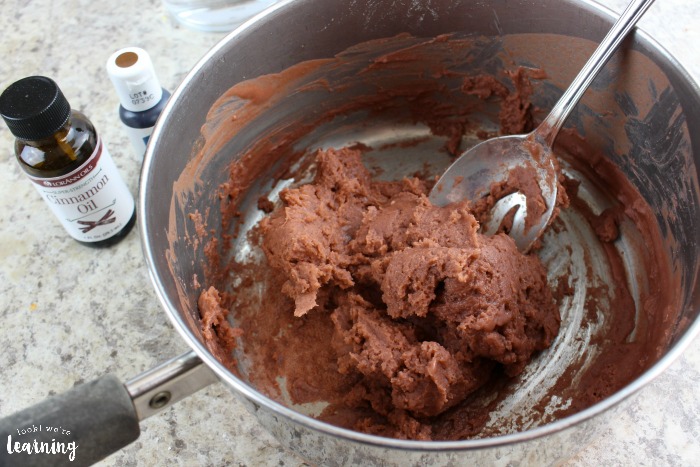
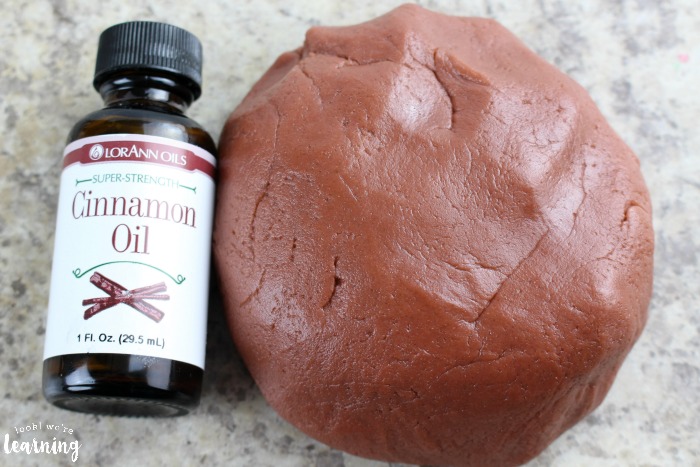
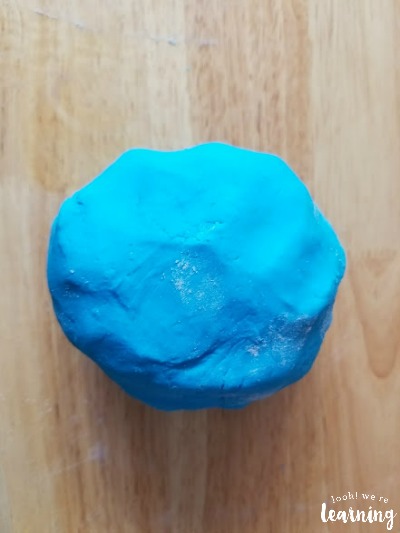
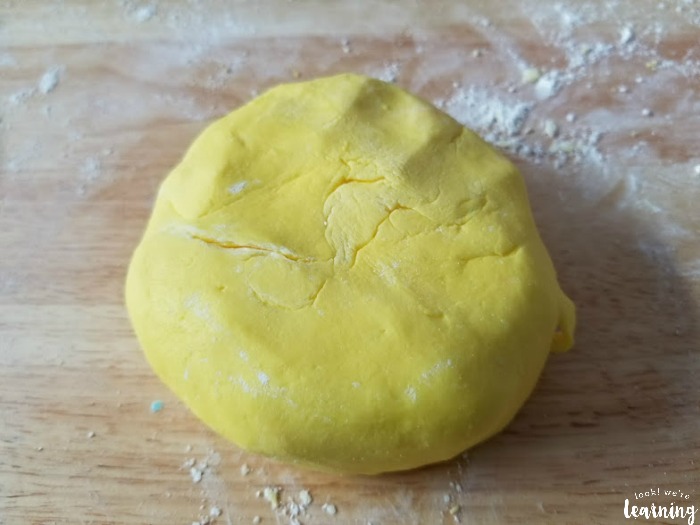
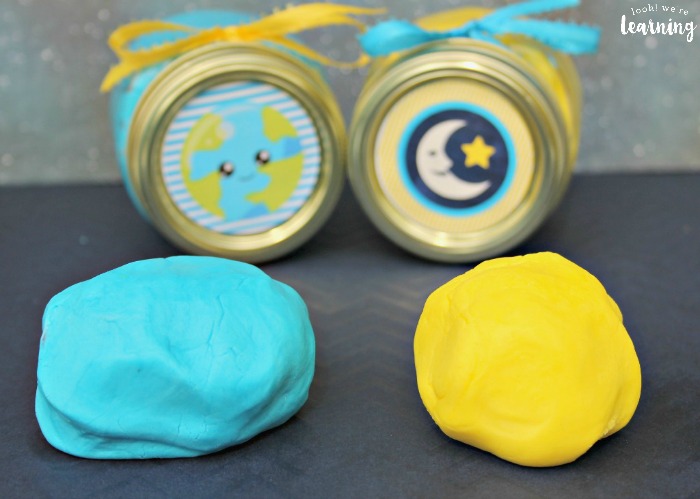
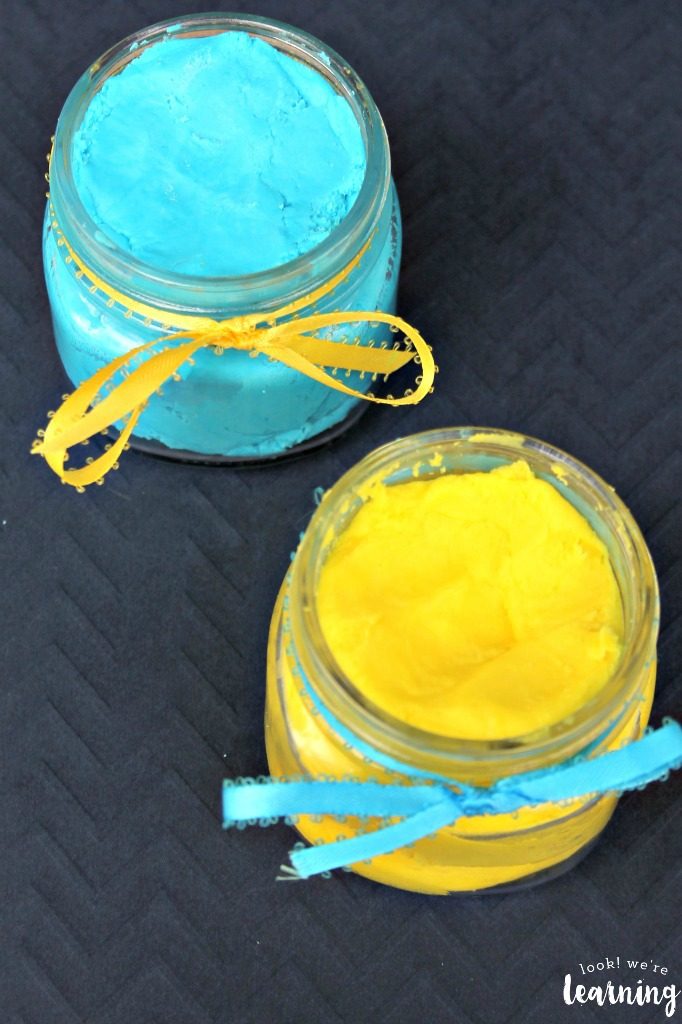
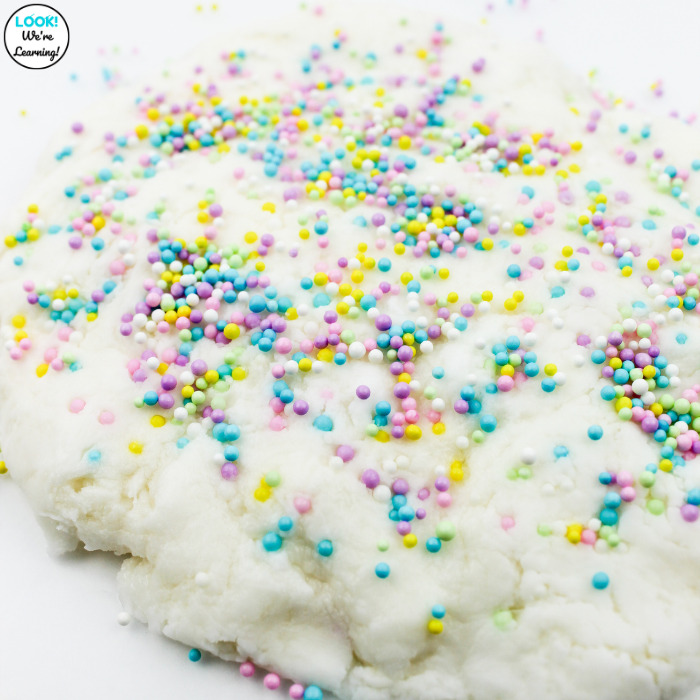
You can add food coloring if you want to color this dough.
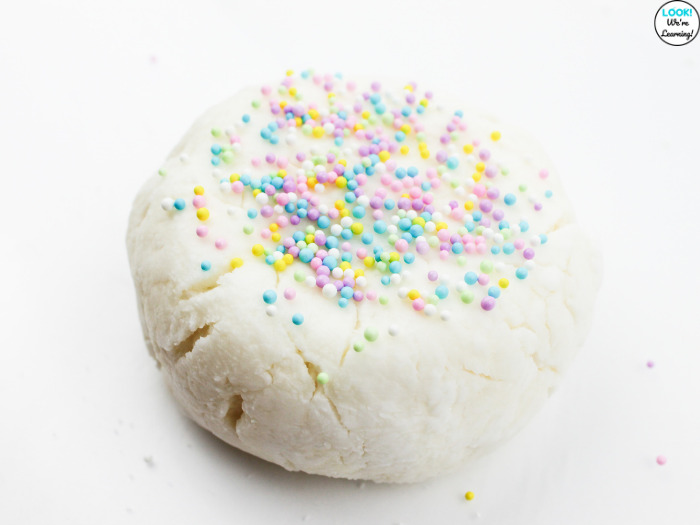
But I love the contrast of the colorful sprinkles and the white dough, so I like to leave it as is.
How to Make Marshmallow Edible Playdough
Now to make up our batch of marshmallow playdough…
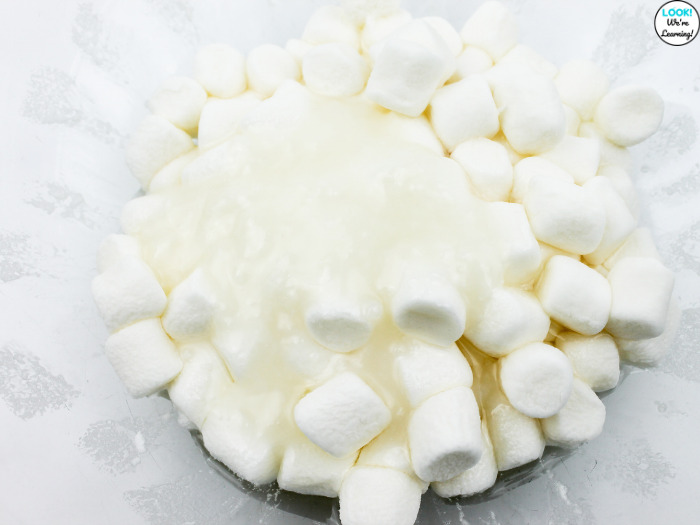
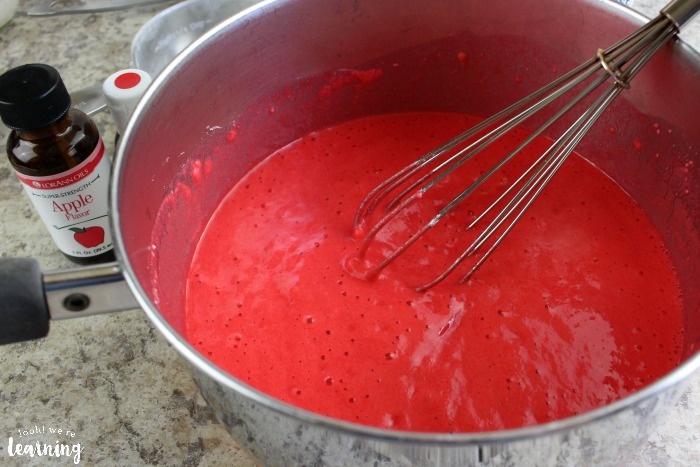
Start by microwaving the mini marshmallows to soften them.
Pour in the coconut oil.
Stir the oil and marshmallows together to combine them.
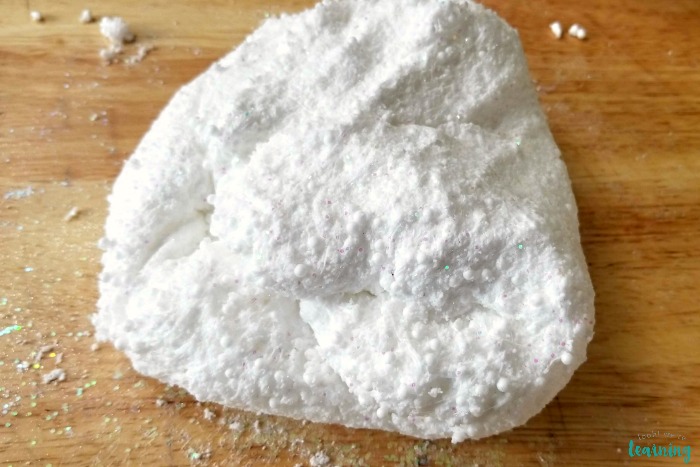
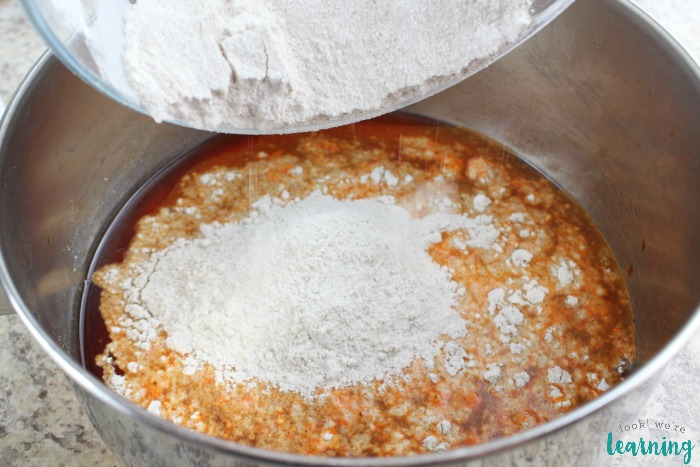
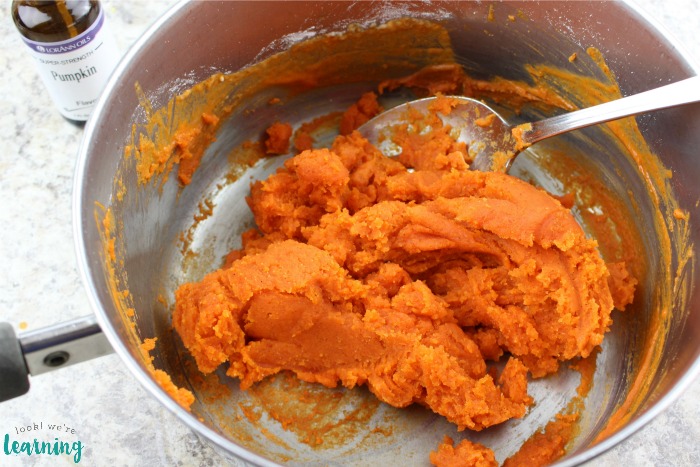
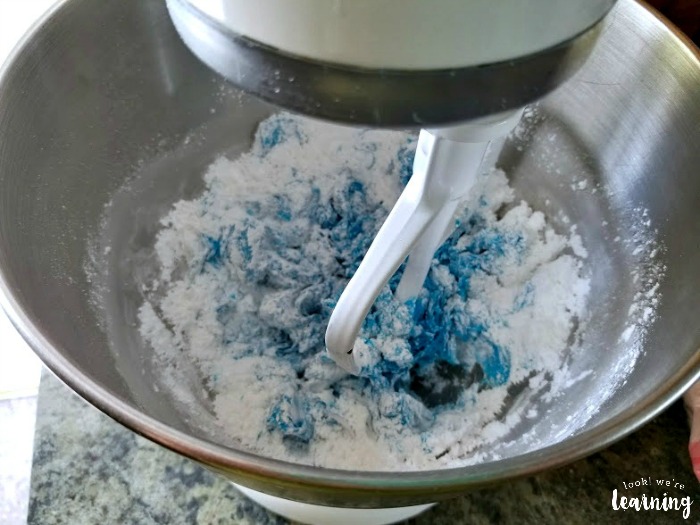
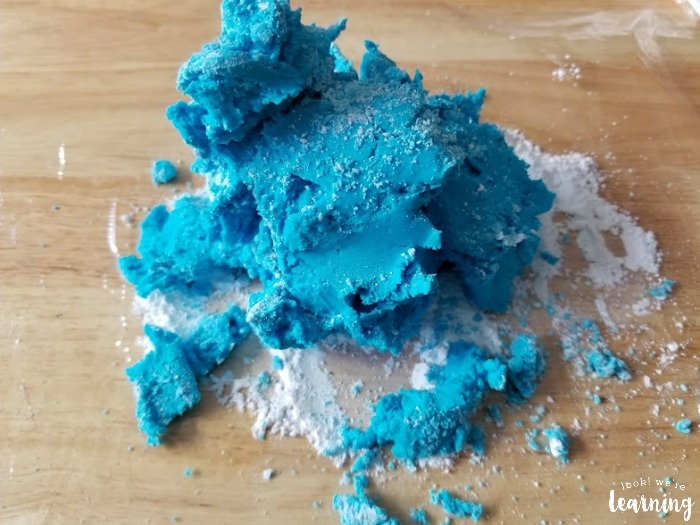
This is the base of the dough, but we’ll need the powdered sugar to “bind” everything together.
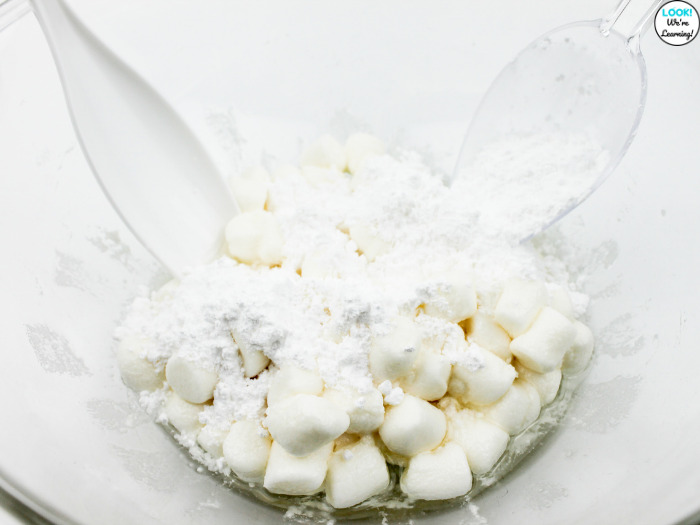
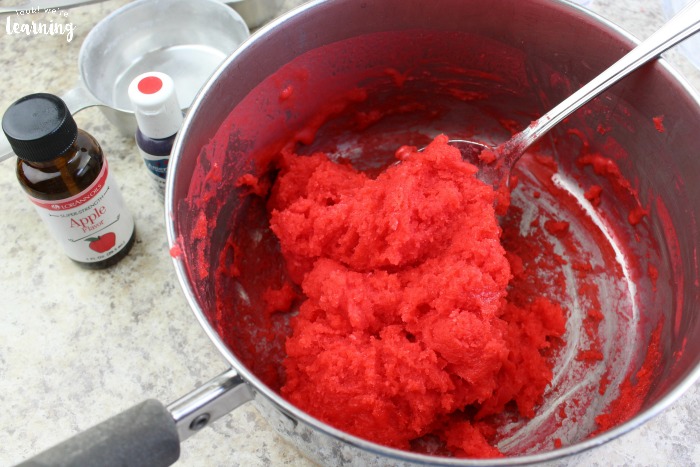
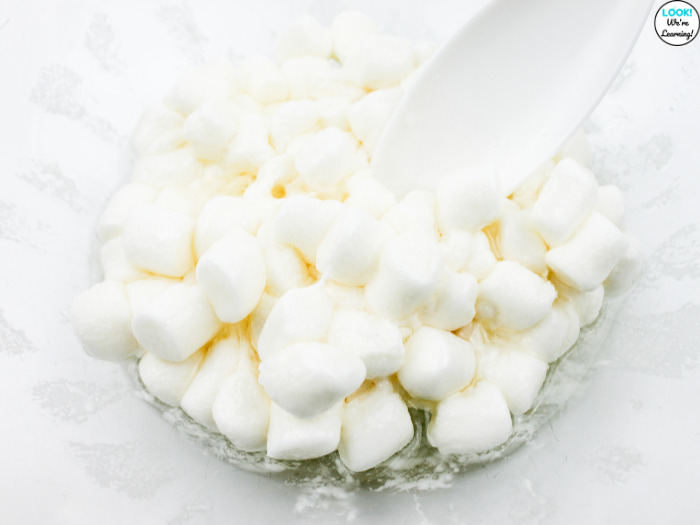
When you add the powdered sugar, do it slowly. Try a few tablespoons at a time and then stir it up to check the consistency.
You want the dough to be soft but not too sticky.
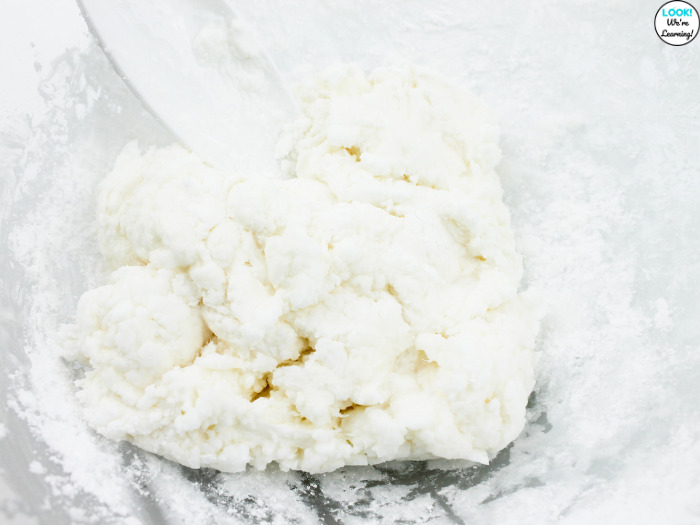
If it sticks to your hand and it’s hard to form it into a ball, you’ll know you need to add a bit more sugar.
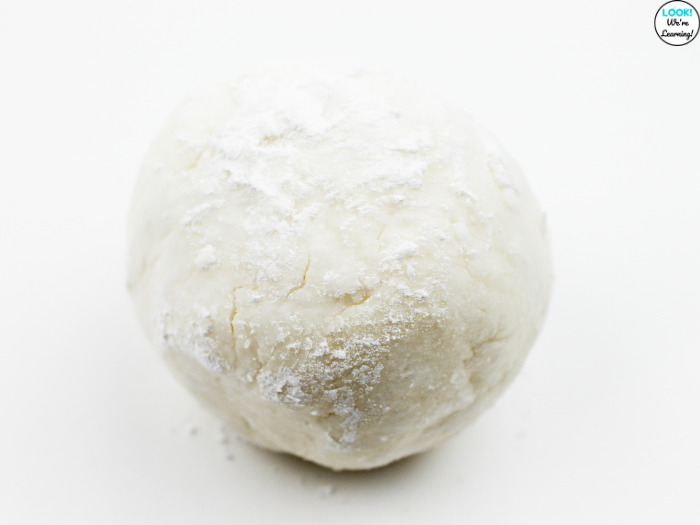
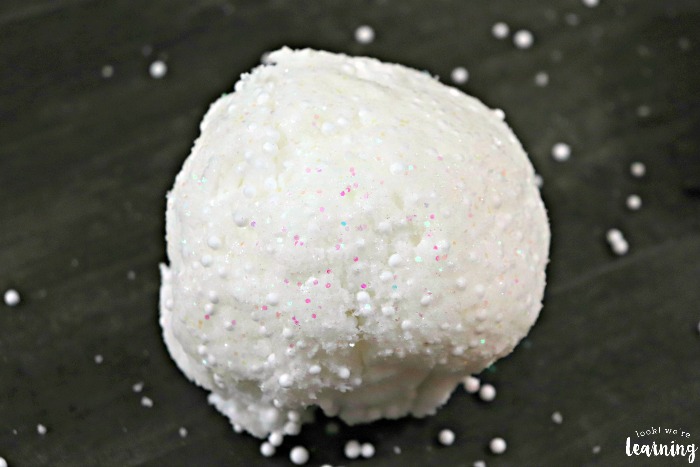
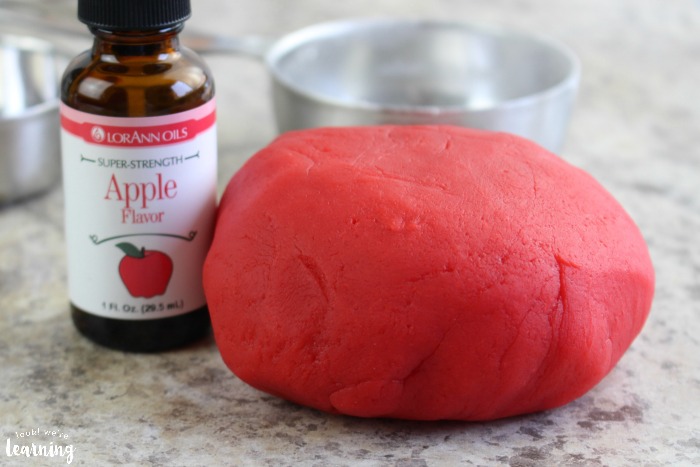
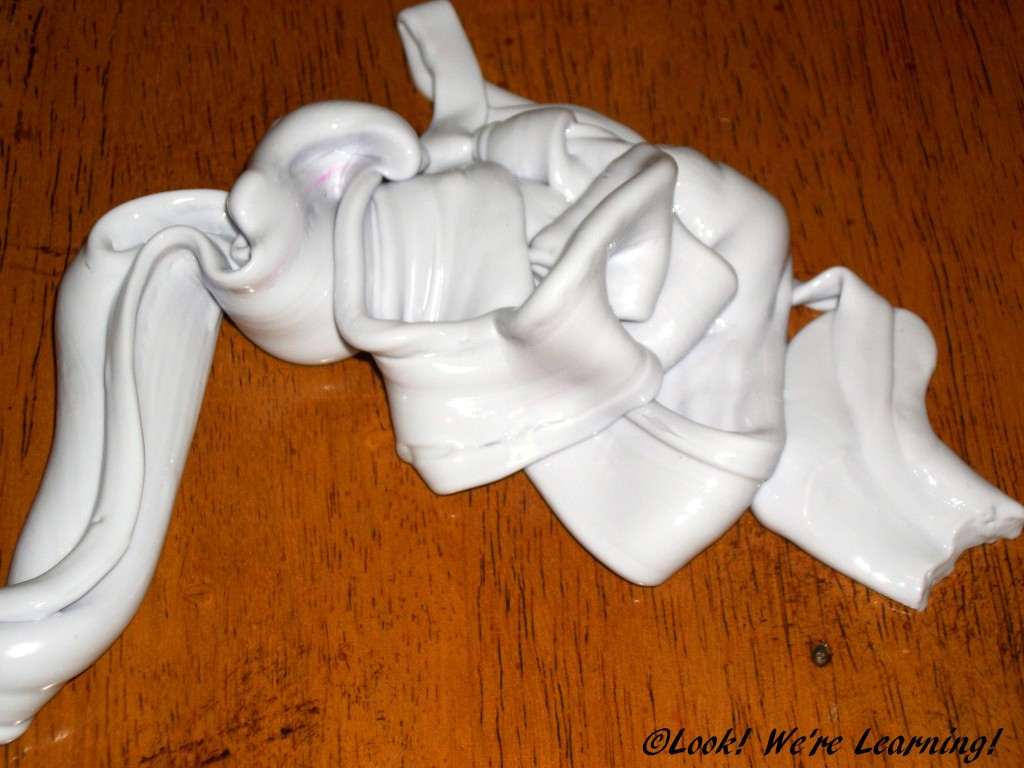
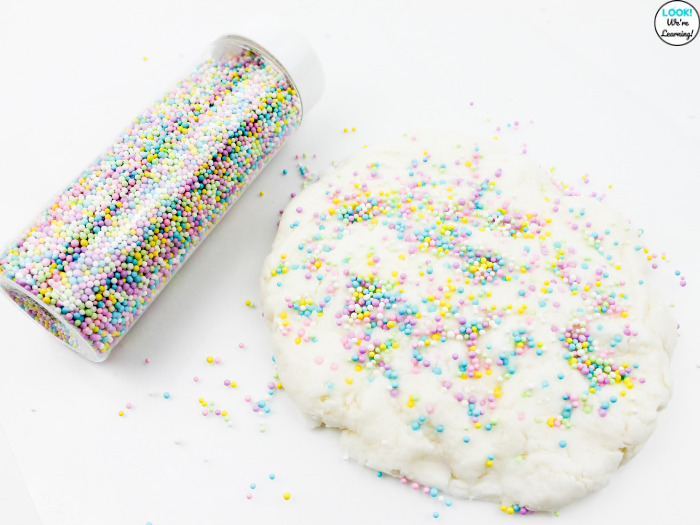
Once you can form a ball that holds its shape, your dough is done!
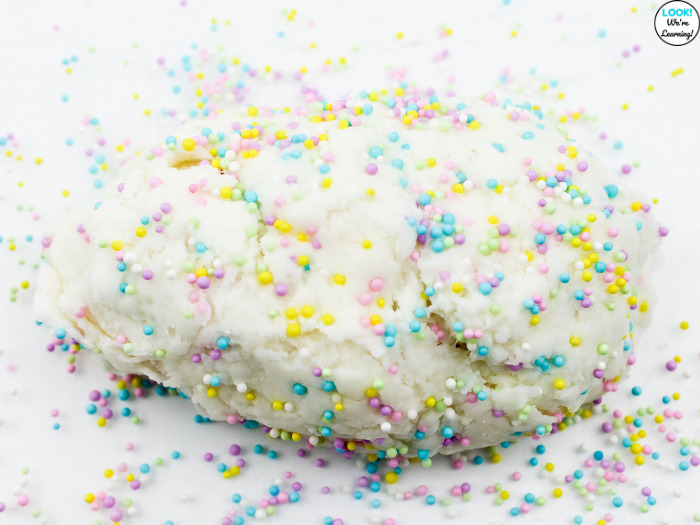
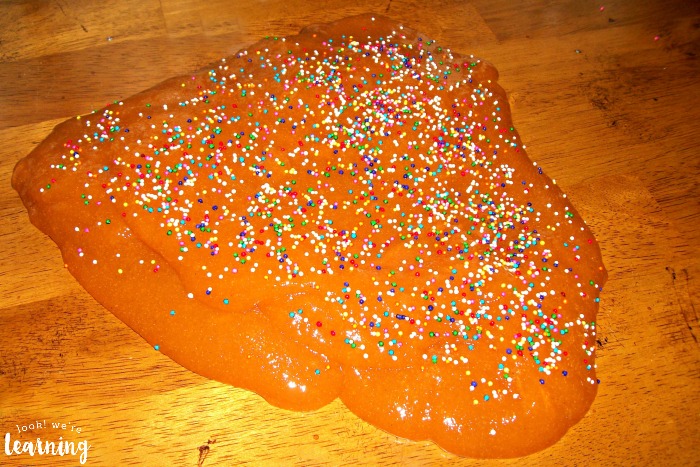
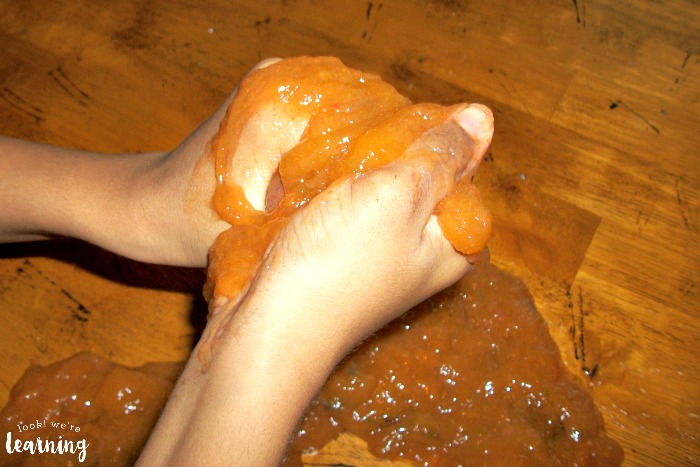
All that’s left now is to add the colorful sprinkles!
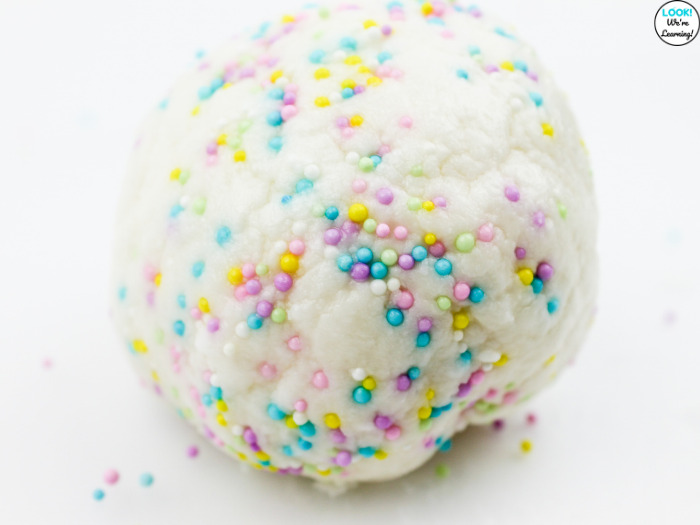
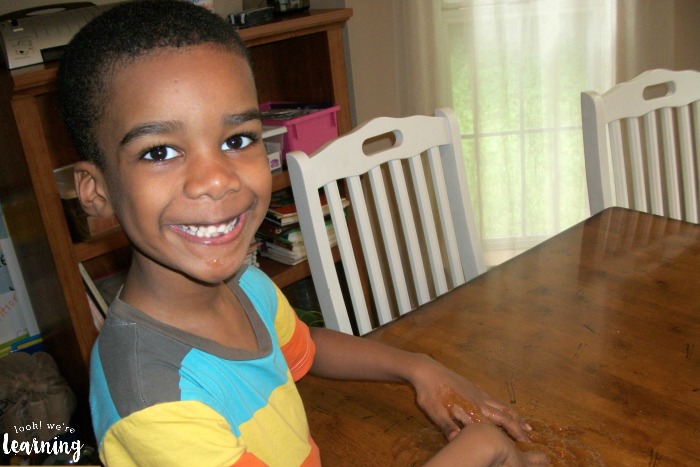
If you have a child helping you make up the playdough, let them roll the dough ball in sprinkles and then use their hands to work them in thoroughly.
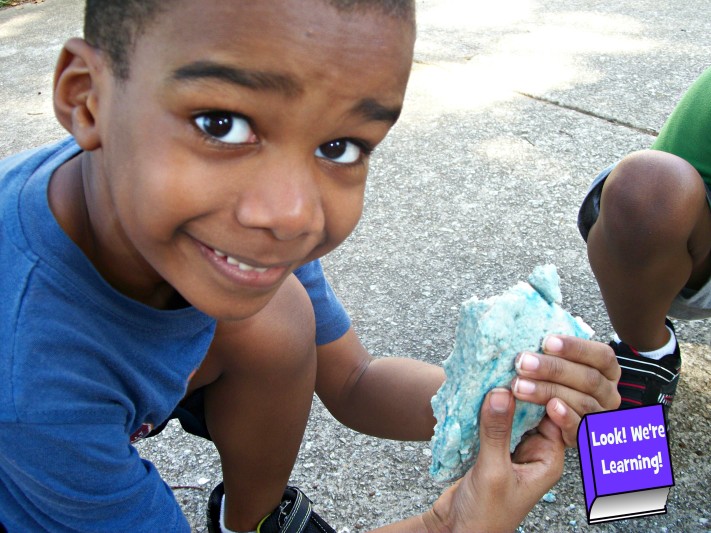
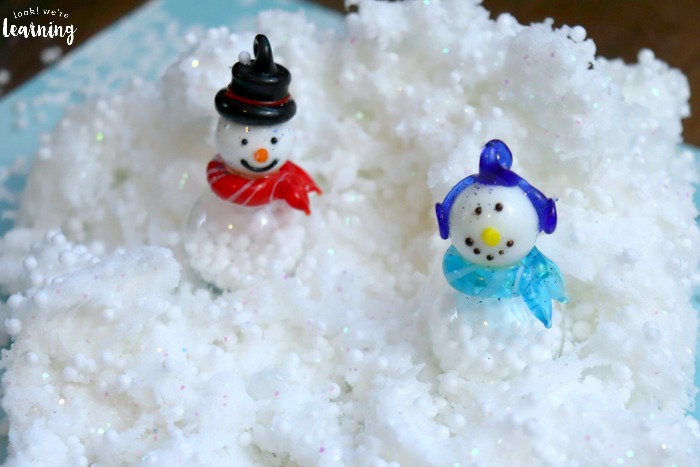
How to Use Marshmallow Edible Playdough for Learning
So we have a batch of marshmallow playdough. What exactly do we do with it?
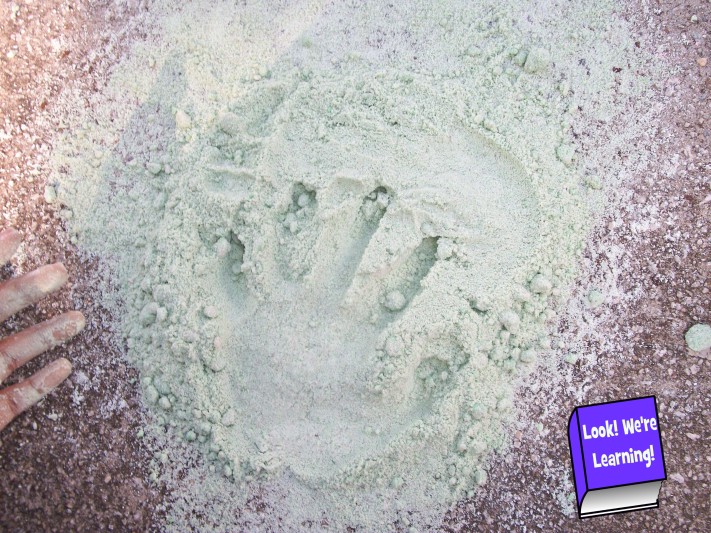
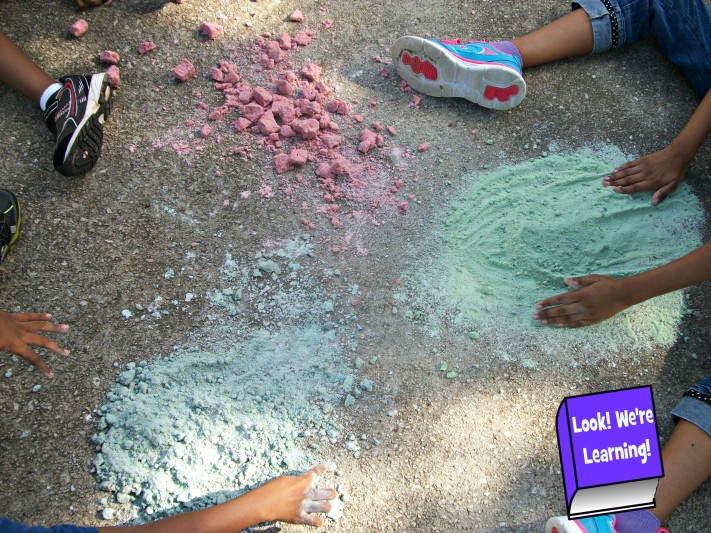
The answer is: Lots of things! Playdough is a wonderful fine motor skills builder.
Here are some simple playdough fine motor skills activities:
- Use a play hammer to smash the dough flat
- Use a rolling pin to roll the dough out
- Use plastic knives to cut and slice the dough into small pieces
- Roll the dough into ropes and use child-safe scissors to cut them into sections

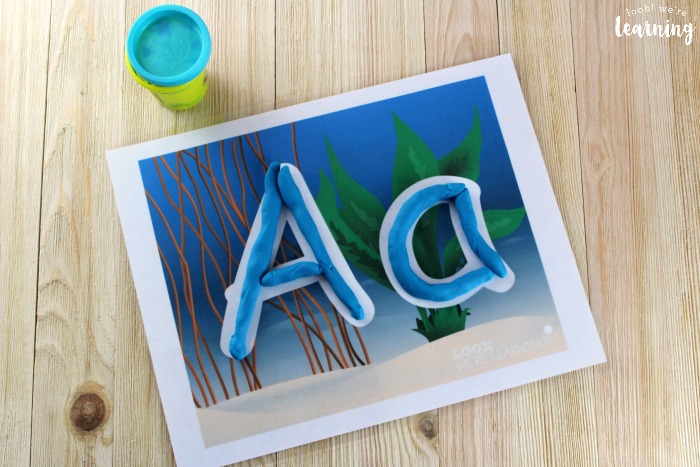
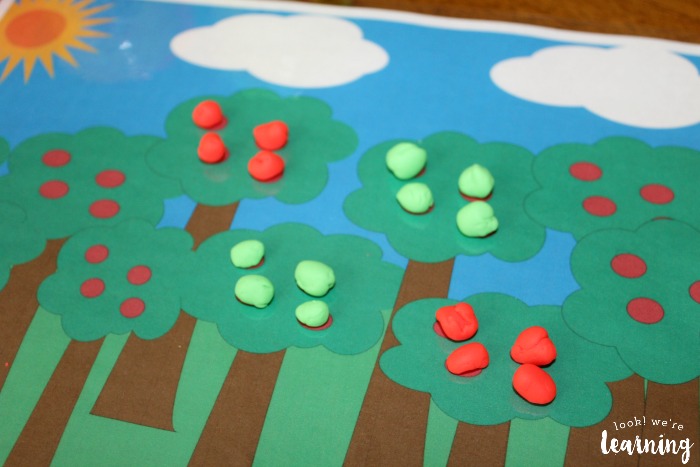
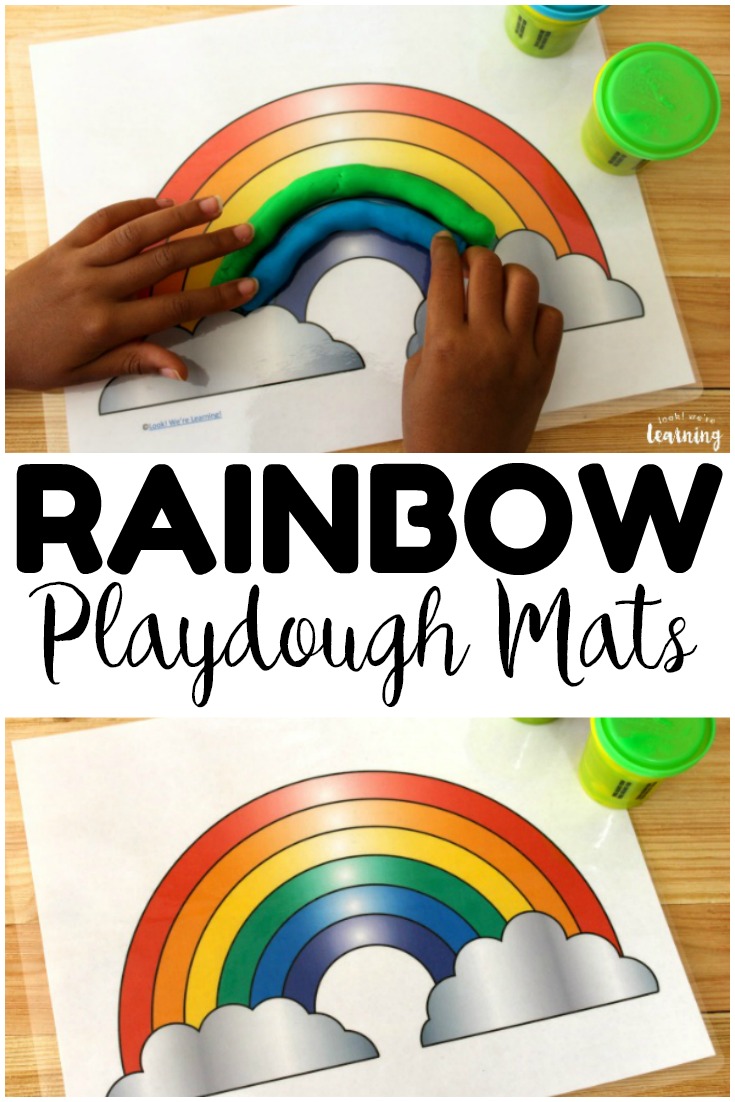
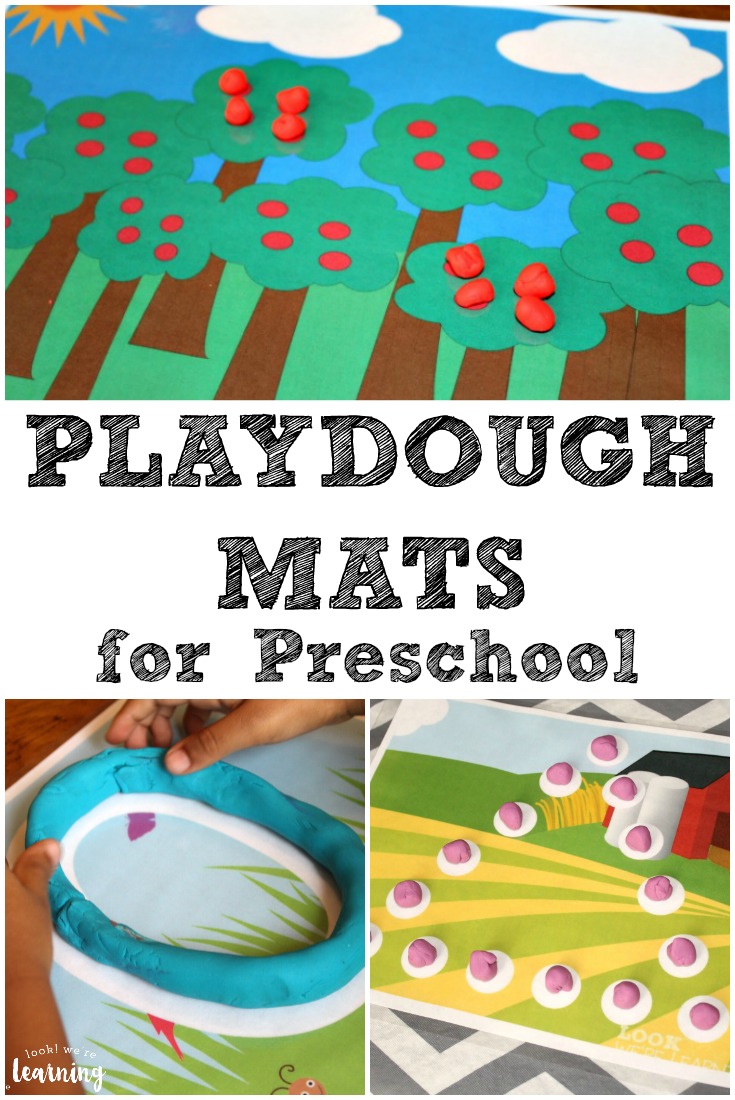
You can also use playdough to form shapes, letters, and numbers, such as with literacy mats.
These winter literacy mats are a perfect fit for this wintry-looking playdough!
Scroll down to get the printable marshmallow edible playdough recipe!
See more sensory and fine motor skills activities below!


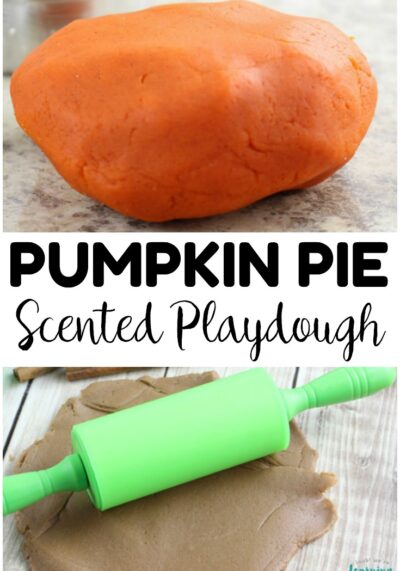
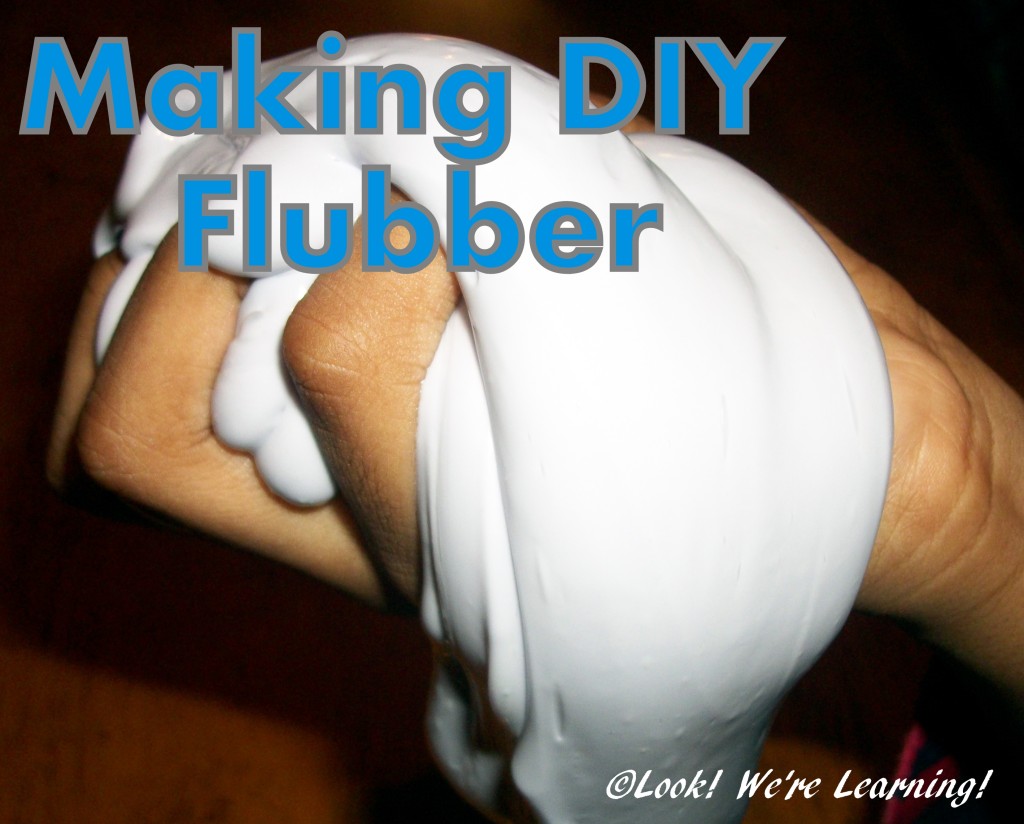
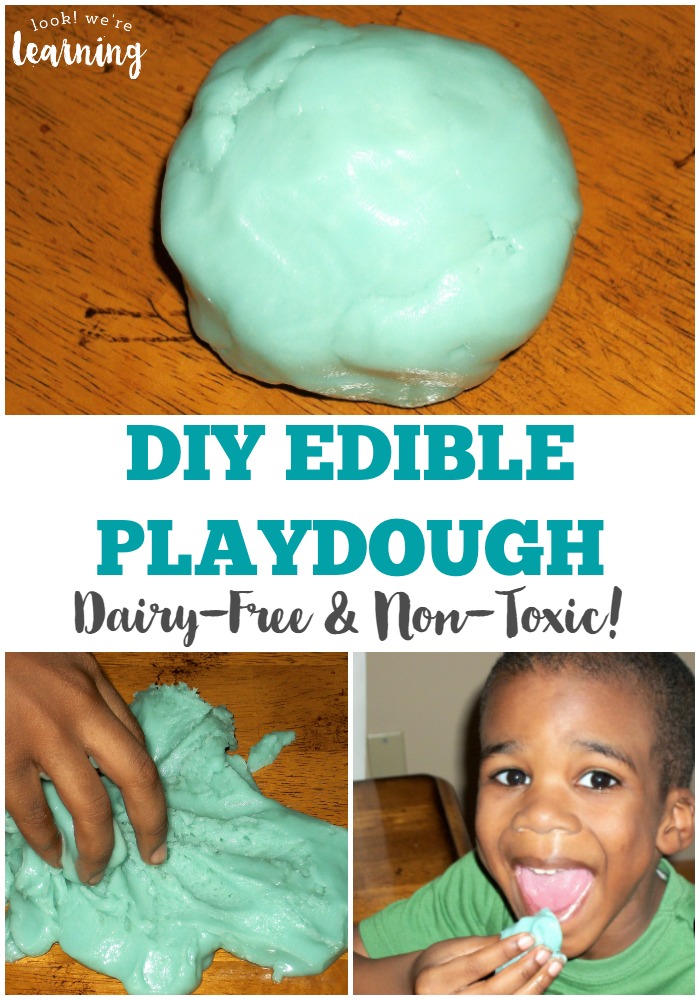
Easy Marshmallow Edible Playdough Recipe
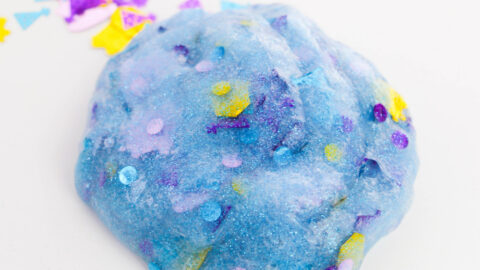
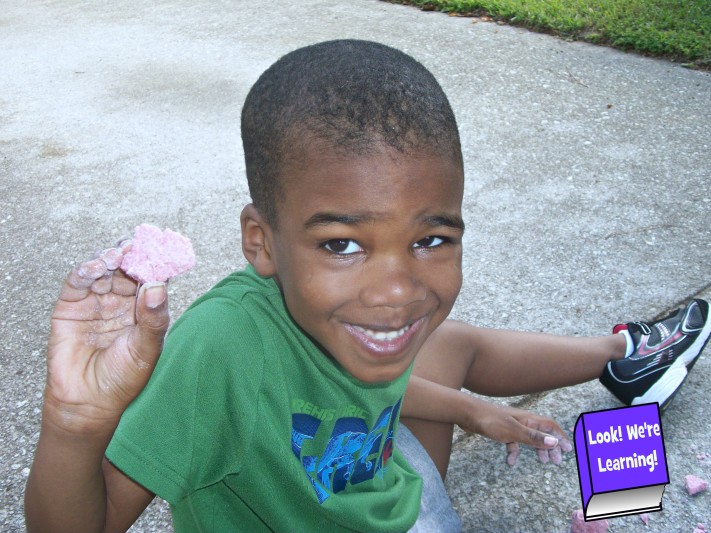
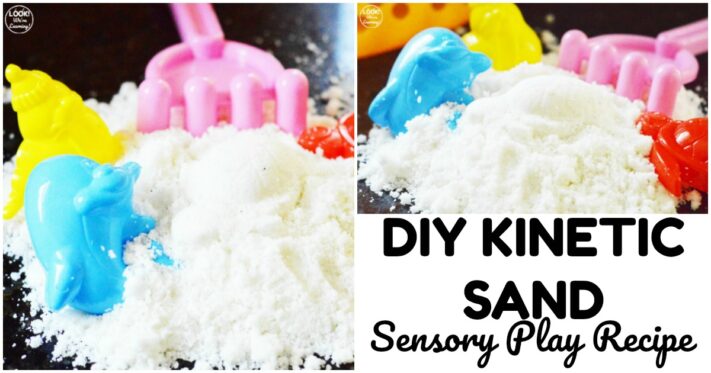
This fun and sweet marshmallow edible playdough makes a wonderful sensory activity for little hands!
Ingredients
- 2 cups mini marshmallows
- 3 tbsp coconut oil
- 1 1/2 cup powdered sugar, divided
- Sprinkles
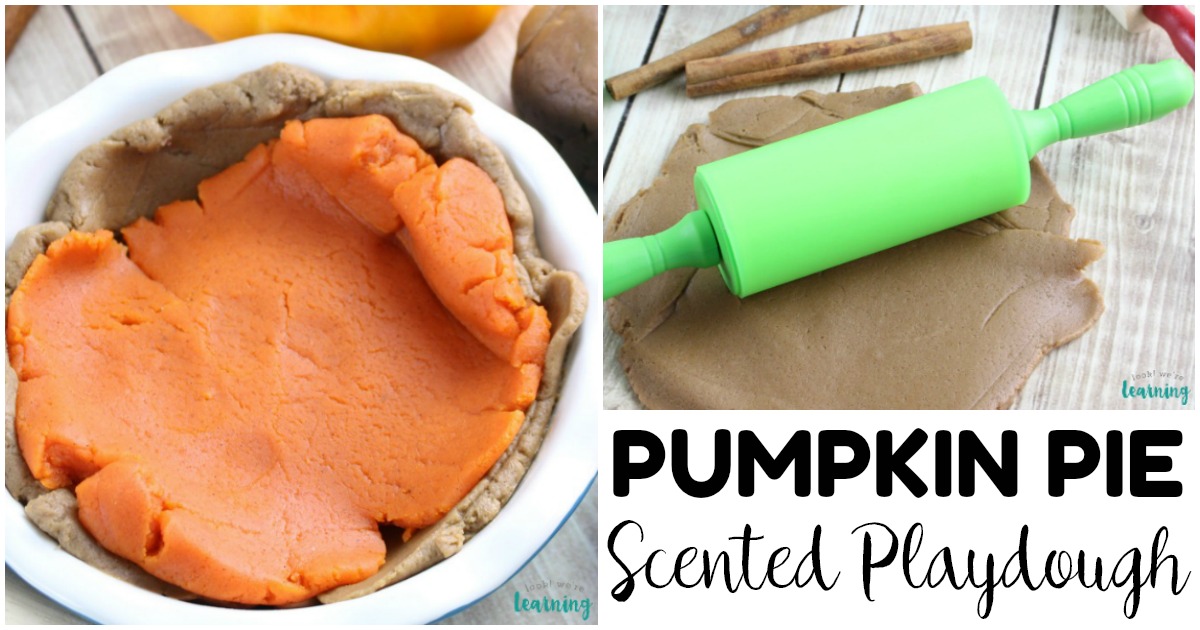
Instructions
- Pour the marshmallows into a microwave-safe bowl.
- Microwave the marshmallows on HIGH for 40 seconds.
- Pour the coconut oil into the bowl and stir well.
- Slowly add in the powdered sugar by stirring in a few tablespoons at a time.
- After you have added one cup of powdered sugar, check the consistency of the dough. If it feels too sticky, add up to another 1/2 cup of powdered sugar.
- Mix in the sprinkles by hand.
Notes
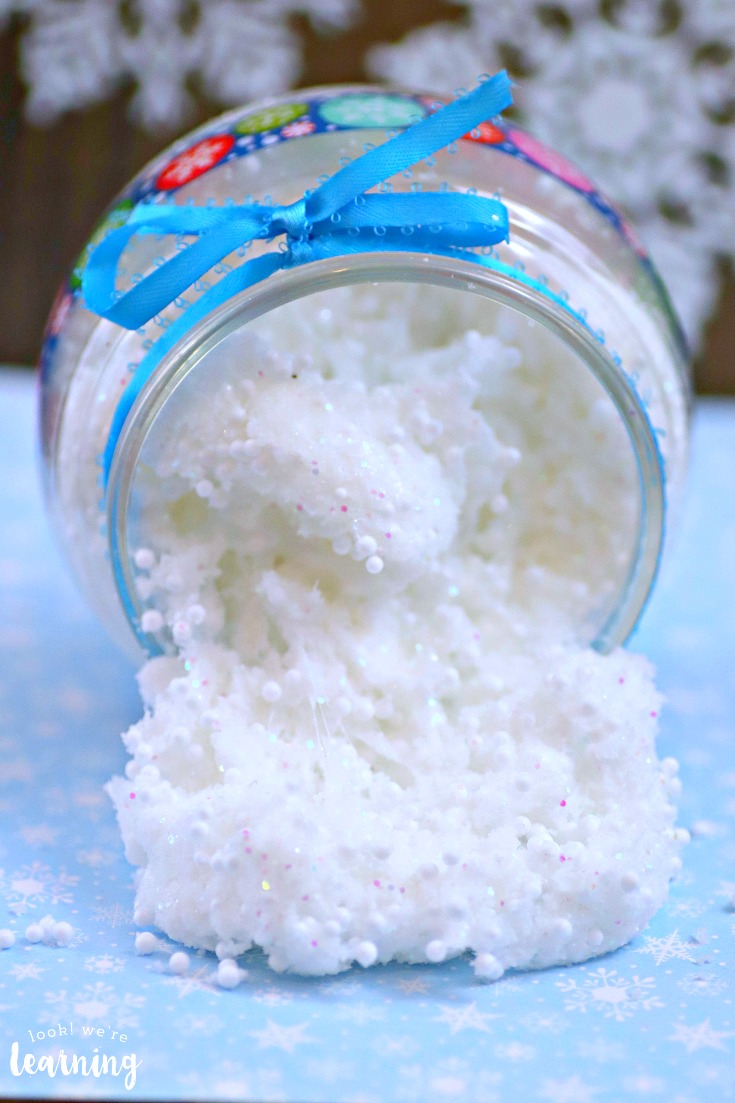
- This dough is good for one play session. Discard after the initial use.
- Since this dough is made from food ingredients, it is safe to eat. Due to the high sugar content, parents may want to exercise care as to the amount children consume.