When you want to keep preschoolers engaged in a lesson for more than…three minutes or so, sensory bins are the answer!
Every time I’ve put a sensory bin together, I’ve had to practically drag my early learners away from it.
There’s just something about having so many different textures and colors to explore that keeps little ones interested.
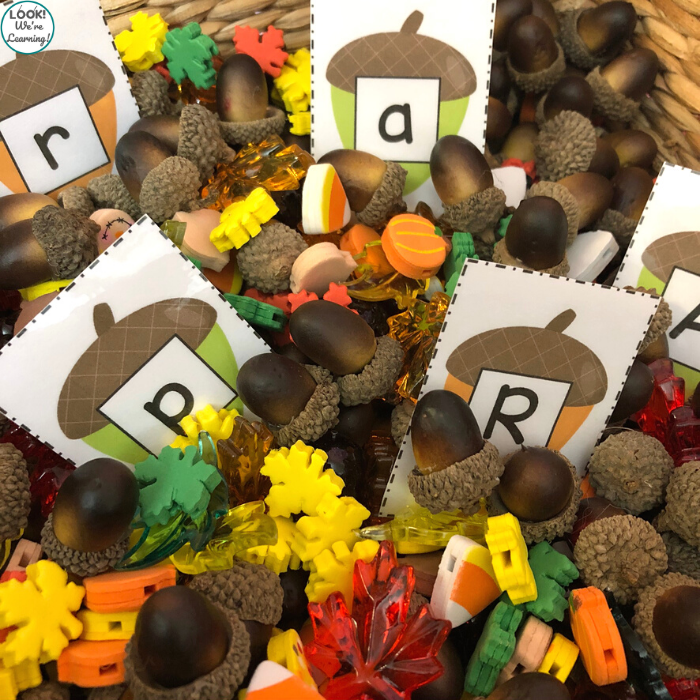
And that makes sensory bins a wonderful medium for introducing early literacy skills – like in this alphabet acorn sensory bin!
This is such an easy, low-prep, and engaging literacy activity for autumn!
And it doesn’t make a mess, so you won’t have to clean anything up afterwards. Win!
Read on to see how to put this fall sensory bin together yourself.
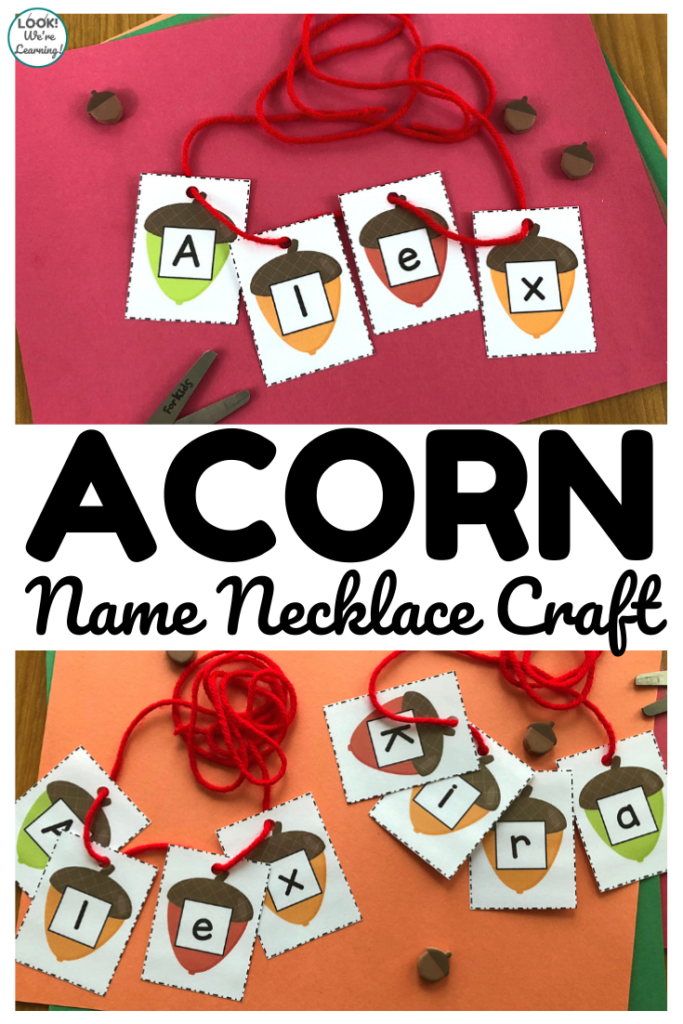
And, for more fun with fall letters, take a look at our easy Name Acorn Necklace Craft!
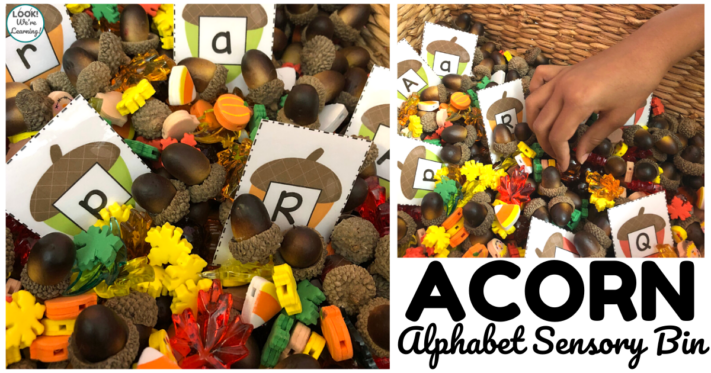
Easy Alphabet Acorn Sensory Bin for Kids
To assemble this alphabet acorn sensory bin, you’ll need the following: (This post contains affiliate links. For details, see our Disclosure Policy.)
- Container (I used a straw basket I already had, but a clear shoebox or a bin is fine too)
- Acorns (Real acorns are the best, but I used these artificial acorns since we don’t have an oak tree nearby. This bin uses about three bags.)
- Colored artificial leaves (Our bin uses these colorful acrylic leaves and acorns.)
- Fall-themed foam pieces (This foam bead harvest mix with leaves, scarecrows, pumpkins, and candy corn is what I used.)
- Printable Acorn Alphabet Cards (available in this post)
To start, print out the acorn alphabet cards and laminate them.
You’ll need them to stand up to frequent use by little hands.

Then fill the bin with acorns.
Mix in the colored leaves and acorns, as well as the fall-themed foam beads.
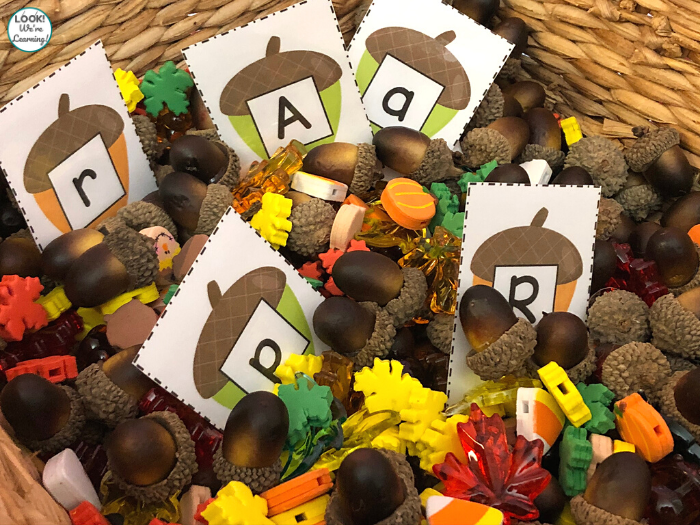
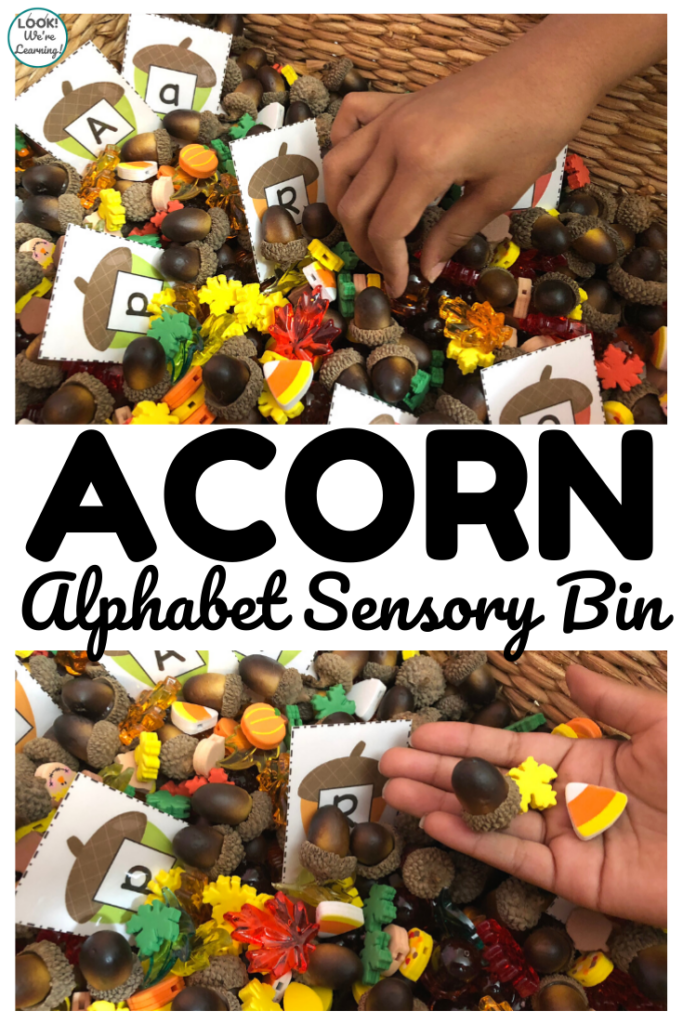
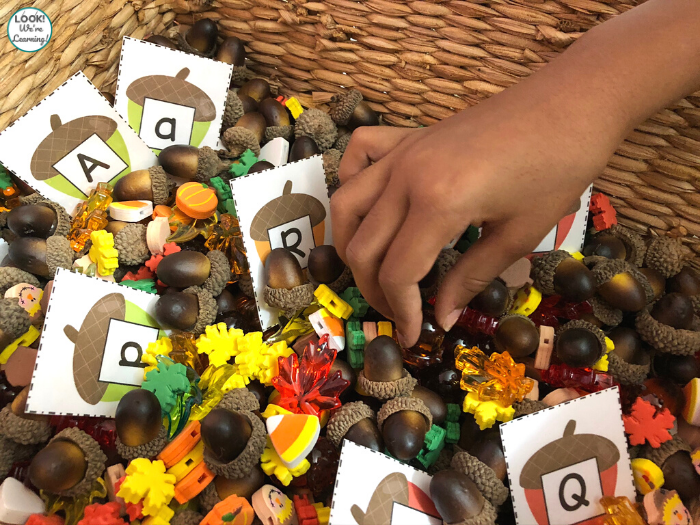
Finally, add a few of the acorn alphabet cards.
You don’t want to put them all in at once, because you want the letters to be part of the acorn sensory bin, not the entire focus.
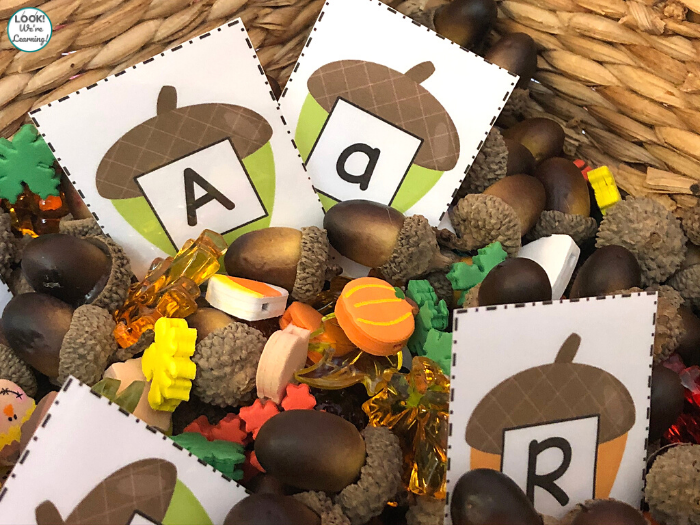
One way to use them is to add in pairs of uppercase and lowercase letters (capital A and lowercase A, for example).
Then students can talk about the difference between the letters.
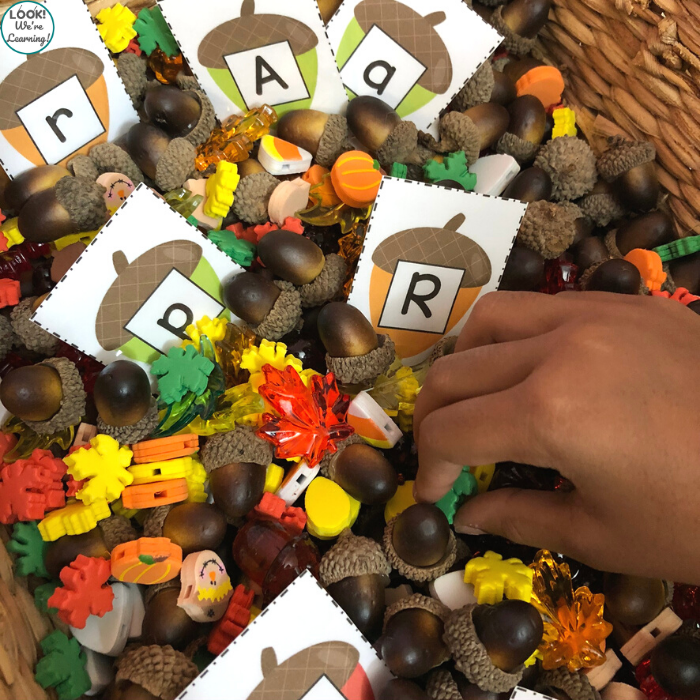
Or you can have a quick find the matching letter activity by picking up the capital letter and asking kids to find its lowercase mate.
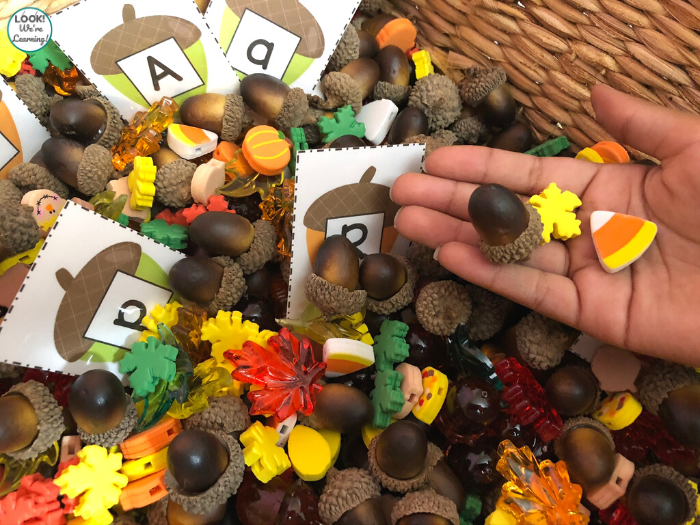
Be sure to talk about the different textures, colors, and shapes of each item they pick up.
See this autumn sensory bin in action below!
If you use this alphabet acorn sensory bin with your early learners, I’d love to hear how it worked out for you!
Stop by to see some of these other fall early learning ideas!