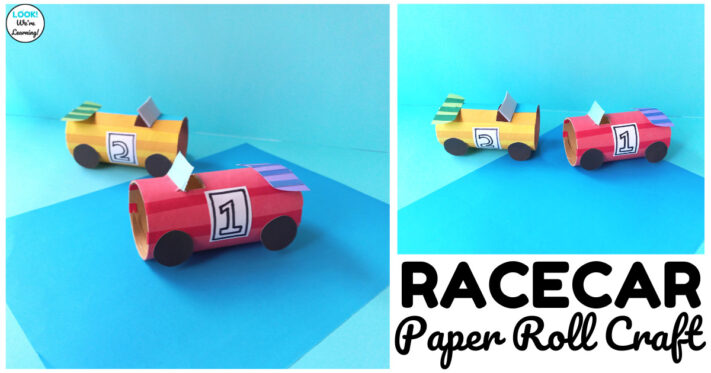
Looking for an easy kid-friendly craft to add to your transportation unit?
This easy toilet paper racecar craft is perfect!
It’s simple, only requires a few supplies, and just plain cute too.
One of the books I grew up with was Richard Scarry’s What Do People Do All Day?. I’m sure many of you remember that one too.
What always caught my eye was all the cars and trucks that moved through the town every day. (I think Sergeant Murphy was directing traffic in one of the scenes.)
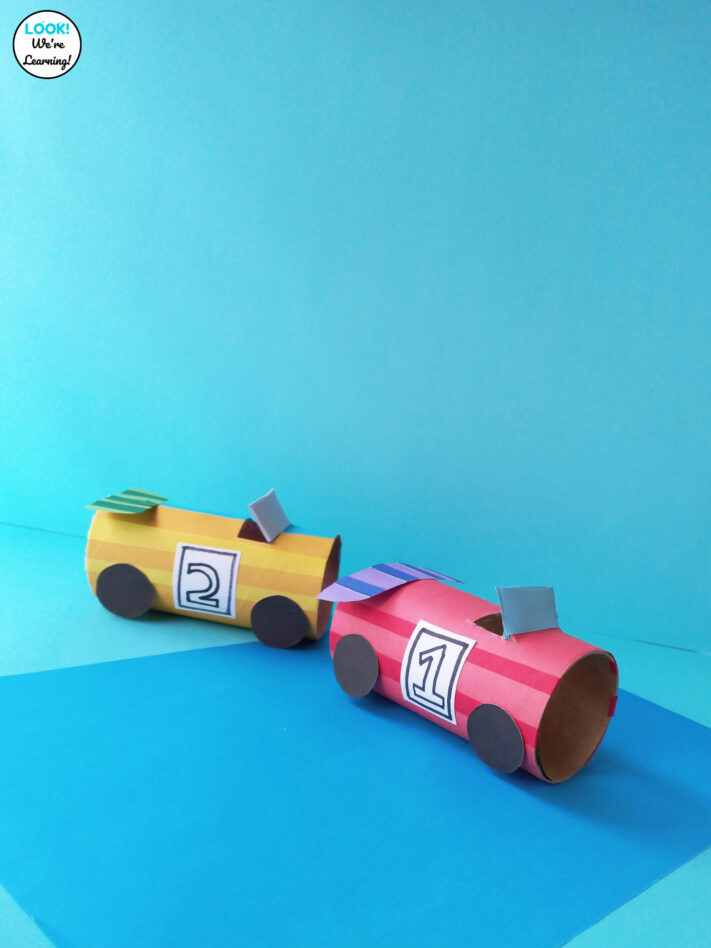
Transportation is still a great theme for early learners, which makes this racecar craft a perfect project to make with preschoolers and kindergartners!
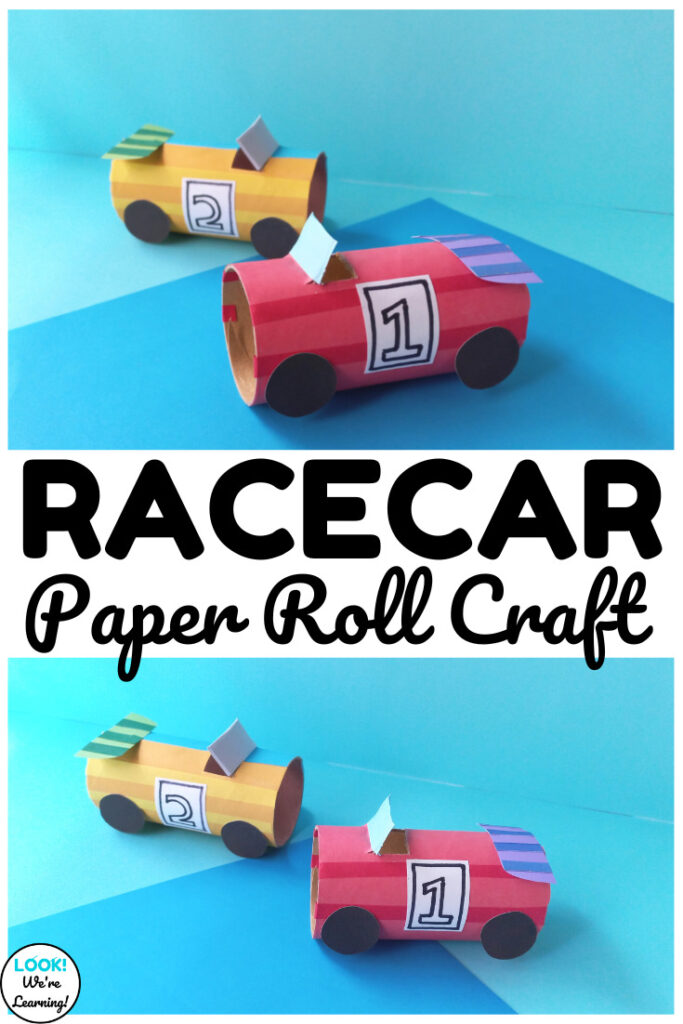
Read on to get the full instructions and printable template to make it with your students.
And, for more about transportation, check out our printable Racecar Scissor Skills Printables too!
Easy Toilet Paper Roll Racecar Craft
When you’re ready to make this craft, let your students choose what color they’d like. Any craft or construction paper works for this project.
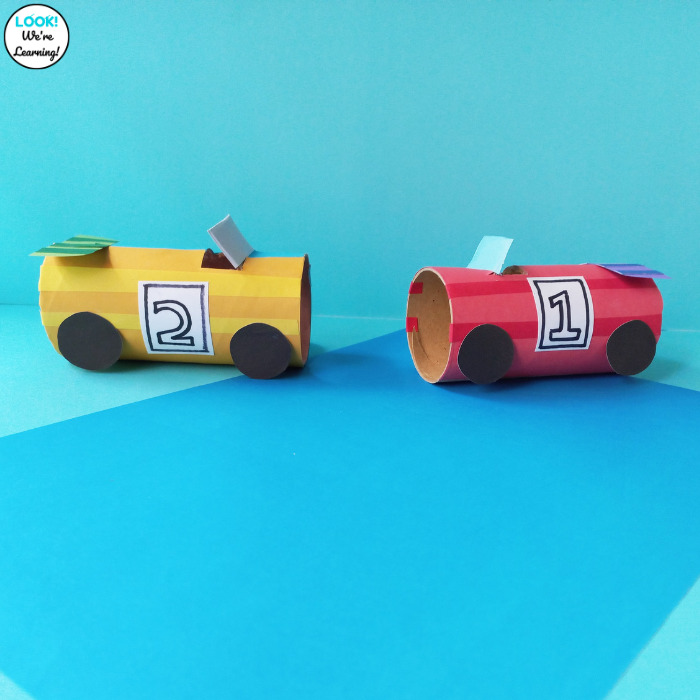
To make this easy paper roll racecar, you’ll need the following: (Affiliate links are listed below. For details, see our Disclosure Policy.)
- Colored craft paper
- Cardstock
- Empty toilet paper roll
- Pencil
- Scissors
- Ruler
- Craft glue
- Washable markers
- Printer (with ink)
- A copy of the Toilet Paper Roll Racecar Craft Template
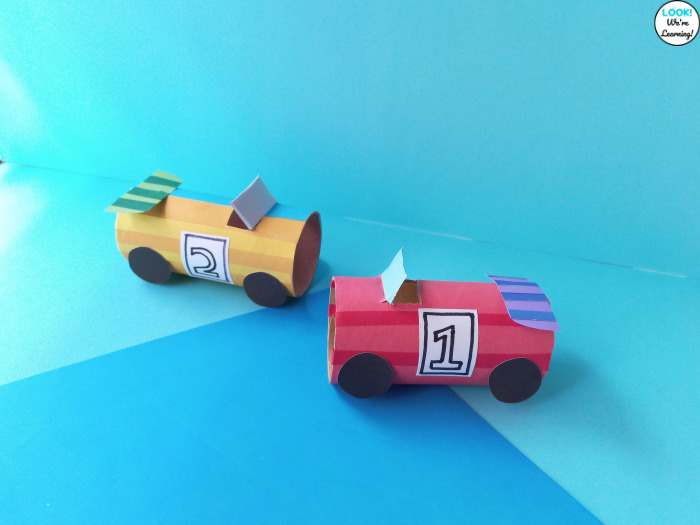
After you’ve downloaded the Toilet Paper Roll Racecar Craft Template, print it out on cardstock paper. Use scissors to cut out the template pieces. (You may need to print two to have enough stripes to decorate your car.)
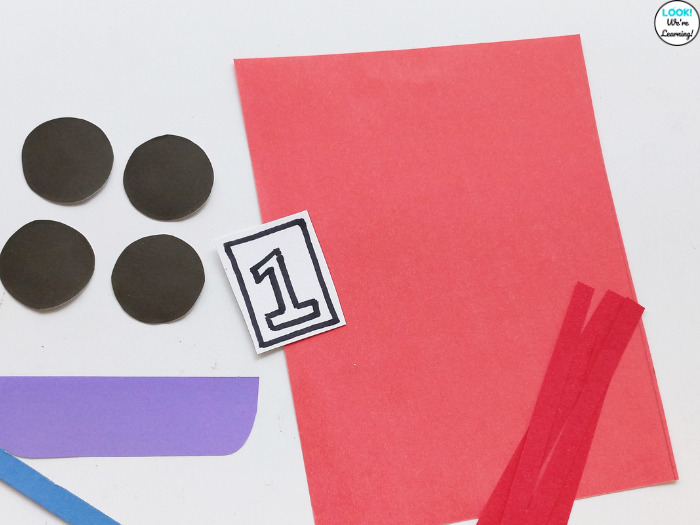
Trace each of the template pieces onto the colored paper. Cut them out and you’re ready to get started.
If you’re working with multiple students, you may want to do this step in advance. Then the kids can get started right away.
How to Make a Toilet Paper Roll Race Car
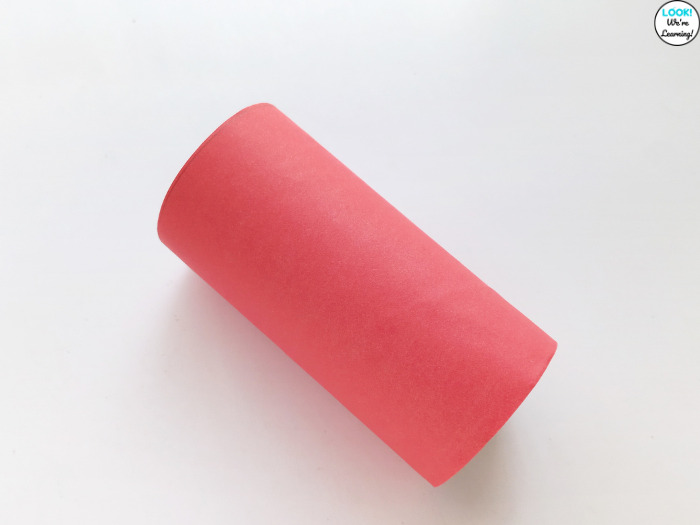
First, wrap the colored craft paper around the empty toilet paper roll. Use scissors to cut off the excess paper.
Secure the ends with glue.
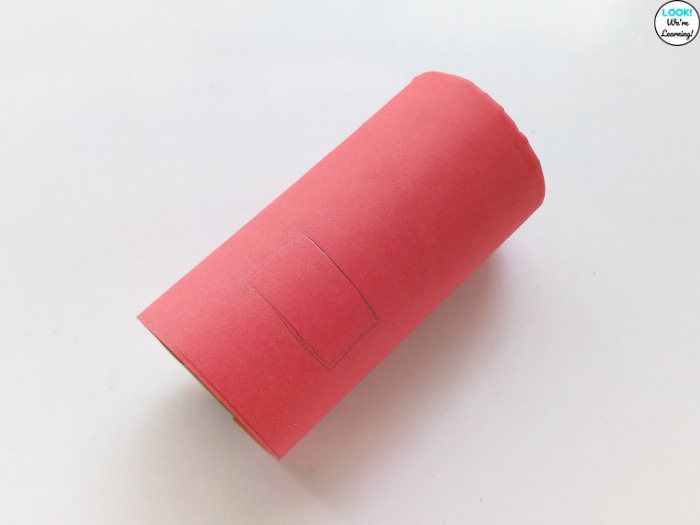
Trace the rectangle from the template onto the toilet paper roll.
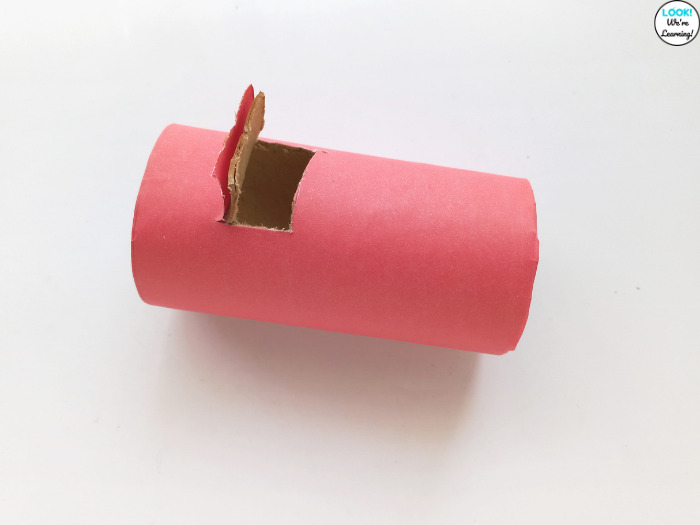
Cut the rectangle shape out on three sides, leaving the edge closest to the front in place. (This step is best done by an adult.)
Reach into the toilet paper to push the cut sides up. This forms the “windshield” of the car.
Cover the windshield with a piece of light blue craft paper. Glue it in place.
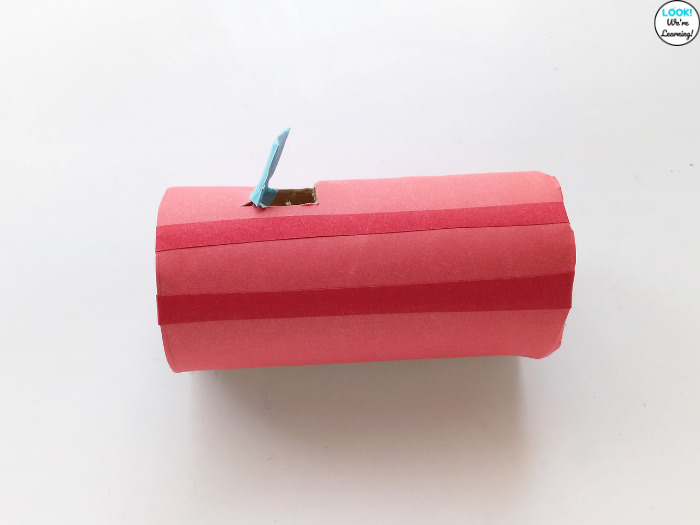
Trace the stripes onto craft paper and glue them onto the sides of the car.
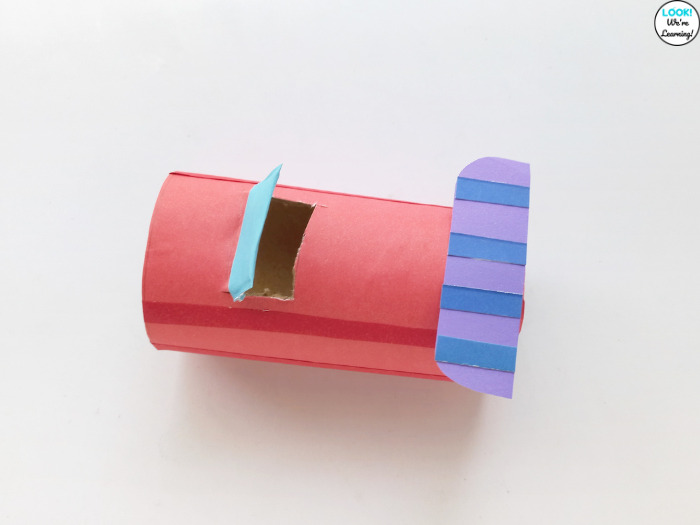
Make the rear wing by tracing the wing template and shorter stripes onto craft paper. Glue the stripes onto the wing and attach to the back of the car.
Trace (or draw) the number template and glue it to the side.
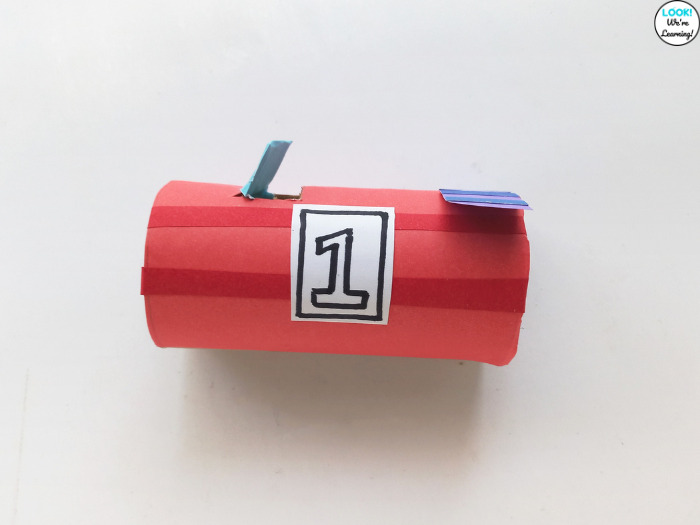
Glue the wheels on and you’re done!
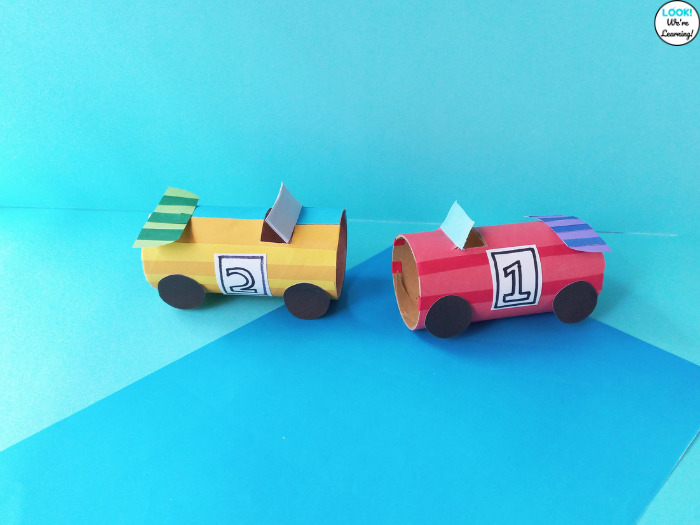
You might choose to have your class make an entire fleet of cars!
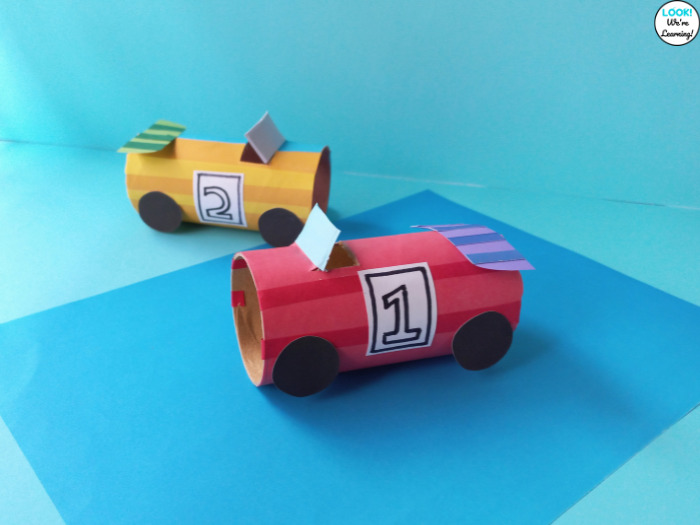
See how many different colors your students can use!
Try some of these other simple transportation crafts for kids to make!
