Summer is right around the corner! When I was younger, summer was easily my favorite season of the year. I grew up about 30 miles from the beach, so hitting the shore was my favorite pastime.
Now we live further inland. About five hours further inland. So my trips to the beach are few and far between. But that doesn’t stop me from trying to have some summer fun with the kids!
I’ve even been known to make moon sand on our driveway. Hey, at least it’s sand, right?
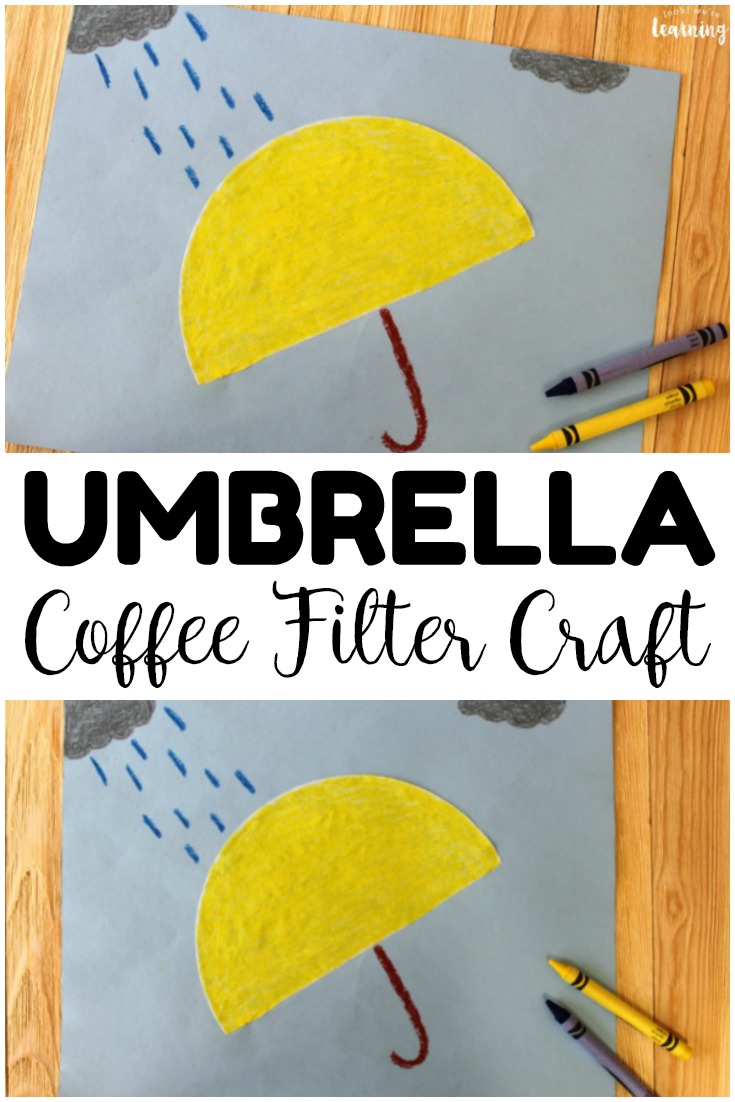
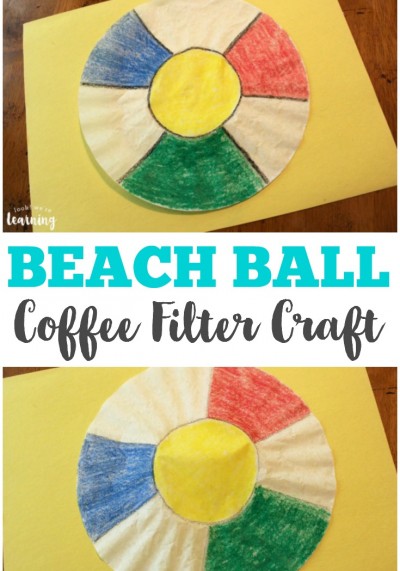
One of the ways we’re welcoming summer this year is by making another one of our coffee filter crafts for kids. This time, it’s a beach ball coffee filter craft!
Remember those multi-colored beach balls you’d see all over the shore as a kid? Here’s a way to make one of your own with the kids, even when the weather won’t cooperate with a trip to the beach.
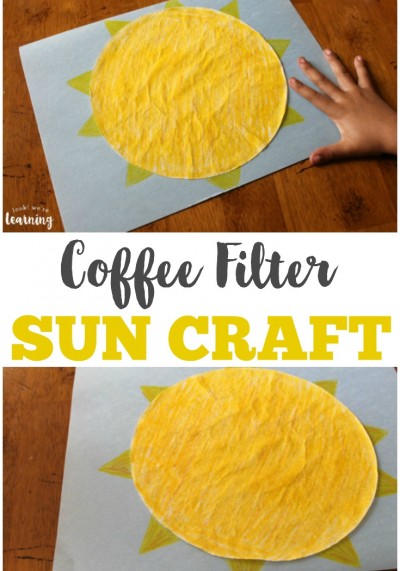
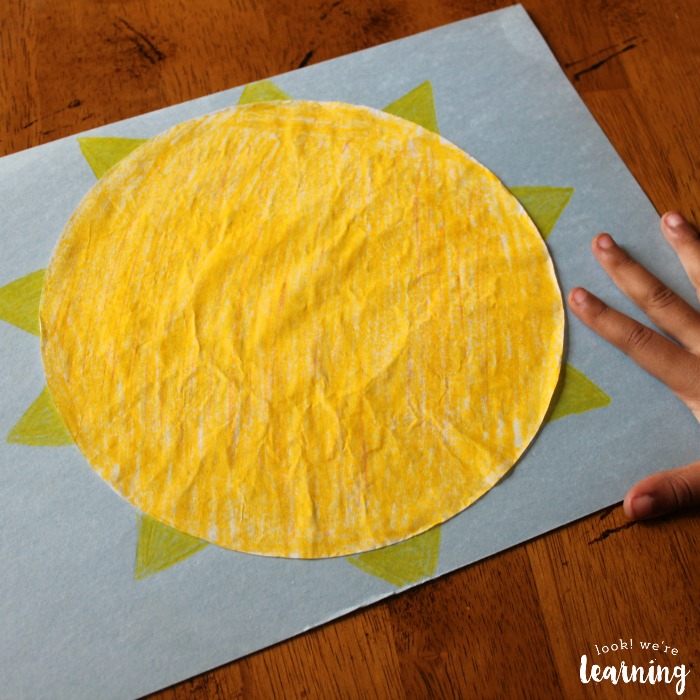
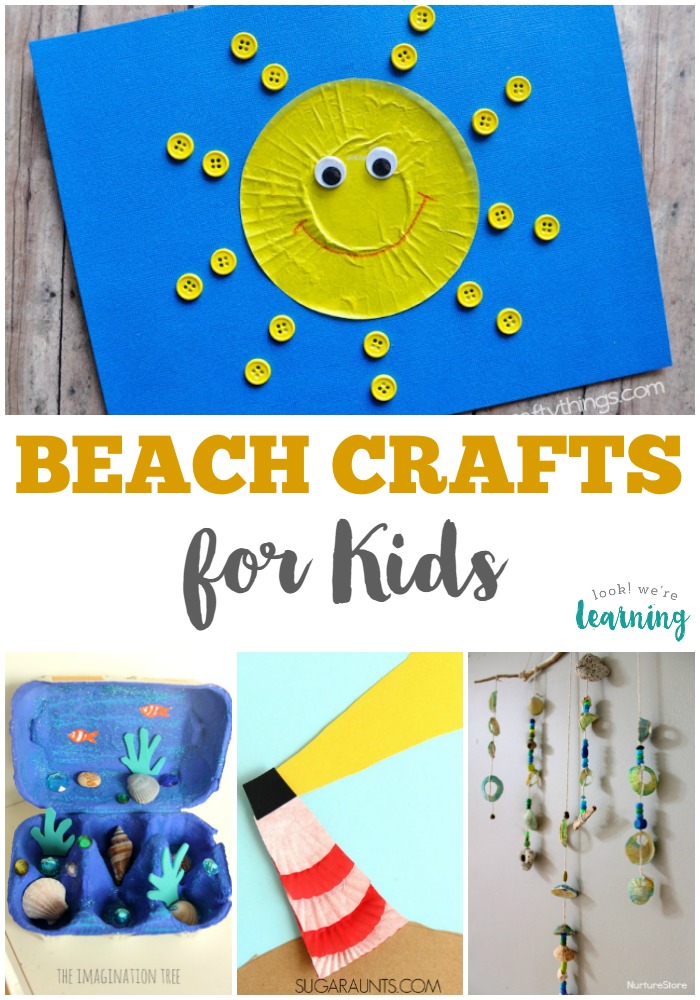
If you enjoy this craft, be sure to try our coffee filter sun craft as well!
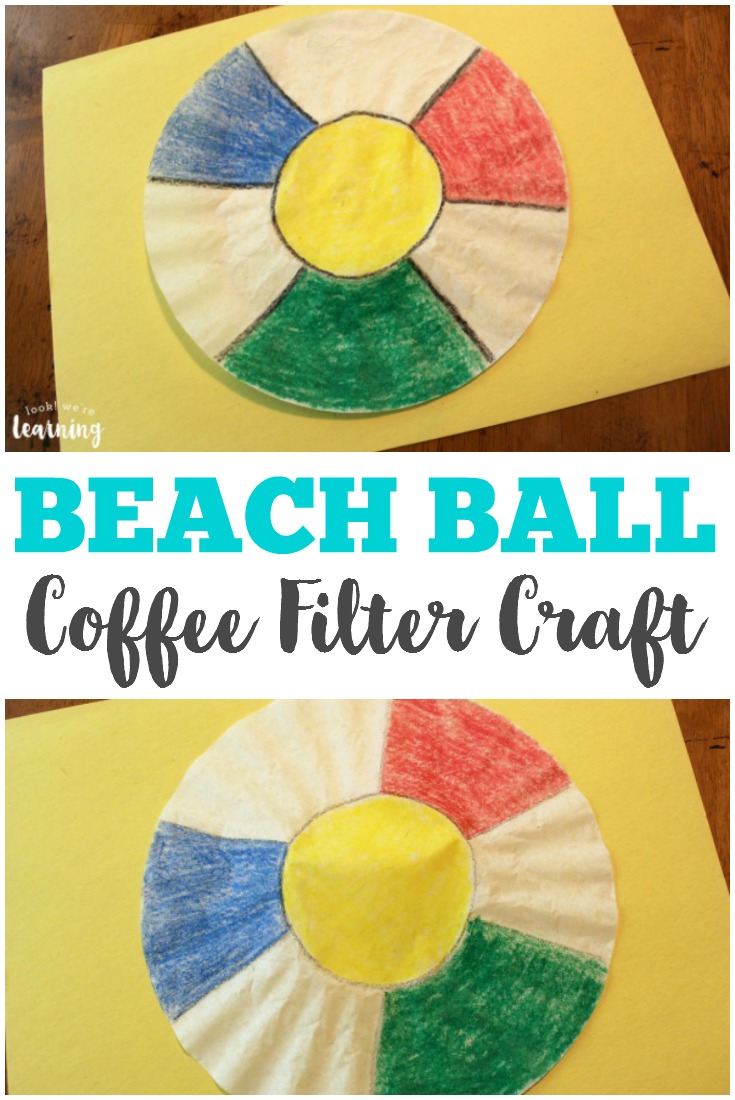
Coffee Filter Crafts for Kids: Coffee Filter Beach Ball Craft
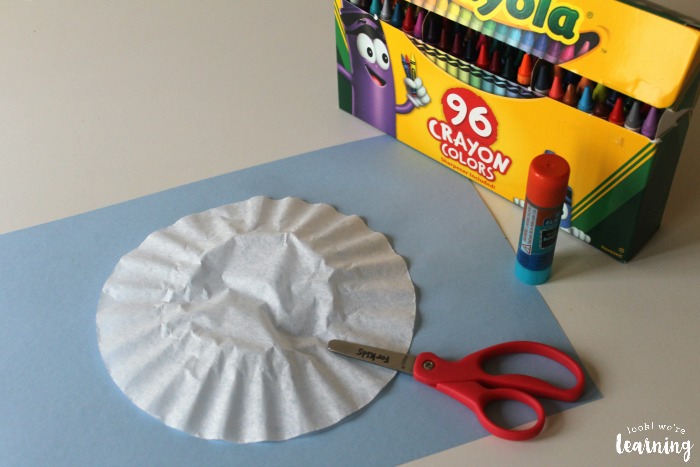
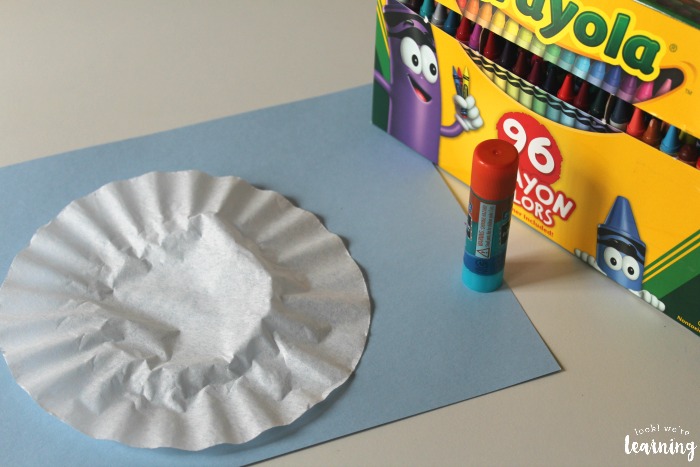
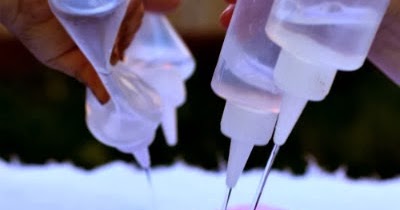
For this coffee filter beach ball craft, you’ll need the following: (Affiliate links are provided for convenience. For details, see our Disclosure Policy.)

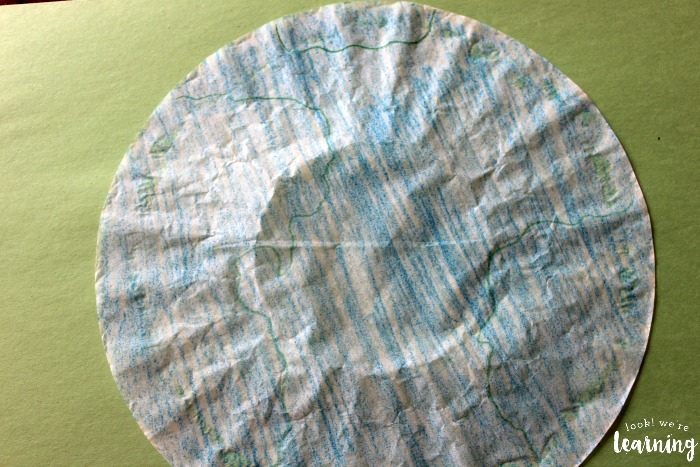
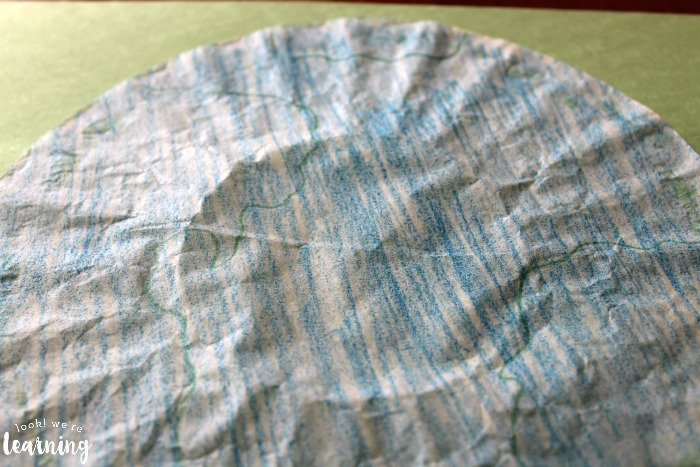
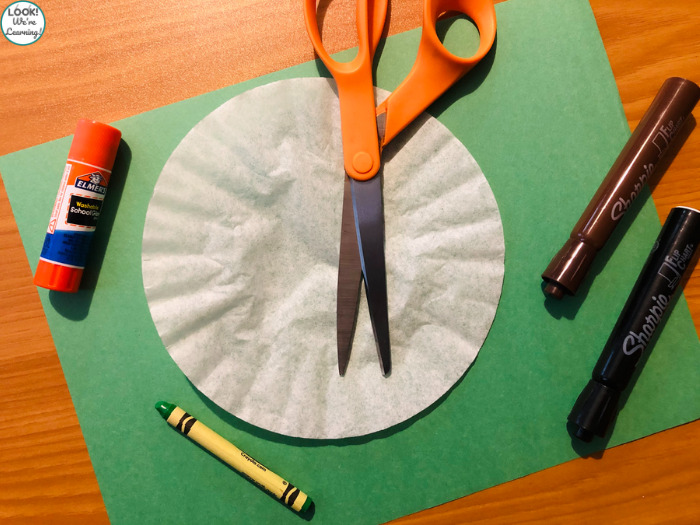
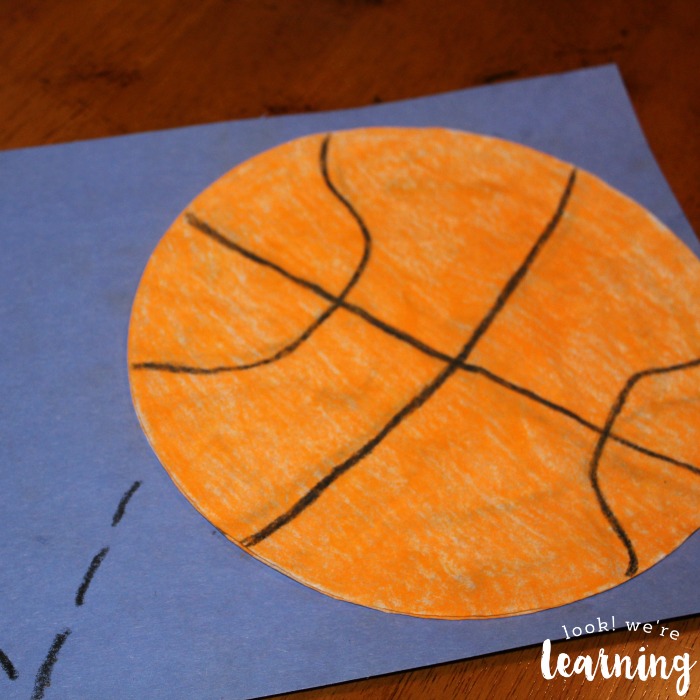
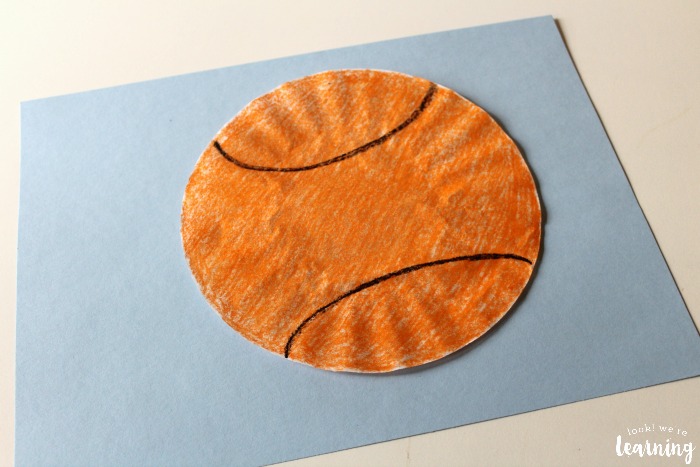
Start by using a black crayon to trace a circle around the center of the coffee filter. Then draw a horizontal line on either side of the circle.
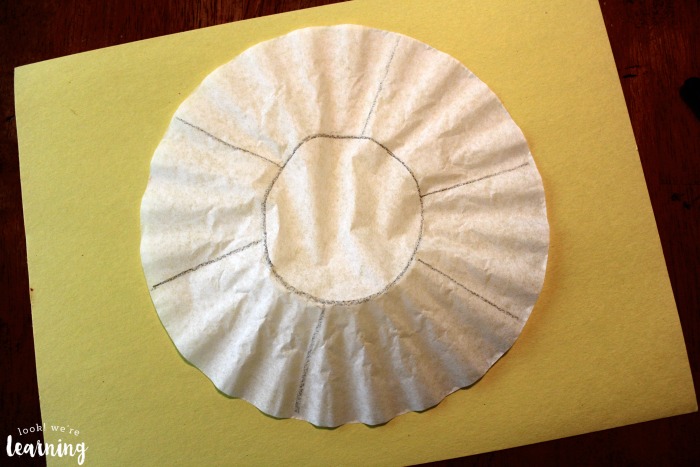
Draw two diagonal lines inside each “half” of the filter. You should end up with six (roughly) equal-sized sections.
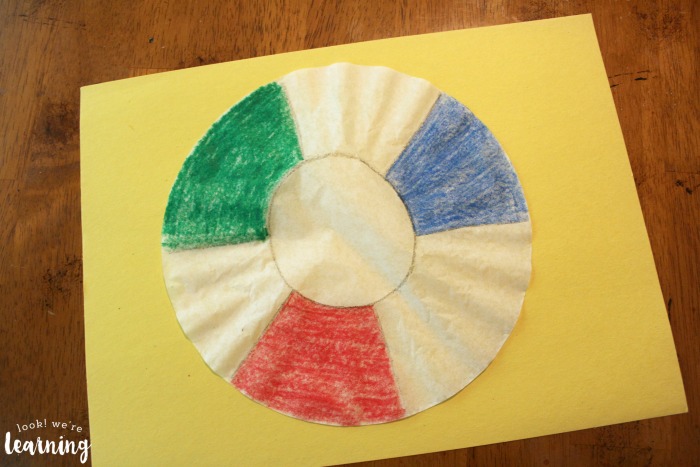
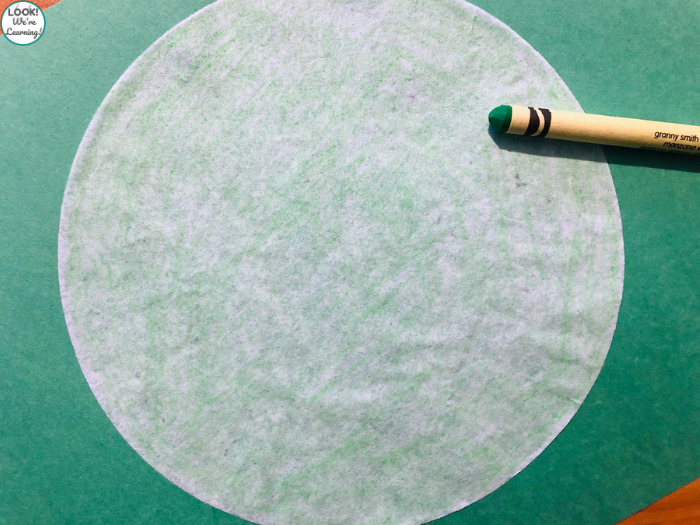
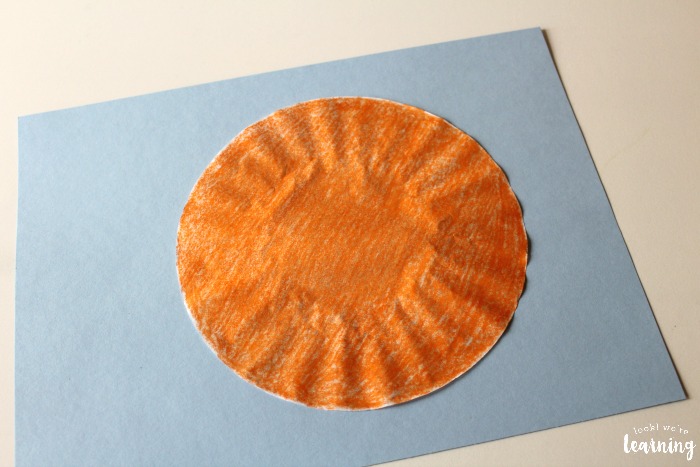
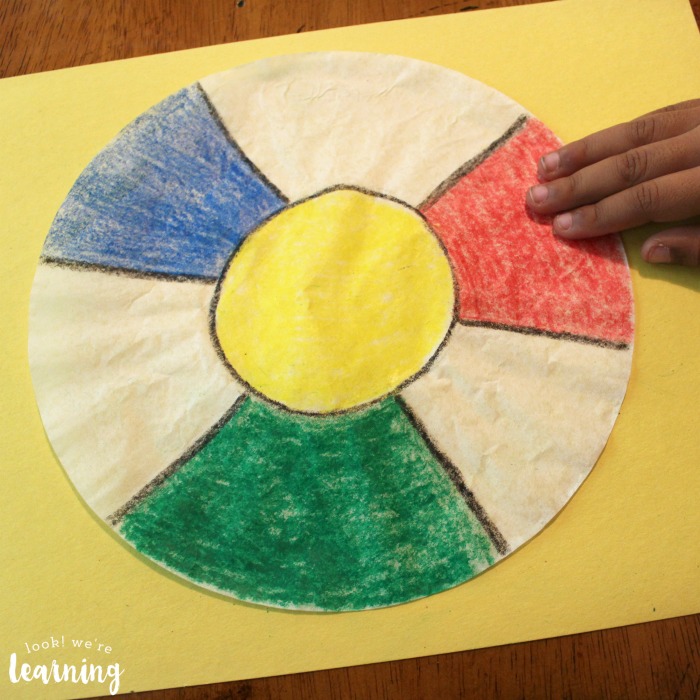
Then color every other section with a primary color. I went with green, blue, and red, leaving the other sections white. Glue the filter onto a piece of construction paper.
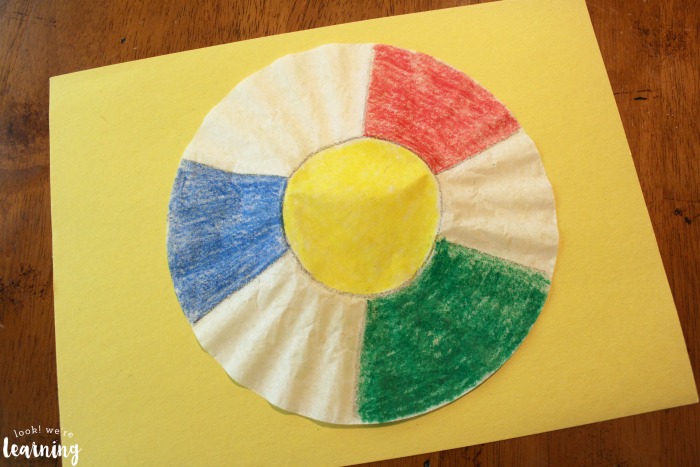
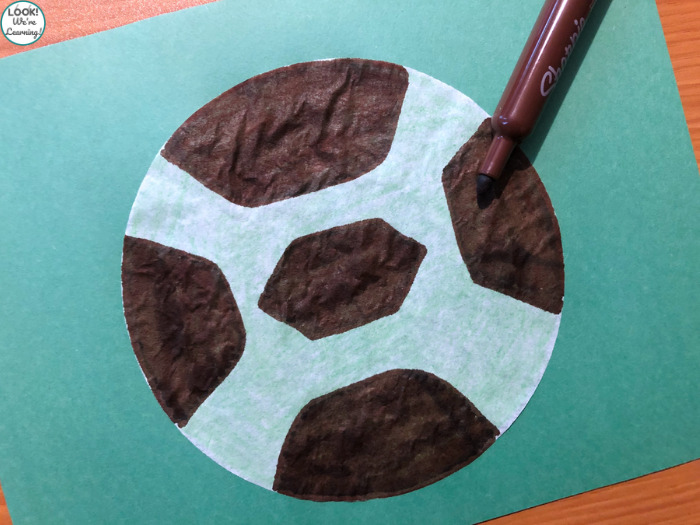
Now all you have left to do is color the center circle yellow…
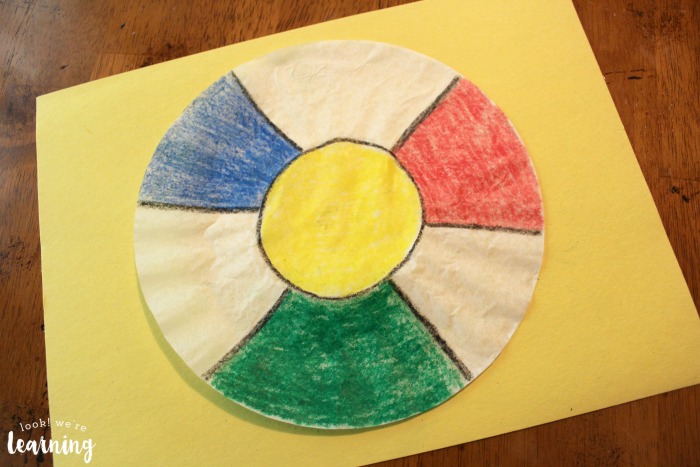
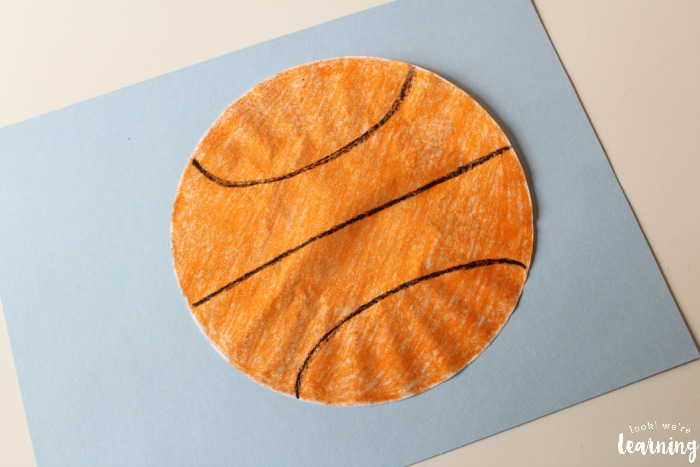
and trace over all of your section lines again with a black crayon. Done! Looks like it needs a little air, though. 🙂
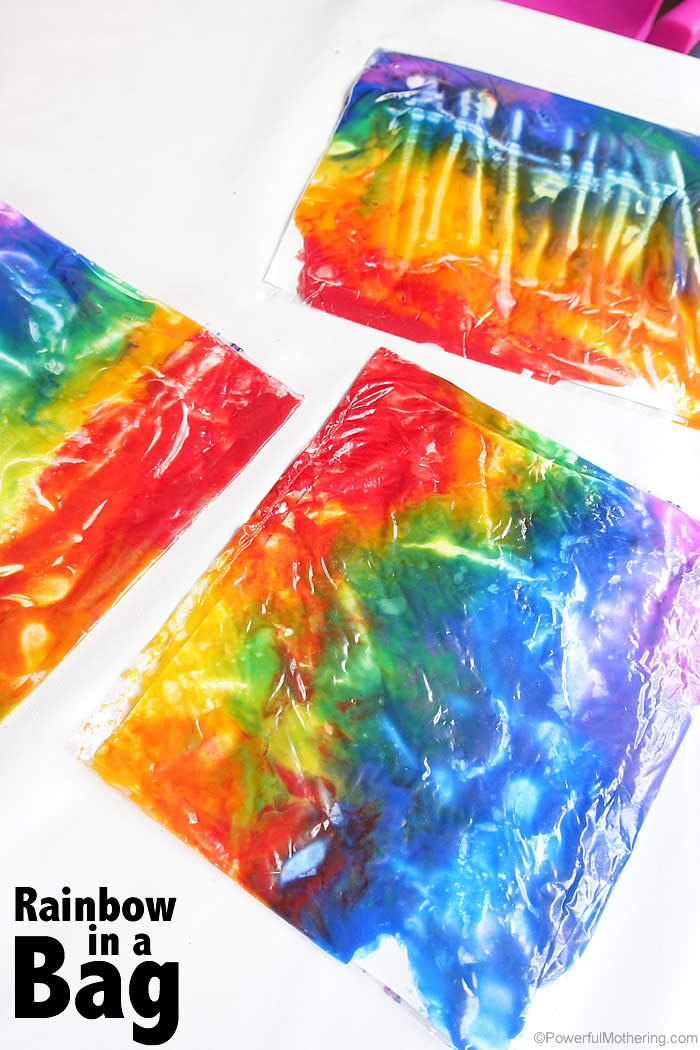
Check out some of our other easy peasy coffee filter crafts for kids to make!


And see more easy activities on my Simple Crafts for Kids Pinterest board!

This post is part of the Summer Unit Study roundup! Click on over to read even more summer learning ideas from my fellow bloggers!
Children’s Board Books about Summer from The Jenny Evolution
Summer Field Trip Guide from Bambini Travel
Summer Apps for Younger Kids from The Moments at Home
25 Summer Learning Activities from My Joy-Filled Life