We’ve been homeschooling for nine years now. (Wow. It’s been nine years.) And in that time, I’ve heard no end of variations on the “I Want to Homeschool, But…” theme.
“I want to homeschool, but I’m too broke.”
“I want to homeschool, but I need to work.”
“I want to homeschool, but I’m not a teacher.”
“I want to homeschool, but I can’t take being around my kids all day.” (My personal favorite!)
But the one I’ve heard the most is: “I want to homeschool, but I’m too busy!”
Lots of people automatically think they’re too busy to homeschool. So if you’ve thought the same thing, I’m here to tell you that you’re not alone! A lot of us (even veteran homeschoolers) have felt the same way!
If you think you can’t homeschool because you’re too busy, you might not be! Read on to find out just how flexible homeschooling can be, even for your full schedule.
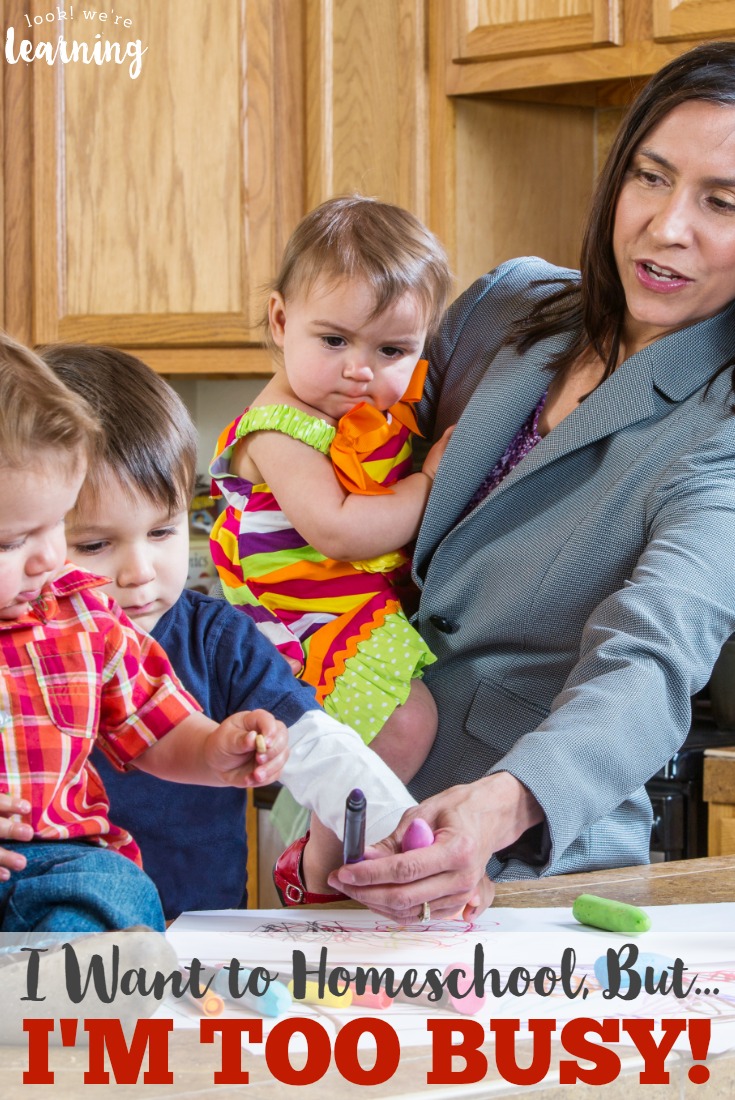
Image c/o: creatista / depositphotos
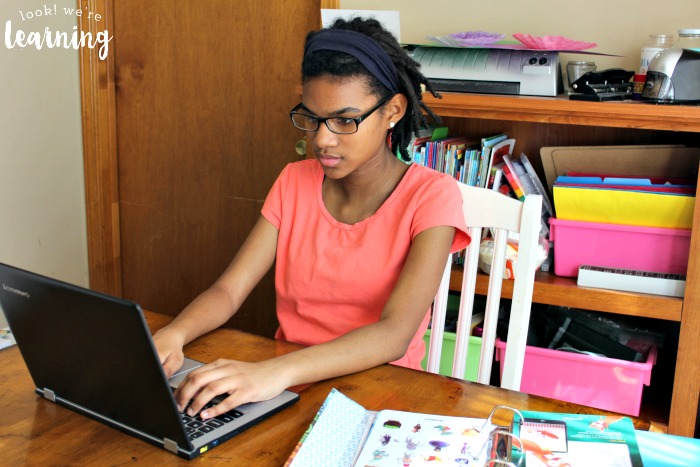
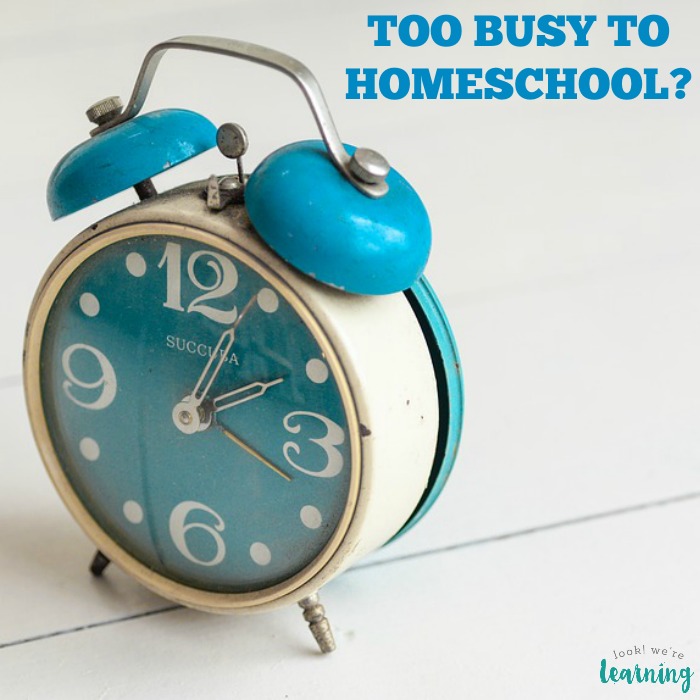
Are You Too Busy to Homeschool?
I’m not going to begin by telling you that you’re not busy. It’s 2017. We’re ALL busy. Even people who don’t look busy are busy. And if you have kids, you are busy. Busy taking care of them, managing your home, possibly working or caring for aging parents (or both), and trying to maintain some semblance of health. It’s a lot. I’m not going to lie.
So if you’re thinking that homeschooling is something to add on top of all of these things, it’s no wonder that you feel too busy to homeschool. I would too! After all, if you’re already juggling bowling balls, it’s going to be harder if someone throws another one at you, right?
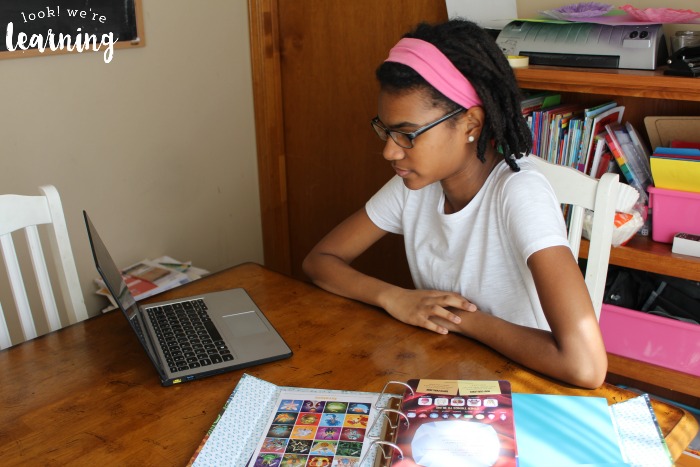
How to Make Homeschooling Fit Your Life
Here’s what I want to encourage you to do: change the way you think about homeschooling. It’s not actually a separate job to add onto your other responsibilities. Instead, it’s a continuous experience that can go on as you do other things.
“Homeschooling is not a separate task. It’s the constant in the background of whatever you do with your children.”
Look at like this: The device you’re using to read this post has several programs that automatically run in the background, no matter what app you use. So as you’re browsing the internet (and reading this post), your device is using a ton of other apps in the background.
These are not applications you have to stop and open up separately. In fact, if your device is running smoothly, you don’t even notice that they’re in operation. But they’re keeping up with every new program you open.
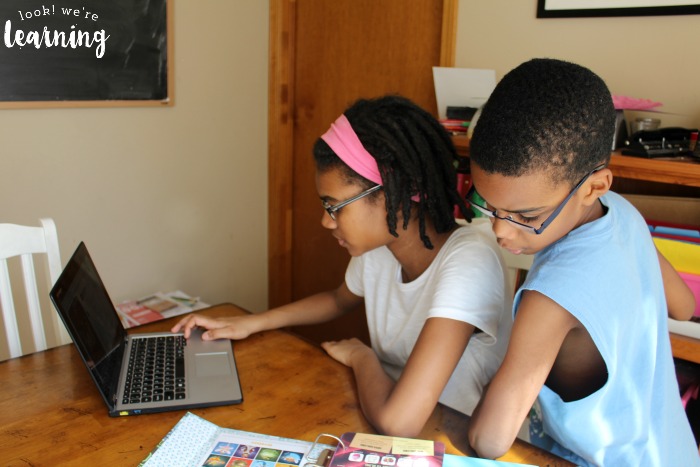
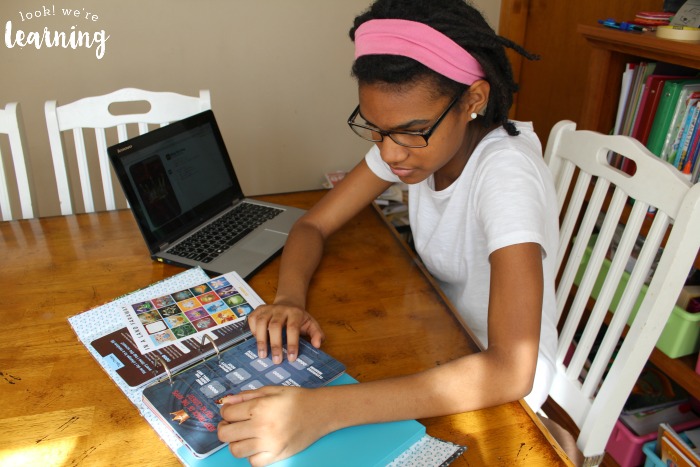
And that’s how homeschooling can be. When you think of it as an educational journey you travel with your children, it’s not a separate task that you have to begin and end at some other time in the day. It’s the constant in the background of whatever you do.
Naturally, you need practical homeschooling suggestions for putting together a schedule, choosing a curriculum, and teaching your kids, especially if you have more than one child. But please, please don’t dismiss homeschooling at the outset because you’re too busy. You CAN make it fit your life. You can.
Need more homeschooling support? Don’t miss these posts!

Plus, see more tips on my Homeschooling Pinterest board!