Look! We're Learning!

Early Learning. Happy Teaching.

  • Shop
  • Printables
  • Homeschool
  • Crafts
  • Parenting
  • Blog
Free Printable Flashcards: Days of the Week - Look! We're Learning!

Free Printable Flashcards Days of the Week

September 3, 2014 by Selena Robinson 1 Comment

We’re back with yet another set of free printable flashcards for kids! In this edition, we’re focusing on learning the days of the week.

Our boys are working on calendar skills this school year, so we’ve been memorizing the days of the week and the months of year (in order) to help them keep up with the date every morning. I hope that you find our set Free Printable Flashcards Days of the Week Cards to be useful for your young learners as well!
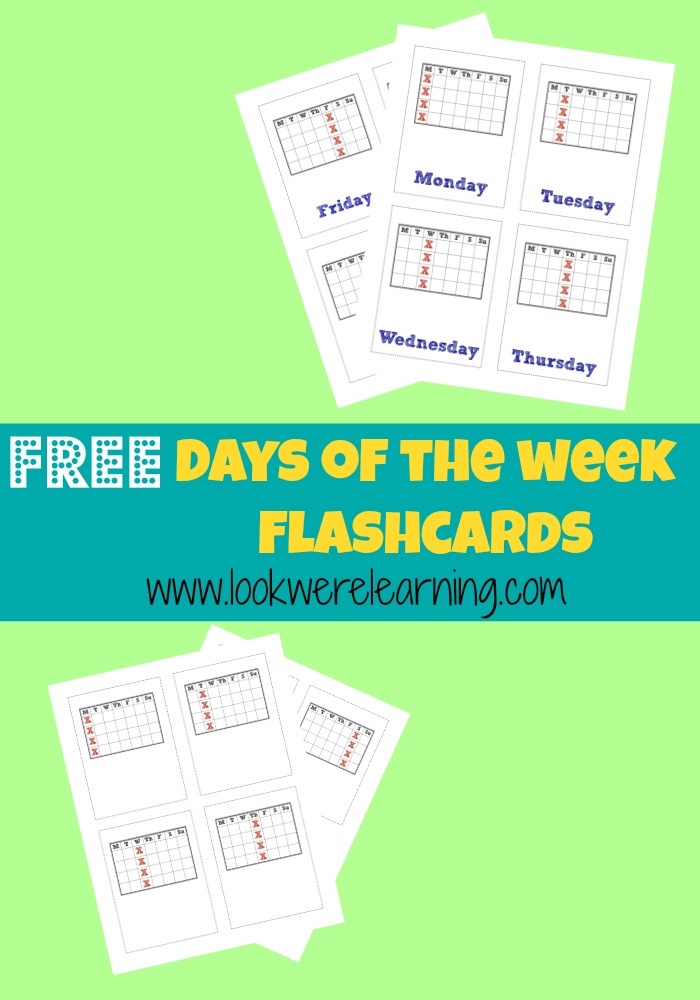
Free Printable Flashcards: Days of the Week - Look! We're Learning!

What’s Included in Free Printable Flashcards Days of the Week?

This pack includes flashcards for all seven days of the week, along with their corresponding place in the calendar. The first set features both the name of each day and the calendar image, while the second set features the calendar image only.

Make a game out of the lesson by printing two copies and playing a game of “Go Fish”! If you’d like to add an art activity, print the cards in black and white and let the kids color them.

Scroll down to get your Days of the Week Flashcards!

Resources for Teaching Children the Days of the Week

Want to include even more resources in your calendar unit? Try these books and activities for teaching the days of the week to preschoolers! (Affiliate links are provided here for convenience. For details, see our Disclosure Policy.)

Books about the Days of the Week:

  1. Today is Monday – Eric Carle
  2. Someday is Not a Day of the Week – Denise Brennan-Nelson
  3. Monday is One Day – Arthur Levine
  4. Cookie’s Week – Cindy Ward

Days of the Week Activities:

  1. Days of the Week Busy Bag – B-Inspired Mama
  2. Days of the Week Song for Kids – Motherhood on a Dime
  3. Days of the Week Memory Chant – Let’s Play Music
  4. Days of the Week Mural – Kids Activities Blog

More Free Printable Flashcards:

  1. Leaf Identification Flashcards
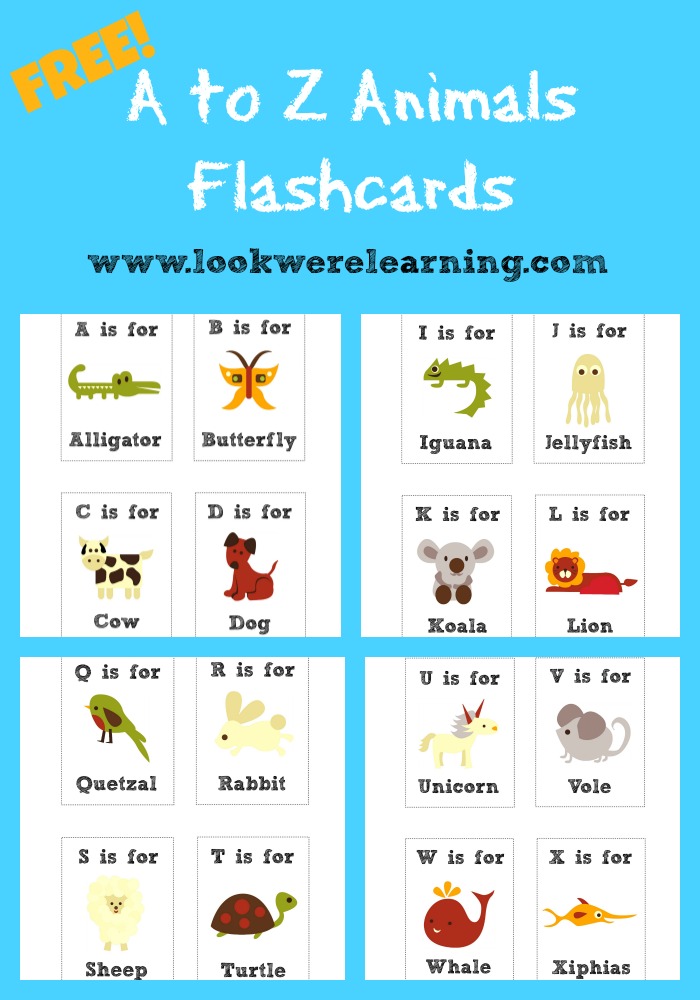
  2. Alphabet Animal Flashcards
  3. Shape Flashcards
  4. Spanish Opposites Flashcards

To download your copy of our Free Printable Flashcards: Days of the Week, click the image or the link below to download them!

Learning Printables from Look! We're Learning!

>>>Free Days of the Week Flashcards<<<
5 Homeschool Preschool Curriculum Tips - Look! We're Learning!

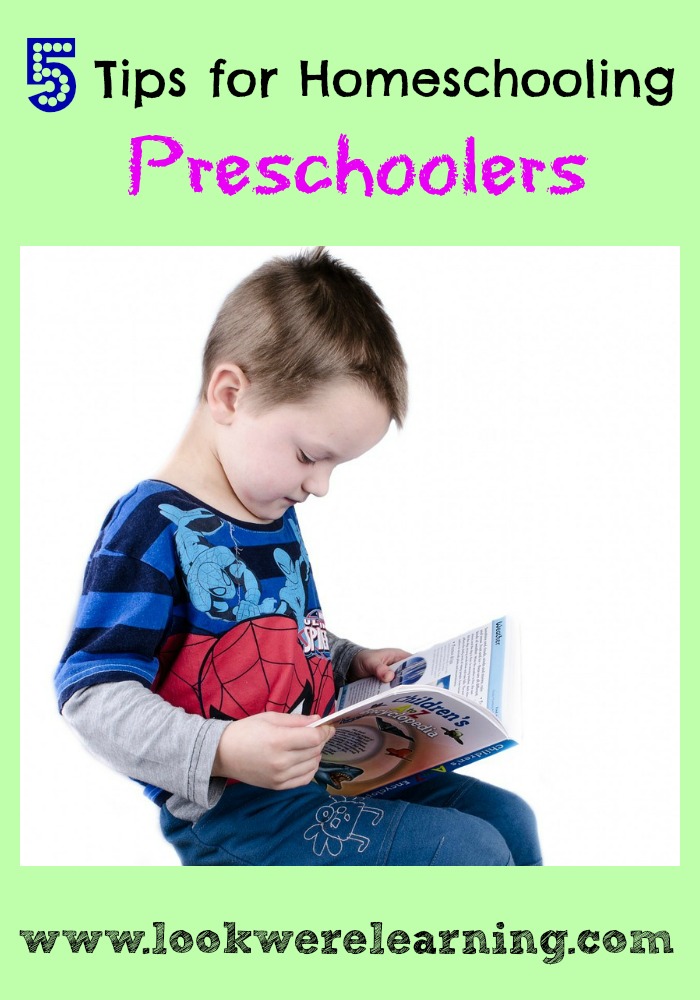
5 Homeschool Preschool Curriculum Tips

August 19, 2014 by Selena Robinson 3 Comments

We’ve already been through preschool with three of our kids, but we still have one more to go. 🙂 As a result, I’m always on the lookout for tips for using homeschool preschool curriculum in our family. Even after six years of homeschooling, I still manage to find great suggestions for teaching homeschool preschool in the home.

Keep Reading…

Free Printable Flashcards: Colors - Look! We're Learning!

Free Printable Flashcards: Colors

August 15, 2014 by Selena Robinson 4 Comments

We’re back with another set of free printable flashcards!

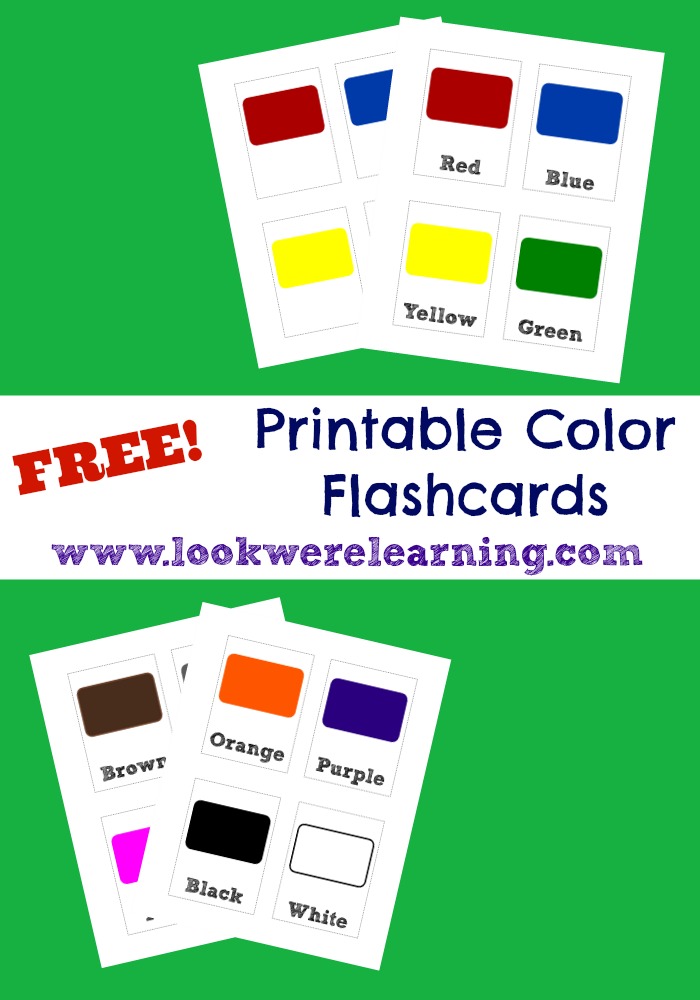
Last week, we featured free shape flashcards and this week we’re on to colors with a set of free printable color flashcards!

These flashcards are a bit smaller than traditional cards, which makes them perfect for toddlers and preschoolers.

If you enjoy using these, don’t forget to check out our other preschool flashcards, including our Sign Language Alphabet cards and our Snowflake Counting Flashcards!

And if you’re introducing your kids to Spanish, our Spanish Color Flashcards are perfecto!

Free Printable Flashcards: Colors - Look! We're Learning!

What’s In the Free Printable Flashcards: Colors Pack?

To use these flashcards, you’ll need the following: (This post contains affiliate links. For details, see our Disclosure Policy.)

  • Printer (with ink)
  • Printer paper
  • Scissors
  • Laminator (for sturdiness)

In the pack, you’ll find printable colors flashcards for the following colors:

  • Red
  • Blue
  • Yellow
  • Green
  • Purple
  • Orange
  • Black
  • White
  • Pink
  • Brown
  • Beige
  • and Gray

The first set includes both color swatches and words, so you can use them to teach the colors.

The second set only features the color swatches, which makes them a good tool for a miniature pop quiz!

If your kids are anything like mine, your flashcards can start to look at bit “weathered” after a few lessons, so you might want to laminate them to make them more durable.

Printable Color Flashcards - Look! We're Learning!

Scroll down to get your free printable color flashcards!

More Resources for Learning Colors

If you’d like even more resources for teaching colors to your toddler or preschooler, check out these great suggestions!

Color Activities for Toddlers and Preschoolers

  1. Shapes, Counting, and Colors Busy Bag – Powerful Mothering
  2. Primary Colors for Toddler Painting – Artsy Momma
  3. Color Mixing Water Station – P is for Preschooler
  4. Color Dot Marker Words – 3 Dinosaurs

Books for Teaching Colors

  1. My First Colors: Let’s Learn Them All!
  2. Flaptastic: Colors
  3. Pantone: Colors
  4. The Day the Crayons Quit: Drew Daywalt

Grab more awesome flashcards for little learners below!

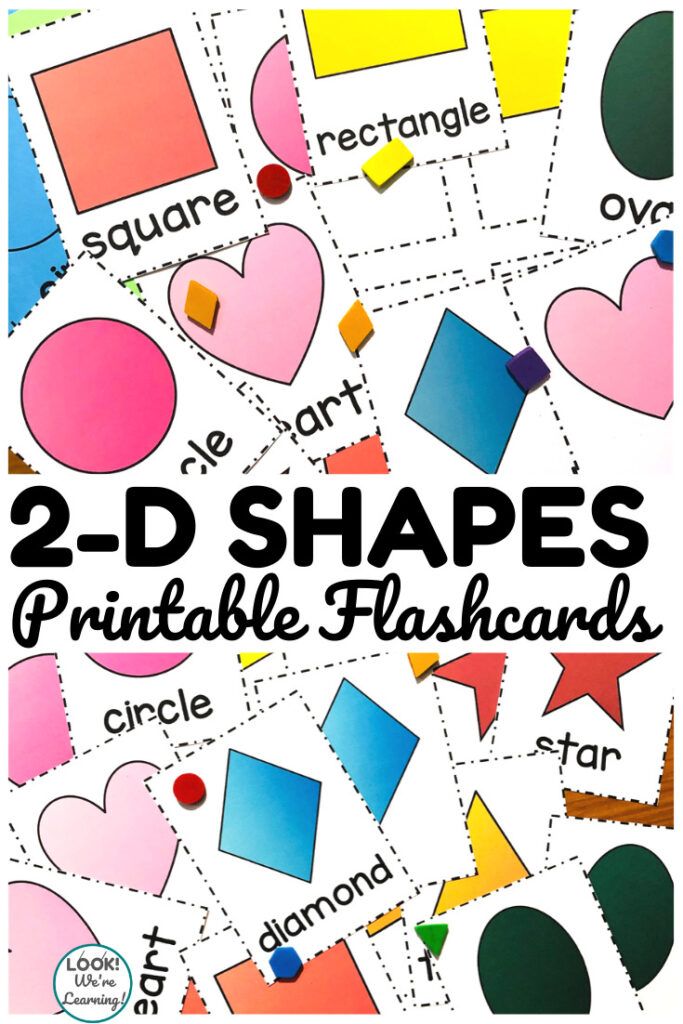
Help early learners practice recognizing shapes with these printable shape identification flashcards!
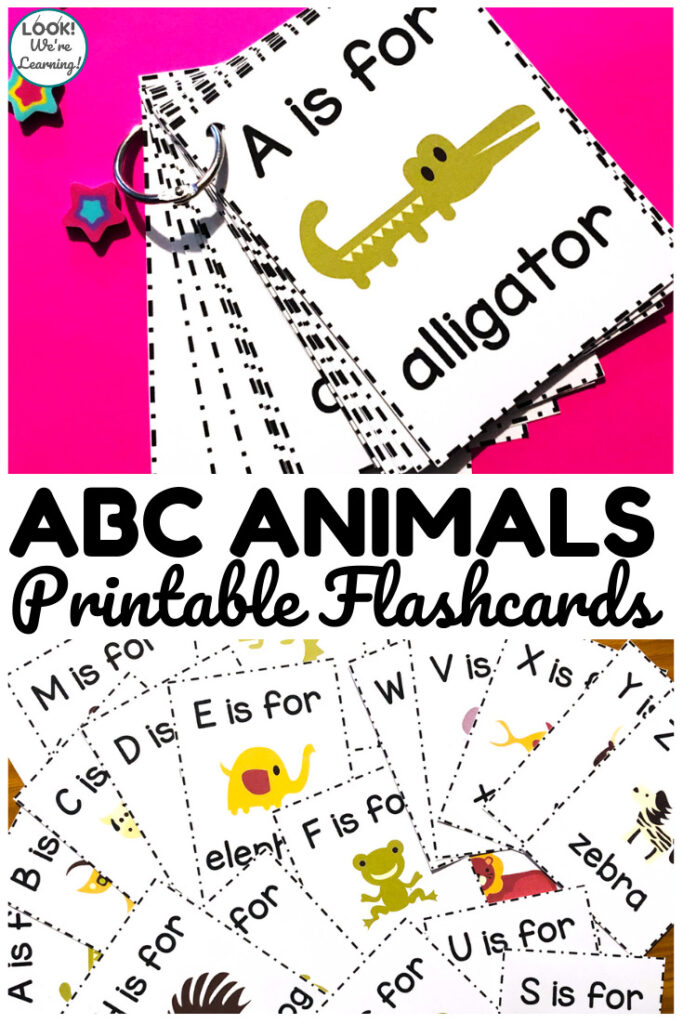
Help early learners to recognize letters and letter sounds with these Alphabet Animal Flashcards!
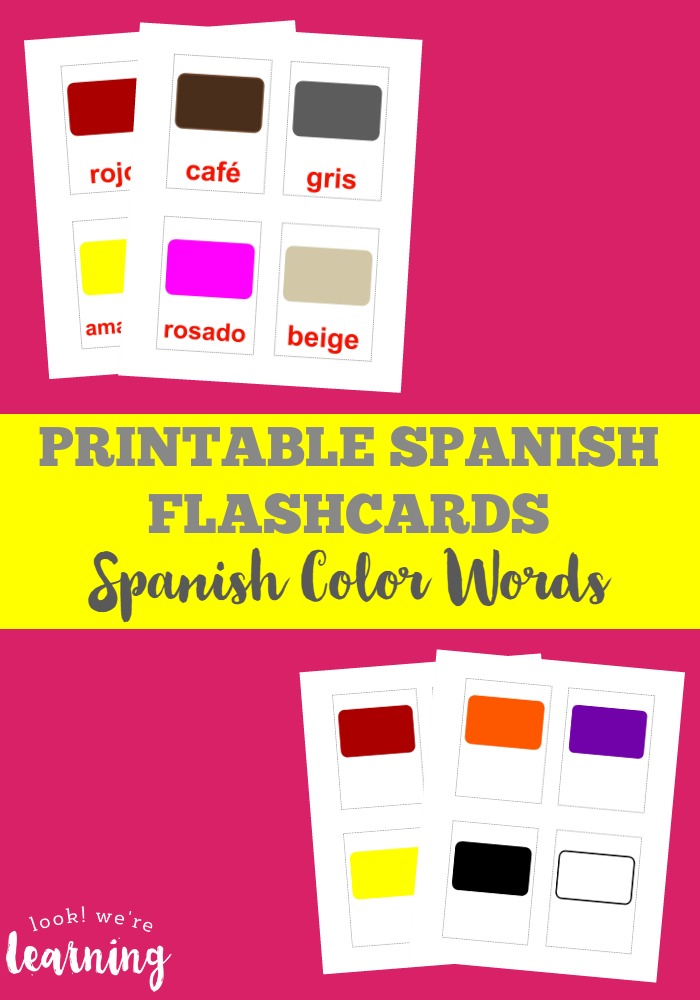
Use printable Spanish flashcards such as these printable Spanish color flashcards to learn basic words and phrases in espanol!

To get your set of printable color flashcards, click the image or the link below to have them sent directly to your inbox!

You’ll also get our weekly newsletter – coming this Sunday!

Click here to get your printable resource

>>> Printable Color Flashcards for Kids <<<

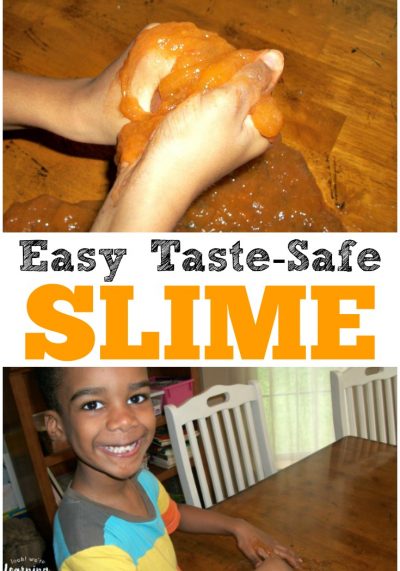
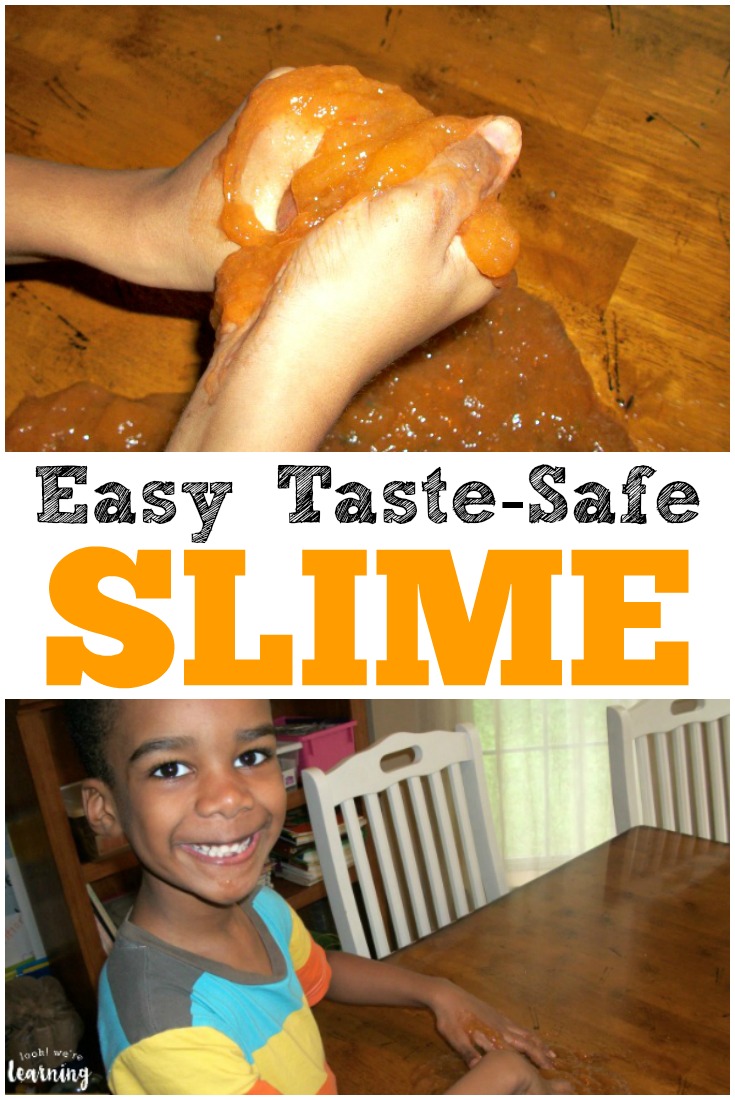
Whip up this simple taste safe slime recipe to give the kids some tasty sensory fun!

Easy DIY Taste Safe Slime Recipe

August 12, 2014 by Selena Robinson 4 Comments

Slime is all the rage for kids these days. But when you’re trying to arrange for sensory play with young kids, it’s nearly always best to have a recipe that won’t hurt them if they try to eat it.

Because, as we all know, kids love to taste playdough, floam, flubber, and nearly anything else they can find. (Spoiler: Playdough does NOT taste good. Trust me on that.)

Playing with Taste Safe Slime

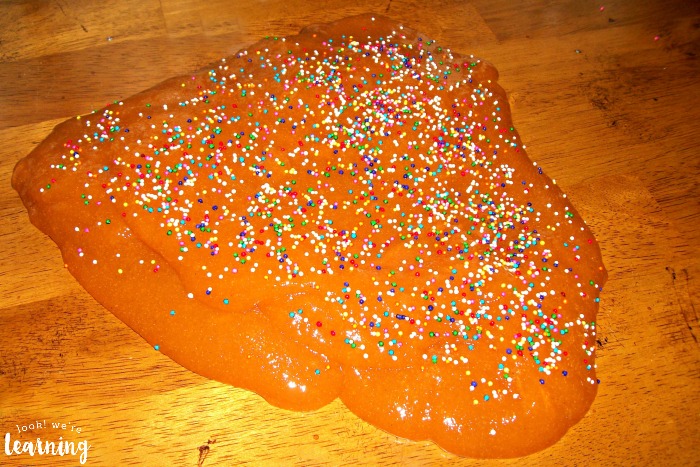
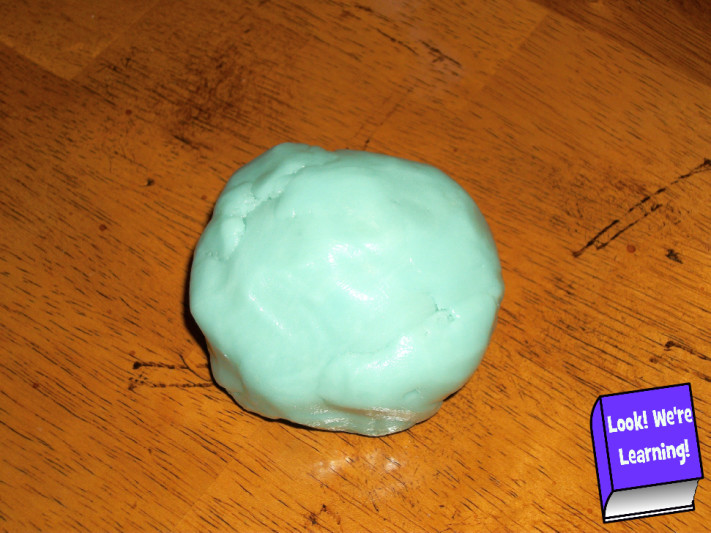
So we decided to try an easy DIY taste safe slime recipe that only requires two ingredients and it was a blast! Read on to see how we made this simple orange slime!

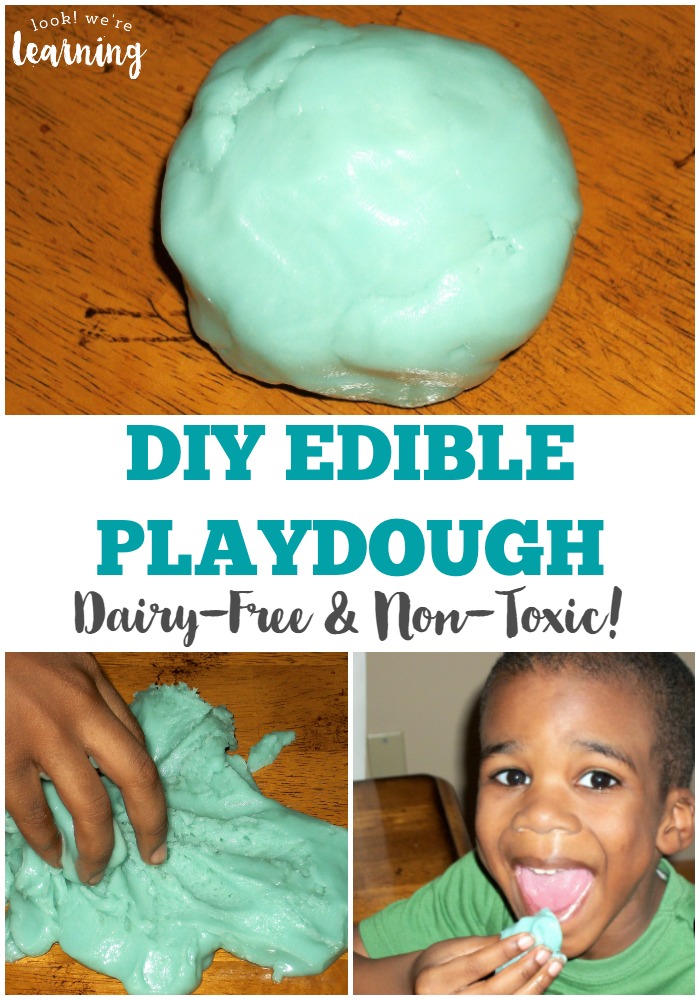
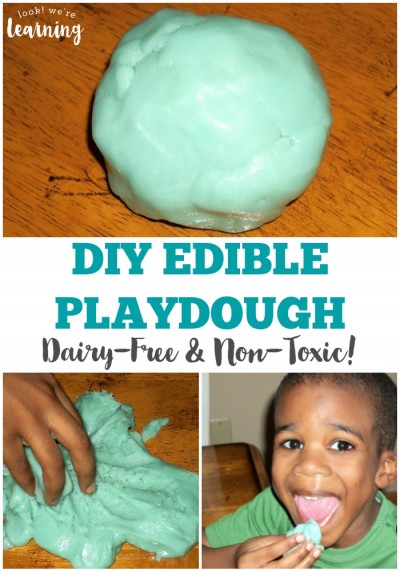
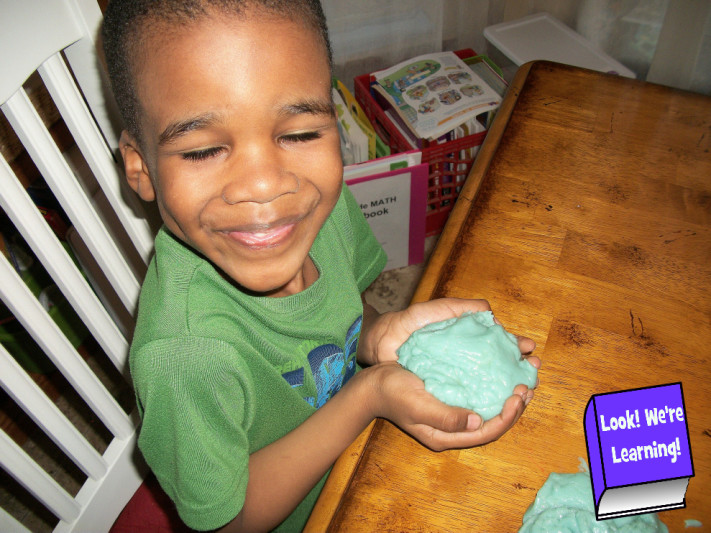
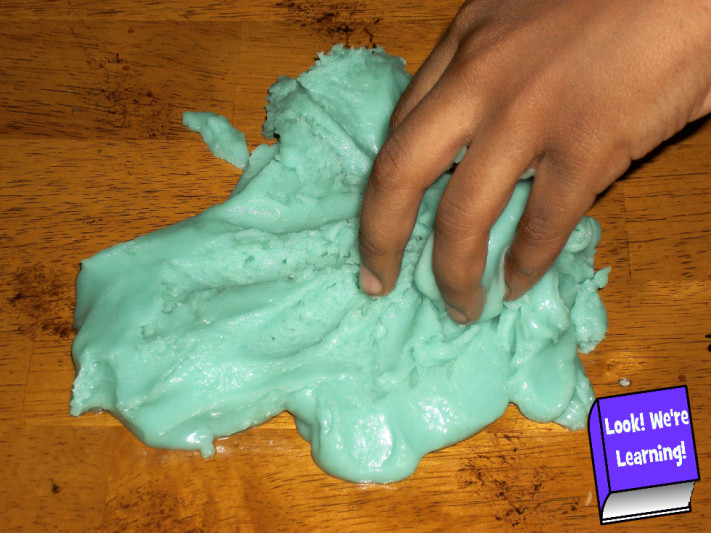
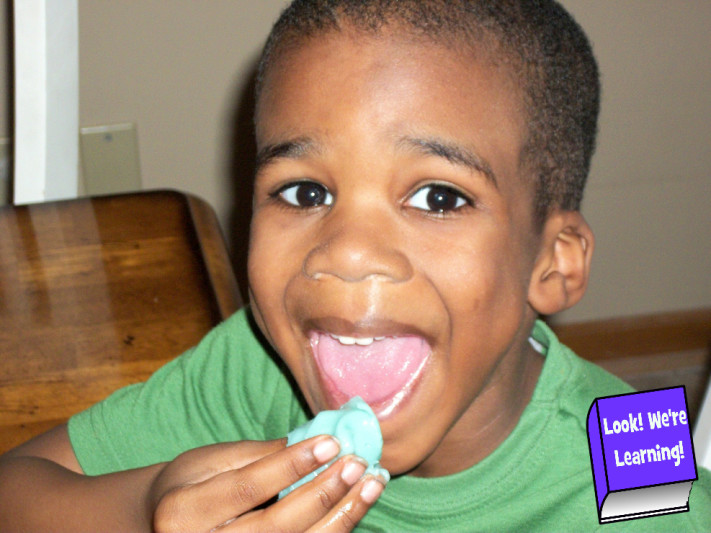
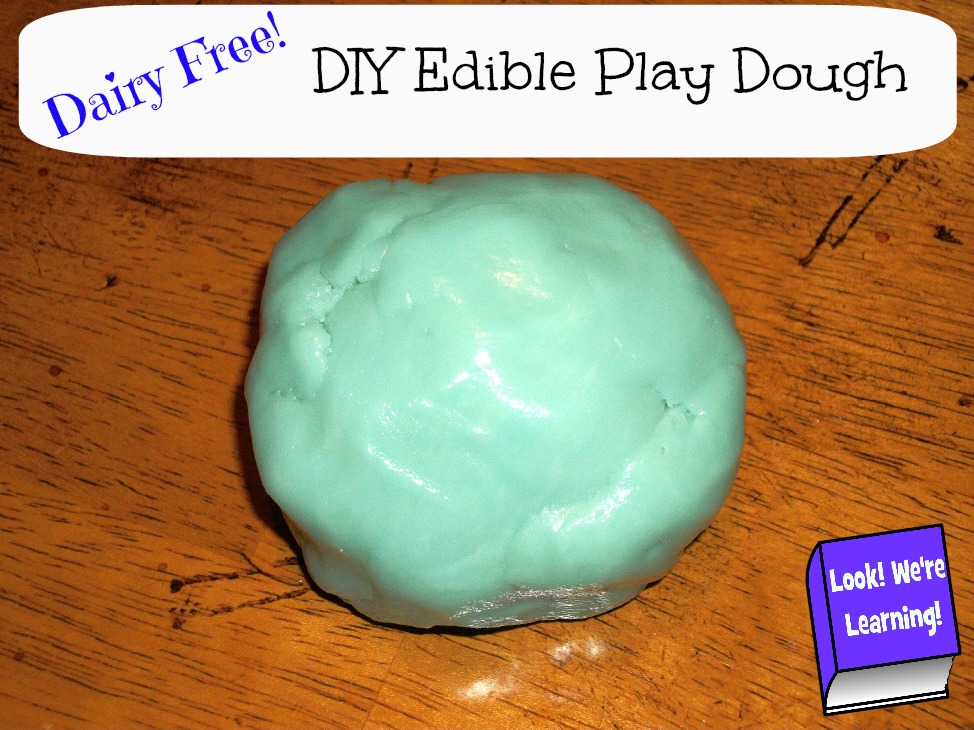
By the way, if your kids also want to…ahem..taste playdough, they can totally eat our bright blue edible playdough! Plus, it’s dairy free! Give it a try soon!

Whip up this simple taste safe slime recipe to give the kids some tasty sensory fun!

Easy DIY Taste Safe Slime Recipe

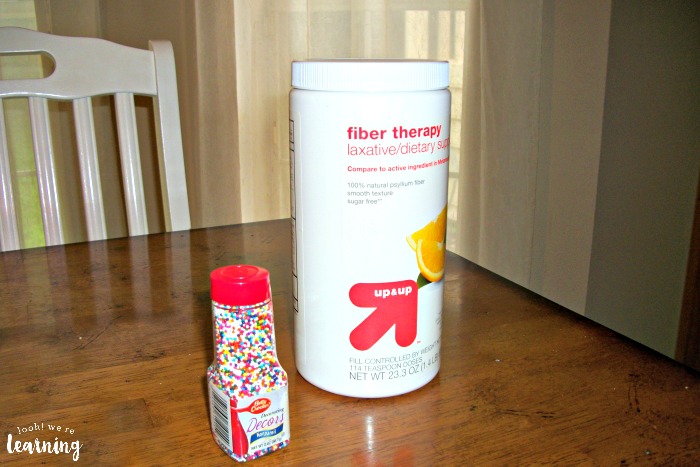
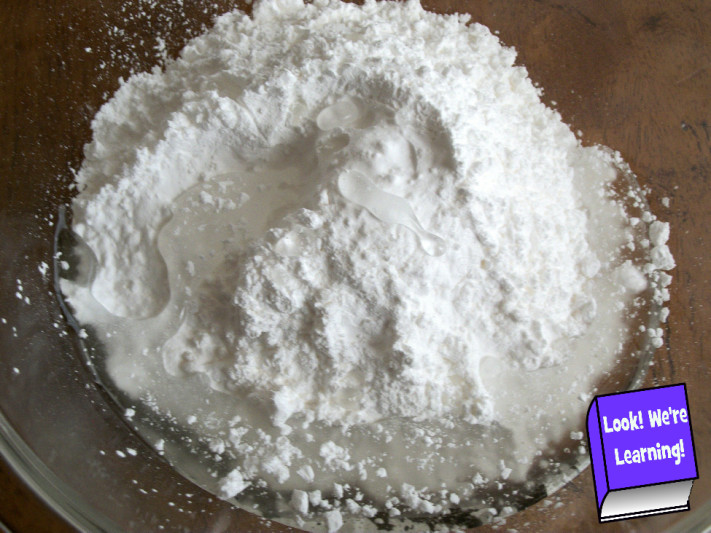
To make this slime, we decided to use a taste safe slime recipe from Blog Me Mom. For this, you only need psyllium fiber powder (like Metamucil) and water. That’s it.

We added the nonpareil sprinkles just to see if the different colors would change the slime a bit. If you use a clear psyllium fiber powder, you may want to add some food coloring. But we used the orange flavor, so we already had a color.

Taste Safe Slime Recipe Ingredients

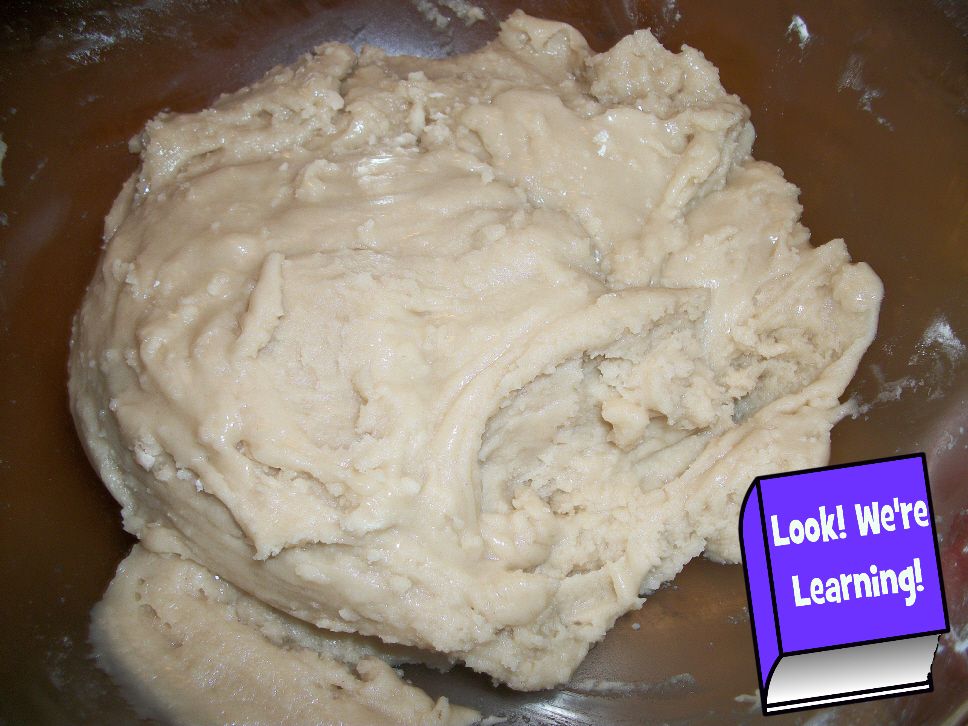
After you mix the psyllium fiber powder and water together in the right quantities (check the Blog Me Mom recipe for exact amounts), you boil it for five minutes while stirring.

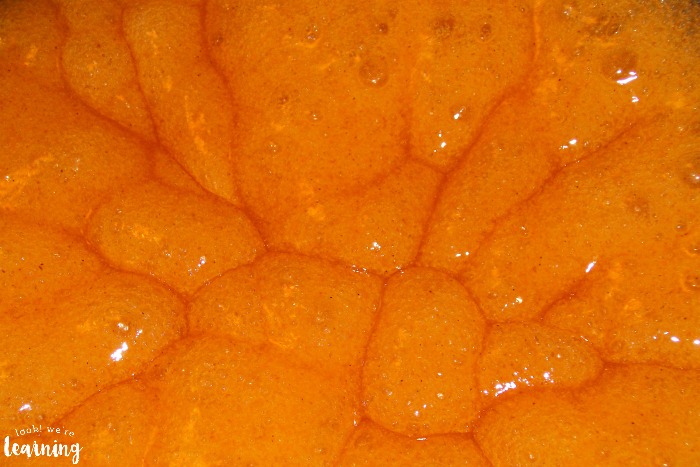
Making Taste Safe Slime

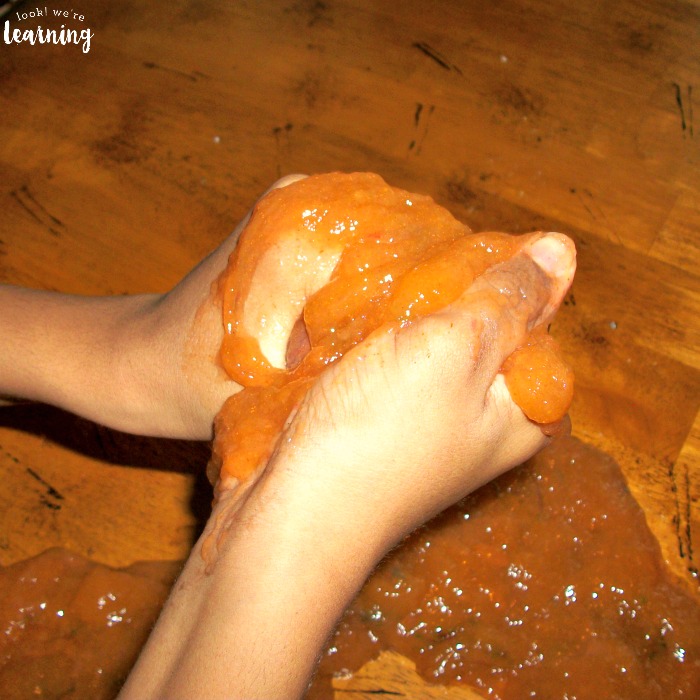
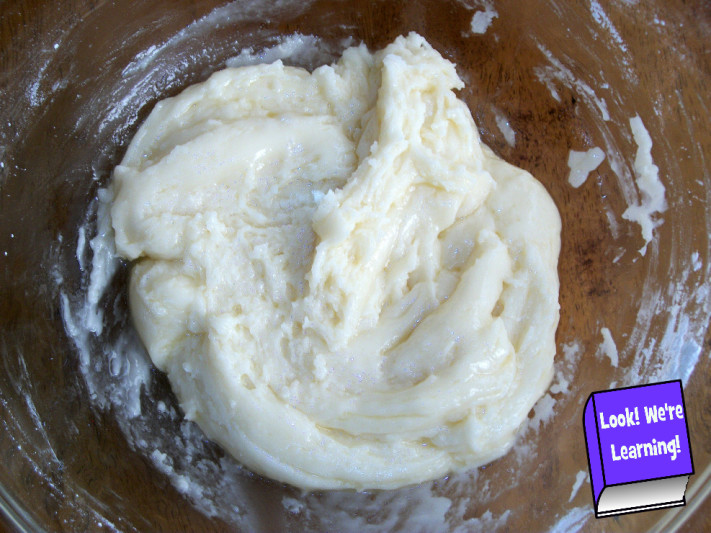
When it starts looking like this, you’re getting close.

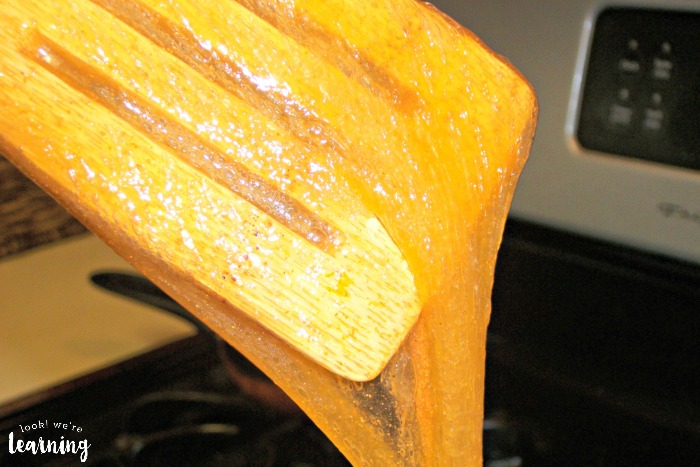
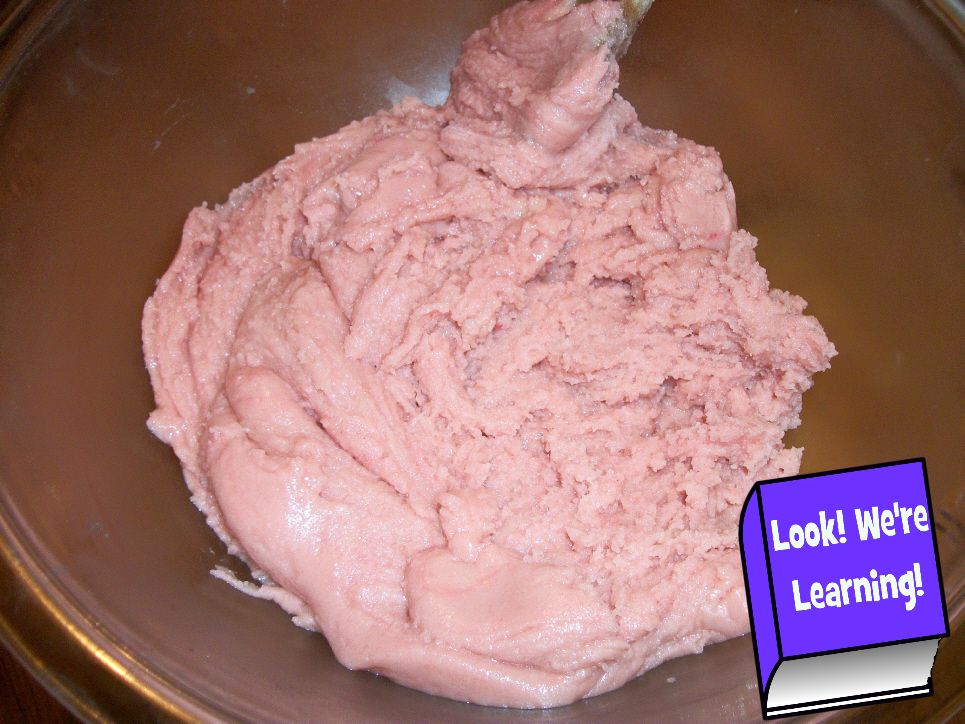
Taste Safe Slime Recipe Process

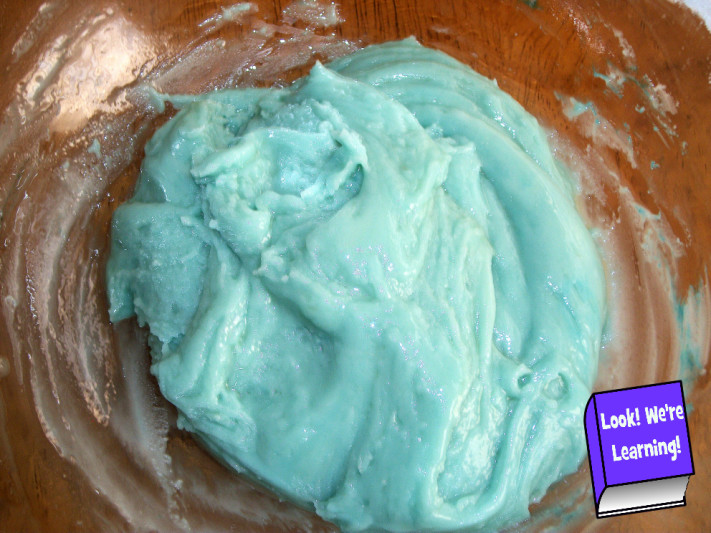
When it starts stretching like this as you stir, you’re there!

Adding Sprinkles to Taste Safe Slime

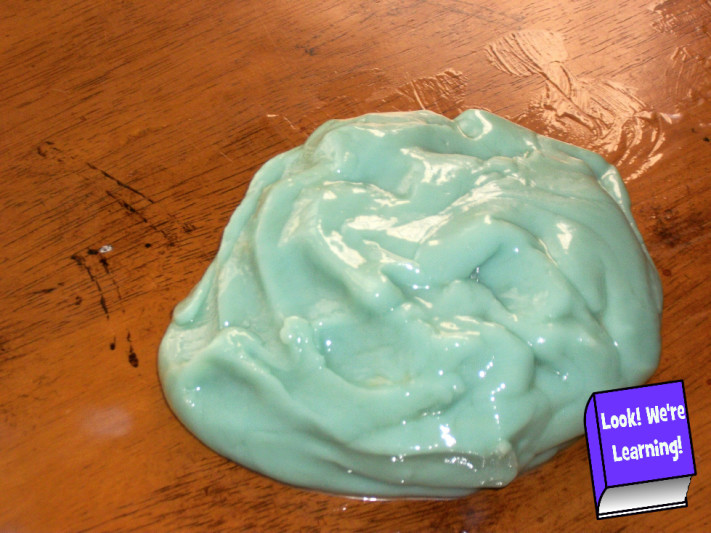
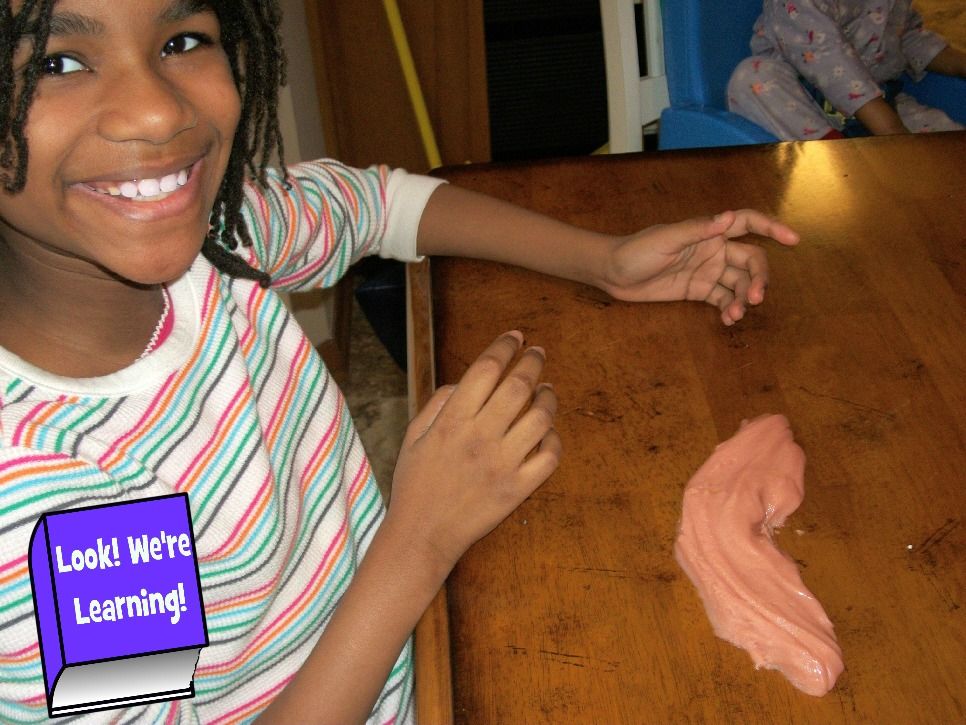
After the slime cooled down, I plunked it on the table.

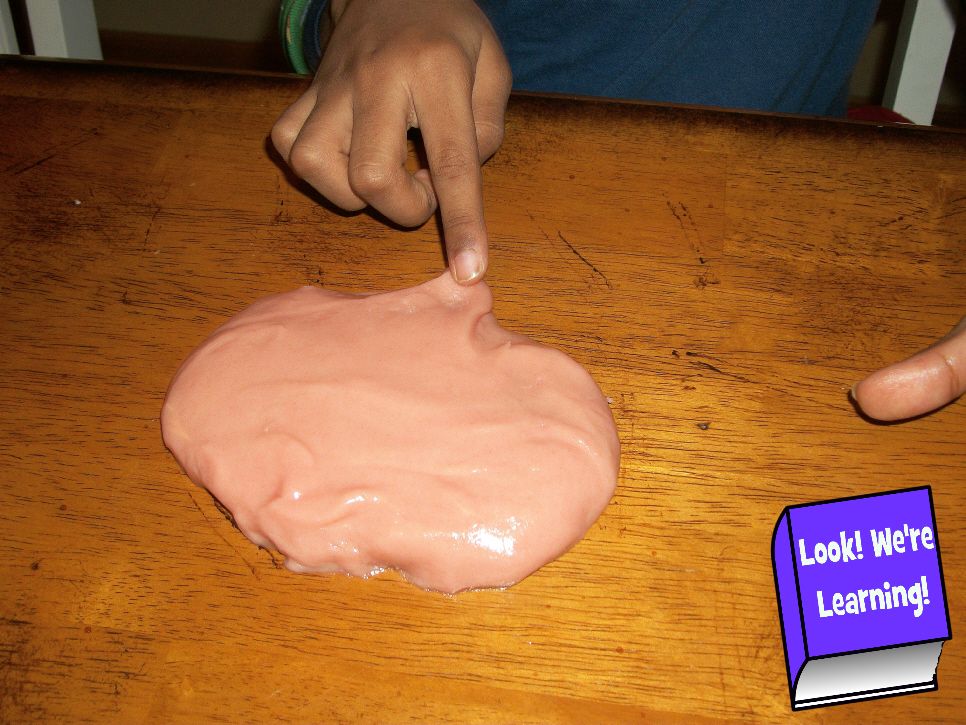
Note: It took a good 20 minutes for this mixture to cool down so that the kids could touch it safely. I ended up spreading it on a cookie sheet to get it to room temperature faster. We sprinkled the nonpareils over the top and mixed them in. The sprinkles turned the bright orange slime a burnt green-orange color. Definitely a good “ewww” color for slime.

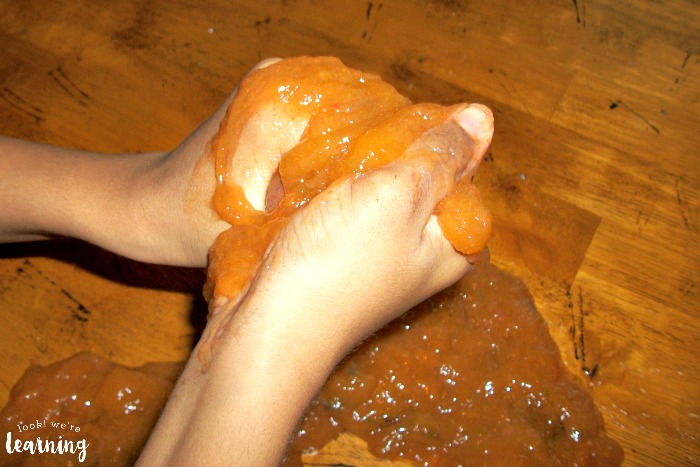
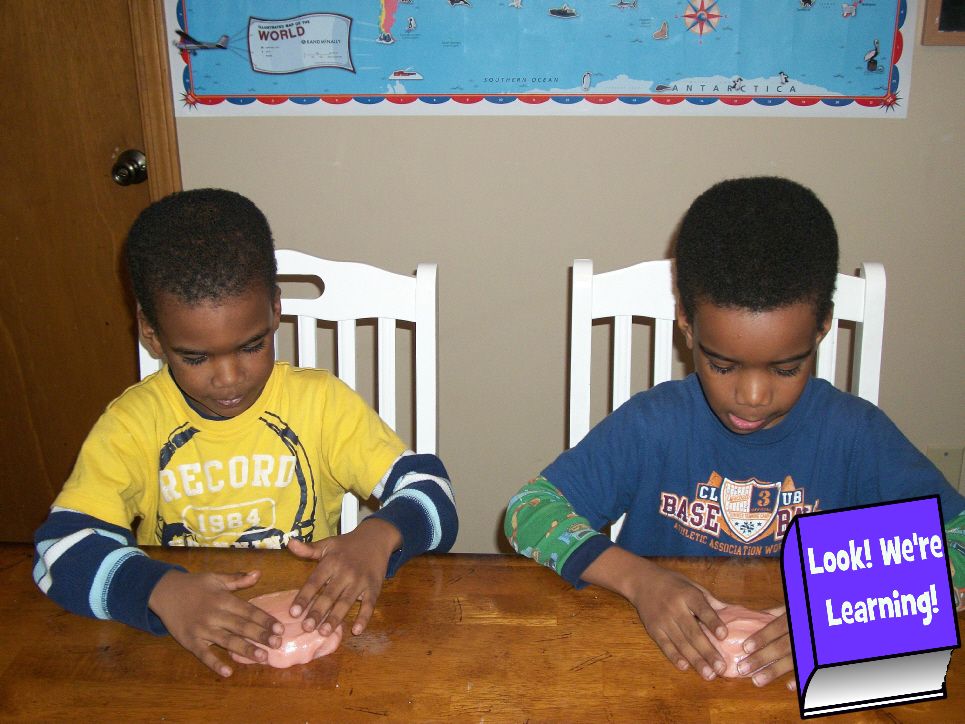
Then it was time to explore!

DIY Taste Safe Slime Recipe

The kids were hesitant to touch it at first, but once they found out they could taste it, they were definitely interested.

Trying Taste Safe Slime

Interestingly, Pooh (who usually isn’t interested in sensory play at all), loved the slime! He played with it for about 15 minutes straight, which is a record for him. Naturally, he had to taste it. On the other hand, Tigger (who is the biggest sensory seeker in the house), hated it. Go figure.

This was such a good activity! It took about 30 minutes from start to finish and it was a cinch to clean up. Always a win!

Want to try more sensory activities?

This edible play dough dairy free recipe is perfect for kids who love sensory play but avoid eating dairy! It's super sweet and soft for play!

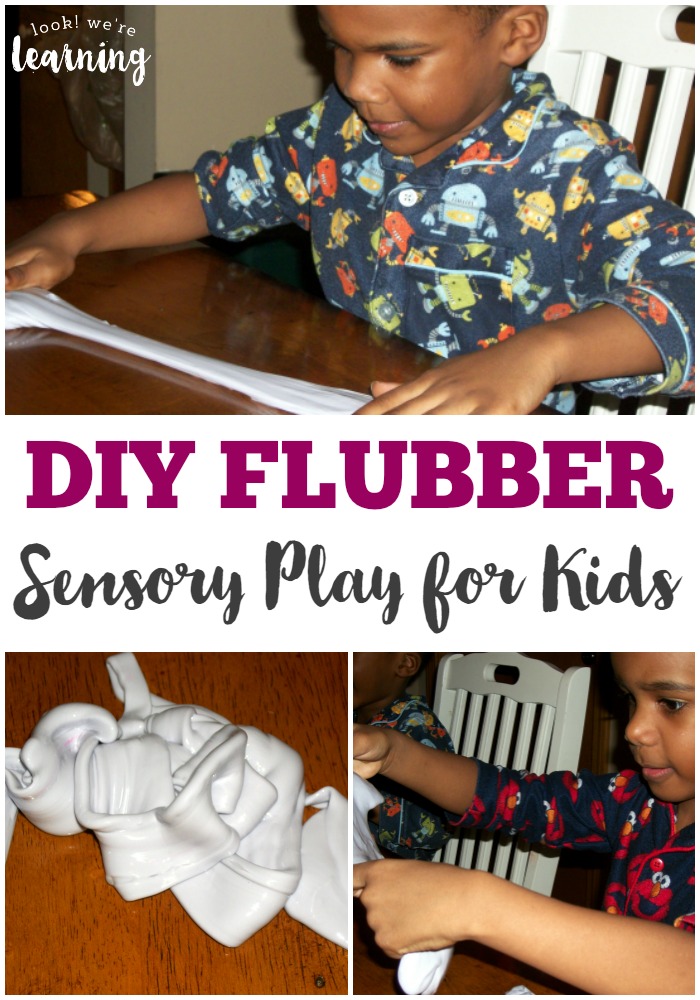
This DIY flubber is a simple, low-prep sensory activity for kids!

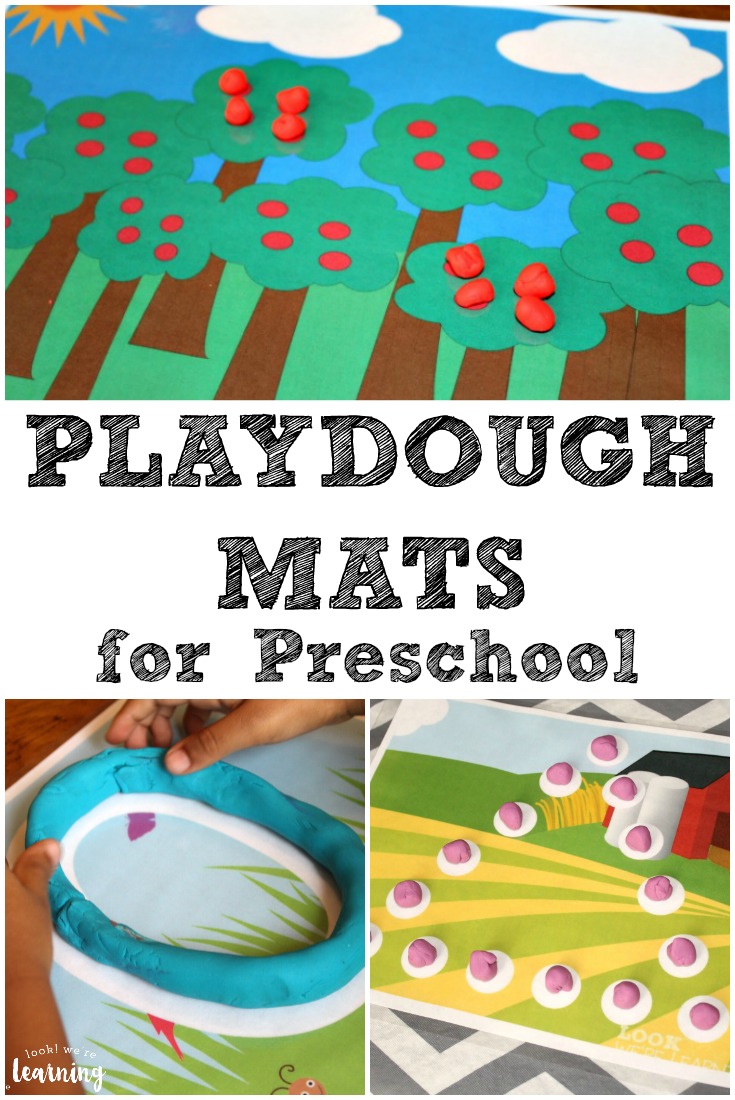
These preschool playdough mats are a fun way to help early learners practice fine motor skills!

See even more sensory activities kids will love on my Sensory Play Pinterest board!

DIY Scented Fizzy Playdough - Look! We're Learning!

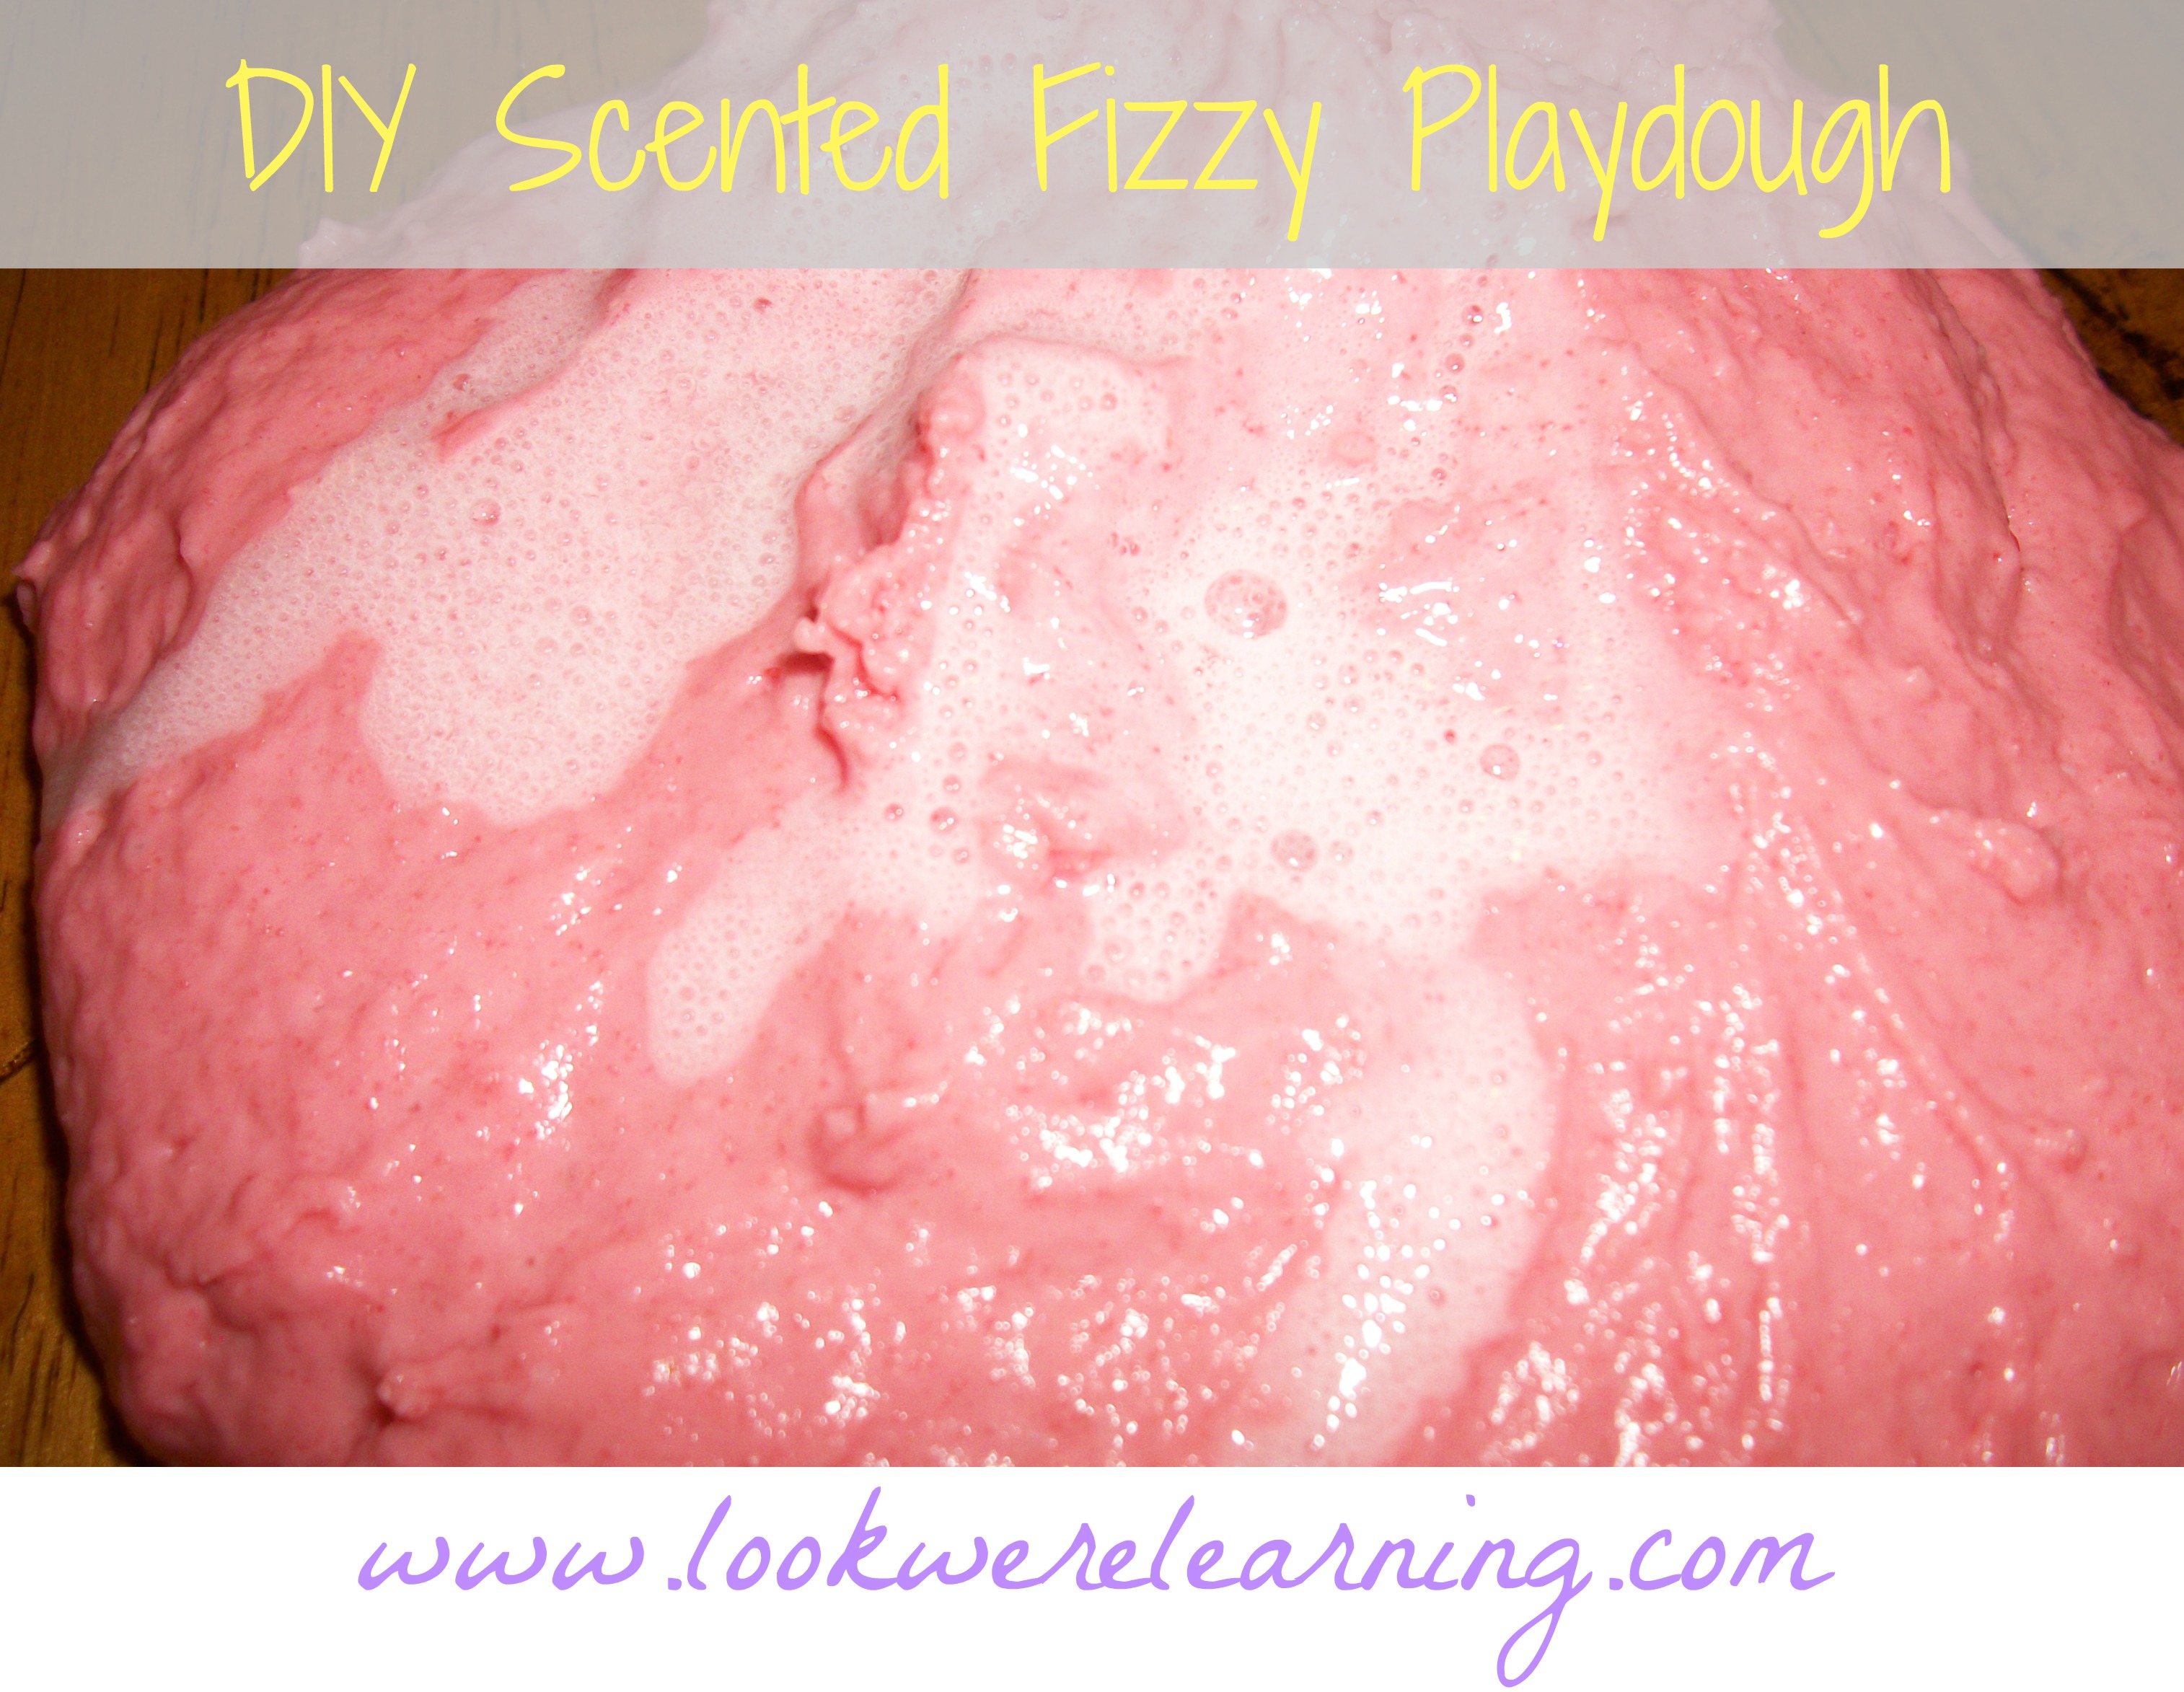
12 Months of Sensory Dough: DIY Scented Fizzy Playdough

July 12, 2014 by Selena Robinson 15 Comments

DIY Scented Fizzy Playdough - Look! We're Learning!

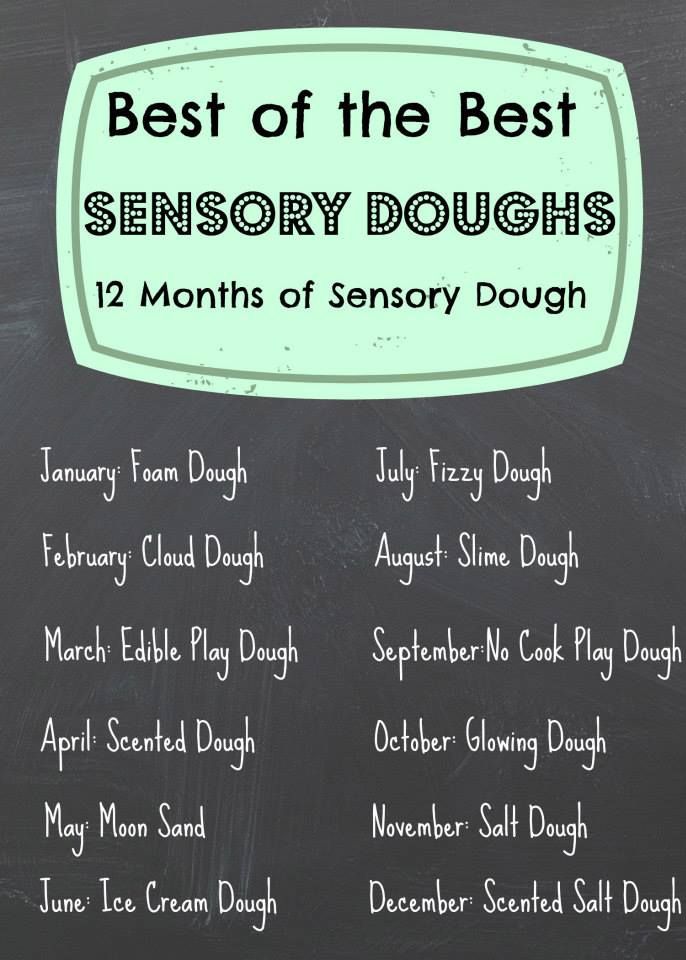
Hey everyone! It’s time for our 12 Months of Sensory Dough linkup! Every month, I’m honored to co-host this linky with 11 other bloggers, including Dayna at Lemon Lime Adventures, Val & Alex at Glittering Muffins, Devany at Still Playing School, Sarah at Little Bins for Little Hands, Kimberly at Natural Beach Living, Melissa Ann at The Eyes of a Boy, Nicolette at Powerful Mothering, Amy at Wildflower Ramblings, Rachel at I Heart Crafty Things, Michelle at Delightful Learning, and Jennifer at The Life of Jennifer Dawn!

Keep Reading…

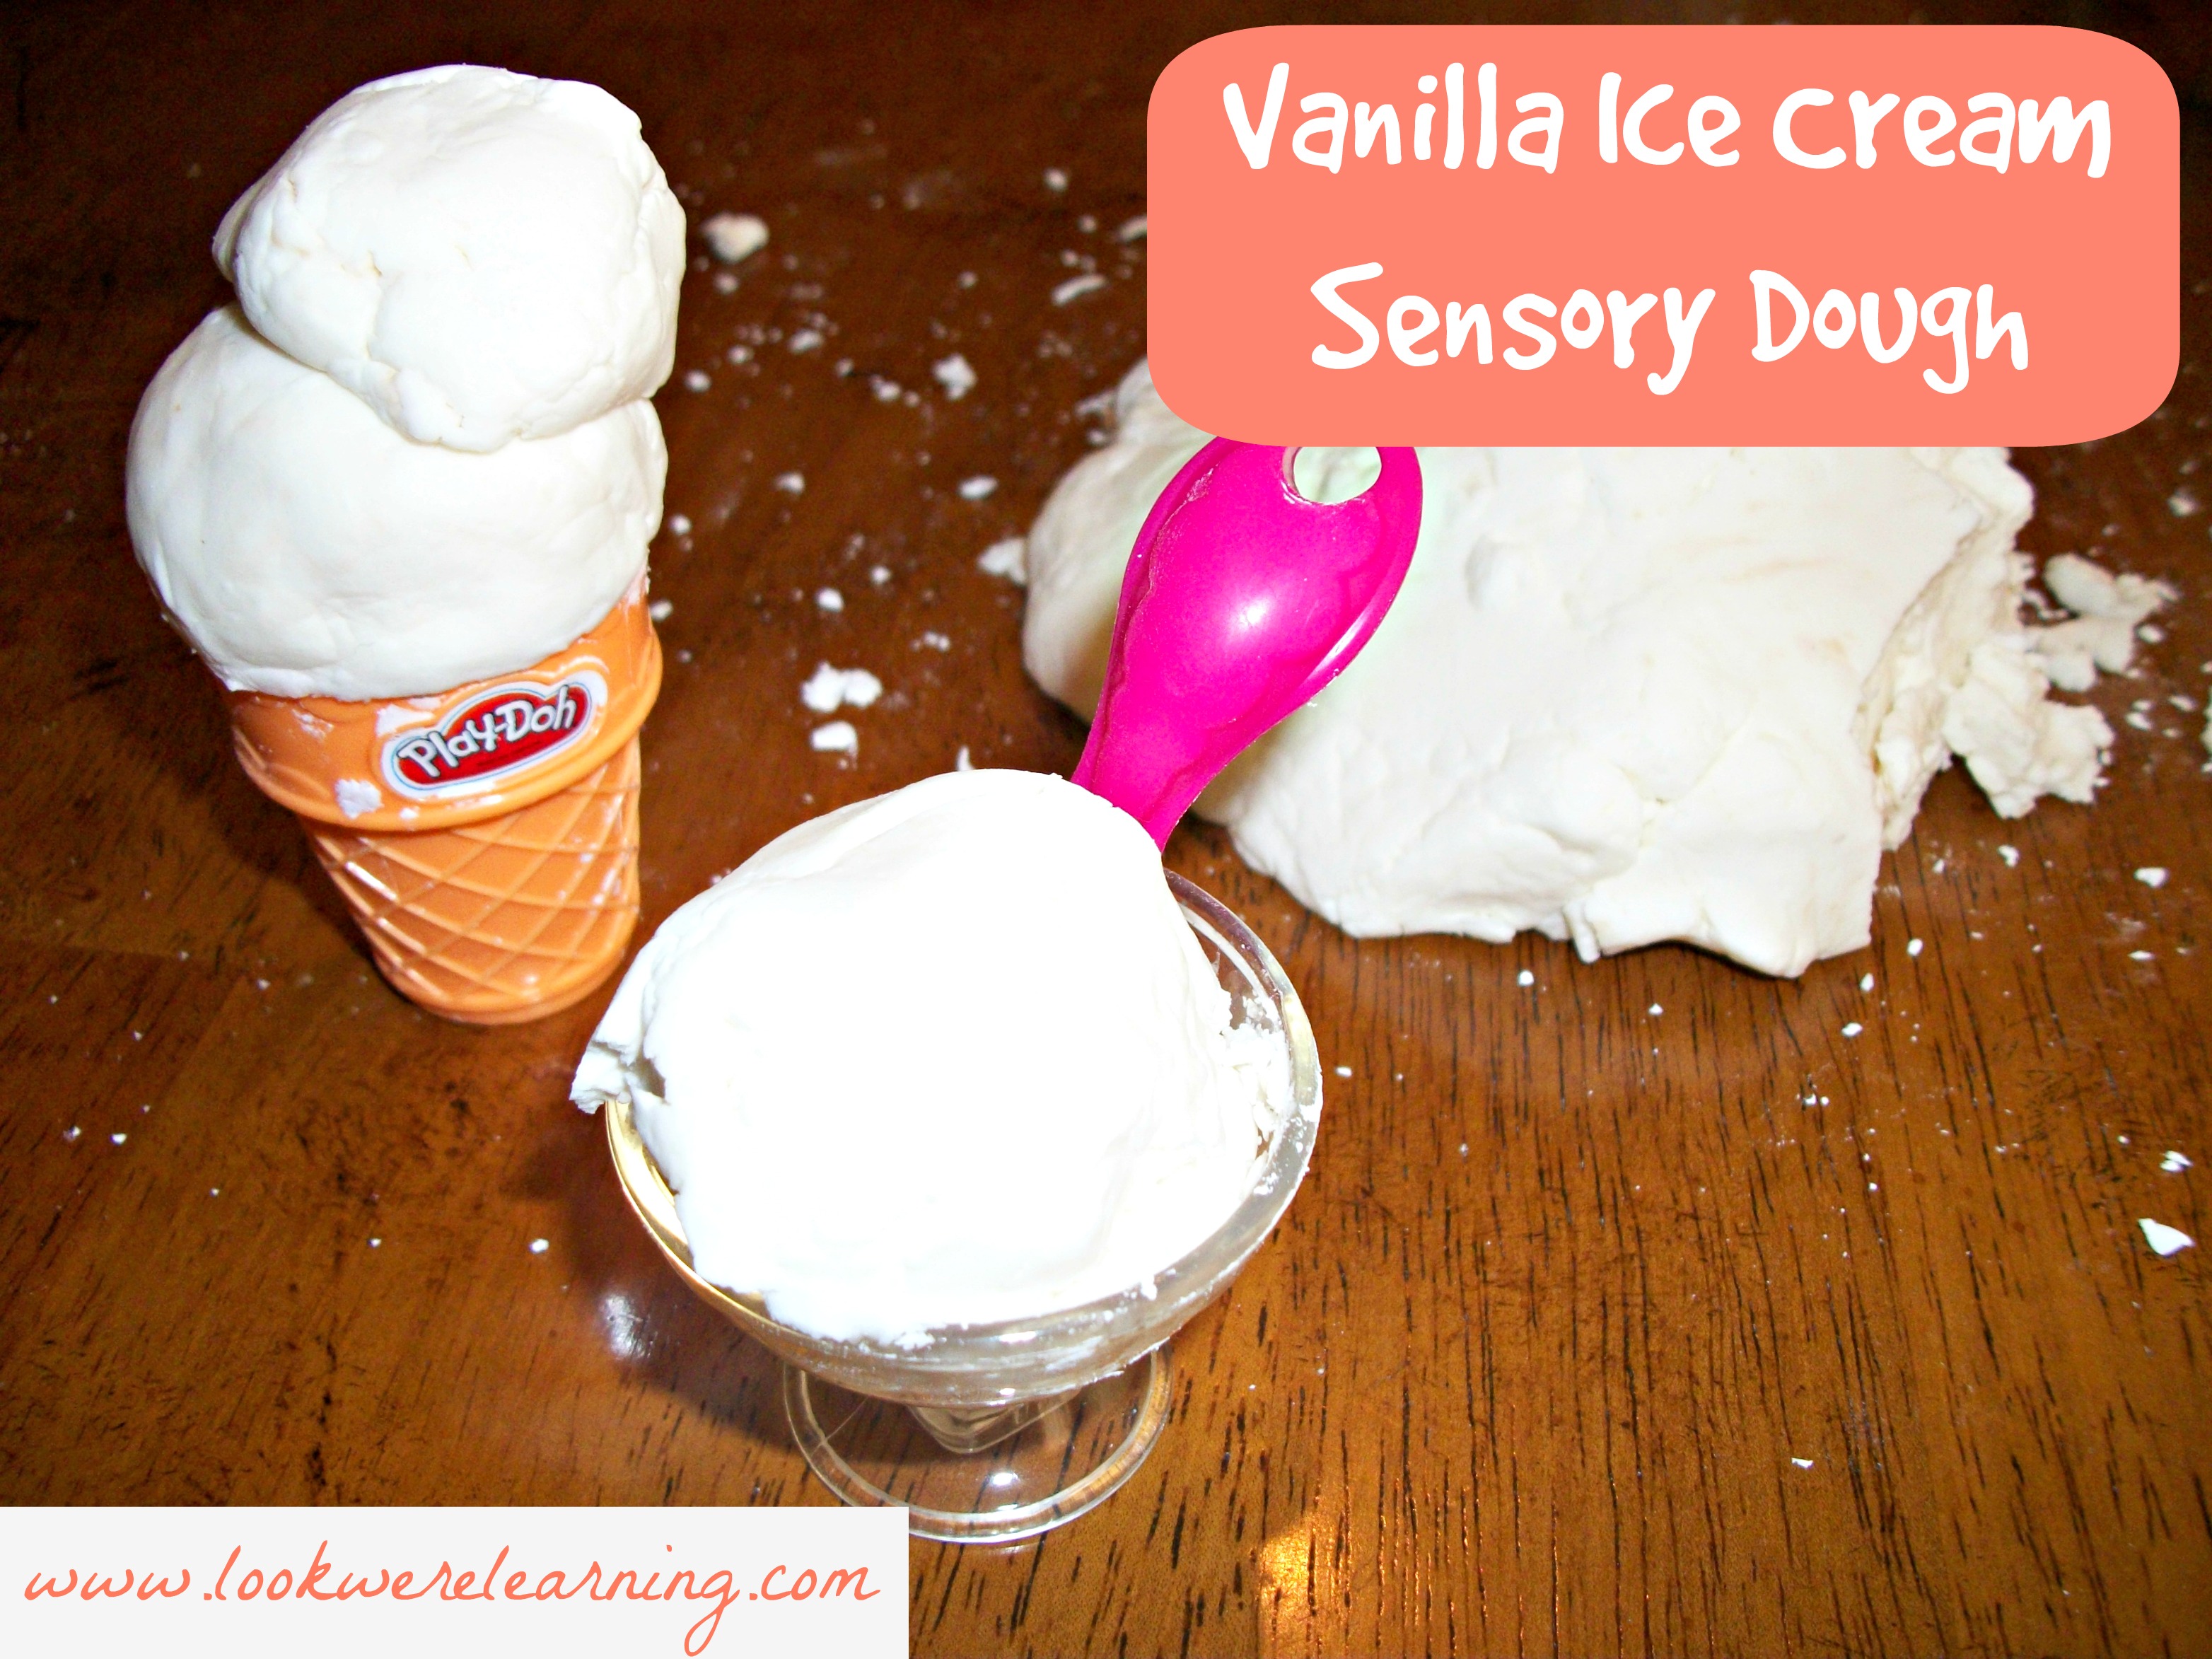
12 Months of Sensory Dough: Vanilla Ice Cream Sensory Dough

June 12, 2014 by Selena Robinson Leave a Comment

This post contains affiliate links. See our Disclosure Policy for details.

DIY Ice Cream Play Dough - Look! We're Learning!

Hey everyone! It’s time for our 12 Months of Sensory Dough linkup! Every month, I’m honored to co-host this linky with 11 other bloggers, including Dayna at Lemon Lime Adventures, Val & Alex at Glittering Muffins, Devany at Still Playing School, Sarah at Little Bins for Little Hands, Kimberly at Natural Beach Living, Melissa Ann at The Eyes of a Boy, Nicolette at Powerful Mothering, Amy at Wildflower Ramblings, Rachel at I Heart Crafty Things, Michelle at Delightful Learning, and Jennifer at The Life of Jennifer Dawn!

Keep Reading…

12 Months of Sensory Dough: Kool Aid Scented Play Dough

April 12, 2014 by Selena Robinson 6 Comments


Hey everyone! It’s time for our 12 Months of Sensory Dough linkup! Every month, I’m honored to co-host this linky with 11 other bloggers, including Dayna at Lemon Lime Adventures, Val & Alex at Glittering Muffins, Devany at Still Playing School, Sarah at Little Bins for Little Hands, Kimberly at Natural Beach Living, Melissa Ann at The Eyes of a Boy, Nicolette at Powerful Mothering, Amy at Wildflower Ramblings, Rachel at I Heart Crafty Things, Michelle at Delightful Learning, and Jennifer at The Life of Jennifer Dawn!

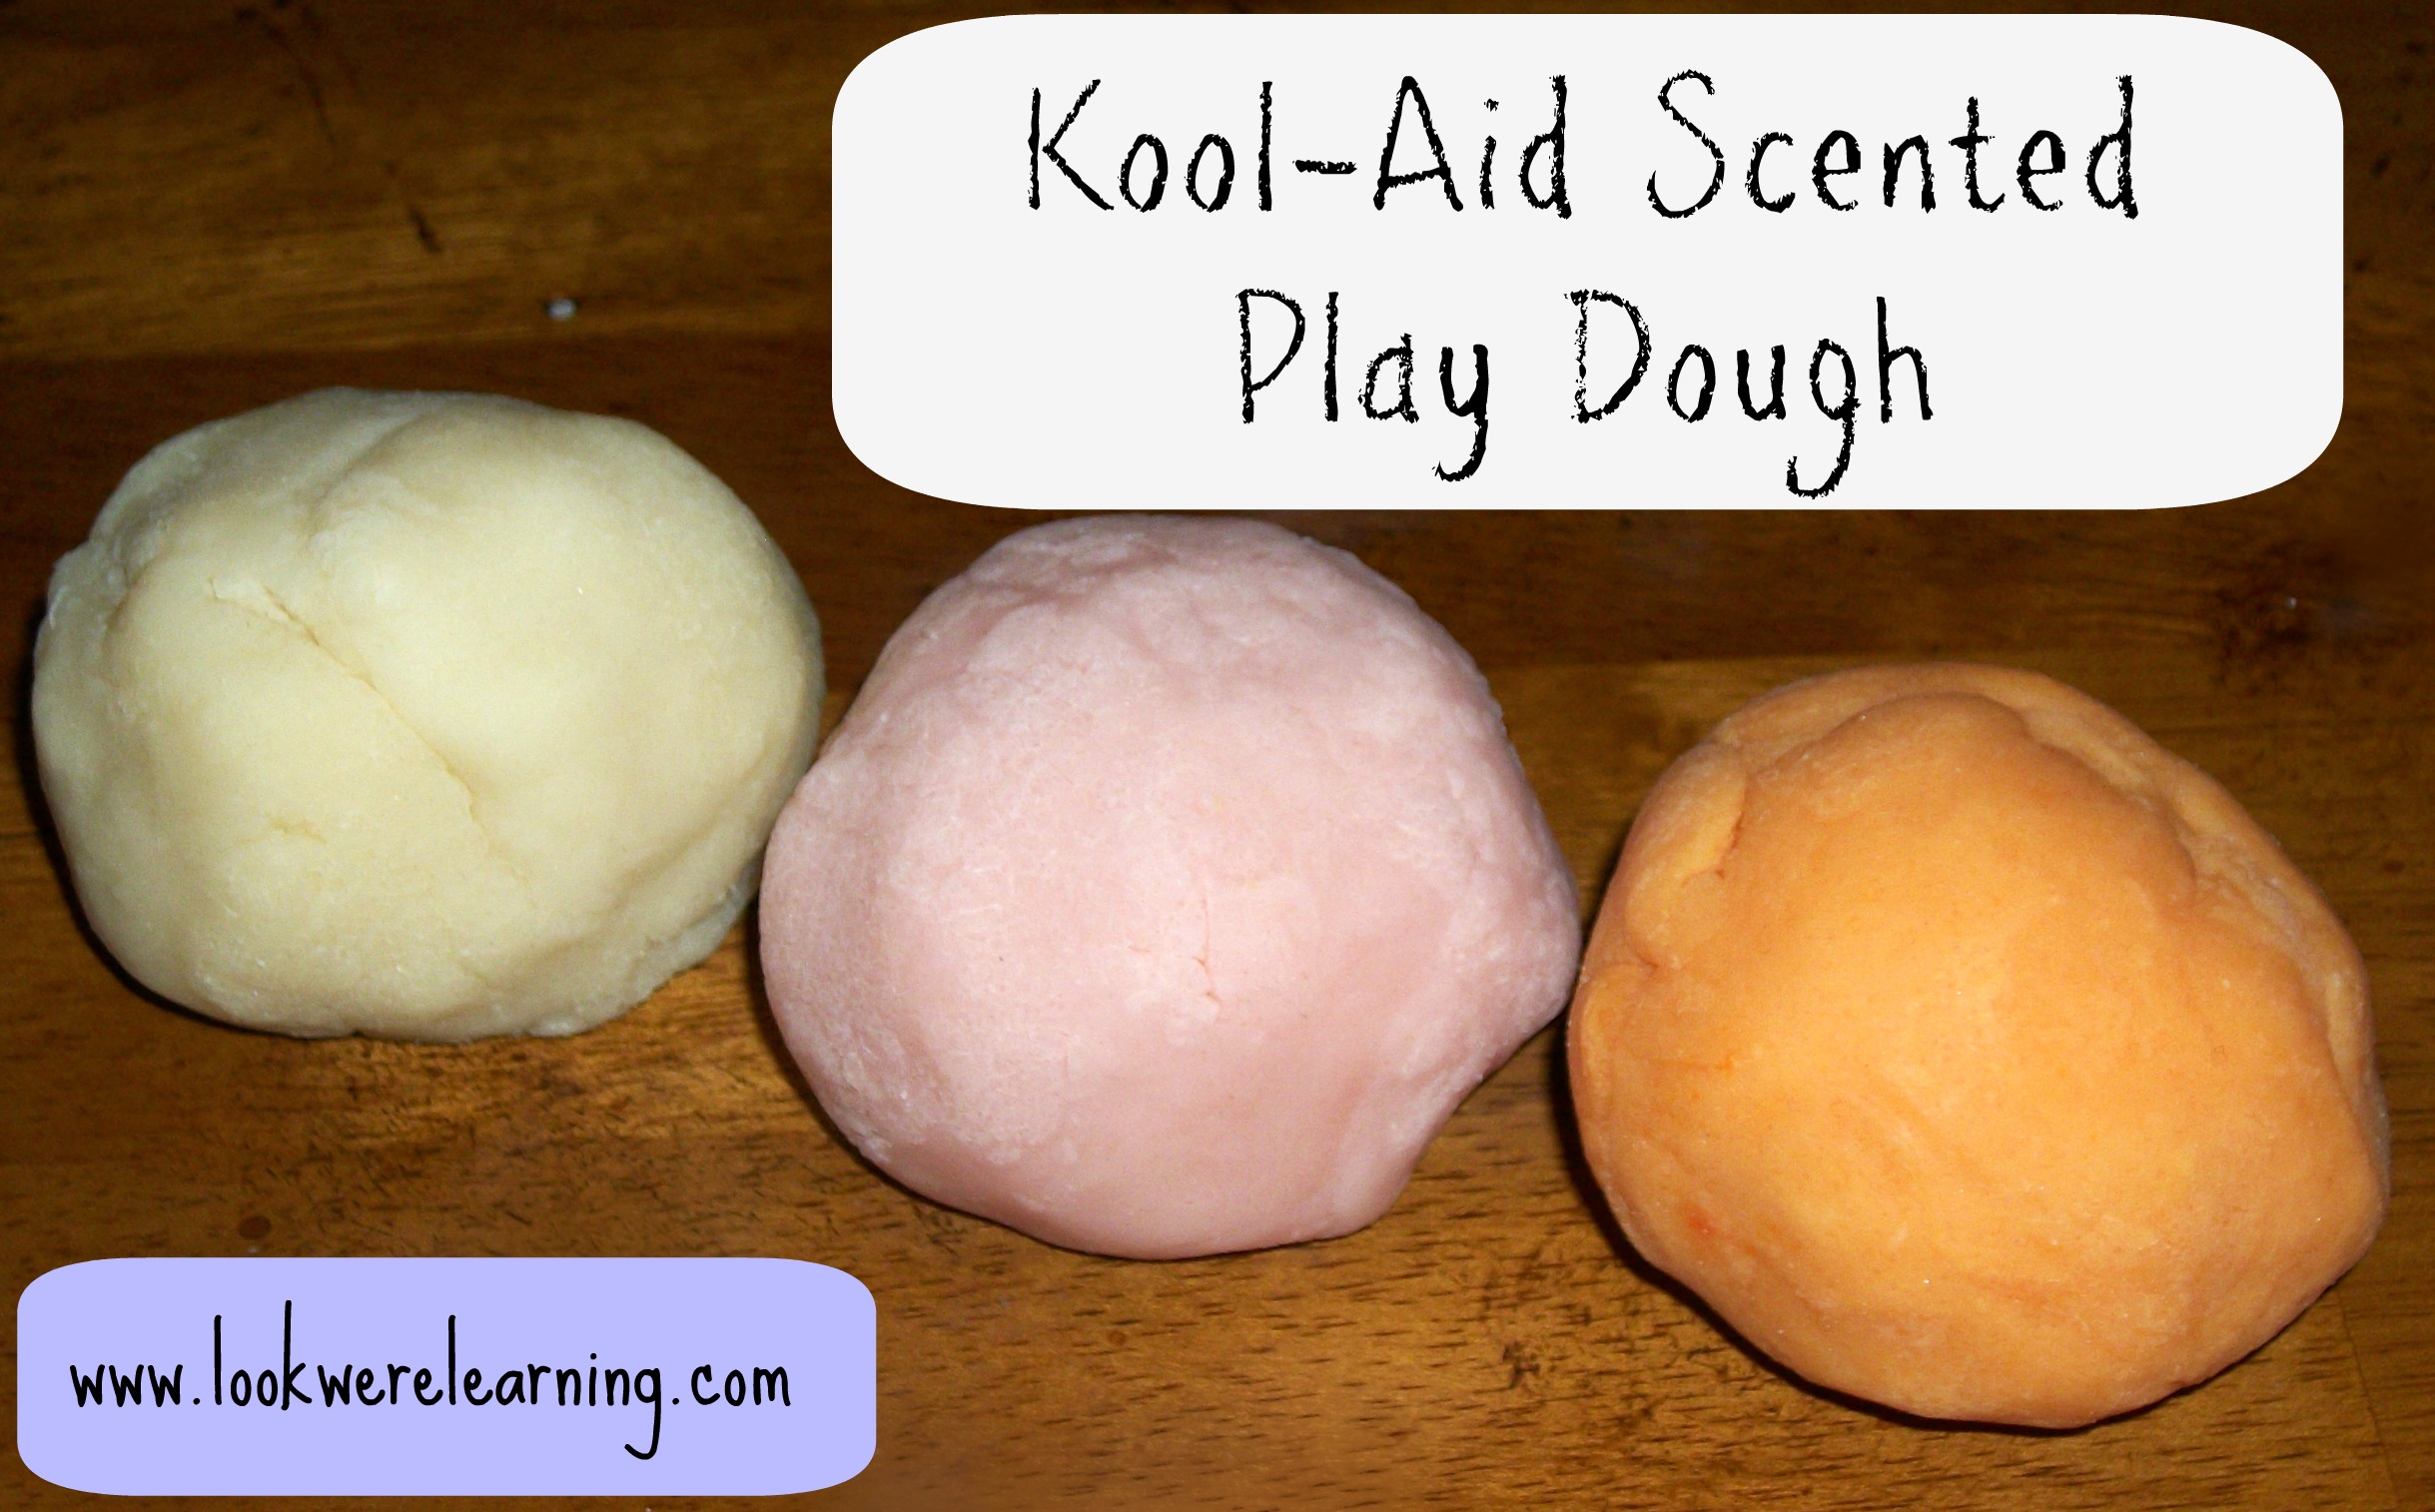
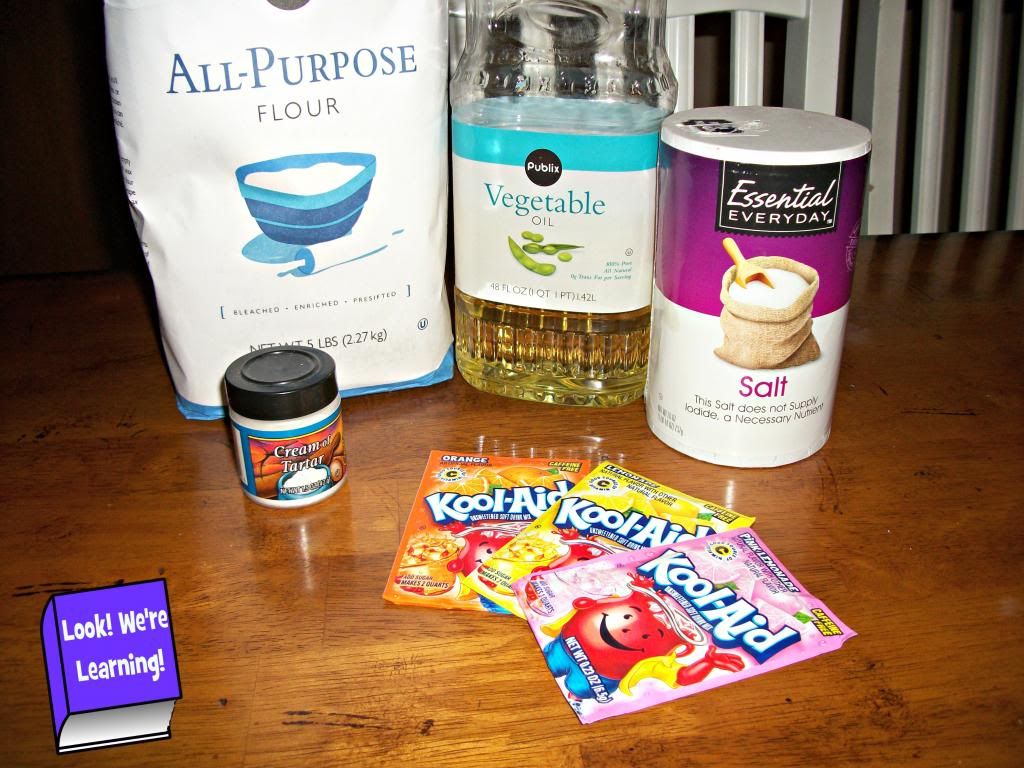
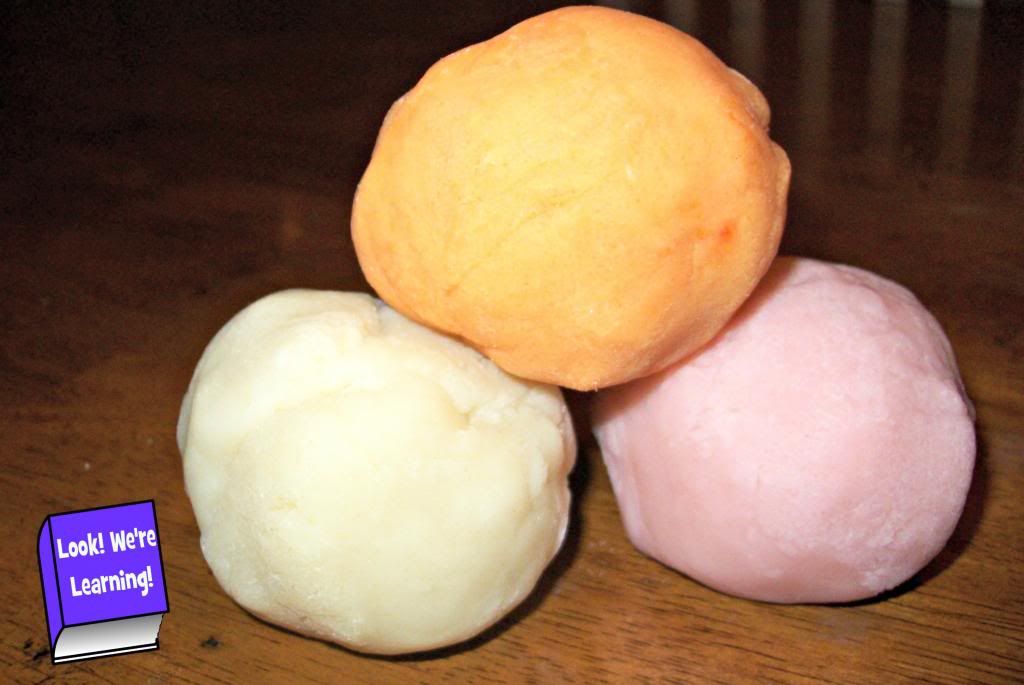
For our scented dough, we decided to make Kool-Aid scented play dough using a recipe from Kraft. I was interested to see how this would turn out using just the Kool-Aid powder for the scent and color. We went with pink lemonade, lemonade, and orange for our flavors.

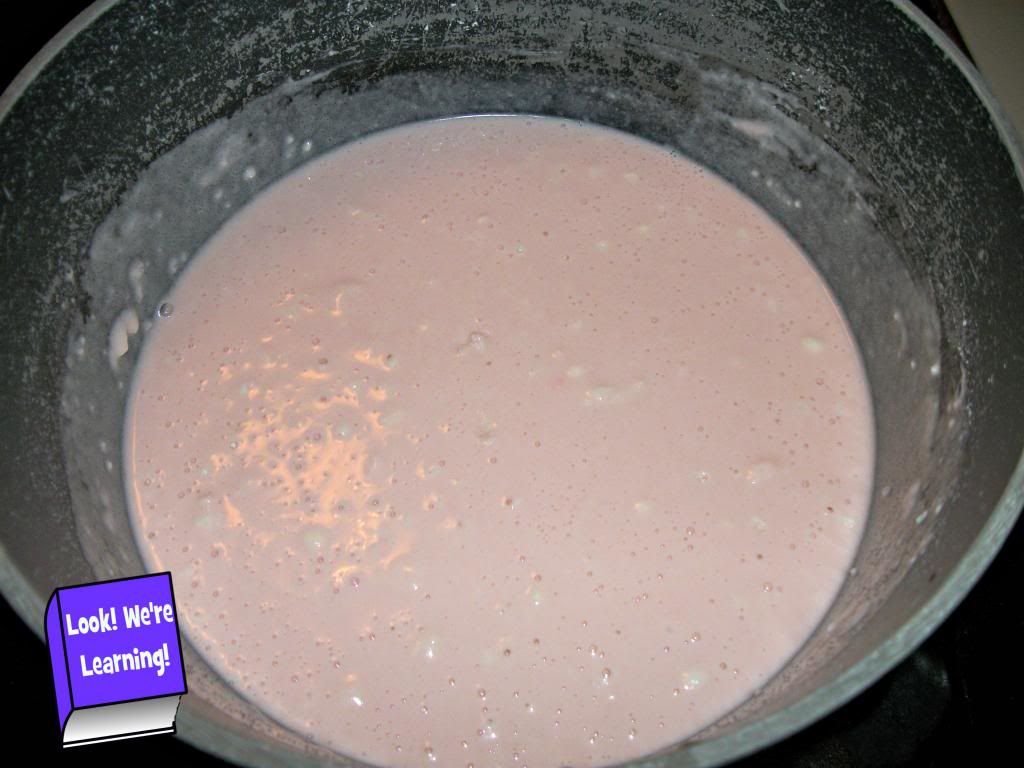
I started with the pink lemonade flavor. When I mixed up the dry ingredients, I started to wonder whether the color would show or not.

But once I added the water and oil, the color showed and I felt a little less worried…lol.

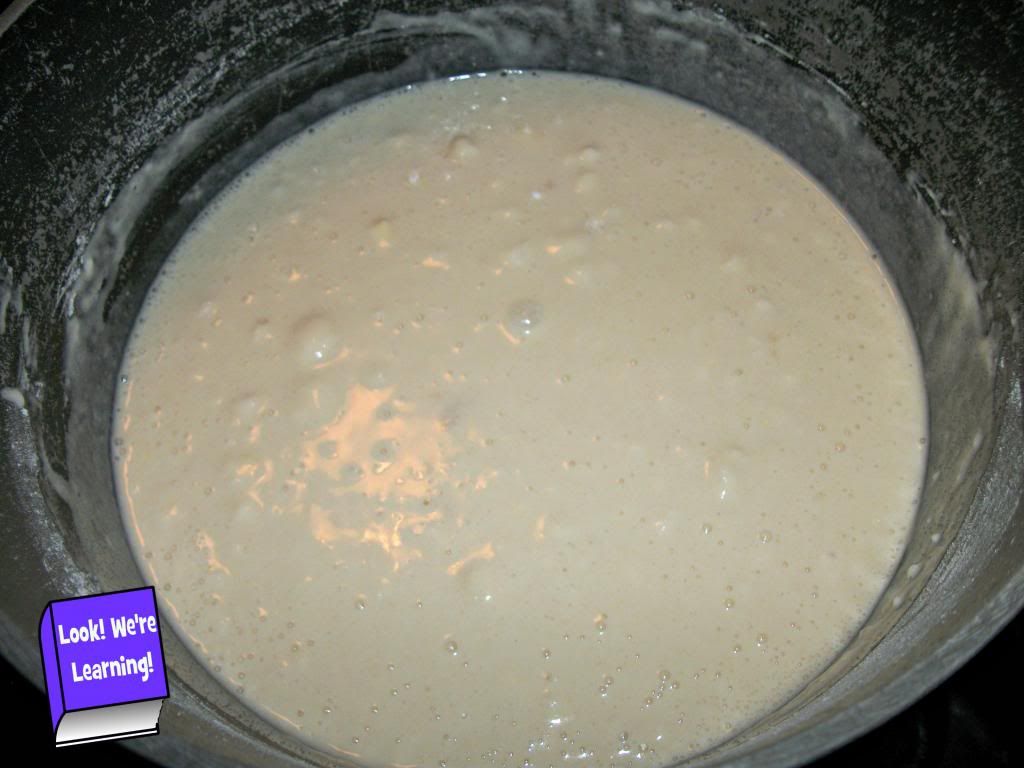
Here’s the lemonade-flavored batch.

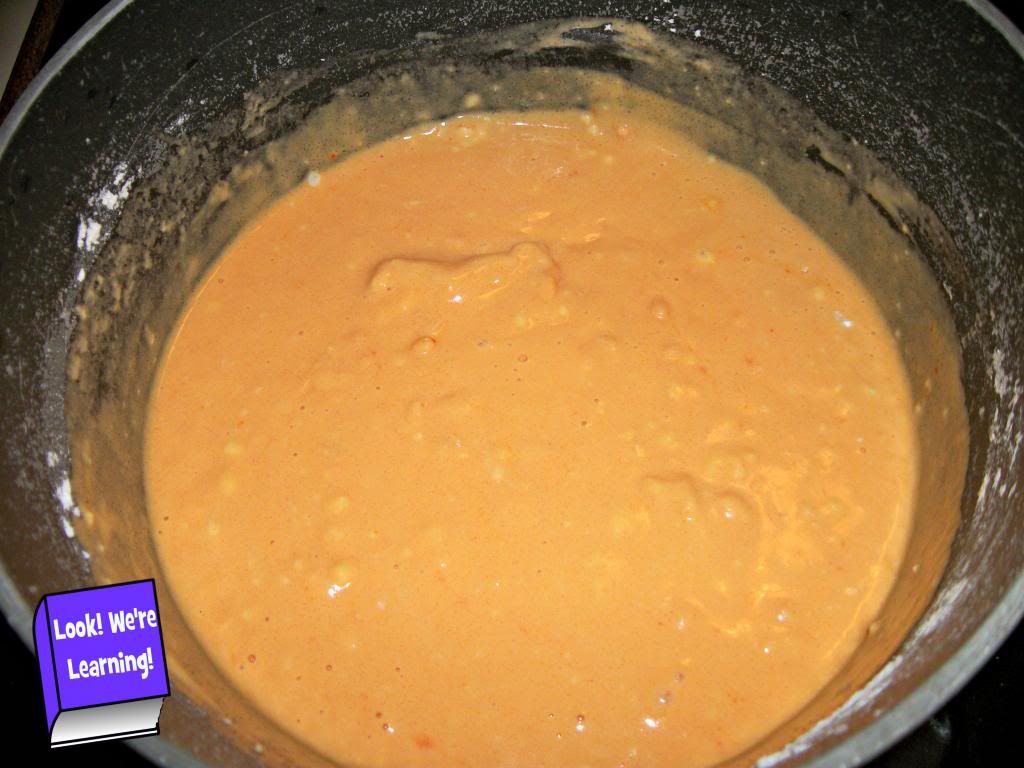
And the orange-flavored batch. You just combine the ingredients and stir over medium heat for a few minutes until you get a ball of play dough.

Let them all cool for a little bit and you’re ready to go! A word of caution: This dough dries out very quickly, so you’ll want to cover it up if you don’t intend to use it right away.

Now for the verdict: Of these three flavors, the orange was definitely the best. It produced the best color and it smelled wonderful! The pink lemonade had a slight scent, and the lemonade didn’t smell like much of anything…lol. Using a stronger flavor like fruit punch would probably be even better. 🙂

We’d love to see your sensory dough experiments! Feel to link up your sensory dough fun below!

Please read the following guidelines before linking up.

Share family-friendly posts related to the month’s theme. Feel free to link old or new posts that highlight your favorite recipes for sensory dough. Failures and unsuccessful attempts are welcome.
We ask that no posts are linked with copy/paste recipes from other sources. If you use a recipe from another source, please link back to the original recipe.

By linking up, you give permission to share your post and one photograph in future posts and through social media channels.

Visit 2-3 other posts that others have shared. Discover new ideas and meet new friends!

The linky will remain open for two weeks. On the 12th of each month, all co-hosts will post a new dough with their spin, highlighting at least one post from the month before and pin each post to the 12 Months of Sensory Dough Board.

If you would like to, please grab the 12 Months of Sensory Dough button for your blog. And be sure to stop by and visit our co-hosts to get their take on the featured dough for the month!

Lemon Lime Adventures

An InLinkz Link-up


Follow Lemon Lime Adventures’s board Best of the Best Sensory Dough on Pinterest.

This edible play dough dairy free recipe is perfect for kids who love sensory play but avoid eating dairy! It's super sweet and soft for play!

Edible Play Dough Dairy Free Recipe

March 12, 2014 by Selena Robinson 11 Comments

My kids absolutely love sensory play and one of the best ways to have sensory fun is to make your own playdough! But if you want to take it to the absolute max, you make edible play dough. Just because you can. 🙂

Several people in our family are lactose-intolerant, so we generally follow a dairy free lifestyle. But when we started looking around for edible play dough recipes, a lot of them used butter. So we decided to make an edible play dough dairy free recipe!

The great thing is that the recipe is simple and delicious (even without dairy products), which means that even if you’re not following a dairy free lifestyle, your kids will still love it.

If you enjoy this activity, be sure to grab our free Beach Number Playdough Mats to use them with!

This edible play dough dairy free recipe is perfect for kids who love sensory play but avoid eating dairy! It's super sweet and soft for play!

Dairy Free Edible Play Dough Recipe

We found a great allergy-free edible play dough recipe from the American Academy of Allergy, Asthma, and Immunology. The basic recipe uses several household food staples, including powdered sugar, but you can swap out any of them for allergen-free versions.

Edible Play Dough Dairy Free Recipe

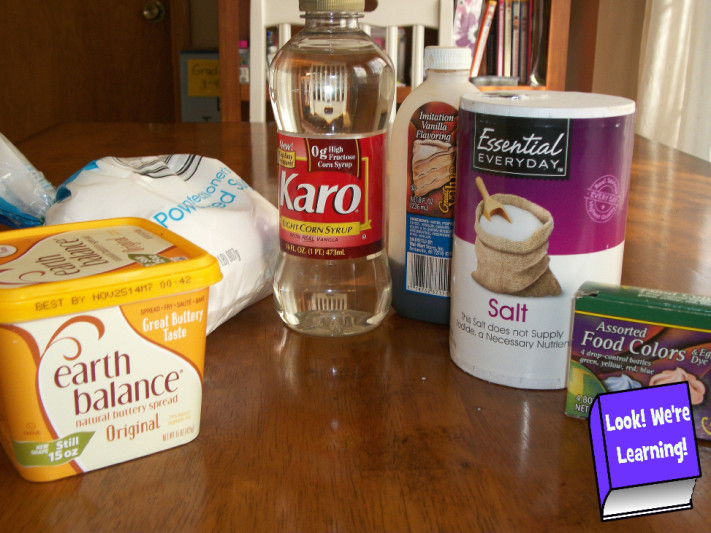
With 6 ingredients, this edible play dough dairy free recipe is a bit more involved than some of the others. This isn’t exactly a no-cook recipe, since you have to melt the vegan butter, but it still comes together quickly!

Edible Play Dough Dairy Free Recipe

Powdered sugar and corn syrup go in the bowl first…

Edible Play Dough Dairy Free Recipe

Followed by vegan butter, vanilla, and salt….

Edible Play Dough Dairy Free Recipe

…and finally, food coloring!

Sensory Fix™ for Everyday Sensory Needs

Edible Play Dough Dairy Free Recipe

The initial consistency of this dough was really greasy, kind of the like the cloud dough that went horribly wrong last month.

Edible Play Dough Dairy Free Recipe

After a night in the refrigerator, though, it was much more pliable and easier to work with.

Edible Play Dough Dairy Free Recipe

As you can see, Roo didn’t care either way. That boy is obsessed with play dough.

Edible Play Dough Dairy Free Recipe

He played around with the texture a bit.

Edible Play Dough Dairy Free Recipe

But when he found out that he could eat it, there was no stopping him! (A note: This stuff is basically frosting, so don’t let your kids go crazy with it or they’ll never go to sleep!)

Edible Play Dough Dairy Free Recipe

See what I mean? 🙂 We had a “ball” working with this edible play dough!

Edible Play Dough Dairy Free Recipe

Grab the full recipe below!

Edible Play Dough Dairy Free Recipe for Kids
Print

Edible Play Dough Dairy Free Recipe

Prep Time 10 minutes
Total Time 8 hours 10 minutes
Servings 1 batch of dough

Ingredients

  • Adapted from AAAAI
  • 3 cups powdered sugar
  • 1/4 cup corn syrup
  • 1/2 cup vegan butter melted
  • Splash of vanilla
  • Sprinkle of salt
  • 5 drops food coloring any color desired

Instructions

  1. Combine the powdered sugar and corn syrup in a large mixing bowl. Stir well.
  2. Pour in the vegan butter and mix. Add the vanilla, salt, and drops of food coloring and stir until color is even throughout the dough.
  3. Refrigerate overnight before using.

If you enjoyed this post, see more of our homemade play dough fun below!

These preschool playdough mats are a fun way to help early learners practice fine motor skills!

Whip up this simple taste safe slime recipe to give the kids some tasty sensory fun!

Plus, get more tips for sensory fun at home on my Sensory Play Pinterest board!

Free Spanish Opposite Word Flashcards - Look! We're Learning!

Free Printable Flashcards: Spanish Opposites Flashcards

February 19, 2014 by Selena Robinson 2 Comments

¡Buenos días! I hope you’re all enjoying your week so far! As I’ve mentioned before, I’m back in school myself and one of my majors is Foreign Language, so I’ve been learning Spanish for the past few months.

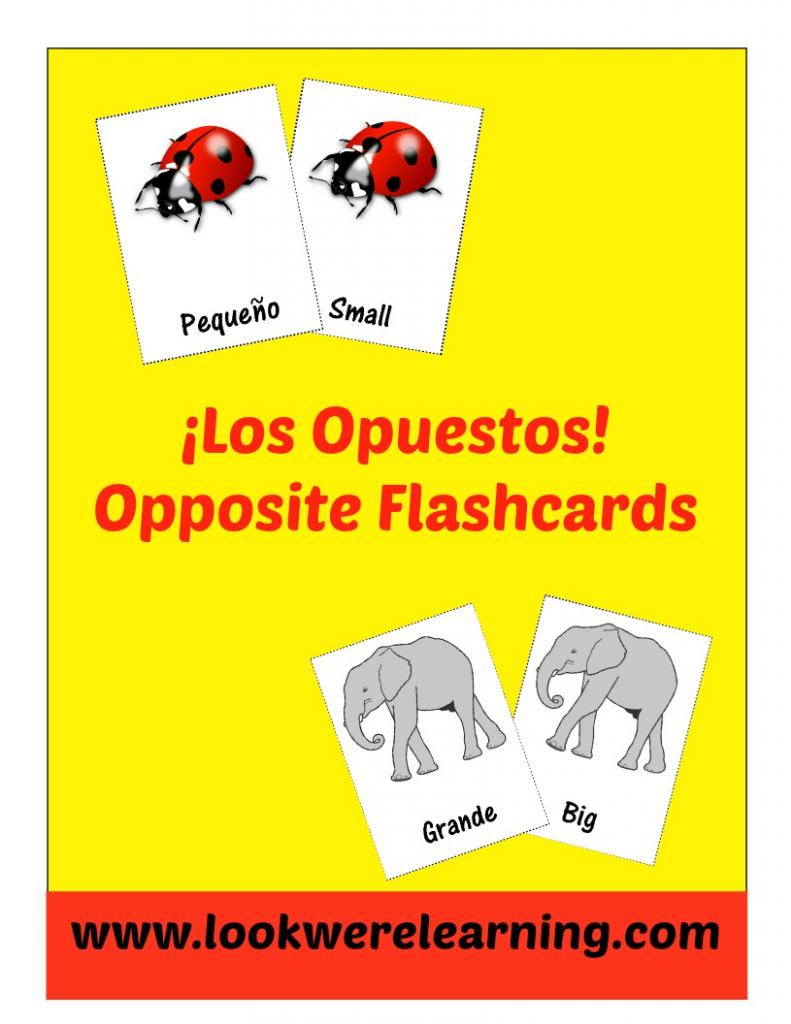
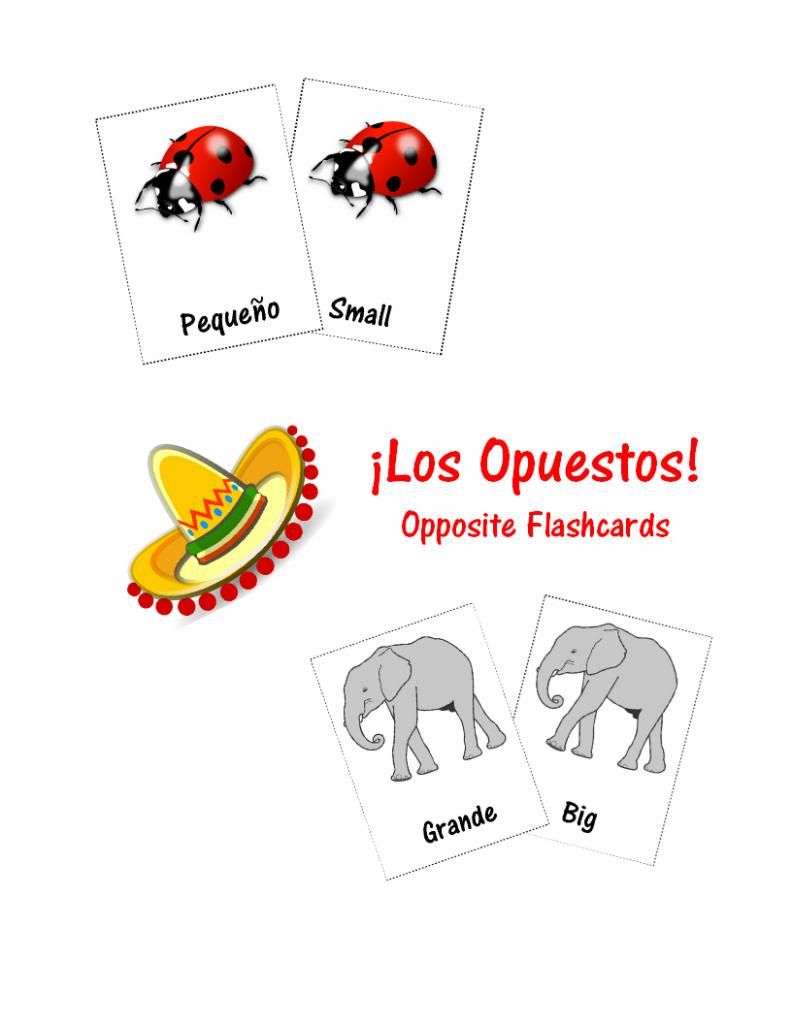
The whole family has been interested in learning Spanish as well, so I thought I’d whip up a batch of free printable flashcards featuring Spanish opposite words! That way, the kids can build on their budding Spanish vocabulary.

Free Spanish Opposite Word Flashcards - Look! We're Learning!

What’s In the Free Printable Flashcards: Spanish Opposites Flashcards Set?

In this pack, you’ll find vocabulario de español for several opposite words, including:

  • big and small
  • old and young
  • happy and sad
  • day and night
  • plus a pronunciation key to help kids say the words correctly!

You can even use the English opposite cards to help toddlers and preschoolers learn basic opposite words. 🙂

To grab your free copy of Los Opuestos (The Opposites) flash cards, visit our Store!

Spanish Opposite Word Flashcards: Look! We're Learning!

More Resources for Learning Spanish

Songs and Books to Teach Kids Spanish:

Encourage your kids to learn even more Spanish with these great Spanish kids’ books and songs!

  1. My Big Book of Spanish Words by Rebecca Emberley
  2. Songs in Spanish for Children by Elena Paz Travesi
  3. The Complete Book of Spanish: Grades 1-3 by American Education Publishing
  4. The Everything Kids’ Learning Spanish Book by Cecilia I. Sojo

More Printable Spanish Flashcards:

Learn even more español with even more of our free flashcards!

  1. Free Spanish Days of the Week Flashcards
  2. Free Spanish Family Flashcards
  3. Free Spanish Food Word Flashcards
  4. Free Spanish Number Flashcards 1-10

12 Months of Sensory Dough: Cloud Dough

February 12, 2014 by Selena Robinson 6 Comments

Cloud Dough Fail: Look! We're Learning!

Cloud Dough Fail: Look! We're Learning!

Hey everyone! It’s time for our 12 Months of Sensory Dough linkup! Every month, I’m honored to co-host this linky with 11 other bloggers, including Dayna at Lemon Lime Adventures, Val & Alex at Glittering Muffins, Devany at Still Playing School, Sarah at Little Bins for Little Hands, Kimberly at Natural Beach Living, Melissa Ann at The Eyes of a Boy, Nicolette at Powerful Mothering, Amy at Wildflower Ramblings, Rachel at I Heart Crafty Things, Michelle at Delightful Learning, and Jennifer at The Life of Jennifer Dawn!

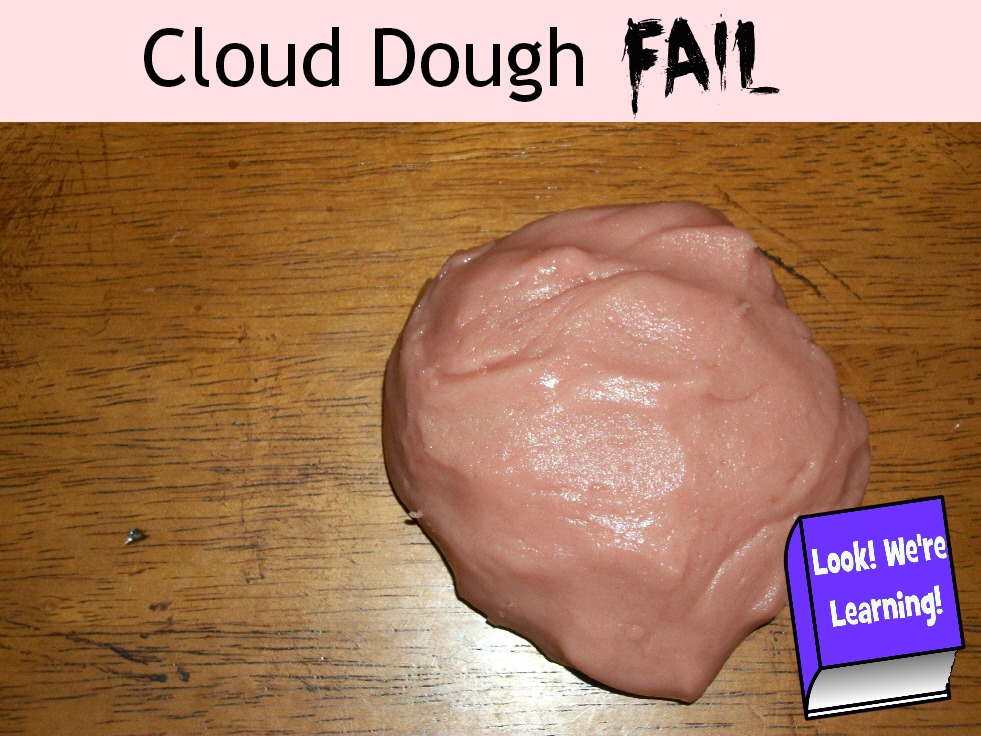
This month, we tried our hand at making cloud dough. It was a complete and utter fail…lol. So as you read our experience below, remember DO NOT DO THIS.

I got the original idea from PBS.org, where they feature a very simple recipe for cloud dough using flour and oil. I had my first college biology exam last week and I spent most of my time studying. So – I looked at the cloud dough recipe and saw two ingredients: flour and oil. I did not realize that the original recipe called for baby oil. Mistake #1.

Cloud Dough Fail: Look! We're Learning!

Here’s what I used: flour, vegetable oil, and red food coloring.

Cloud Dough Fail: Look! We're Learning!

I started with 4 cups of flour, which is actually what the recipe called for. But instead of reading the recipe to find out the proper flour to oil ratio, I figured I could just mix it until it “looked” right. Mistake #2.

Cloud Dough Fail: Look! We're Learning!

I put 1 1/3 cup of vegetable oil in it, then mixed it up. (The recipe says 1/2 cup, by the way.)

Cloud Dough Fail: Look! We're Learning!

Right about here is when I started to think “This doesn’t look right”. But I was not about to use another four cups of flour.

Cloud Dough Fail: Look! We're Learning!

I added 20 drops of red food coloring, and the dough looked so pretty that I had a tiny bit of hope.

Cloud Dough Fail: Look! We're Learning!

That was shattered when we actually touched it. It was slick and oily to the touch. For a while, the kids just poked it.

Cloud Dough Fail: Look! We're Learning!

Like this.

Cloud Dough Fail: Look! We're Learning!

Tigger, bless her heart, tried to make the best of it by forming a “smile”.

Cloud Dough Fail: Look! We're Learning!

Jay’s been studying the brain with the kids, so I thought I’d make a brain. By the time I got the picture, my brain had settled into more of a tongue.

Cloud Dough Fail: Look! We're Learning!

Roo kept saying “Can I wash my hands please?” I mean, I know it’s a sensory experiment and all, but they’re not supposed to dislike how it feels on their hands.

Cloud Dough Fail: Look! We're Learning!

Pooh made two lungs, and that’s about all we could make out of this stuff.

Cloud Dough Fail: Look! We're Learning!

But it was neat to look at!

So if you decide to make cloud dough, don’t be like me! Read the instructions and pick a time when you’re not studying biology…lol.

Next month, we’ll be making edible play dough!

Cloud Dough Fail: Look! We're Learning!

We’d love to see your sensory dough experiments! Feel to link up your sensory dough fun below!

Please read the following guidelines before linking up.

Share family-friendly posts related to the month’s theme. Feel free to link old or new posts that highlight your favorite recipes for sensory dough. Failures and unsuccessful attempts are welcome.
We ask that no posts are linked with copy/paste recipes from other sources. If you use a recipe from another source, please link back to the original recipe.

By linking up, you give permission to share your post and one photograph in future posts and through social media channels.

Visit 2-3 other posts that others have shared. Discover new ideas and meet new friends!

The linky will remain open for two weeks. On the 12th of each month, all co-hosts will post a new dough with their spin, highlighting at least one post from the month before and pin each post to the 12 Months of Sensory Dough Board.

If you would like to, please grab the 12 Months of Sensory Dough button for your blog. And be sure to stop by and visit our co-hosts to get their take on the featured dough for the month!

Lemon Lime Adventures


12 Months of Sensory Dough: Foam Dough

January 12, 2014 by Selena Robinson 2 Comments

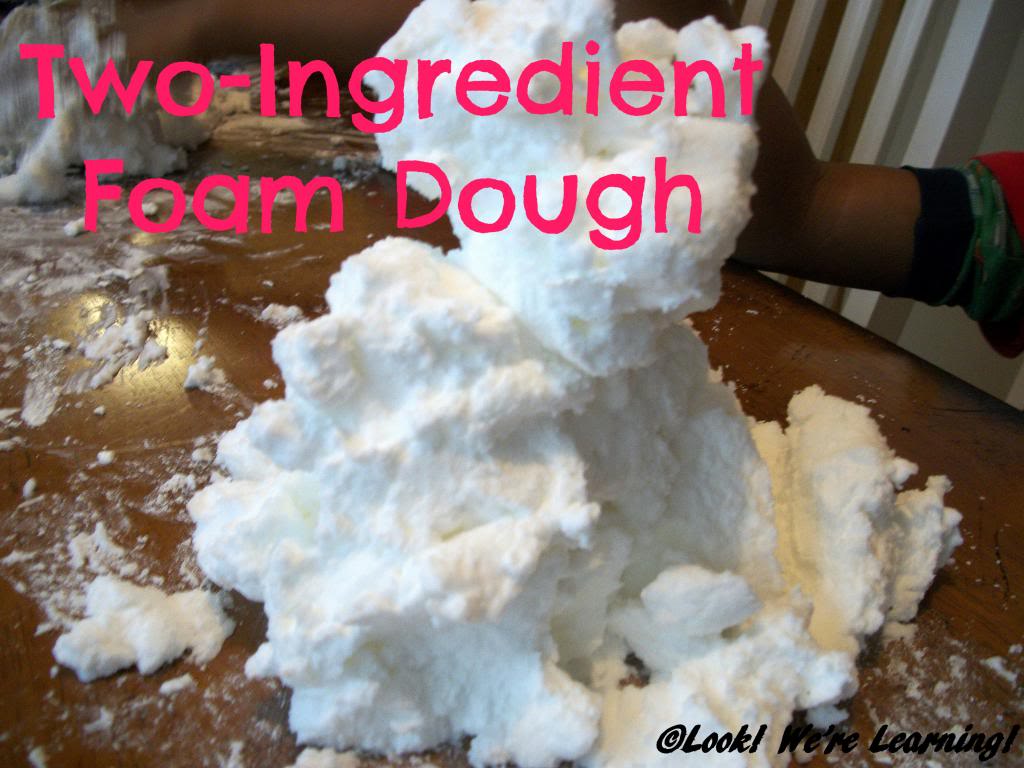
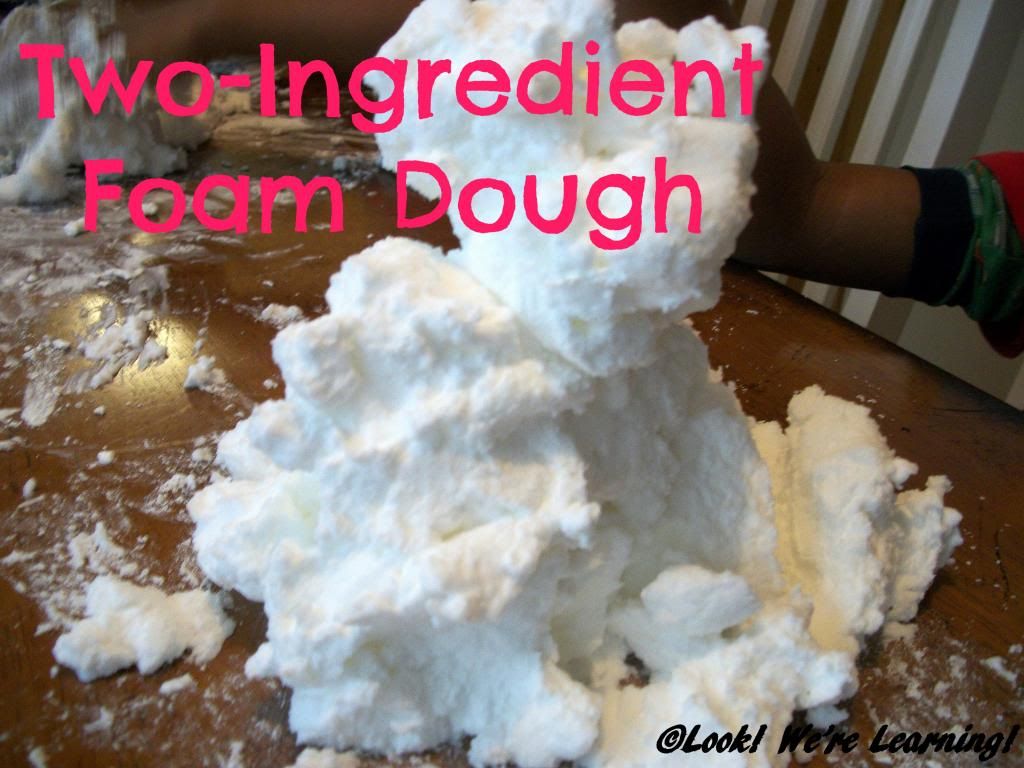
Two Ingredient Foam Dough: Look! We're Learning!

Foam Dough Recipe: Look! We're Learning!

Hey everyone! It’s time for our 12 Months of Sensory Dough linkup! Every month, I’m honored to co-host this linky with 11 other bloggers, including Dayna at Lemon Lime Adventures, Val & Alex at Glittering Muffins, Devany at Still Playing School, Sarah at Little Bins for Little Hands, Kimberly at Natural Beach Living, Melissa Ann at The Eyes of a Boy, Nicolette at Powerful Mothering, Amy at Wildflower Ramblings, Rachel at I Heart Crafty Things, Michelle at Delightful Learning, and Jennifer at The Life of Jennifer Dawn!

This month, we’re all focusing on foam dough. I got a great recipe for two-ingredient foam dough on Instructables and we decided to try it out with the kids. On Friday, we shared our unit study based on the movie “The Aristocats” and our foam dough activity was our own kid-friendly sensory version of Plaster of Paris. Without the actual work and serious mess, though. 🙂

Two Ingredient Foam Dough: Look! We're Learning!

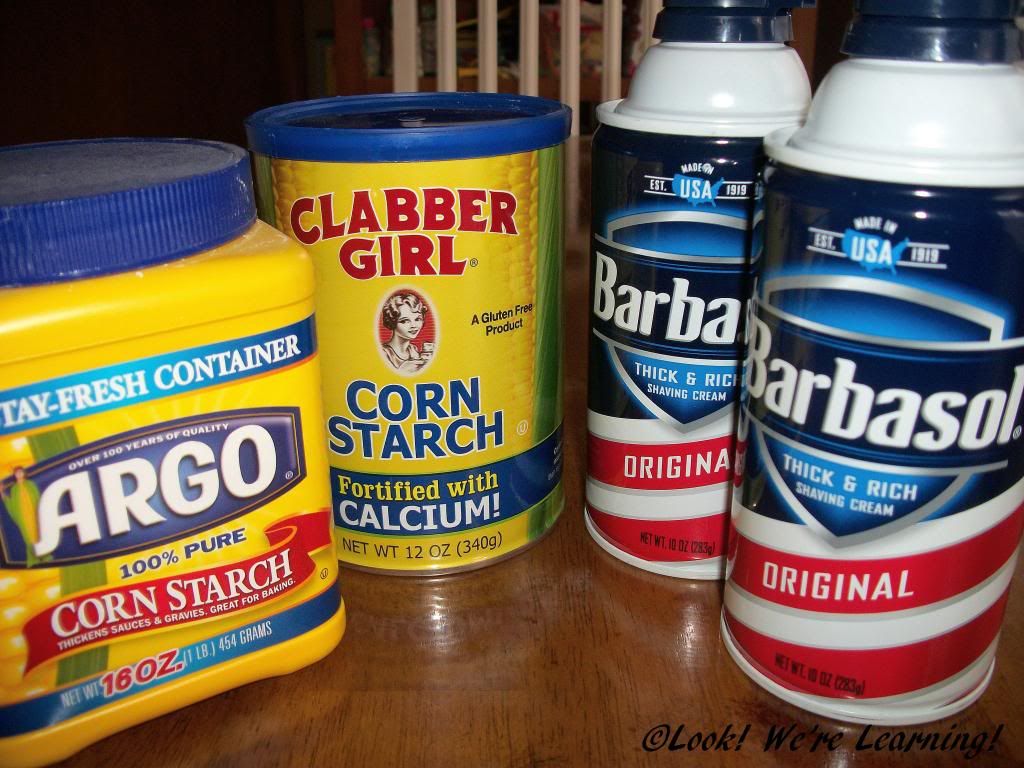
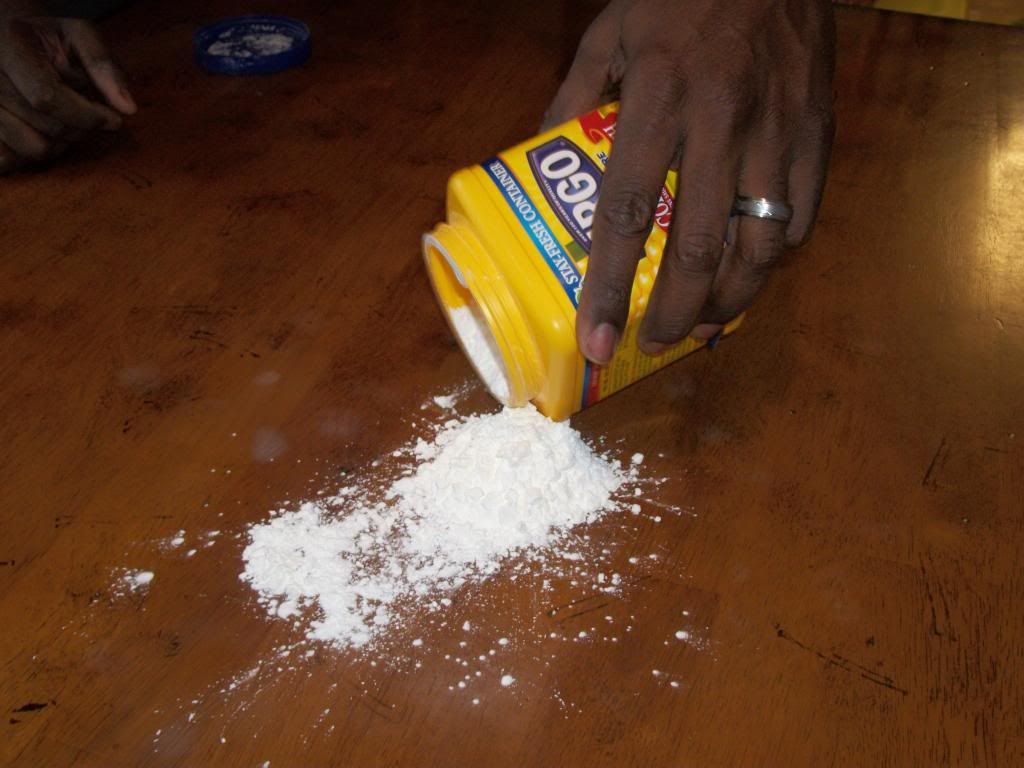
As the recipe shows, this foam dough literally requires two ingredients: cornstarch and shaving cream. That’s it.

Two Ingredient Foam Dough: Look! We're Learning!

We poured the cornstarch onto the table – slowly. Don’t dump it all out at once, unless you like not being able to breathe…lol.

Two Ingredient Foam Dough: Look! We're Learning!

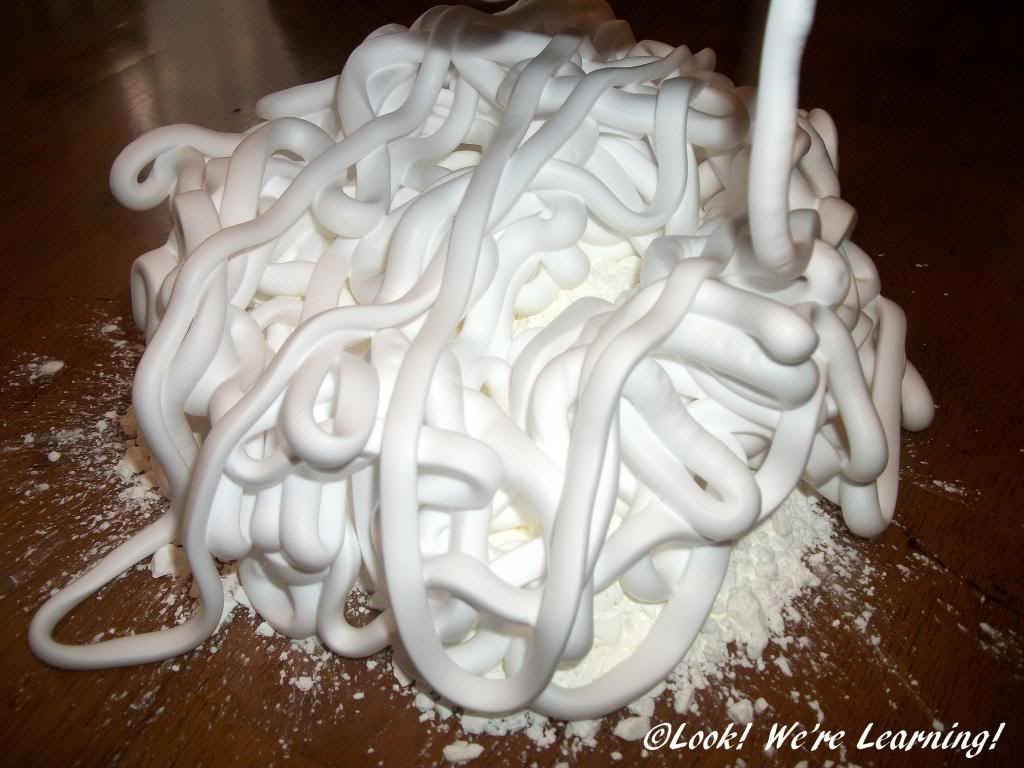
Then we added the shaving cream. You know, it’s not until you actually squeeze out an entire can of shaving cream at once that you realize just how much is in each can.

Two Ingredient Foam Dough: Look! We're Learning!

We went a little bit crazy with the shaving cream. 🙂

Two Ingredient Foam Dough: Look! We're Learning!

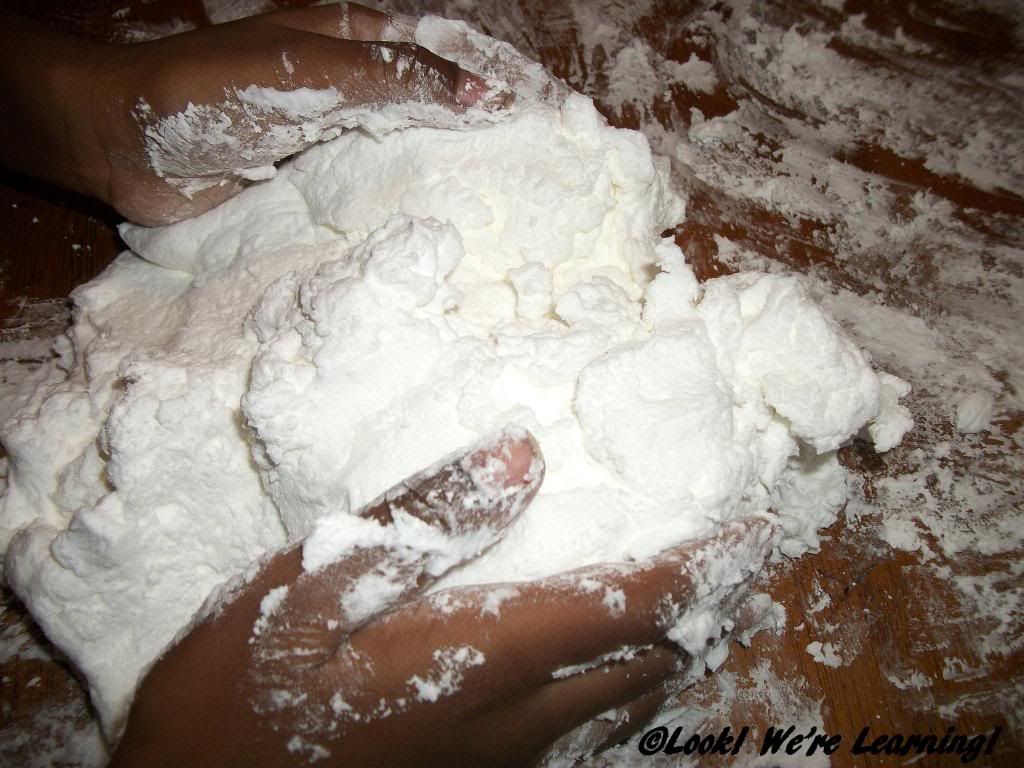
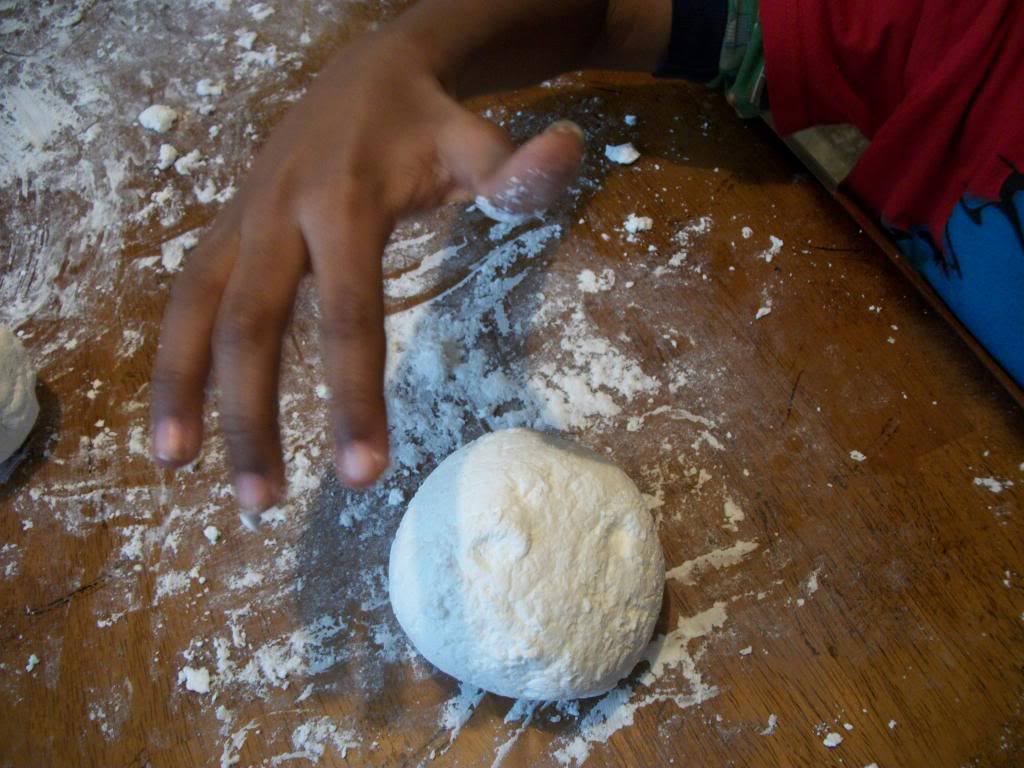
The interesting thing about making this dough is that when you first start to combine it, it looks like the cornstarch won’t stick to the shaving cream. We ended up using a rubber spatula to combine it. But the longer you work with it, the firmer it becomes.

Two Ingredient Foam Dough: Look! We're Learning!

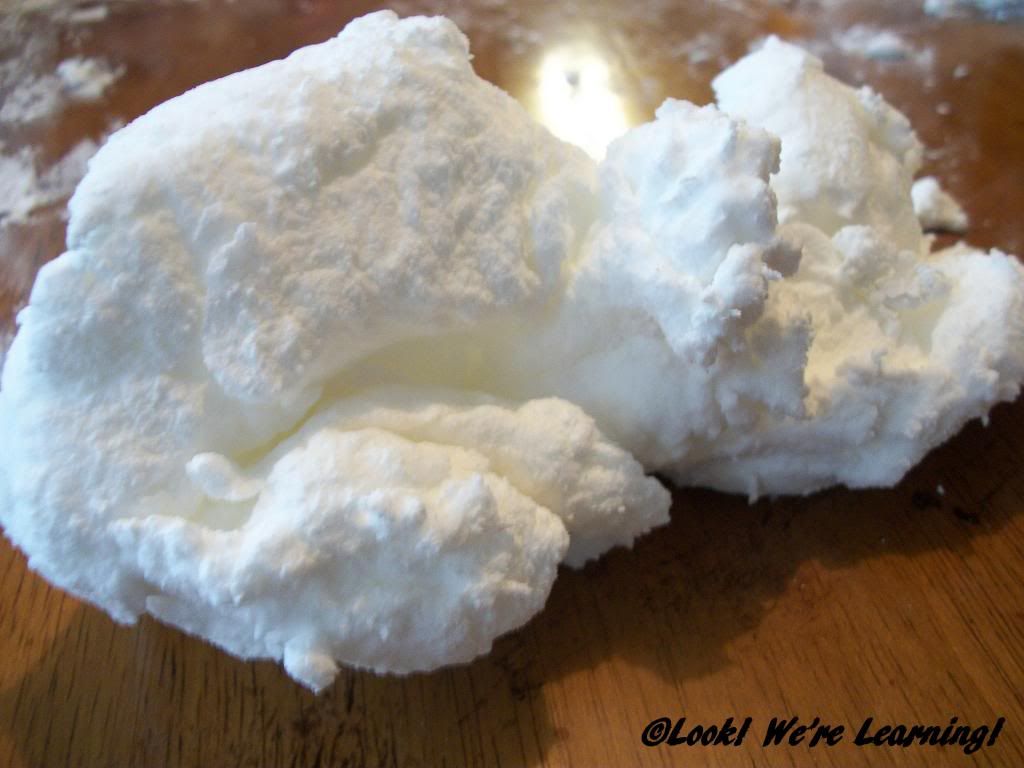
Until, eventually, you have foam dough!

Two Ingredient Foam Dough: Look! We're Learning!

Interestingly, Jay decided to add a bit of water to his batch. At first, it got slippery, but as he worked it, it got firmer and firmer until it was almost solid like chalk. The kids did the same thing and thought it was very, very cool.

It seems like if you were to add enough water and form the dough into a shape, you could probably actually make a sculpture – like you could with real Plaster of Paris. Just don’t expect it to last as long…lol.

Two Ingredient Foam Dough: Look! We're Learning!

What I really liked about this recipe is that it’s fairly easy to clean. When we were done, we just took a wet cloth and wiped the table down. Easy peasy!

We’d love to see your foam dough experiments! Feel free to share your foam dough fun below!

Please read the following guidelines before linking up.

Share family-friendly posts related to the month’s theme. Feel free to link old or new posts that highlight your favorite recipes for sensory dough. Failures and unsuccessful attempts are welcome.
We ask that no posts are linked with copy/paste recipes from other sources. If you use a recipe from another source, please link back to the original recipe.

By linking up, you give permission to share your post and one photograph in future posts and through social media channels.

Visit 2-3 other posts that others have shared. Discover new ideas and meet new friends!

The linky will remain open for two weeks. On the 12th of each month, all co-hosts will post a new dough with their spin, highlighting at least one post from the month before and pin each post to the 12 Months of Sensory Dough Board.

If you would like to, please grab the 12 Months of Sensory Dough button for your blog. And be sure to stop by and visit our co-hosts to get their take on the featured dough for the month!

Lemon Lime Adventures


Review: Reading the Alphabet Early Reading Program

August 20, 2013 by Selena Robinson 13 Comments

I received a copy of this program in exchange for this review. All opinions are my own. See my disclosure policy here.

Reading the Alphabet Review: Look! We're Learning!

Good morning everyone! Today we’re sharing a review of a fabulous early reading curriculum called “Reading the Alphabet” created by Becky at This Reading Mama. Becky’s website is dedicated to early reading curriculum for preschoolers and this program does not disappoint!

I decided to try the program with Roo, because he’s learned basic phonics but he still struggles with reading words on his own. One of his biggest problems is that he’s extremely active, so a typical reading workbook or approach doesn’t keep his interest long enough.

And that’s where Reading the Alphabet is different from many of these programs. There are so many hands-on activities that reinforce phonics skills that little ones don’t even have time to get bored!

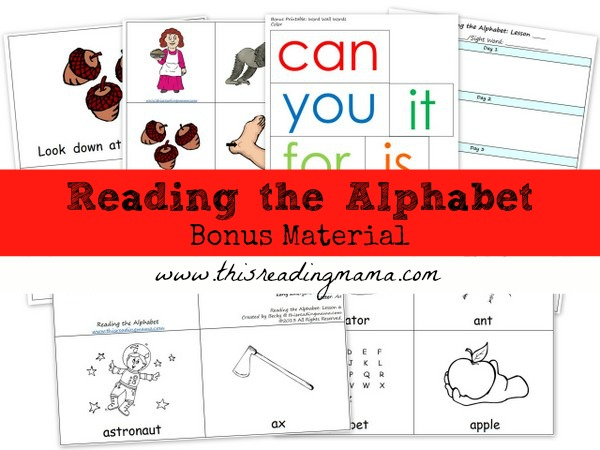
The first week of the program focuses on letter T and the sight word “A”. The program includes links to printable activities and instructions, which makes it simple for parents to know what we need for each unit. There are also unique printable activities that have been created exclusively for this program and, when I say the curriculum is full of activities, I mean it is LOADED with activities for kids!

Reading the Alphabet Review: Look! We're Learning!

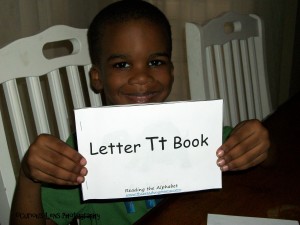
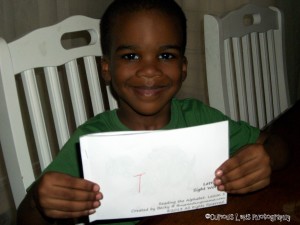
Roo began by making a couple of Letter T books. I put the first one together for him and then he made his own by arranging the pictures to match mine.

Reading the Alphabet Review: Look! We're Learning!

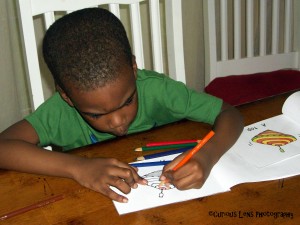
There’s his Letter T book. He even went through and colored the pictures to match the one I printed.

Reading the Alphabet Review: Look! We're Learning!

He was so proud of his book that he asked to look at it for the rest of the evening. He actually cried when it was time to put it away.

Reading the Alphabet Review: Look! We're Learning!

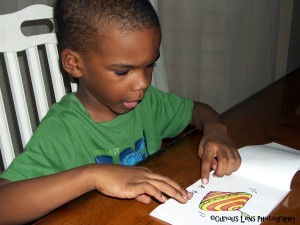
Both books feature sight words and CVC words that relate to the Letter T or the sight word “a”. On this page, Roo actually sounded out and read the word “top” by himself. (Happy dance!)

Reading the Alphabet Review: Look! We're Learning!

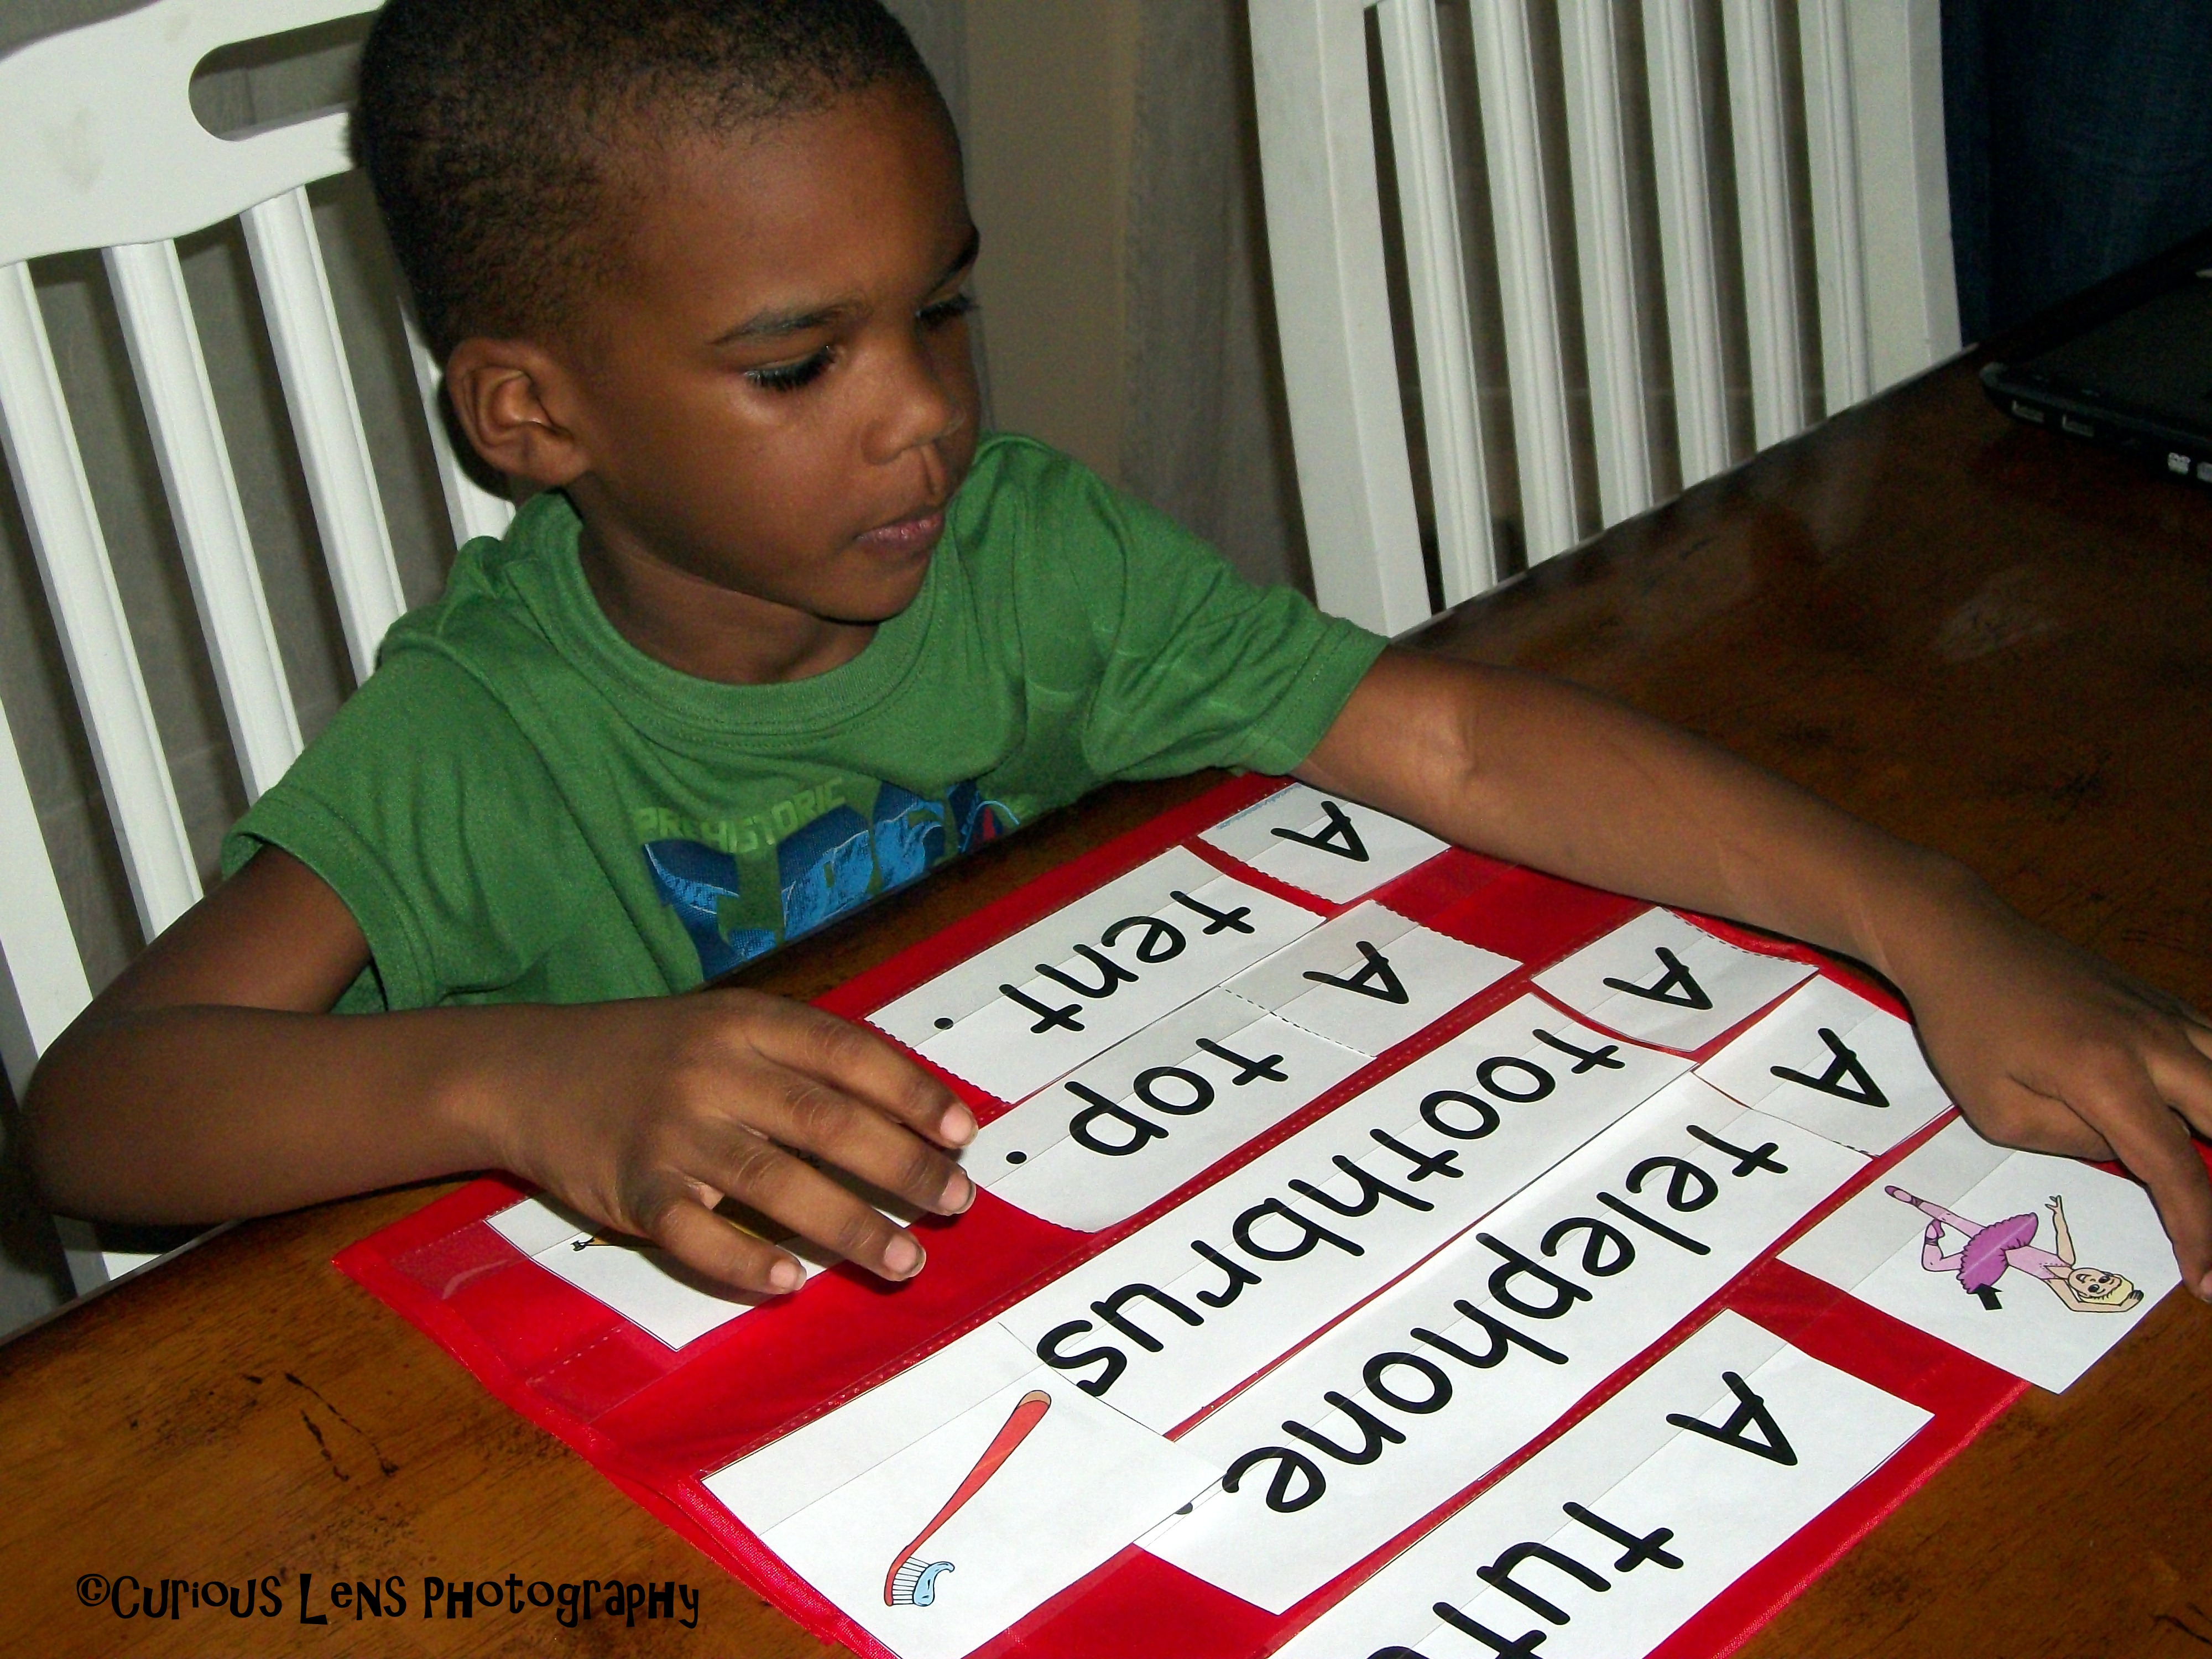
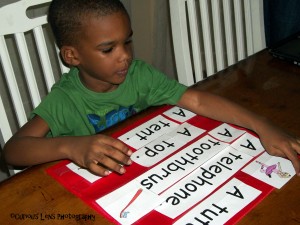
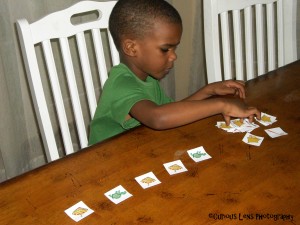
Another of the printable activities in Reading the Alphabet is a set of printable pocket chart labels with matching pictures. These labels and pictures are the same as those used in the Letter T book, so it was great for reinforcing the words Roo had just learned. He had fun matching up the labels and pictures!

Reading the Alphabet Review: Look! We're Learning!

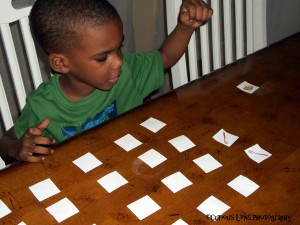
After we completed the pocket chart, we printed a set of pattern cards that highlights those same picture words. First, we played a game of concentration with them, so he could match them up and say the words aloud again.

Reading the Alphabet Review: Look! We're Learning!

Then we used them to make simple math patterns: turtle, top, top, turtle, top…., etc. Once he had completed all the patterns I assigned him, he decided it was time to have me guess the patterns he created. They were…interesting, to say the least.

Reading the Alphabet Review: Look! We're Learning!

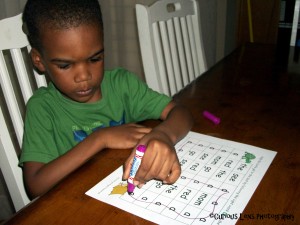
Roo followed a maze using the sight word “a”.

Reading the Alphabet Review: Look! We're Learning!

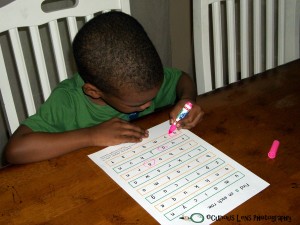
And he loved finding the word “a” in among other letters!

He was so disappointed when I told him it was time to stop. He kept asking when we would do more of the program. That’s when you know a curriculum is worth your time! We’ll be working through the entire curriculum with him during the year and posting about our progress along the way!

Reading the Alphabet Review: Look! We're Learning!

At This Reading Mama, you can view the program week by week for free or you can buy the complete Reading the Alphabet curriculum for just $10 and receive bonus material! Or you can enter the giveaway below for your chance to win the program free! Just complete the giveaway widget to enter:

Entry-Form
This easy textured sponge painting craft is a perfect preschool art activity! It only takes a few minutes!

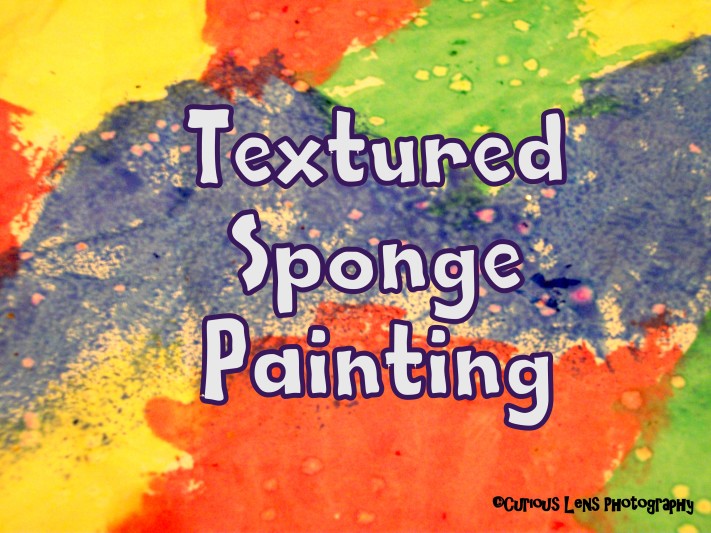
Textured Sponge Painting Preschool Craft

August 9, 2013 by Selena Robinson Leave a Comment

Art is one my favorite subjects to teach in our homeschool lessons. But when you’re starting with young children, I’ve found it best to keep the projects as simple as possible. After all, they’re not quite ready to study post-modernism. 🙂

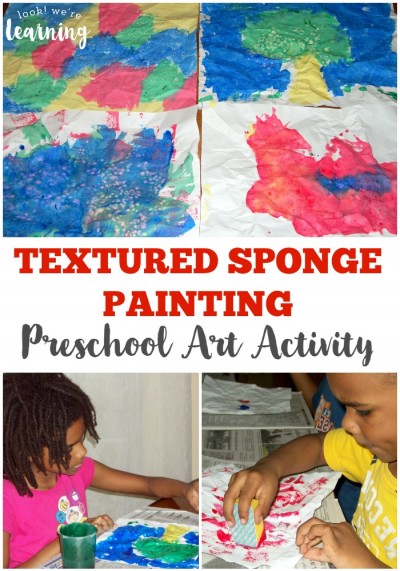
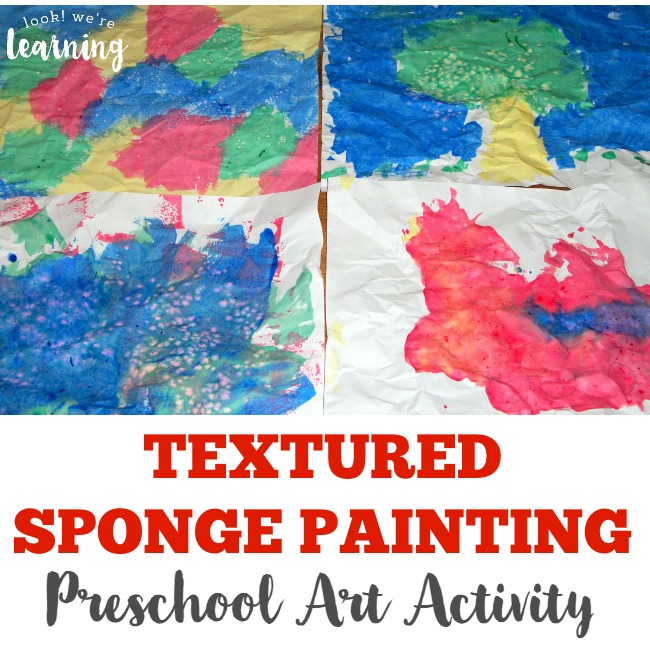
So we tried this easy textured sponge painting preschool craft with our kids and they absolutely loved it! It was a simple way to study color and painting while giving them a bit of sensory input at the same time.

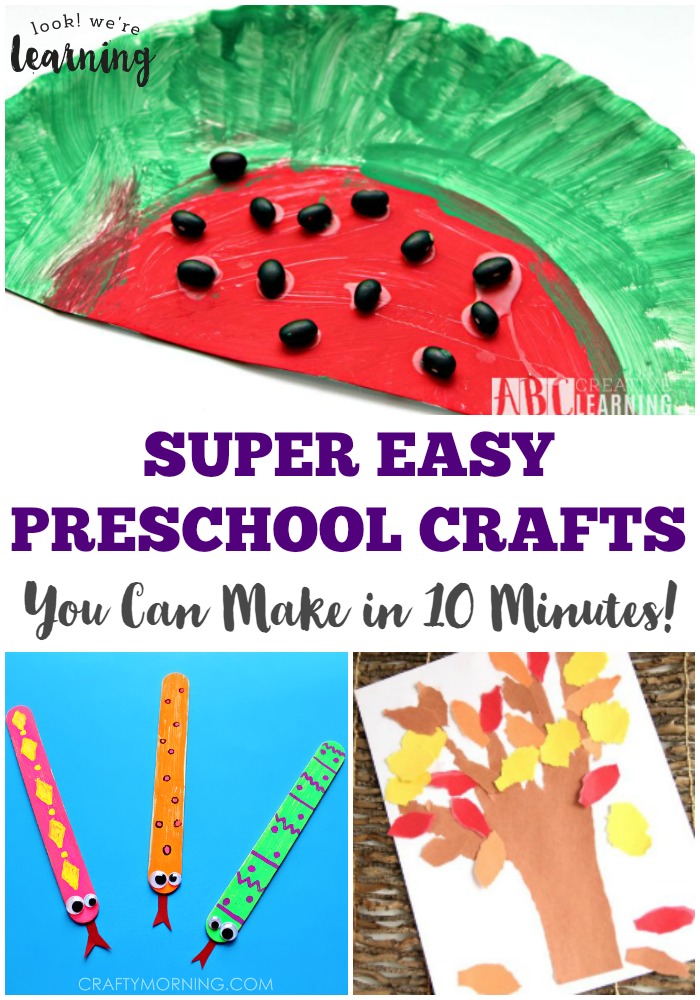
Read on to see how to do this simple art project with your kids! And if you love this craft, try our list of super easy preschool crafts you can make in 10 minutes!

This easy textured sponge painting craft is a perfect preschool art activity! It only takes a few minutes!

Textured Sponge Painting Preschool Craft

To do this craft, you’ll need the following:

  • Large kitchen sponge
  • Scissors
  • Fingerpaint
  • Painting paper
  • Paint cups
  • Newspaper
  • Sketching pencil (optional)

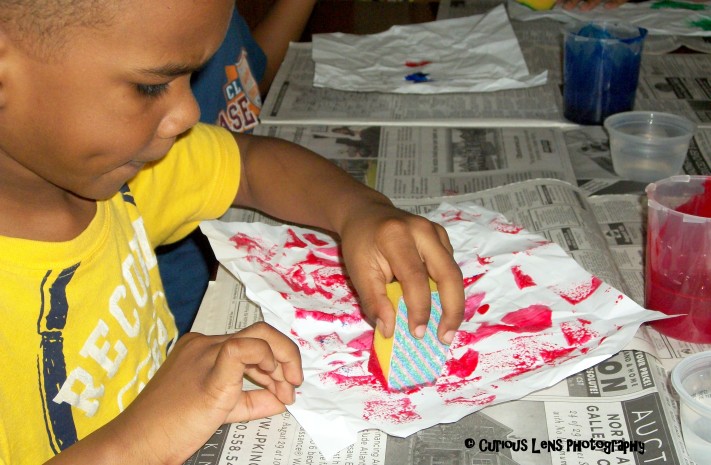
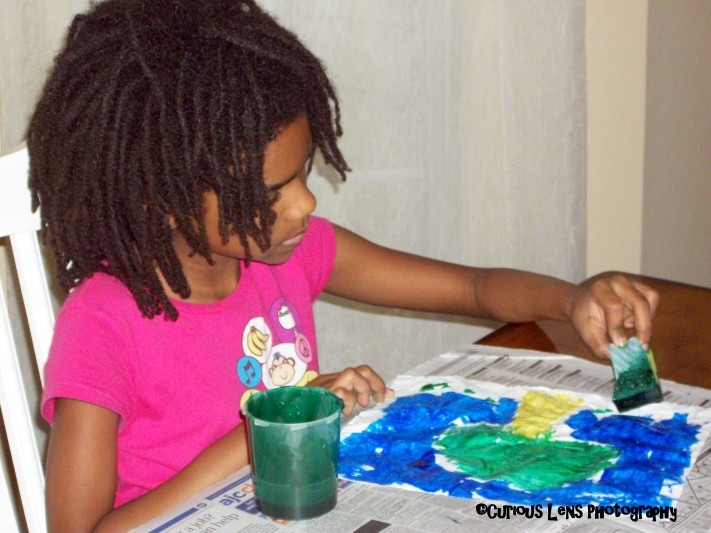
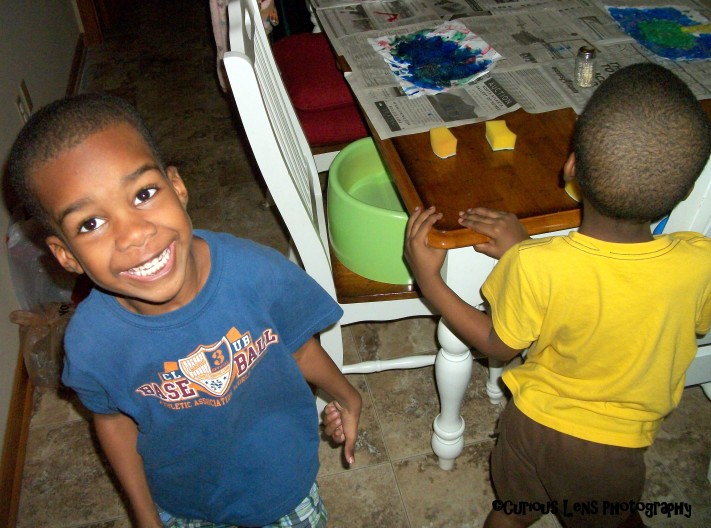
To set up this craft, we cut a large kitchen sponge into four pieces and handed them out. (This step should be done by an adult.)

Then we added a bit more texture by having the kids crumple up their paper before beginning. We found some super old fingerpaint (I mean, from when Tigger was a toddler) and added a bit of water to thin it out and then it was time to get started!

Textured Sponge Painting: Look! We're Learning!

When we asked Roo if he wanted me to sketch his design for him, he said “I want to make whatever I want to make.” Got it.

Textured Sponge Painting: Look! We're Learning!

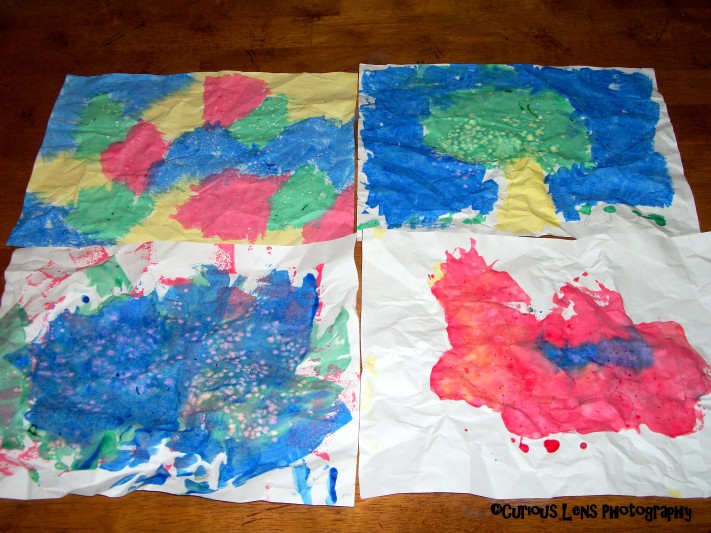
Tigger wanted to paint a picture of a tree, so I sketched it for her to give her a little guide since the sponge tips are so large.

Textured Sponge Painting: Look! We're Learning!

Pooh wanted to paint a train and it ended up not going as well as he would have liked. But the experience of painting was so fun that he was all smiles anyway at the end. I think that’s what art should be like for kids!

Textured Sponge Painting: Look! We're Learning!

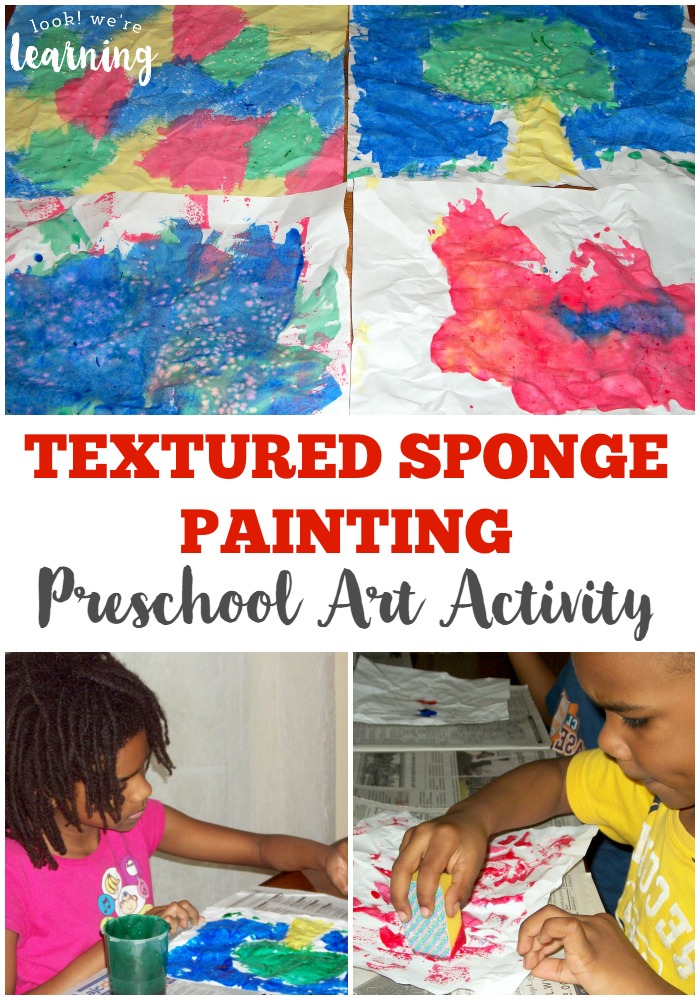
Here’s everyone’s work. Mine is at top left, Tigger’s is at top right, Pooh’s train is bottom right, and Roo’s unique individualist expression is at bottom left.

To give the pictures a bit more flair, we sprinkled glitter and colored salt on them before they dried. A simple introduction to Impressionism, perhaps?

Have you tried this textured sponge painting preschool craft with your kids? Let me know how it went in the comments!

Textured Sponge Painting Preschool Art Activity

Like this post? Try these other ideas for preschoolers!

These super easy preschool crafts are so simple you can make them in just 10 minutes!

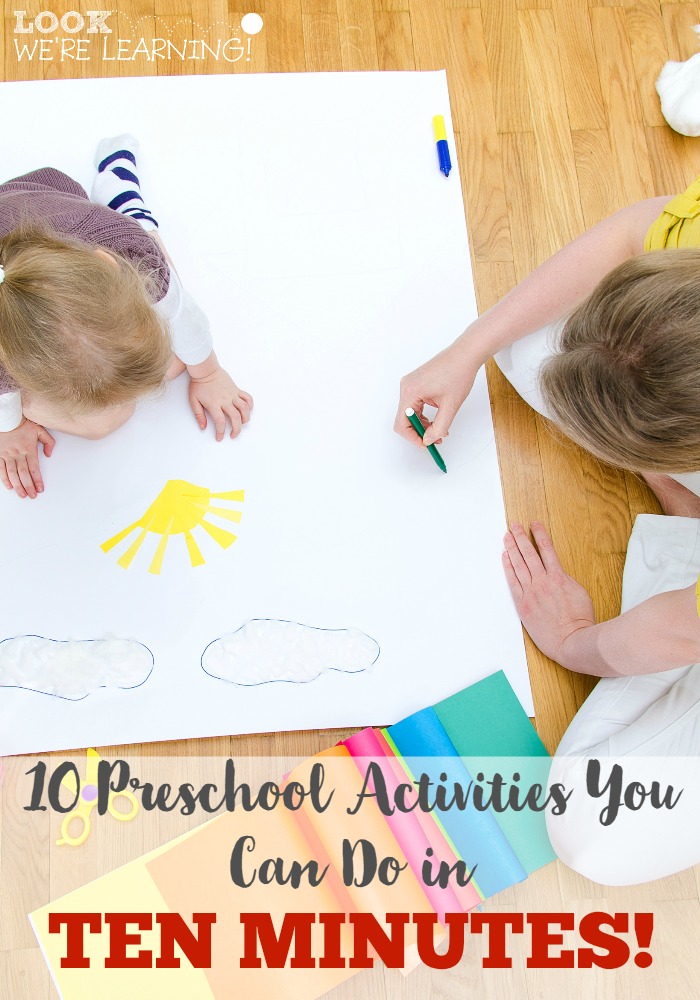
Ten Minute Preschool Activities

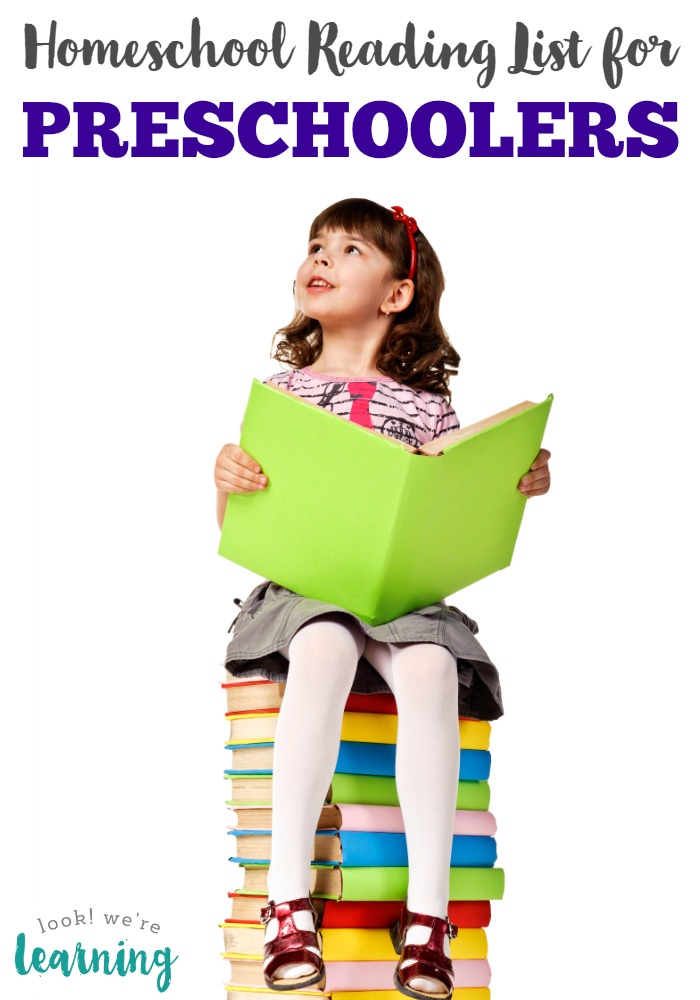
Help your preschooler love reading with this preschool homeschool reading list!

And get more ideas for preschool learning on my Learning for Little Ones Pinterest board!

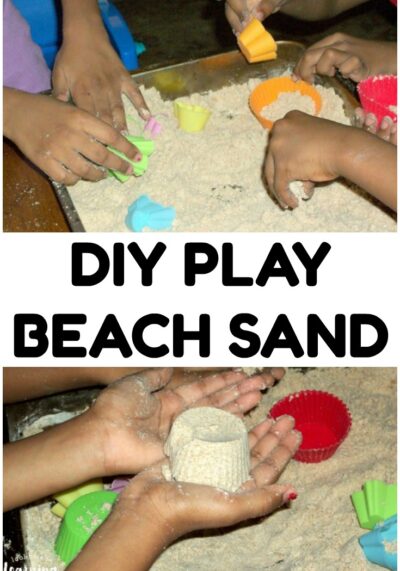
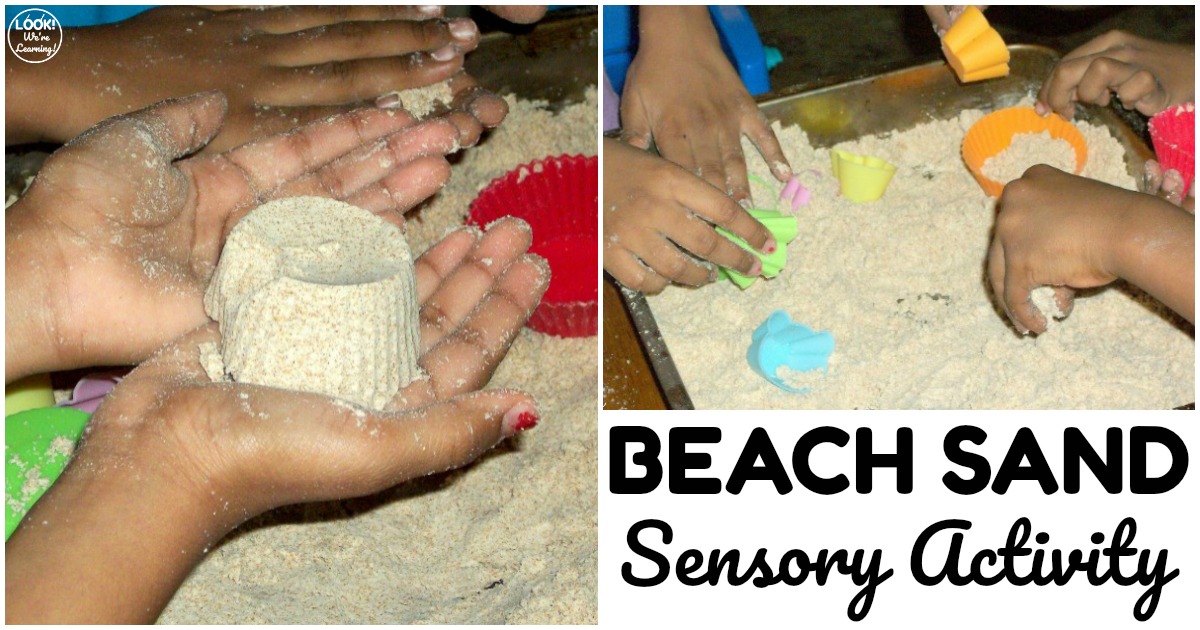
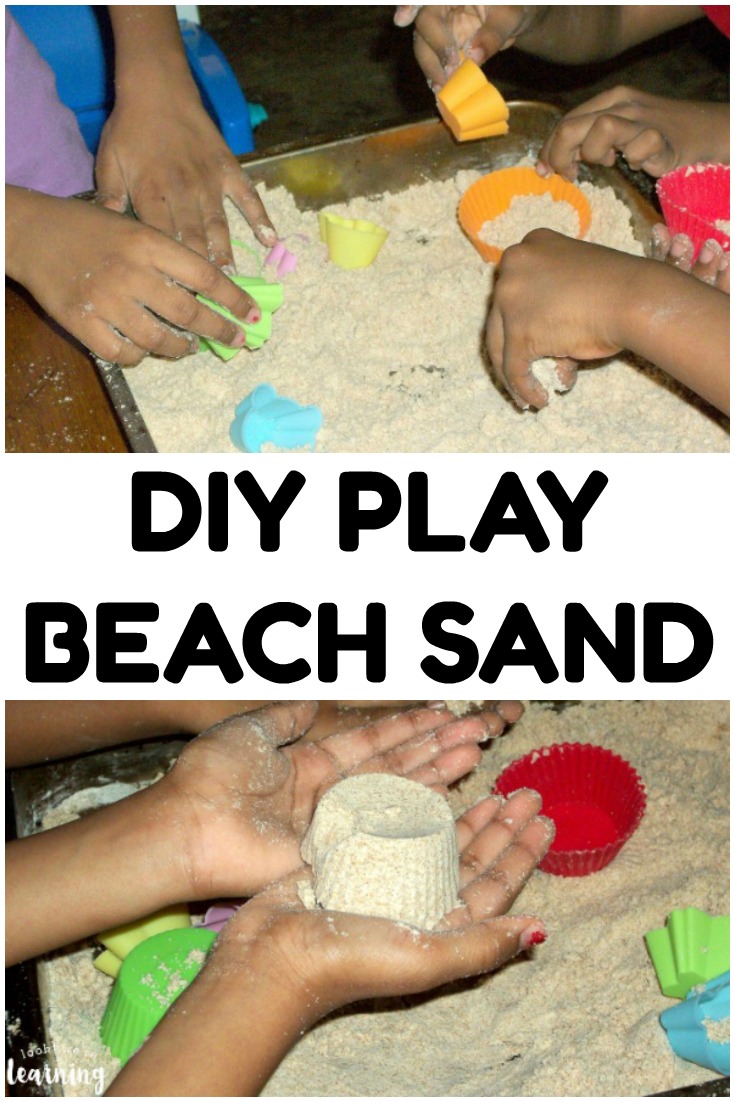
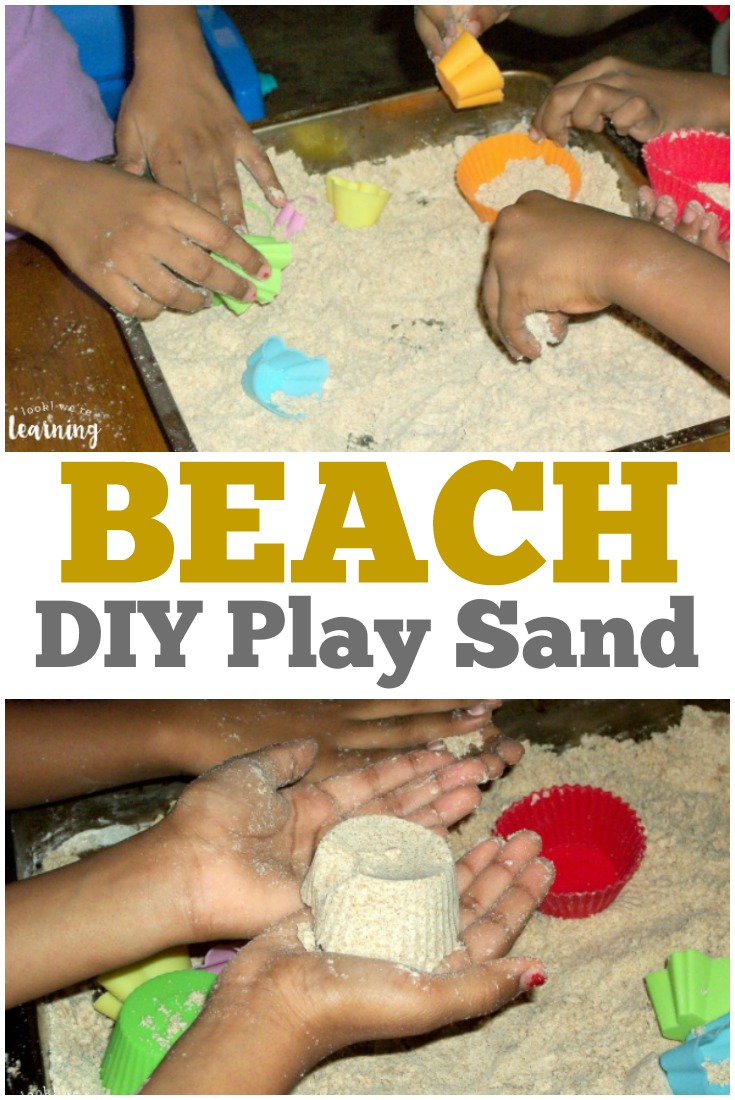
Make this simple DIY play beach sand recipe to share a summer sensory activity with the kids!

DIY Beach Play Sand Sensory Activity for Kids

July 29, 2013 by Selena Robinson 9 Comments

We usually do a family vacation in the summer, but the funds were just not there for it this year. Boo.

So we had to find a way to bring the beach to us. And that’s how we ended up making  this DIY beach play sand!

Our kids are huge sensory seekers, so this soft and moldable play sand was a wonderful sensory experience for them.

Fun Play Beach Sand Sensory Activity for Kids

I will say that it can be rather…messy, so take my advice and lay a few towels down before you get started.

After that, it’s a snap to make and they’ll play with it for hours!

If your kids love this, try our fun Coffee Filter Beach Ball Craft or read some sandy stories with our list of Beach Books for Kids!

Make this simple DIY play beach sand recipe to share a summer sensory activity with the kids!

DIY Beach Play Sand Recipe

To make this beach play sand sensory activity, you’ll need the following: (This post contains affiliate links. For details, see our Disclosure Policy.)

  • Whole wheat flour
  • Baby oil
  • Silicone baking molds
  • Large container for holding the “sand” (We just used our roasting pan.)

How to Make Play Beach Sand

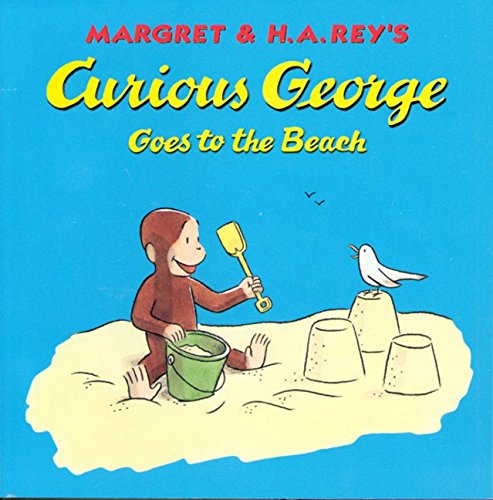
We started off by reading the classic book Curious George Goes to the Beach.

In the story, George explores the water, builds sandcastles, and (of course) makes a mess by being curious.

Curious George Goes to the Beach
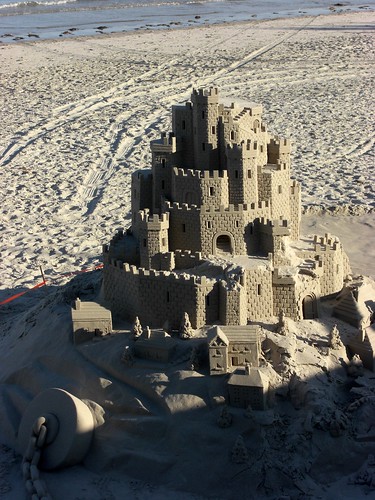
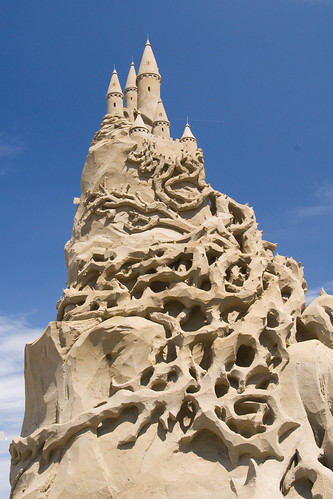
Then we looked at some pictures of professional sand castles. The things people can do with sand and spray bottles are just incredible.

A Proper Sand Castle on Jersey

C/O: Tim Jenkinson

Sleeping Beauty Castle

C/O: Jeroen Kransen

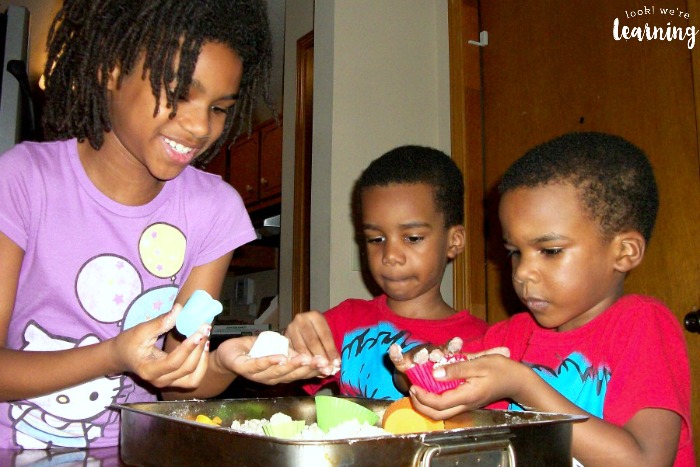
Naturally, the kids wanted to play around with some sand of their own.

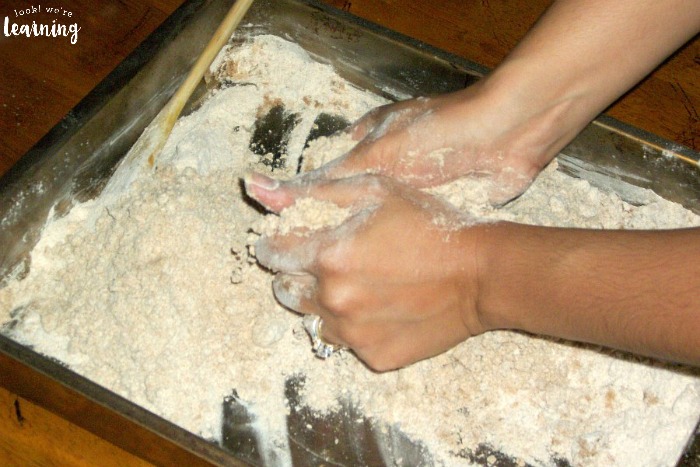
To make our own “sand”, we used a classic play sand recipe featuring one part baby oil to eight parts flour.

I decided to use whole wheat flour, since it looked more like authentic sand than white flour.

DIY Play Sand Recipe

I had to work the baby oil in with my hands to get it to distribute evenly. It was actually quite therapeutic.

DIY Sensory Sand Play

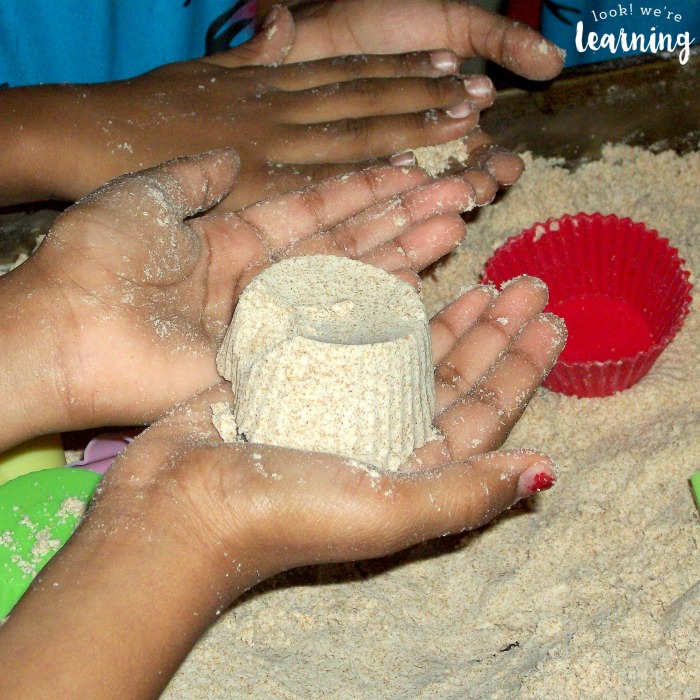
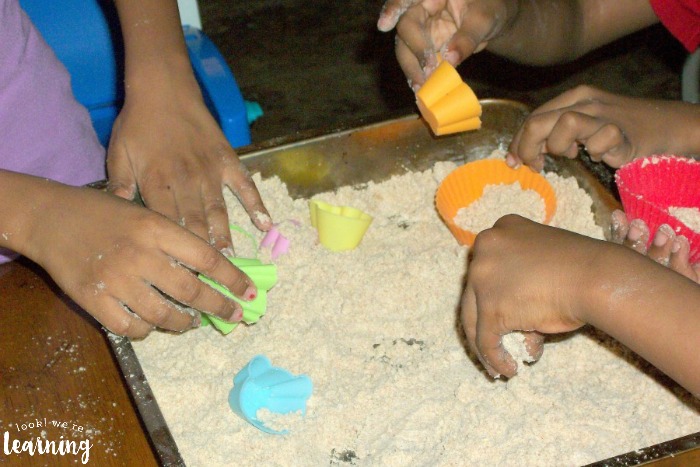
Then we dropped in some silicone baking cups and a few bento molds and the kids got to work!

DIY Beach Play Sand

I just stuck our “sand” in a roasting pan, but you could easily make this on the driveway or in a sandbox.

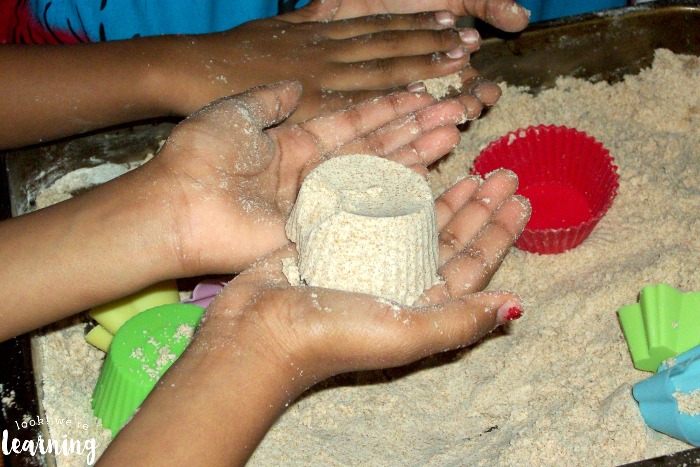
How to Make Sensory Sand

See how well it sticks together?

It works beautifully with baking molds, but if you have buckets or sandcastle molds, this would be fun to use with those as well.

DIY Sensory Play Sand Recipe

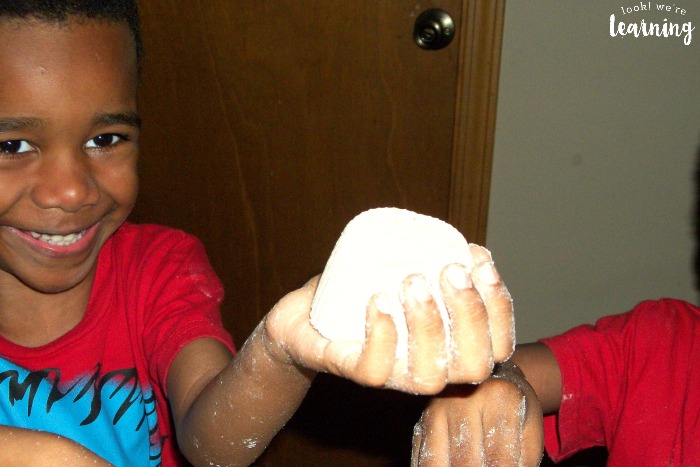
The kids absolutely loved it! And it literally took five minutes. Beach fun without sand in your shorts!

Make this DIY play sand for some beach fun at home!

Love this activity? Don’t miss these other fun summer ideas!

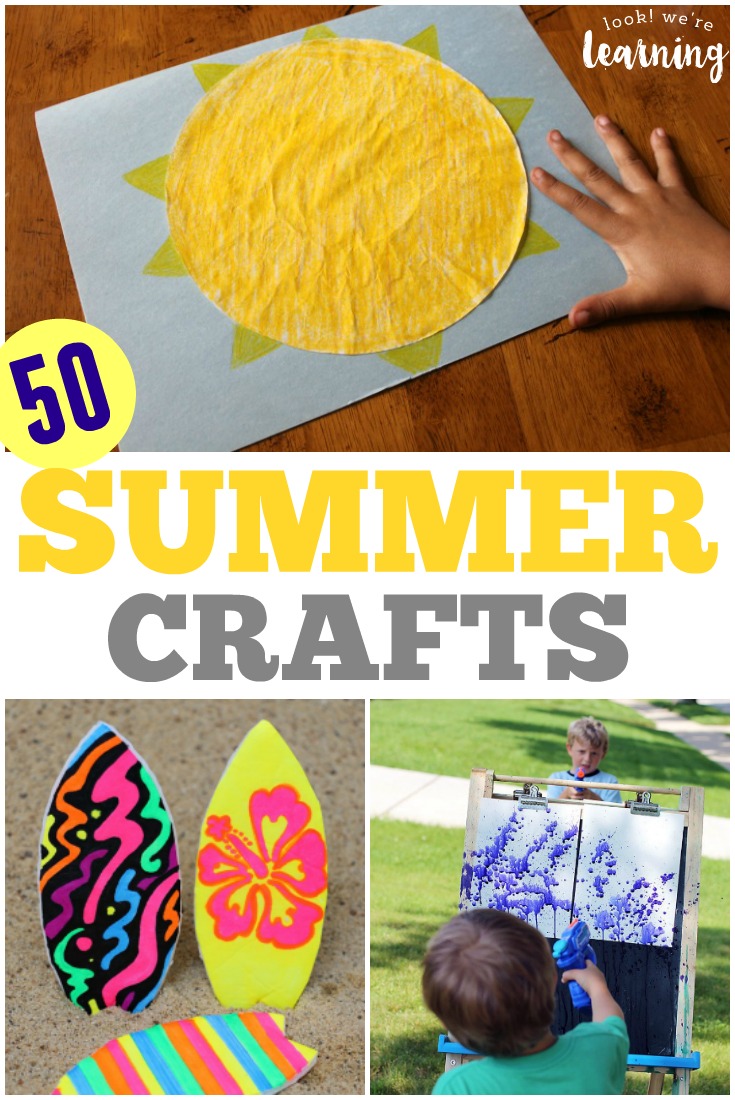
Try some of these fun and easy summer crafts for kids with your children this year!

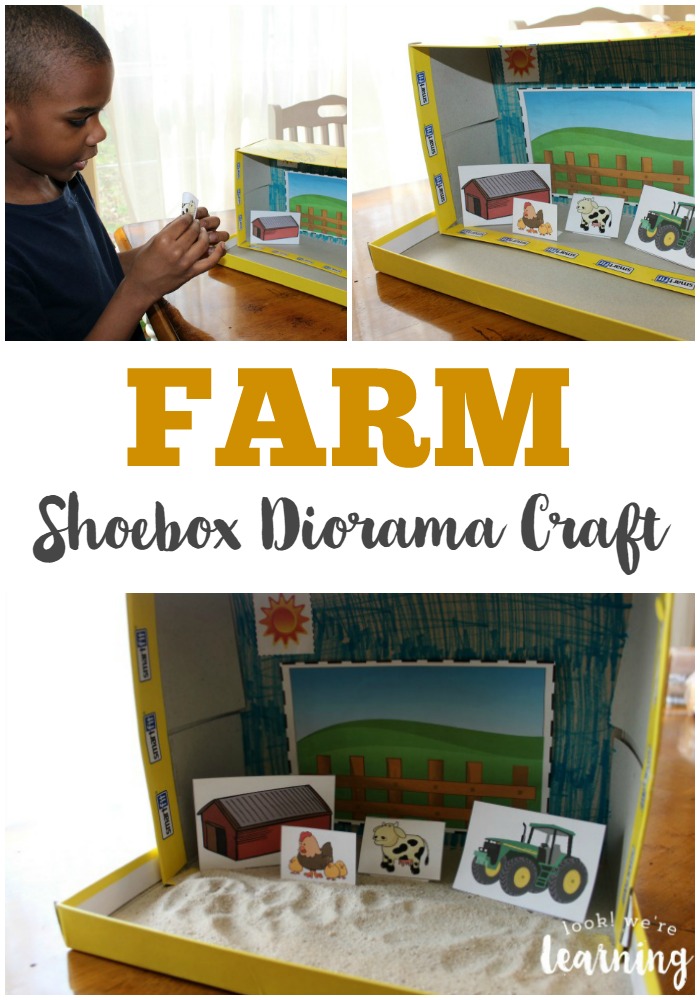
Super Easy Farm Shoebox Diorama Craft

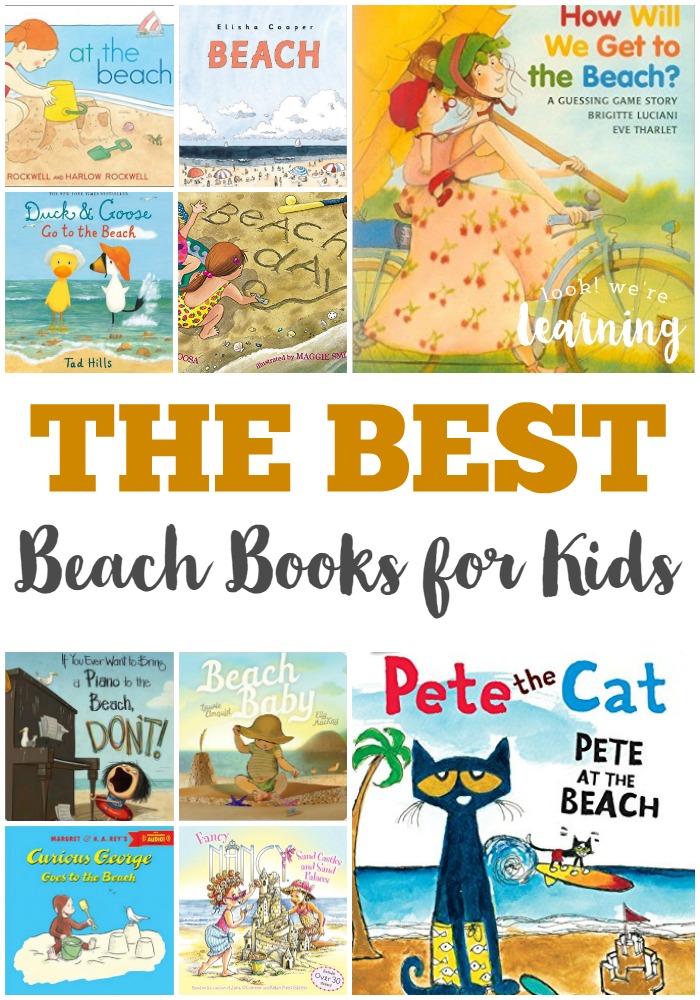
The Best Beach Books for Kids

This post is part of the Summer Book and a Big Idea linkup from iHomeschool Network! Click on over to read more book-based learning ideas from my fellow bloggers!

Summer Book and Big Idea

Poppins Book Nook: Making Helicopters!

June 25, 2013 by Selena Robinson 5 Comments

*Disclosure: This post contains affiliate ads.*

It’s our first time joining the Poppins Book Nook blog hop and we’re extra excited to show you a couple of our transportation-themed activities! First we got started by reading a couple of Anne Rockwell books:

In both books, our kids took to the helicopters and trains. That’s actually pretty natural, since until a few months ago, they were Thomas and Friends addicts. Naturally, we followed up our reading by watching Go-Go Thomas.

As we watched the show, the kids called out the different vehicles they saw: trains, helicopters, boats, front loaders, buses, and more. (Of course, they called them all by name.) Afterwards, we decided to make our own helicopters. I stuck a push pin through a popsicle stick and then stuck the pin tip into a pencil eraser to make DIY helicopters.

Now the trick with these is to rub them back and forth between your palms and then roll it once all the way through to make them fly. It takes quite a bit of practice, but the kids were up to it!

Look at the determination and intensity on Pooh’s face!

Success!

Piglet was rather bored by it all, but we had a great time!

Be sure to visit the other blogs participating in the Poppins Book Nook fun this month!

Enchanted Homeschooling Mom – Royal Baloo – 3 Dinosaurs – Monsters Ed – Chestnut Grove Academy – Growing in God’s Grace – Royal Little Lambs – Life with Moore Babies – Teach Beside Me – The Usual Mayhem – Mum Central – Fantastic Fun and Learning – Kathys Cluttered Mind – Play Create Explore – Toddler Approved – Growing Book by Book – Adventures in Mommydom – B-Inspired Mama – The Fairy and The Frog – Edventures with Kids – Learning & Growing the Piwi way – A Gluten Free Journey – Mom to Crazy Monkeys – No Doubt Learning – Preschool Powol Packets – To The Moon and Back – Our Craft ~N~ Things – Farm Fresh Adventures – Proverbial Homemaker

And stop by tomorrow to see another one of our transportation activities from June! Keep on learning!

Sensory Play with Magic Muck

February 18, 2013 by Selena Robinson 9 Comments

You ever have one of those days when the kids are just bouncing off the walls but it’s too cold to go outside and you’re too broke to go anywhere else? Yeah, that was us one day last week. Plus, Piglet was nursing constantly and I was just exhausted and desperate for something for the kids to do. As a last resort, I went rummaging through our homeschool closet for a quick activity that wouldn’t be too messy or expensive.

Then I remembered the book: The Ultimate Book of Kid Concoctions: More Than 65 Wacky, Wild & Crazy Concoctions.

I got this over a year ago, but I think we’d only made one thing from it before last week. (I’m really awful about that.) Anyway, I looked through it and ah-ha! Magic Muck sounded like a perfect time-filler, especially since our kids are extreme sensory seekers.

What is Magic Muck, you ask? It also goes by the name “Oobleck“, so you’ve probably heard of it before. It’s just cornstarch, water, and a bit of food coloring. But, the neat thing about it is that the mixture behaves differently, depending on how much pressure you apply. When you initially touch it in the bowl, it feels firm, but when you pick it up and squeeze it, it runs through your fingers like a liquid. Very cool.

We laid down some packing paper and stood at the table to feel it. Instead of giving each child his or her own bowl of it, I did a communal bowl to encourage everyone to stand still. I’m sure that if all the kids had a bowl, I would still be cleaning Muck off the walls a week later.

See how the texture looks firm in the bowl, but runny off of Tigger’s hand?

The funny thing about sensory play is that you never know how the kids will respond. Tigger and Pooh loved it. In fact, they’ve been asking to do it again every day since. Roo? Not so much. I brought him a bowl of water to rinse his hands in and he asked if he could just put his hands in that for play instead. Which he did happily for over 20 minutes.

To each his own…

Have you used sensory play with your kids? We’d love to hear about your experiences in the comments. Keep on learning!

Pley - Rent LEGO Sets!

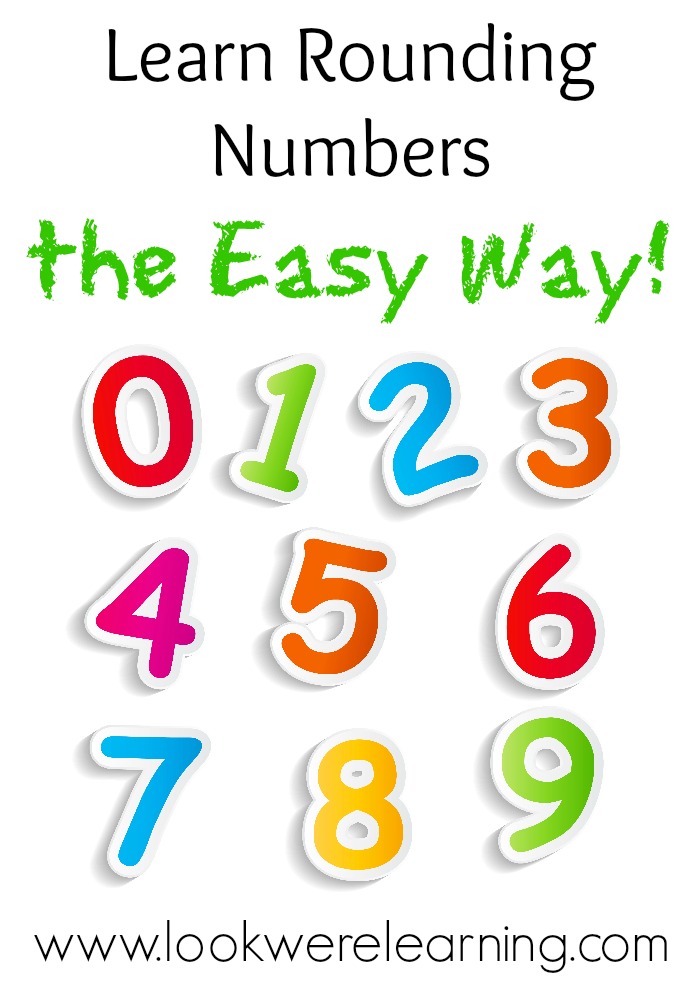
Learn Rounding Numbers the Easy Way

January 28, 2013 by Selena Robinson Leave a Comment

Okay, I admit it: I’m not the most patient person in the world. Which is yet another reason why I love homeschooling so much. We don’t have to meet arbitrary deadlines for scholastic progress, so I can take as long as we need to cover one topic.

One of the things Tigger struggled with early on was rounding and estimating. When we originally covered it in grade one, she couldn’t let go of counting each number and just guess at the amount. But, when you think about it, that makes sense.

We spend weeks teaching them how to count and then after they learn that, we tell them, “Okay, now don’t count. Just guess how many you think there are.” In retrospect, that does seem kind of silly.

Thankfully, I found an easier way to help her learn rounding numbers!

Learn Rounding Numbers the Easy Way

Image: ganko / Dollar Photo Club

Learn Rounding Numbers the Easy Way

Instead of trying to discuss rounding over and over again, I just dropped it and decided to come back to it later. This time, she picked it up on the very first day. She learned rounding and I got yet another lesson in being patient.

Tigger really does well with step-by-step processes, so I used this anchor chart that I saw on Pinterest as our guide for the week. With each problem, we walked through the process and by the end of the lesson, she was doing it in her head.

The basic strategy to learn rounding numbers is:

1. Find the place to which you are rounding.

2. Locate the number to the right of that place and draw an arrow to it.

3. If the number is 5 or more, you round the underlined place up.

4. If the number is less than 5, you keep the number in the underlined place the same.

5. Change everything from the arrow to the right to a zero.

Done!

It does take a few tries and we spent our entire math lesson that morning going over the steps. But when Tigger got it, she retained it and (finally!) conquered rounding. 🙂

Now I’m not a professional educator, so I don’t use anchor charts all the time, but I have found them to be extremely helpful for teaching multi-step processes. If you’d like to look at some of my inspiration, follow my Anchor Chart Ideas board on Pinterest!

Follow Selena – Look! We’re Learning!’s board Anchor Chart Ideas on Pinterest.

 How did you help your kids learn rounding numbers? Share your tips in the comments!

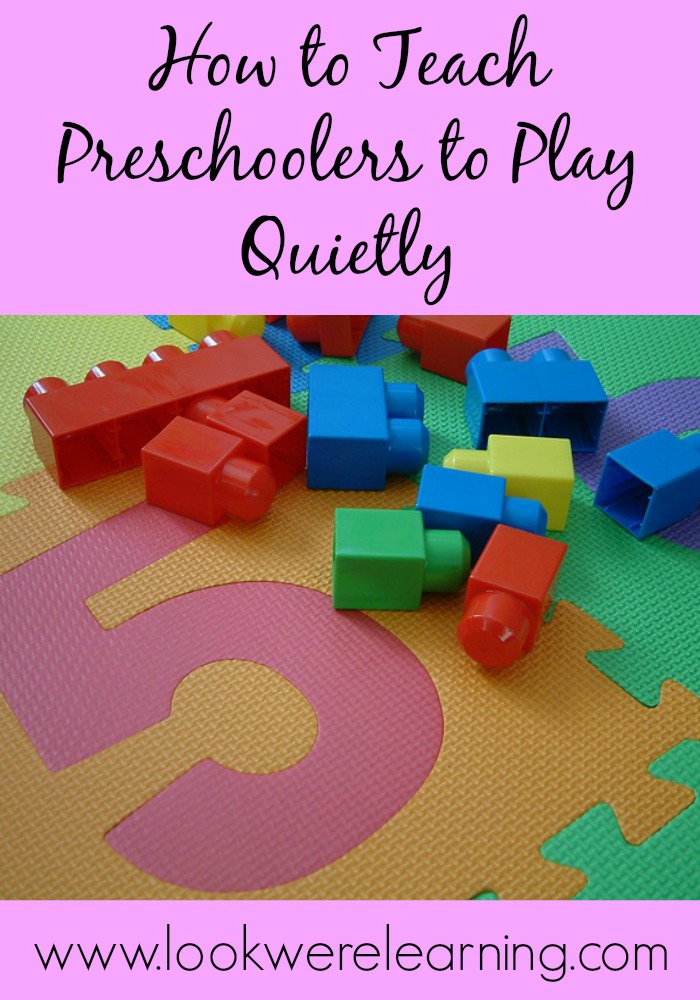
How to Teach Preschoolers to Play Quietly

January 28, 2013 by Selena Robinson 1 Comment

Are you homeschooling more than one child? If so, you’ve probably dealt with the challenge of getting your preschoolers to play quietly while your older kids are working. When I first started this school year, I envisioned all of my children sitting quietly at the table working together.

Here’s the problem with that scenario: Roo and Pooh are three and four years old, respectively. They’re not going to sit quietly on their own for long.

Instead of peacefully working, Roo took to making faces at Tigger while she was trying to work and Pooh busied himself by asking me a million and one questions. Something had to give.

Fortunately, I learned a wonderful way to teach preschoolers to play quietly and I’m sharing it with you all today!

How to Teach Preschoolers to Play Quietly

How We Taught Our Preschoolers to Play Quietly

What helped us get our preschoolers to play quietly? Morning Time.

When you get a chance, click over and read the post about Morning Time at Hodgepodge to find out what it entails, but it’s basically a training session to help the younger kids get used to working quietly by themselves.

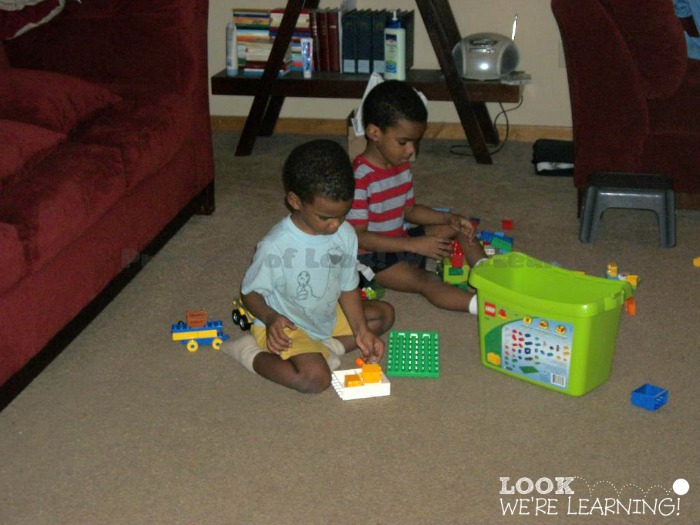
I decided to let them listen to a Bible drama about the 10 Plagues and play with LEGO DUPLO Blocks. It did take a few tries to help them understand that they actually had to be quiet for about 20 minutes, but they got the hang of it by the end.

Tips for Getting Preschoolers to Play Quietly

That picture right there? A thing of quiet beauty and a joy forever. 🙂

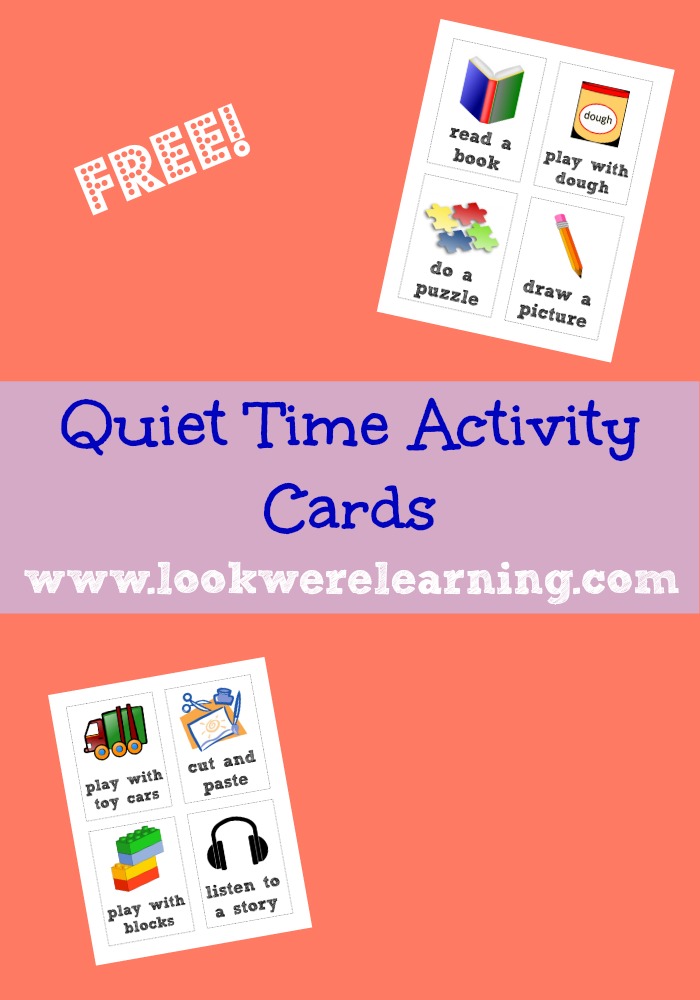
We also instituted a list of Quiet Time activities. Since the boys aren’t reading yet, I made a sheet with pictures of quiet activities they can choose from.

They can select which one they want to do and then stick with it for 20 minutes while I finish a lesson with Tigger. It’s working so far!

Quiet Time Activity Cards

If you’d like to use a Quiet Time activity list with your kids, feel free to download our free Quiet Time Activity Cards! You can cut them out, laminate them (here’s an affiliate link for my favorite laminator), and let your preschoolers pick which activity they’d like to do!

To get your set, click the image or the link below to download them!

Learning Printables from Look! We're Learning!

>>>Free Quiet Time Activity Cards<<<
Teach Preschoolers to Play Quietly

Resources to Help Preschoolers Play Quietly:

Here are some more excellent resources to help your kids learn to enjoy quiet play!

  • Big Mazes & More Workbook: Ages 6-8
  • Alma’s Designs My Quiet Book
  • Melissa & Doug Wooden Jigsaw Puzzles in a Box – Vehicles

For more resources for your smallest learners, follow my Learning for Little Ones board on Pinterest!

And get even more ideas for parenting little ones below!

The Best Picture Books for Three-Year-Olds

The Best Picture Books for Three-Year-Olds

Free Printable Flashcards: Alphabet Animals - Look! We're Learning!

Free Alphabet Animals Flashcards

Ten Minute Preschool Activities

10 Ten Minute Preschool Activities


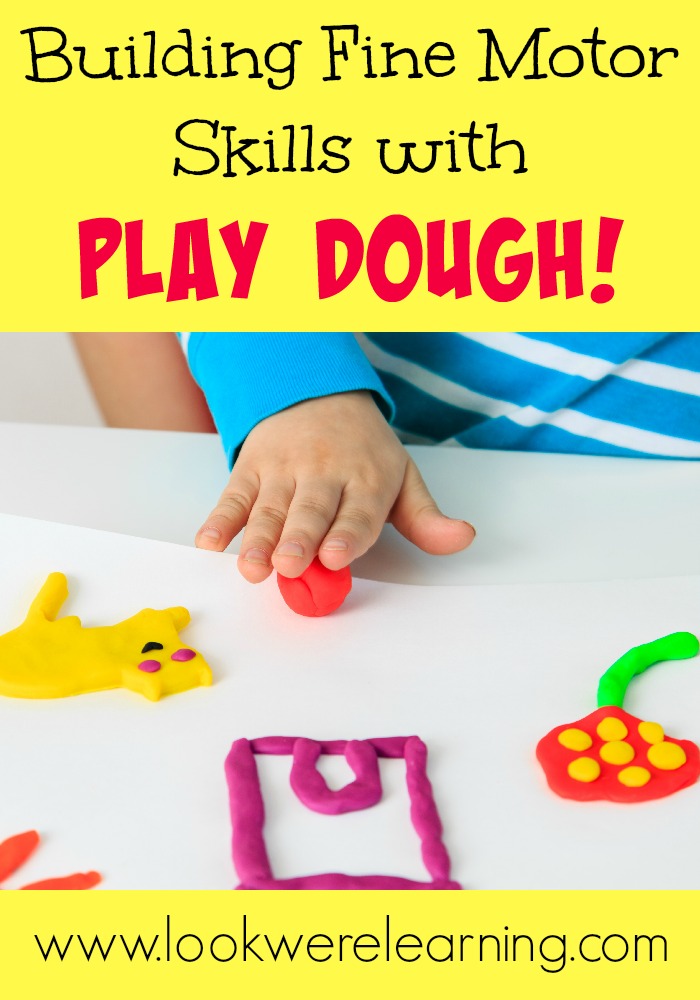
Building Fine Motor Skills with Play Dough

January 21, 2013 by Selena Robinson 4 Comments

In case you missed our previous post about my homeschooling resolve in 2013, one of the things I’m focusing on is being less “boring” around my kids. So, I’m trying to add in more art play since everyone loves art in our house.

Our boys, Roo especially, really need to work on fine motor skills. And I wanted to help him improve those skills without making it into a chore he’d hate.

To make the day less “school-y” and more fun, we decided to work on building fine motor skills with play dough! Talk about something that’s not a chore at all, right? 🙂

Building Fine Motor Skills with Play Dough

Image: nadezhda1906 / Dollar Photo Club

Building Fine Motor Skills with Play Dough

I’ve actually had these Play-Doh sets for a while but we haven’t played with them nearly enough over the years. One is the Barnyard Pals playset and the other is the Sweet Shoppe playset.

When we work with play dough, I like to have the kids use tools to shape it and manipulate it. That way, the kids can work on using their hands to grasp, pinch, and move small bits of dough. Fine motor skills ahoy!

As you can see, this is not an activity that requires any direction from me whatsoever. I just bring out the set and hand out the canisters and let them get to it. 🙂

Roo was content to sit and make Play-Doh ice cream all morning.

Pooh used multi-colored Play Doh to make some pretty colorful dreadlocks on a plastic pig.

As someone who has dreadlocks, I was only moderately offended.

Tigger made a blue mohawk on her purple rooster.

Pretty sharp, huh? I think I’m raising a house of future hairdressers.

Once we were finished, it was time to reinforce fine motor skills by….cleaning up! I’m only half kidding. Trying to get all those tiny bits of dough up is actually a pretty good skill builder. 🙂

How do you help your kids with building fine motor skills? Let us know in the comments!


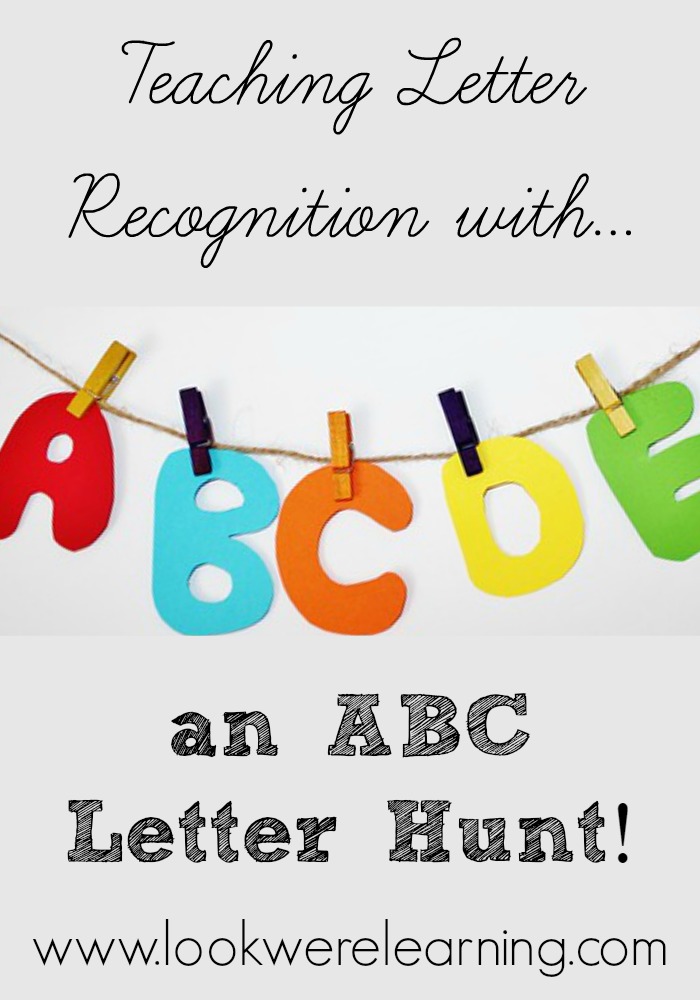
ABC Letter Hunt for Preschoolers

January 14, 2013 by Selena Robinson Leave a Comment

Today ended up being ABC day in our house. While I didn’t set out to work on letter recognition today, it just kind of…happened. But that’s homeschooling for you! 😉

Pooh and Roo, in particular, are at the age where they’re interested in learning the alphabet. And I’ve been wanting to teach them to “spot” letters, so it was a fine day for an ABC letter hunt!

ABC Letter Hunt for Letter Recognition

Our ABC Letter Hunt

At the library last week, Roo picked out the book “The City ABC Book” by Zoran Milich and we read it last night before bed. It’s a really cute book, showing how you can find the ABCs in common city signs and buildings.

I don’t think I would have ever looked at a bicycle path marker and seen an uppercase “Q”.

Naturally, we had to spend today looking for letters in our house. Tigger spotted this uppercase “O” right away.

Pooh found a lowercase “r” – the nozzle on the lotion bottle. (That was a pretty good one, if I say so myself.)

Tigger noticed an uppercase “X” in our bookcase.

I found lots of uppercase “H”s in the crosshatches of our board game chest.

And Roo found an uppercase “C” in our nursing pillow.

Have you had an ABC letter hunt with your kids? What letters can you find around your home? Let us know in the comments!

Keep on learning!

Feet of Strength….

October 10, 2009 by Selena Robinson 1 Comment

So before jumping in the dino-stuff, I thought I’d finish up what we had left of me and myself. (Remember that way back when in September?)

Recognize this book?

A classic, right?

We decided to check out our feet, so we did the most natural thing, which is, of course, tracing around our feet with markers. Doesn’t everybody do that?!?

Here are Tigger’s:

Here are mine: (don’t laugh)

After some beautifying, we ended up with these:

After supplying Tigger with a brown crayon for her left foot, I asked her what color she wanted for her right foot. She replied, “Green”. When i asked why, she answered, “I like green feet”. …um, okay….

We cut them out and were prepared to finish, when Christopher Robin suggested the great idea of tracing Pooh’s feet. Here they are in all their adorableness:

So teeny! I mentioned doing Roo’s feet, but we didn’t think he would hold his toes out long enough… 🙂

All together now…

Anyone care for a waltz?

  • « Previous Page
  • 1
  • 2
  • 3
  • 4
  • 5
  • Next Page »
Hi! I'm Selena, a veteran teacher and homeschool mom to four. I'm so glad you're here!
About Me Contact Terms of Use Privacy Policy Places I Share
Facebook Pinterest Instagram
Homeschool Printables Unit Studies Shop the Store
Copyright ©2026, Look! We're Learning!. All Rights Reserved. Design by Pixel Me Designs