Making animal crafts during fall is such a fun way to welcome autumn with early learners.
But when you’re working with preschoolers or kindergartners, you don’t usually have much time to get a craft completed.
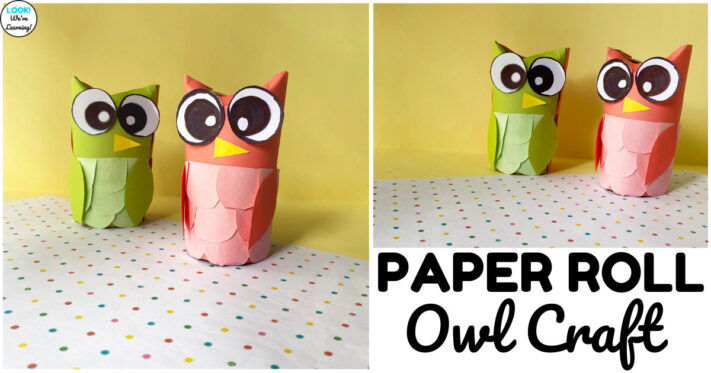
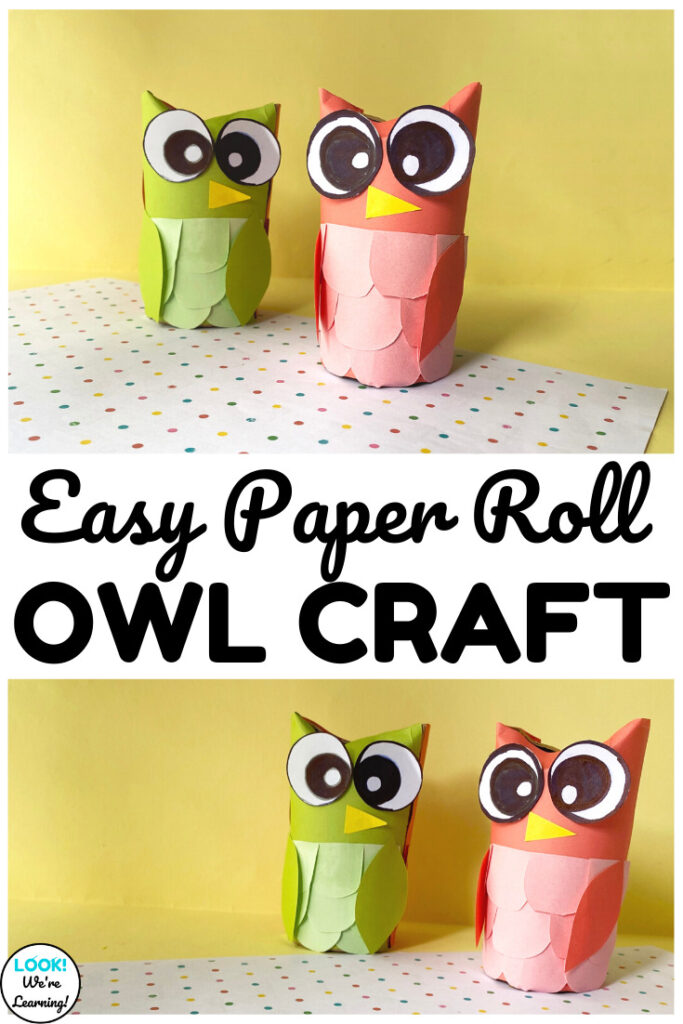
This toilet paper roll owl craft is just the activity for the job!
When my kids were younger, we went to the zoo often. And one of our favorite animals was the Great Horned Owl.
We don’t have owls in our neighborhood, so that was the first time we got to see one in real life. It was gorgeous.
I wanted to hear it hoot, but owls are nocturnal animals, and they spend most of the day sleeping. Oh well.
If you make a group of these paper roll owls with your class, though, I’m sure they’ll be happy to supply the hoots!
Read on to see how to make this craft and to get the printable owl craft template.
And, for more fun with owls, take a look at our list of engaging owl books for kids to read!
What Do You Need to Make a Toilet Paper Roll Owl Craft?
What I like about this easy owl craft is that you only need a few supplies.
So you won’t have to find any unusual items or keep a lot of materials on hand to make it.
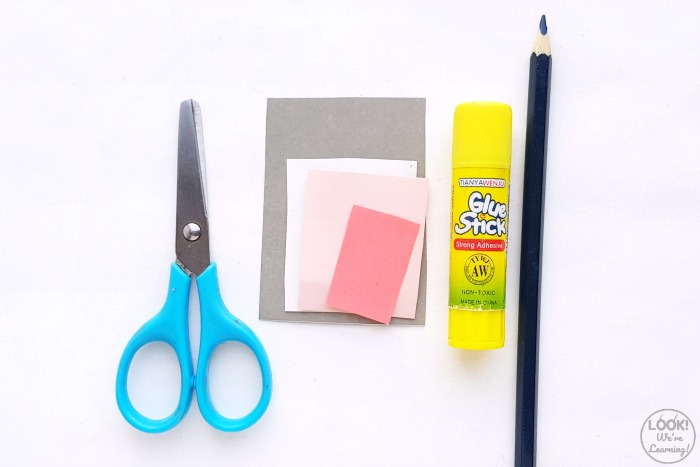
Here’s a list of what you’ll need to make the toilet paper roll owl craft. (Affiliate links are listed below. For details, see our Disclosure Policy.)
- Toilet paper roll (Try having students bring them in from home)
- Colored craft paper
- Pencil
- Ruler
- Child-safe scissors
- Glue stick
- Washable markers
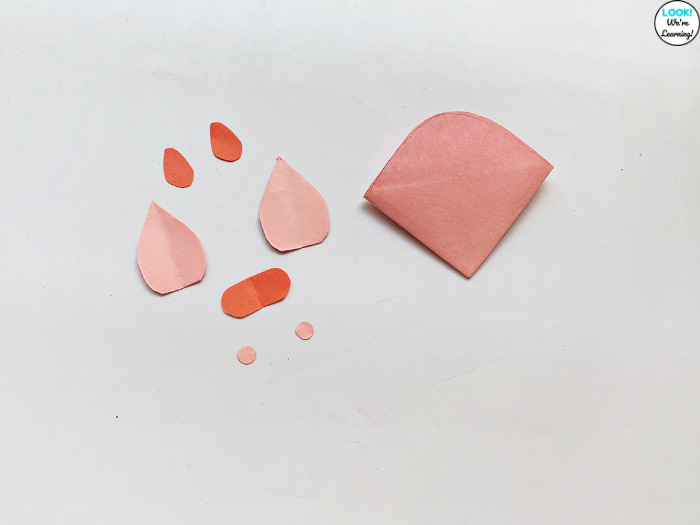
- Printable Toilet Paper Roll Owl Craft template
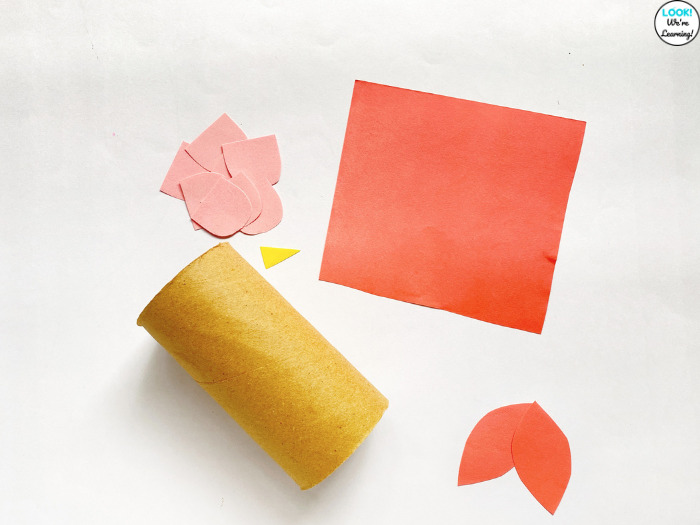
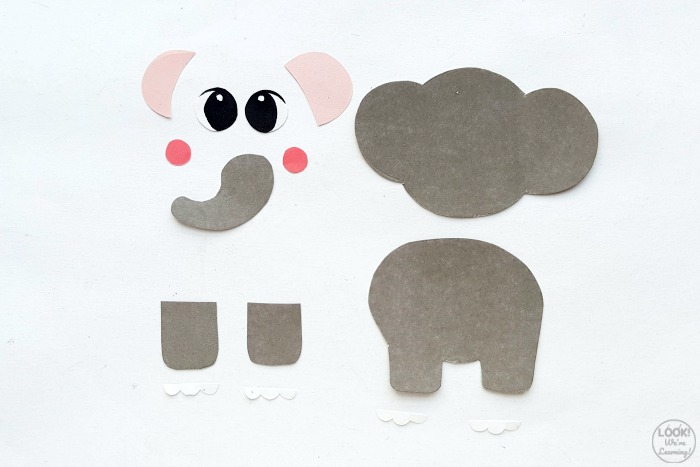
Once you’ve printed the paper roll owl craft template, cut out the individual pieces. (Try printing the template on cardstock to make the tracing pieces more durable.)
Trace the pieces onto craft paper and cut them out before beginning the project.
Depending on the age of your students, you may want to cut the pieces out in advance. Older elementary students can cut them out on their own.
How to Make a Toilet Paper Roll Owl Craft
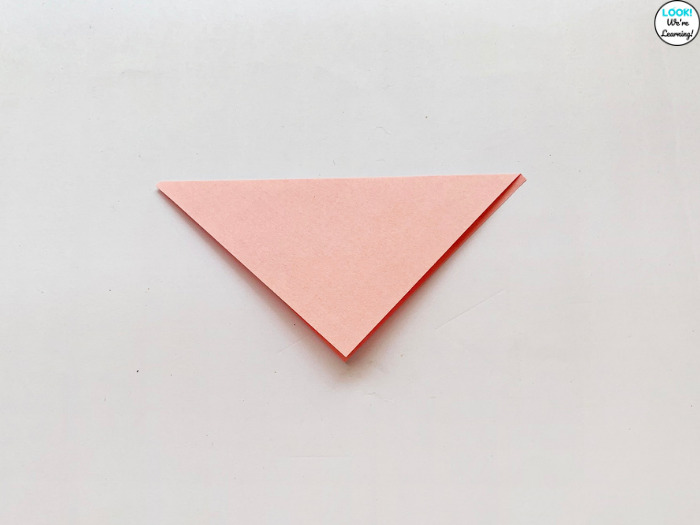
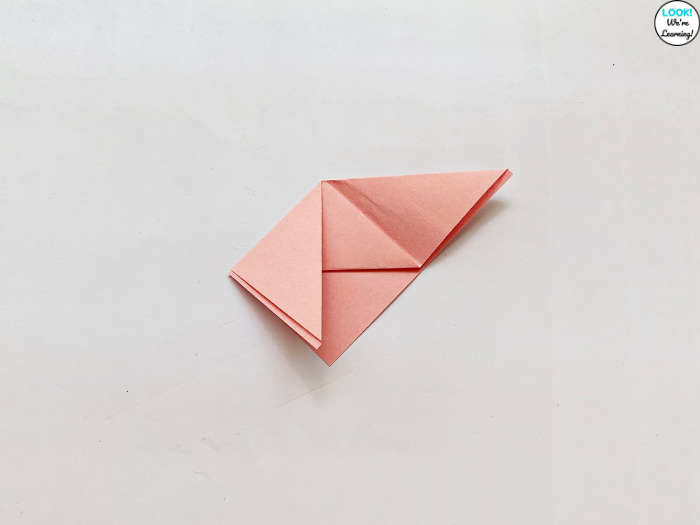
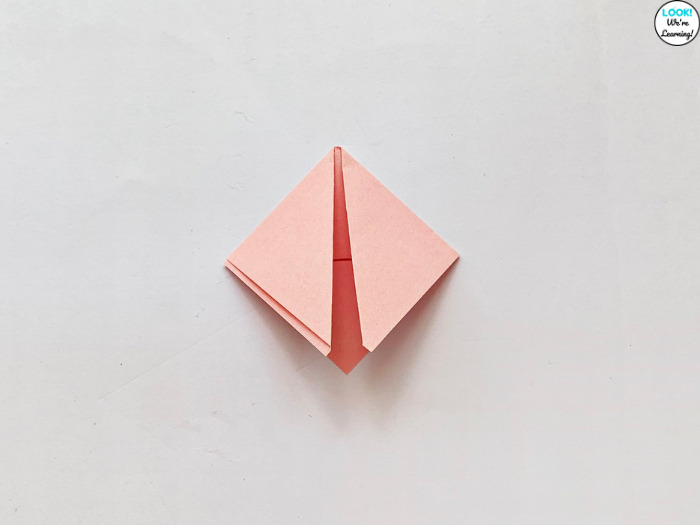
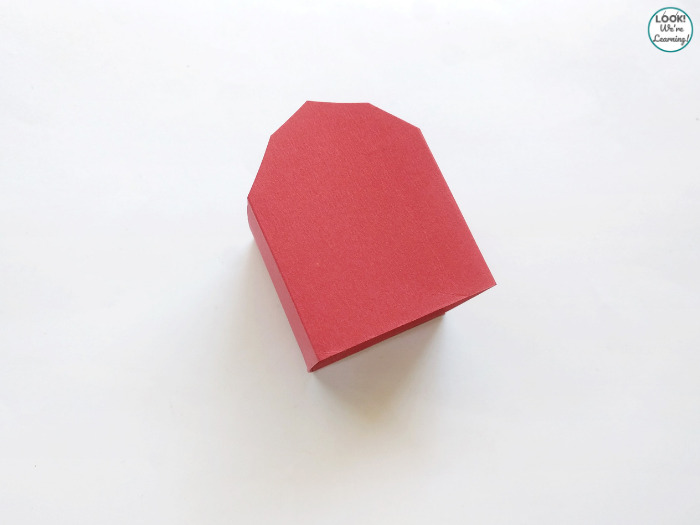
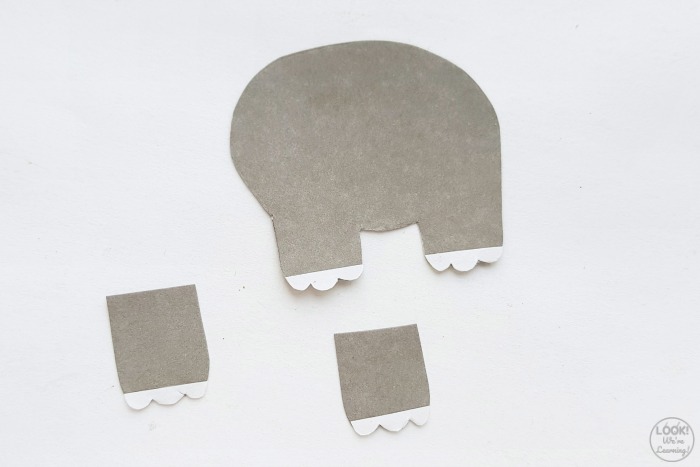
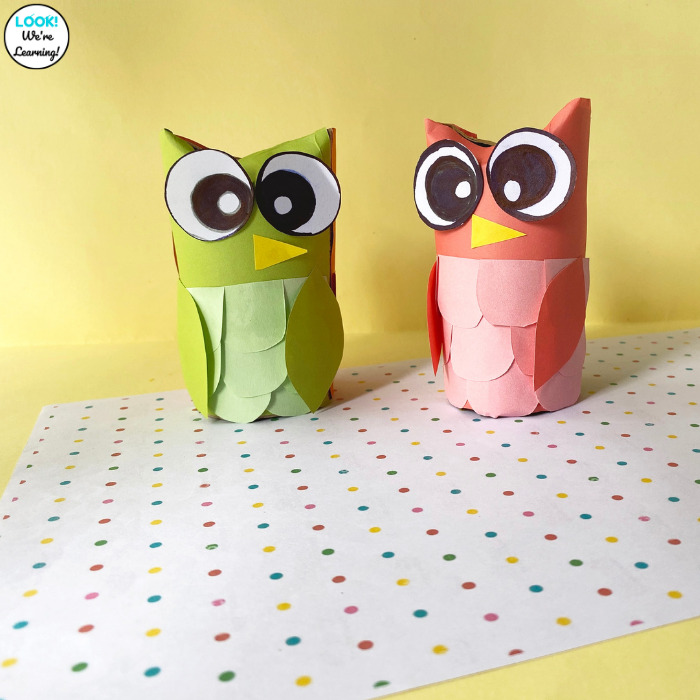
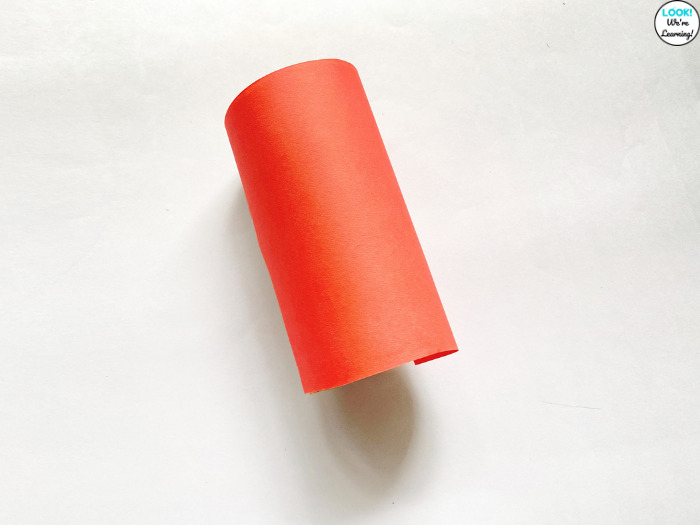
Start by wrapping the square piece around the toilet paper roll. Make sure the paper wraps all the way around. Use glue to secure it.
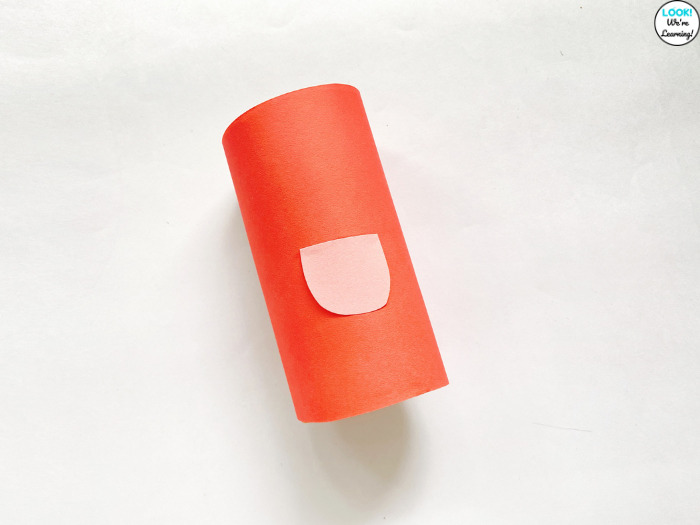
Begin adding the owl’s “feathers”.
Glue the individual feather pieces onto the bottom half of the toilet paper roll.
Layer them so that the edges overlap at the sides. After you complete the first row, move down and begin adding the two lower rows.
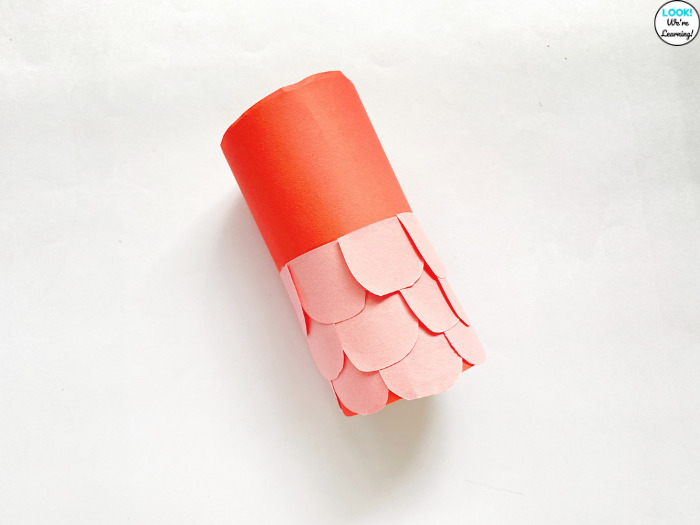
Glue them underneath the first row and continue overlapping the sides to make your owl’s feathers appear layered.
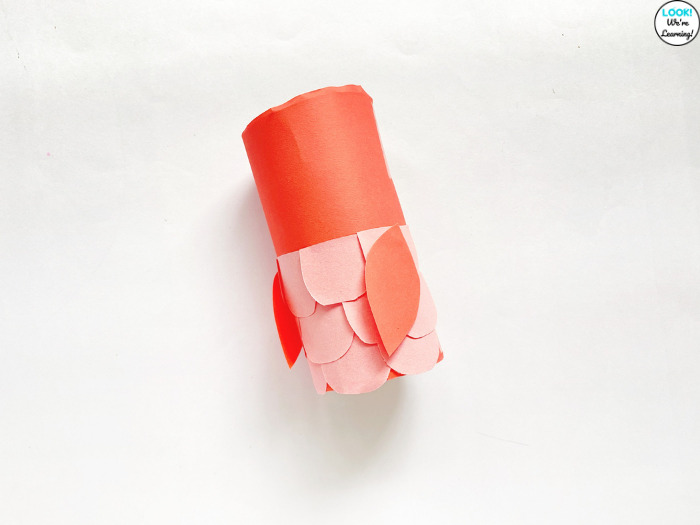
Glue the wing pieces onto the owl’s body. Be sure to place one on each side.
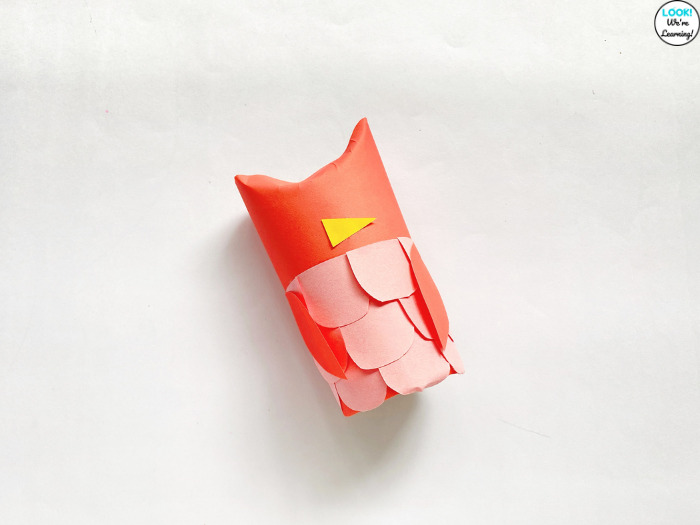
Use glue to add the owl’s beak right in the center above the feathers.
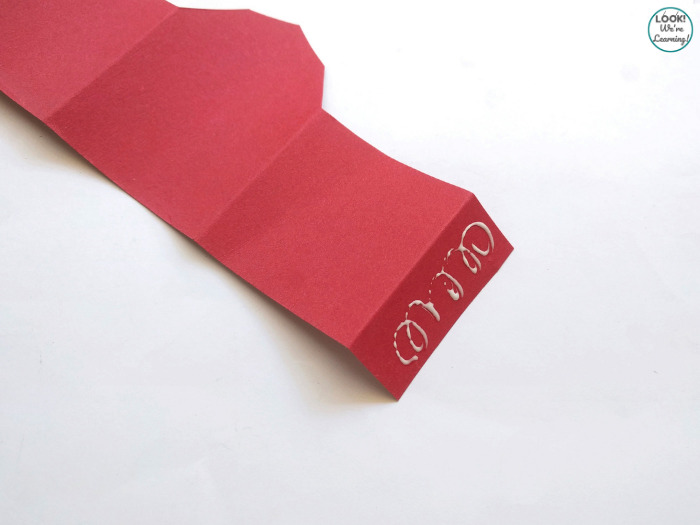
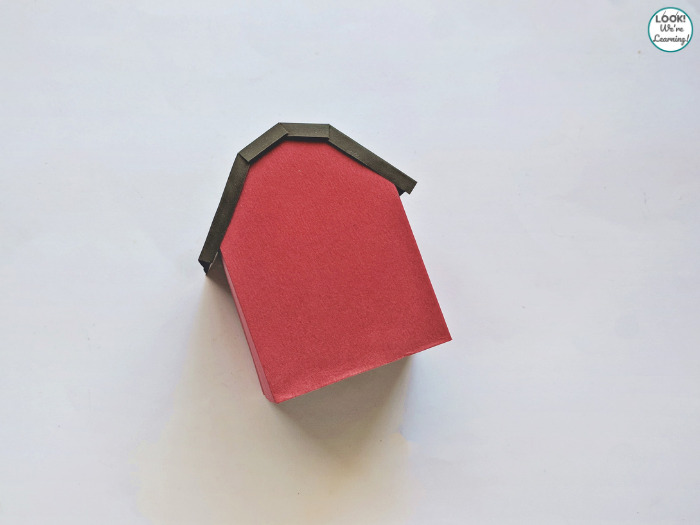
Now press the top of the toilet paper roll in the center to form the owl’s ears.
Try to fold the front and back of the roll down, but have the kids form the sides into points.
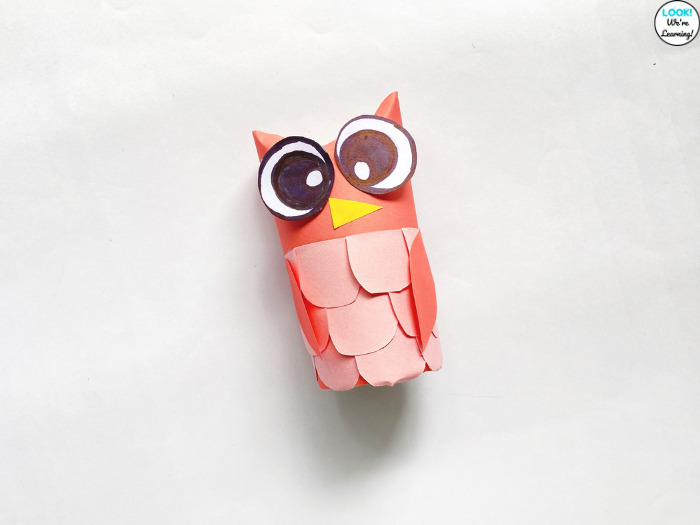
Have students color in the eyes and then glue them at the top of the owl’s face.
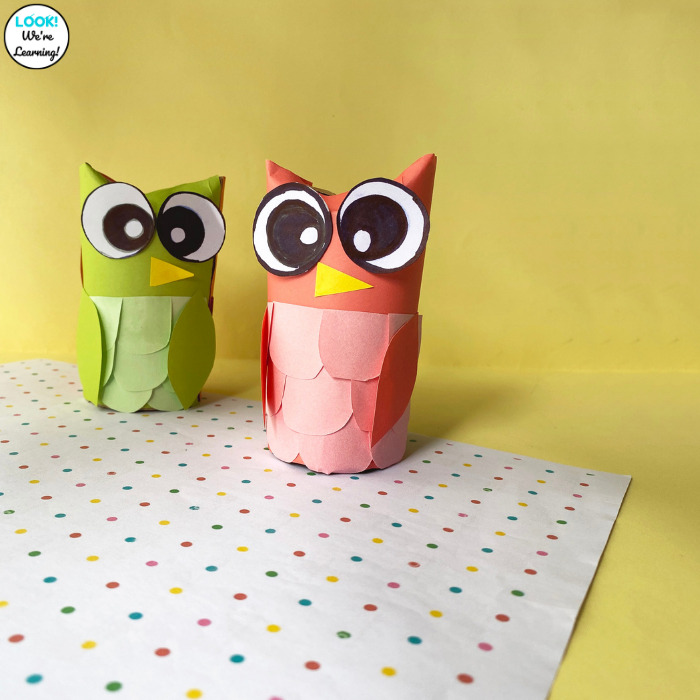
Finished!
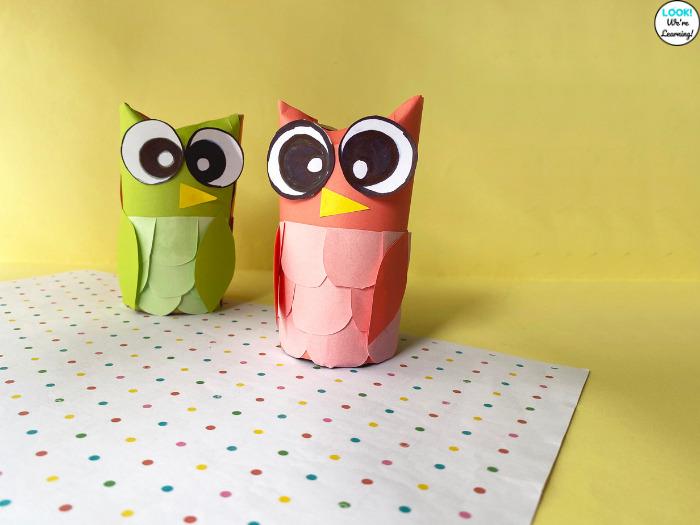
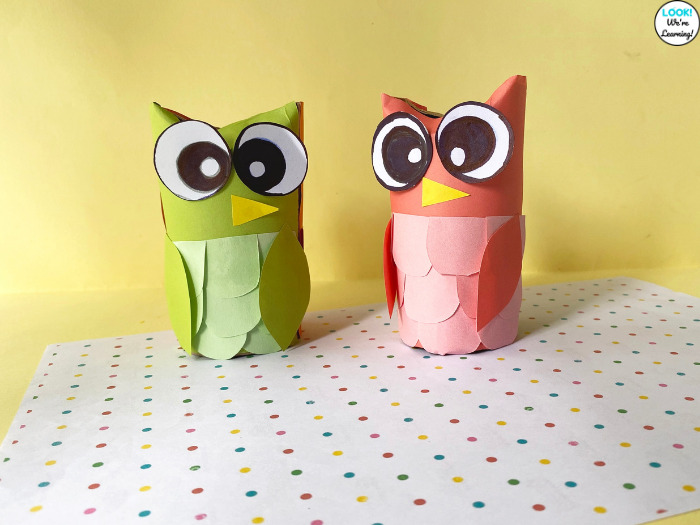
Use different colors of craft paper to make an owl family! It would make an adorable display for parent night.
If you decide to make this paper owl craft with your students, I’d love to know how they liked it!
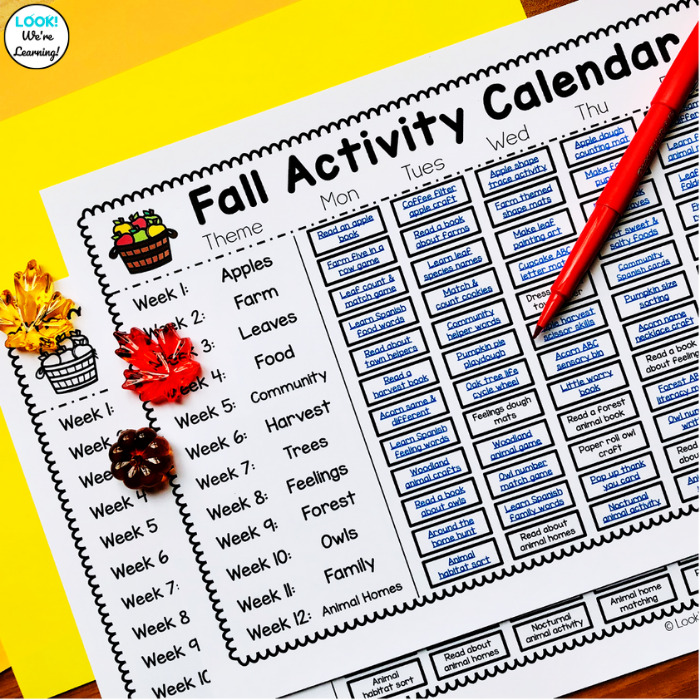
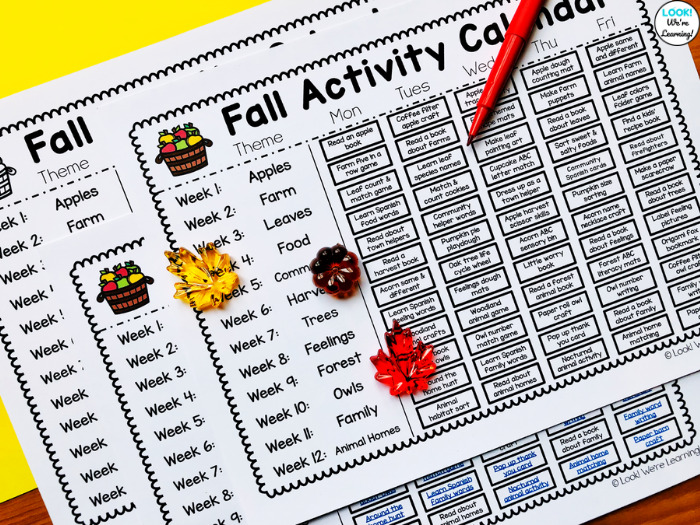
Fall Early Learning Activity Calendar
This paper owl craft for kids is a perfect addition to an owl theme for early grades.
And that’s one of the fall preschool themes on our printable Fall Early Learning Activity Calendar!
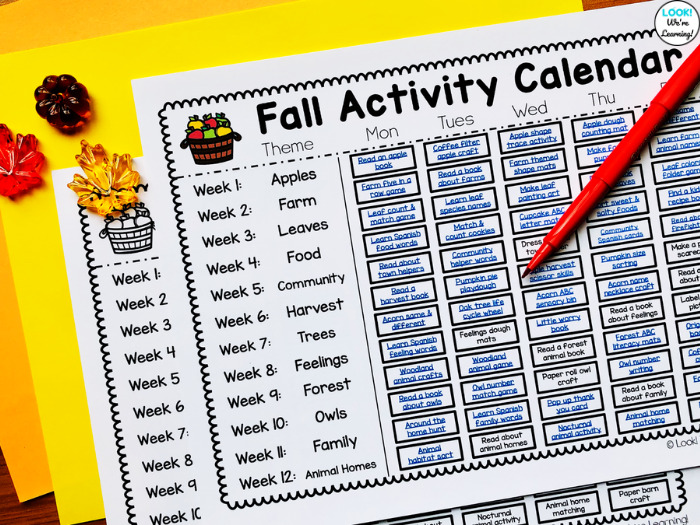
This handy printable has 12 different themes for you to use with your students during autumn.
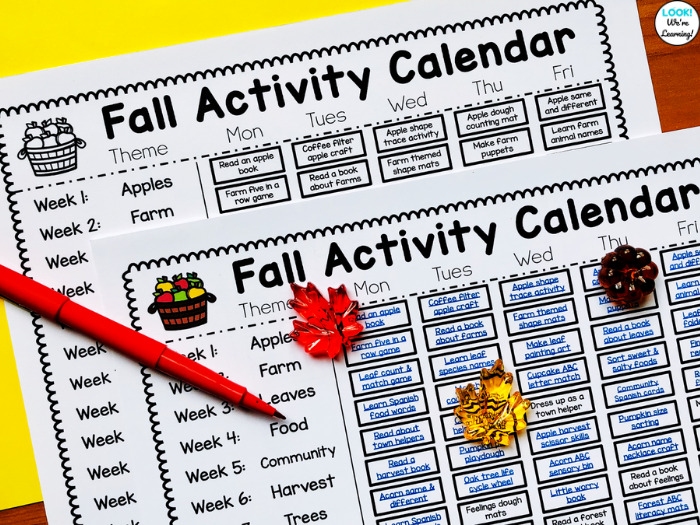
Plus, there are web-linked activities you can complete each day of the week with your students!

>>> Fall Preschool Activity Calendar <<<
Try some of these other fun fall crafting ideas for kids!