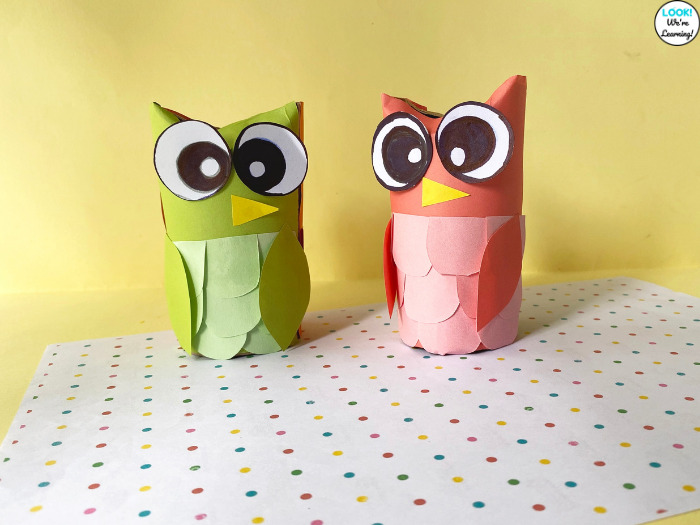
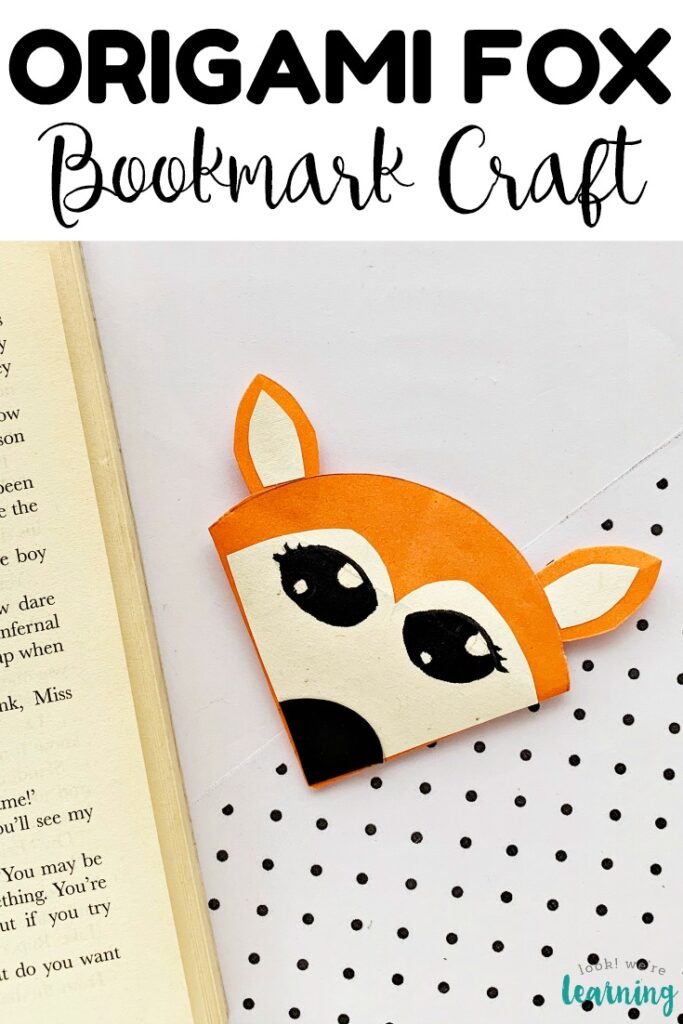
I just adore foxes.
I saw the Disney movie Robin Hood when I was a child more times than I can remember. (You know, the one with the foxes?)
So, when I think of woodland animals, foxes always have a special place in my heart.
Which is why I thought this tissue paper roll fox craft would be a fun fall animal craft to share with kids!
Kids of all ages can help to make this easy woodland animal craft. And it goes well with a forest unit too!
Read on to get the full instructions and to pick up the printable template you’ll need.
Want more ideas for fall crafting? Don’t miss our Paper Bag Fox Craft too!
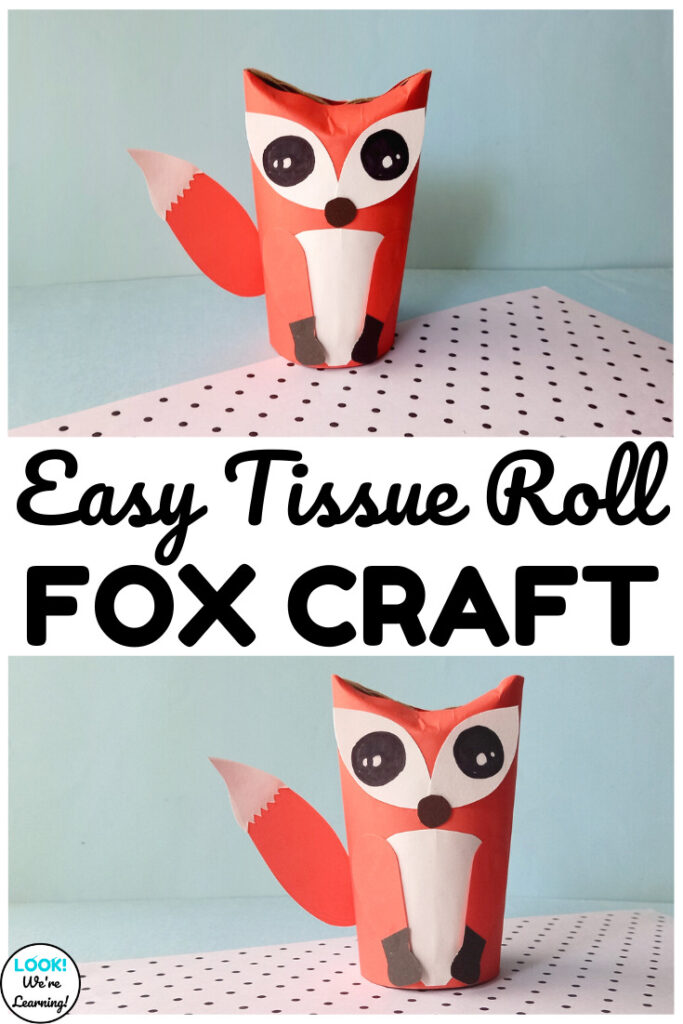
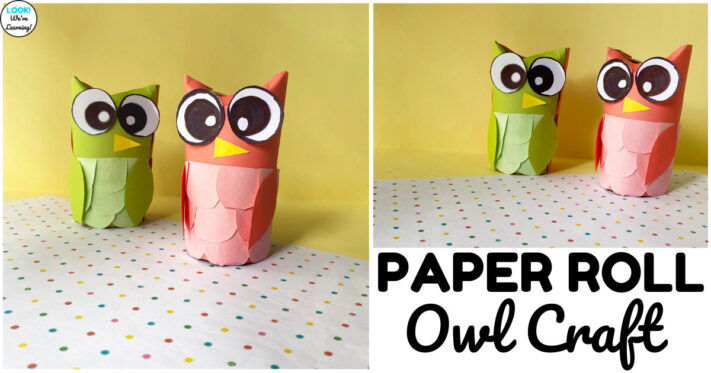
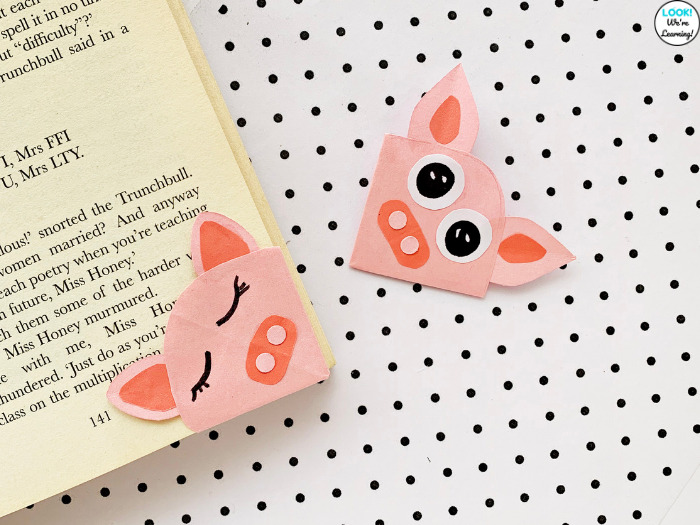
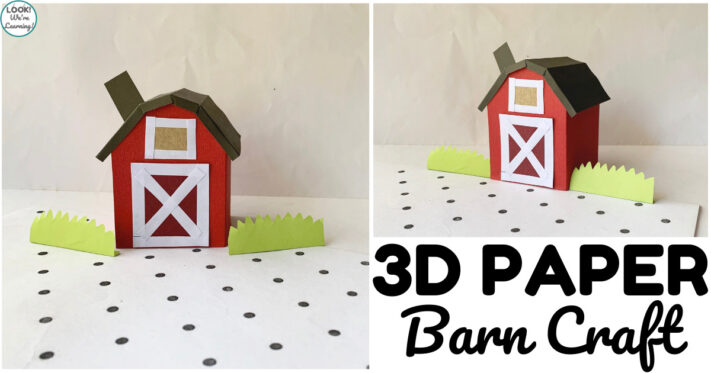
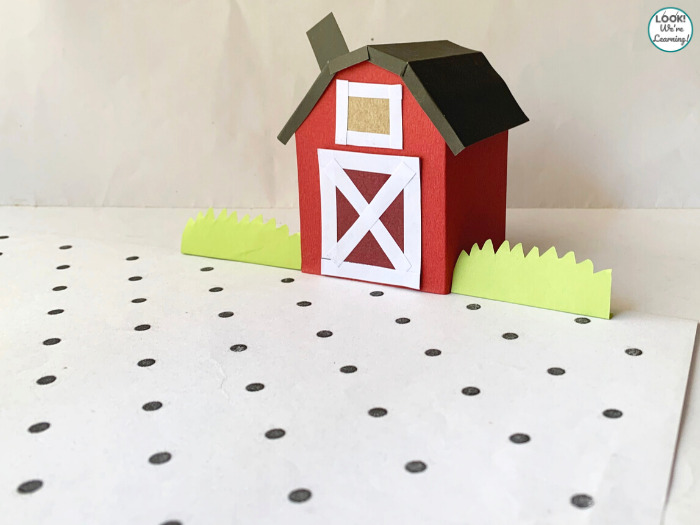
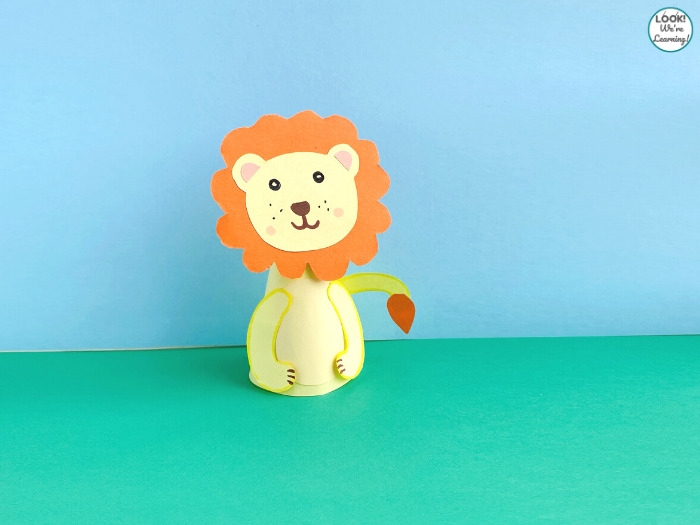
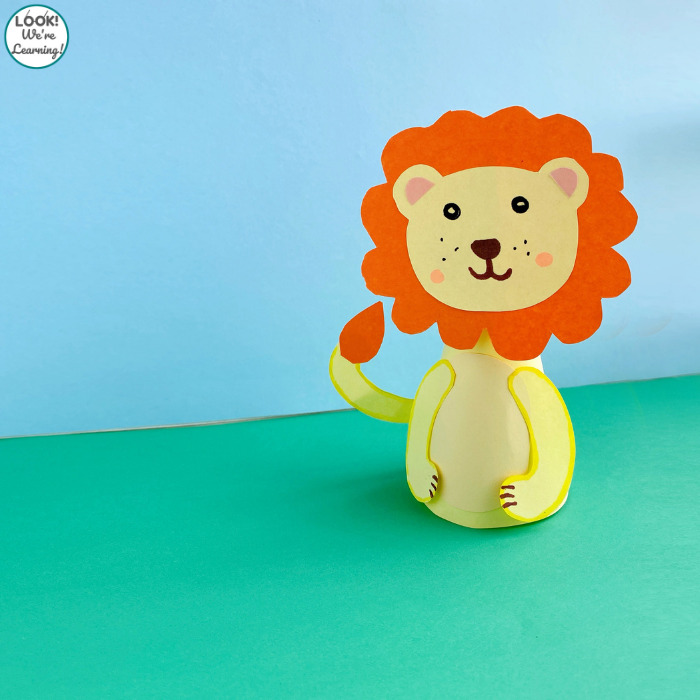
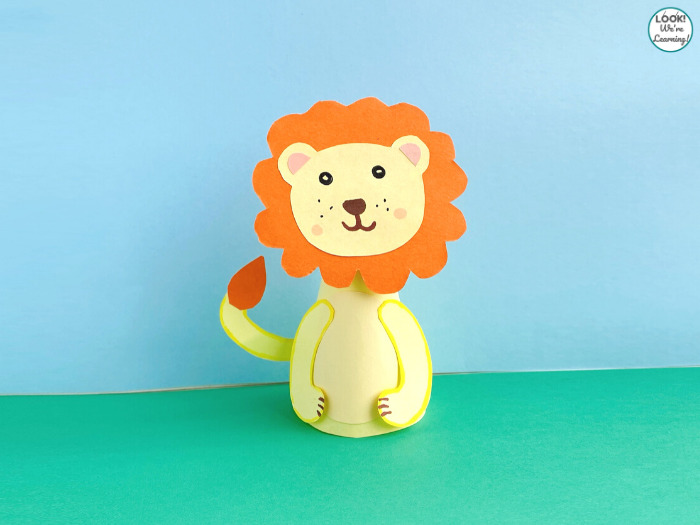
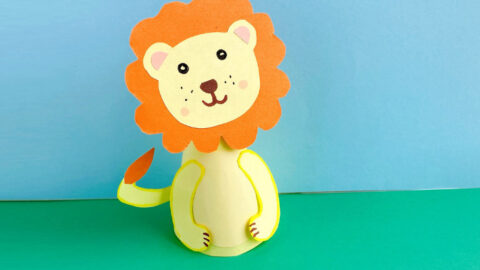
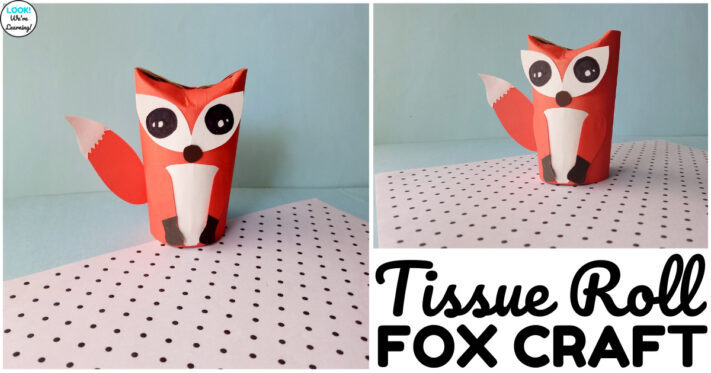
Easy Toilet Paper Roll Fox Craft for Kids
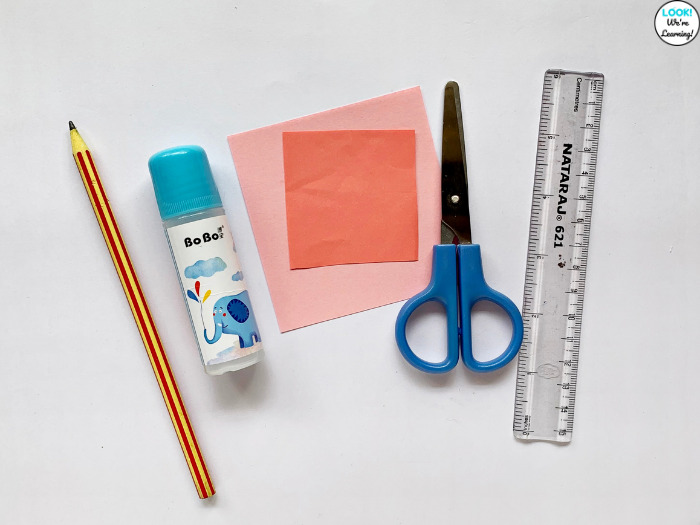
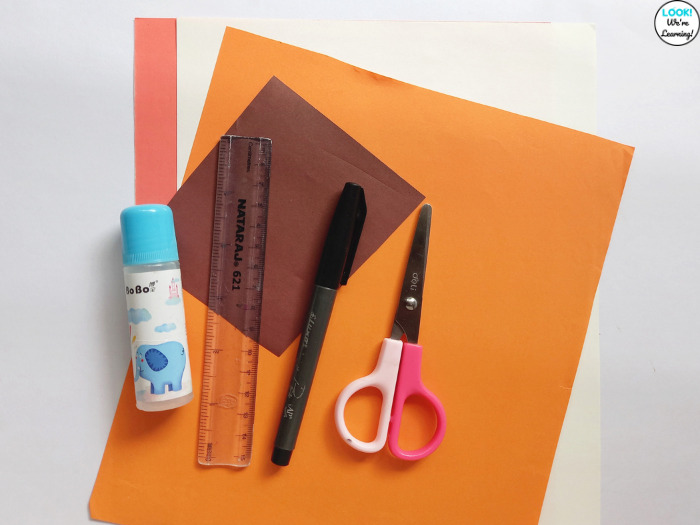
To make this toilet paper roll fox craft, you’ll need the following: (Affiliate links are listed below. For details, see our Disclosure Policy.)
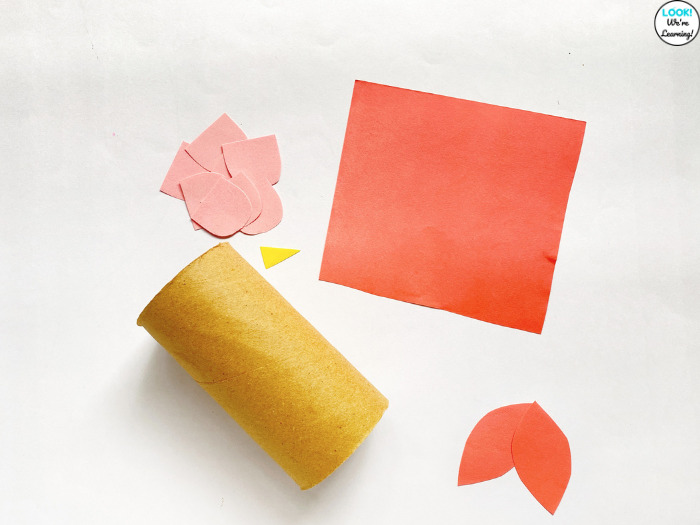
- Empty toilet paper roll
- Colored craft paper or printer paper
- Pencil
- Child-safe scissors
- Ruler
- Glue stick
- Washable markers
- Printable fox craft template (or blackline version)
To get started, print either the color or the blackline fox craft printable template.
If you’re using the blackline version, you can print directly on colored craft paper. If you’re using the color version, print on regular printer paper.
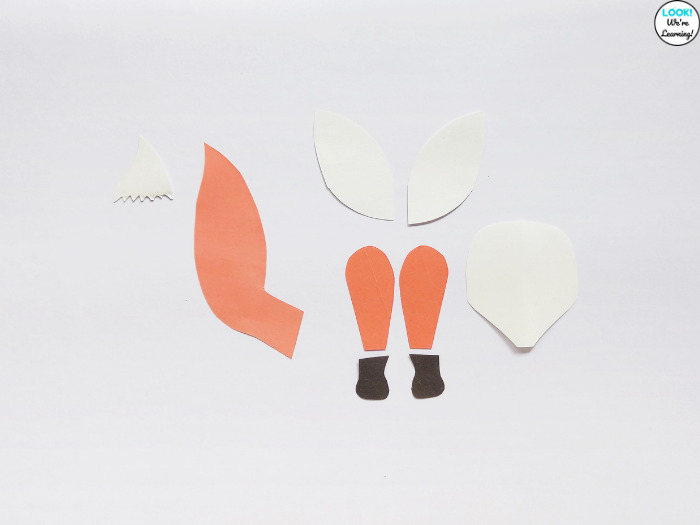
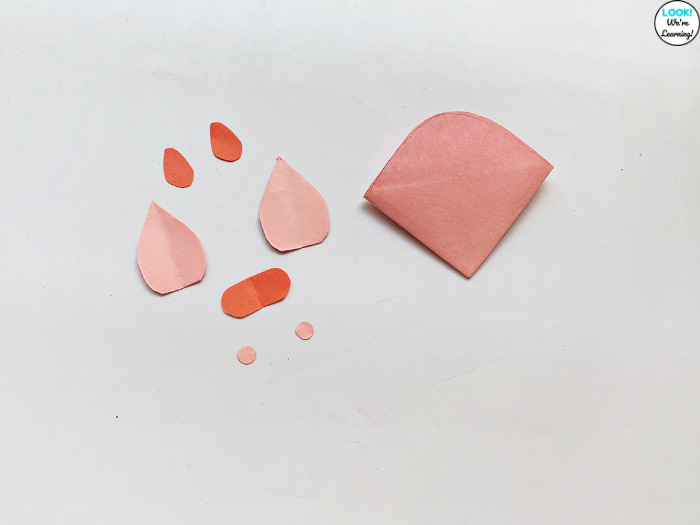
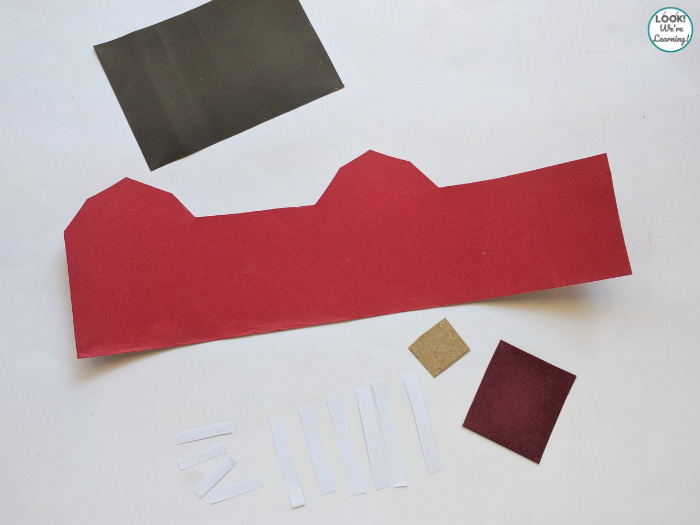
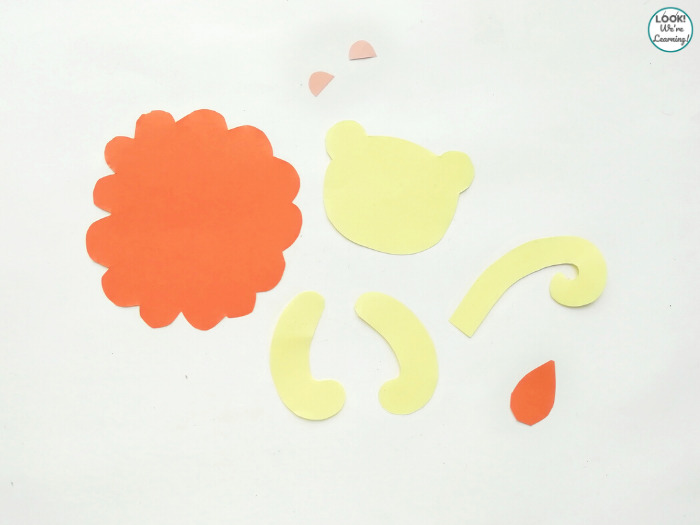
Use scissors to cut out the individual fox craft pieces.
Gather your supplies and you’re ready to get started!

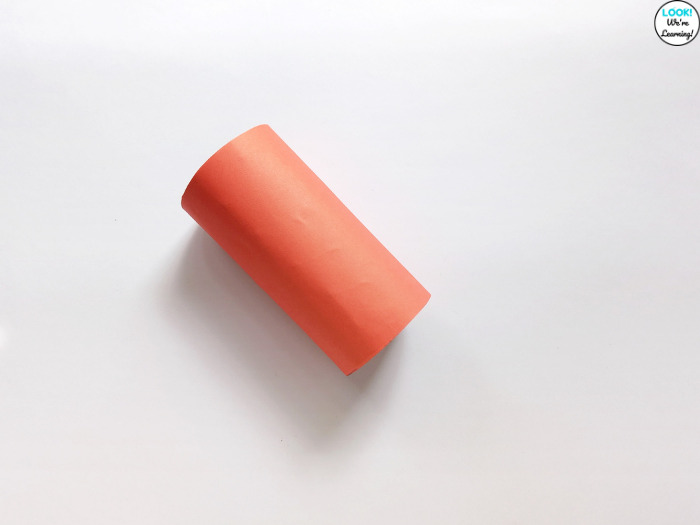
How to Make a Toilet Paper Roll Fox Craft
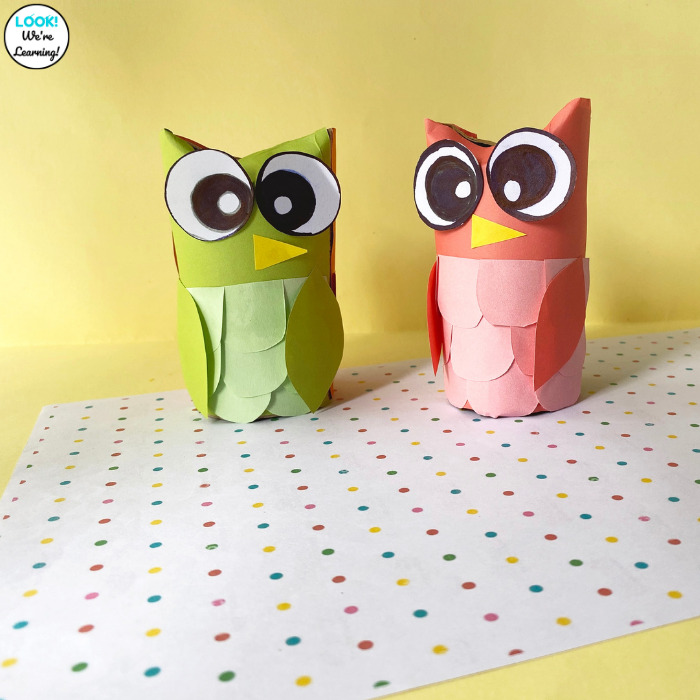
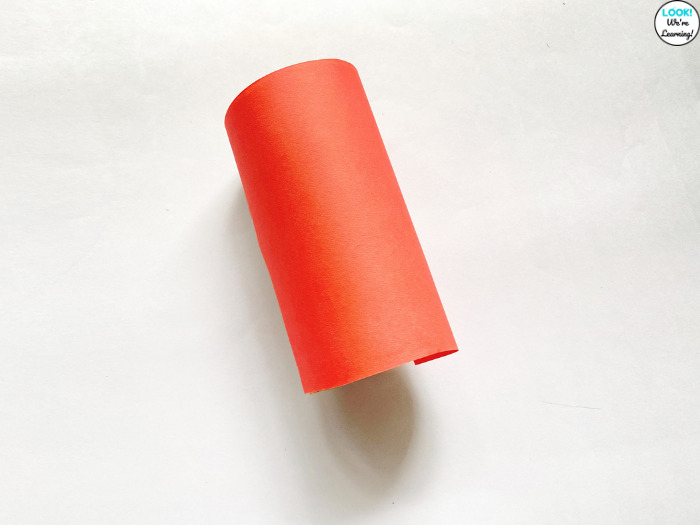
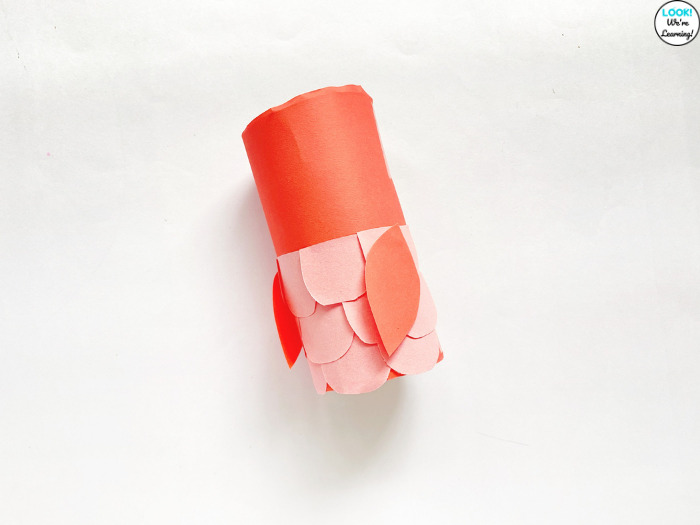
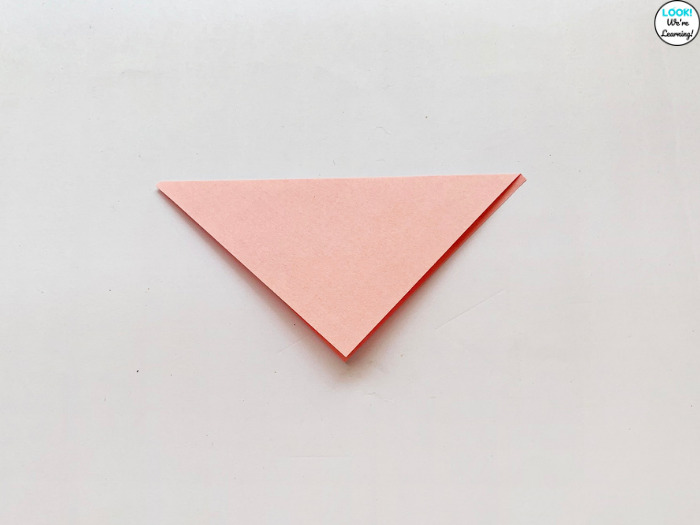
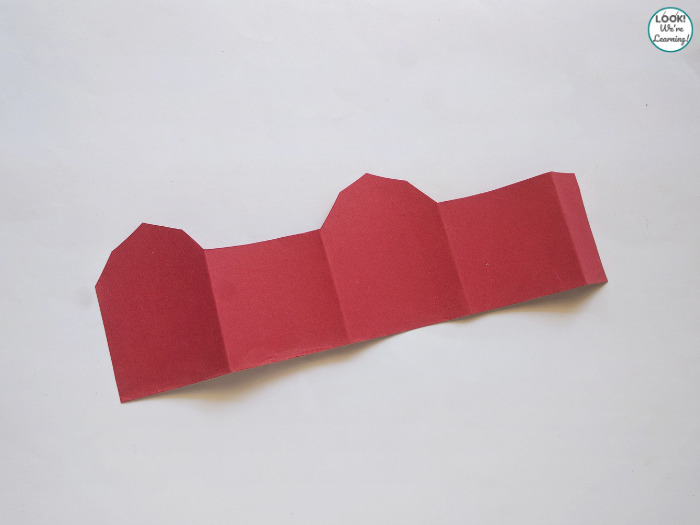
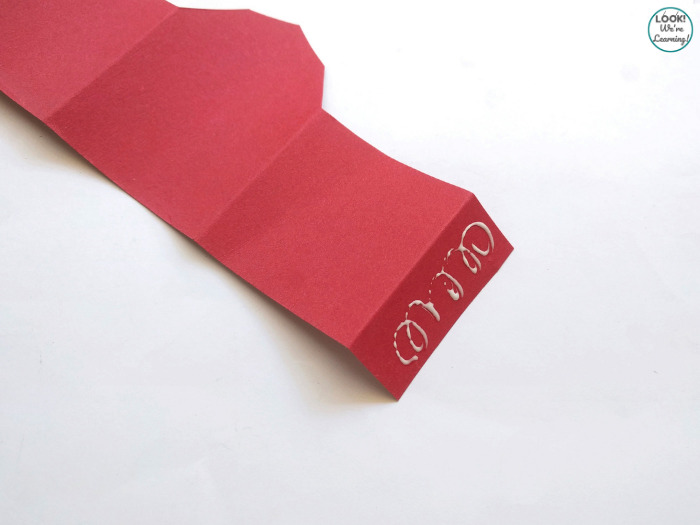
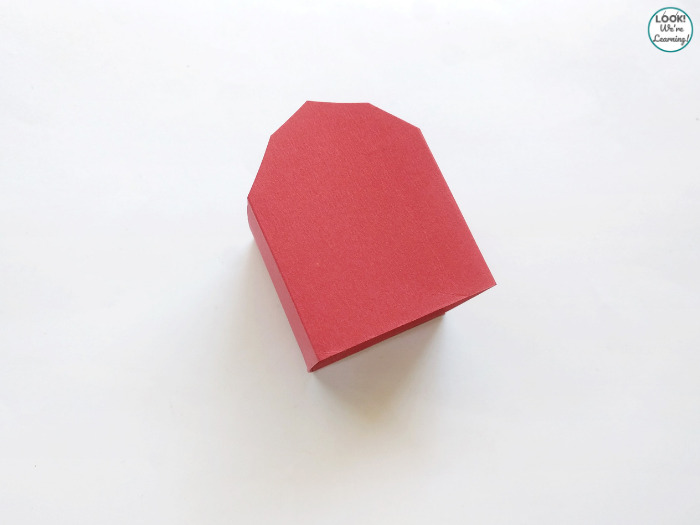
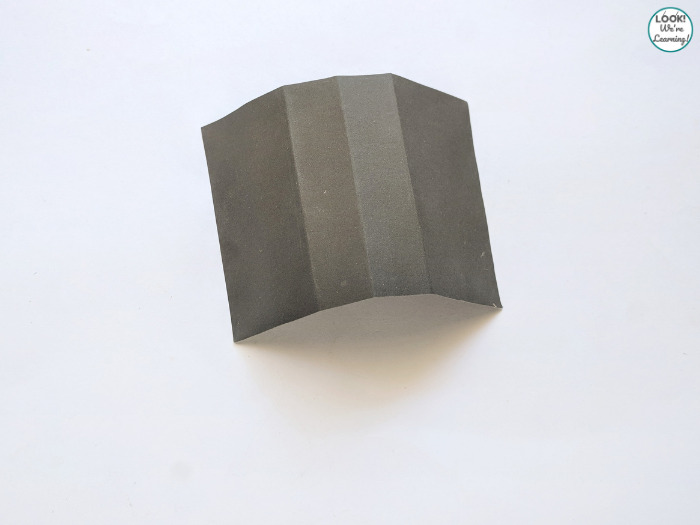
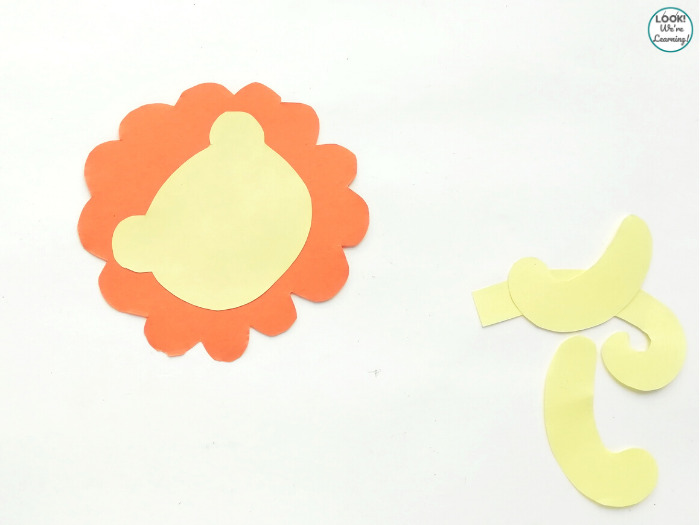
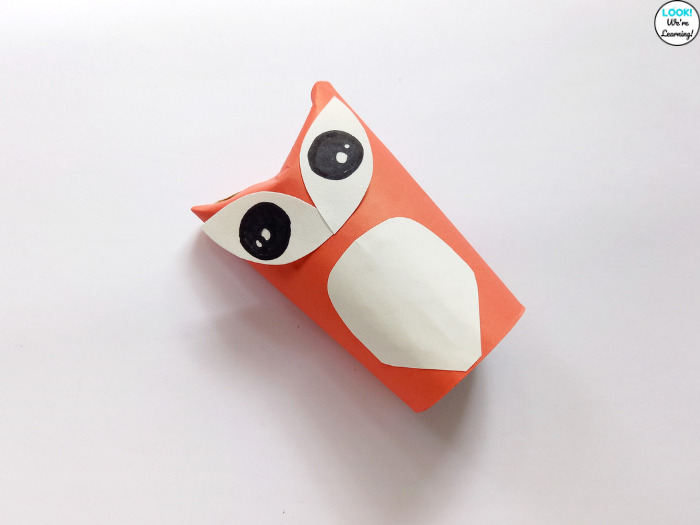
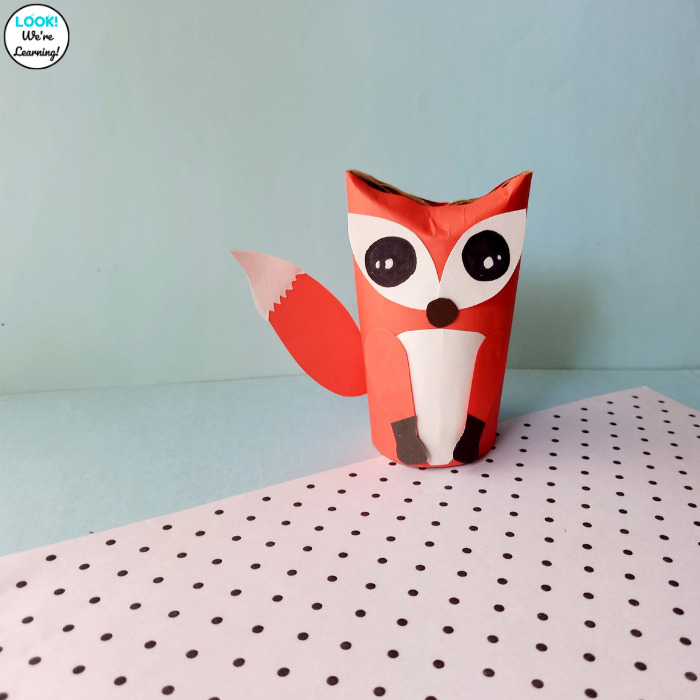
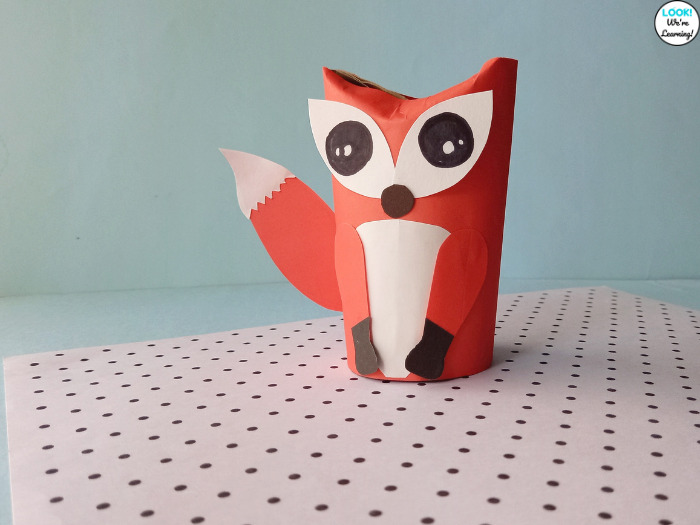
To make this paper fox craft for kids, start by wrapping the body piece around the empty toilet paper roll.
Glue the ends down to secure it.
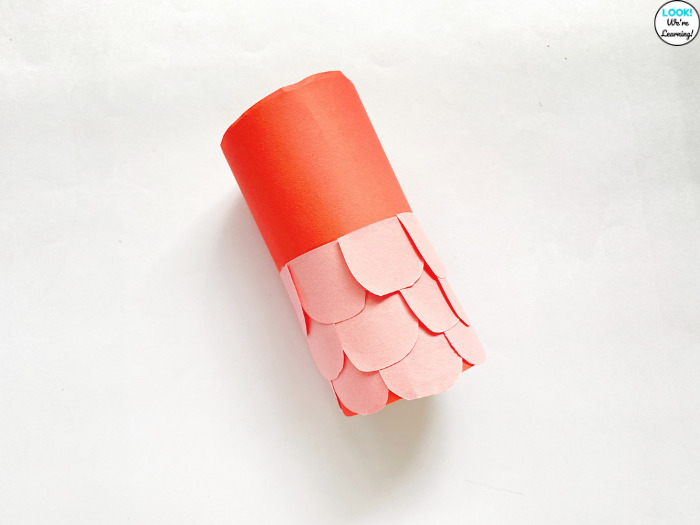
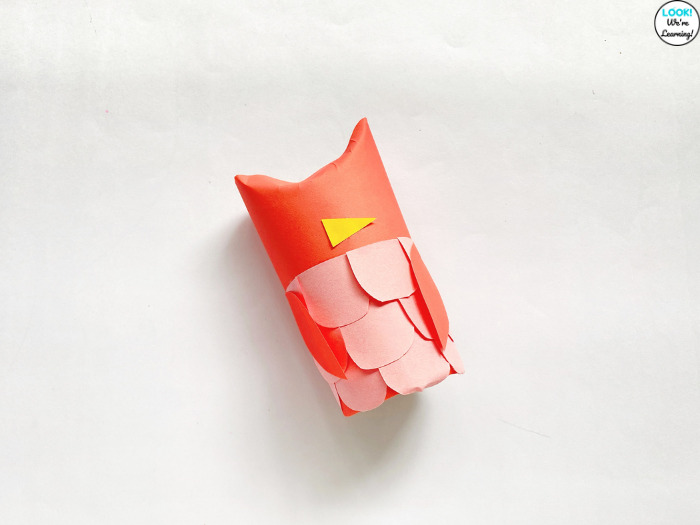
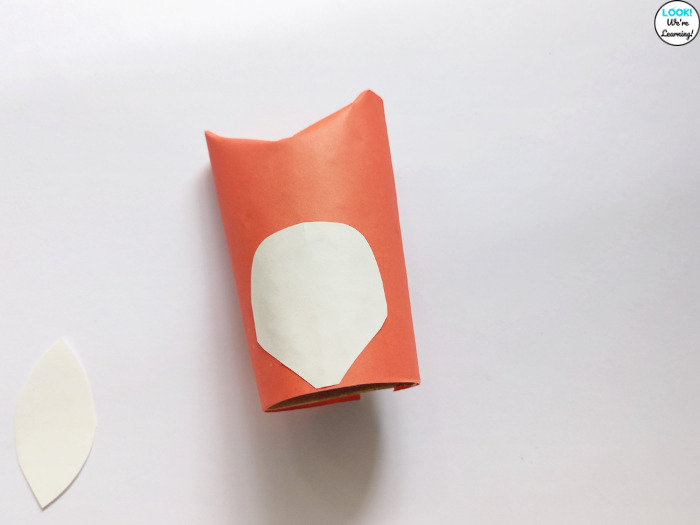
Now, press the center of the top of the toilet paper roll down. Press the corners up to form the fox’s ears.

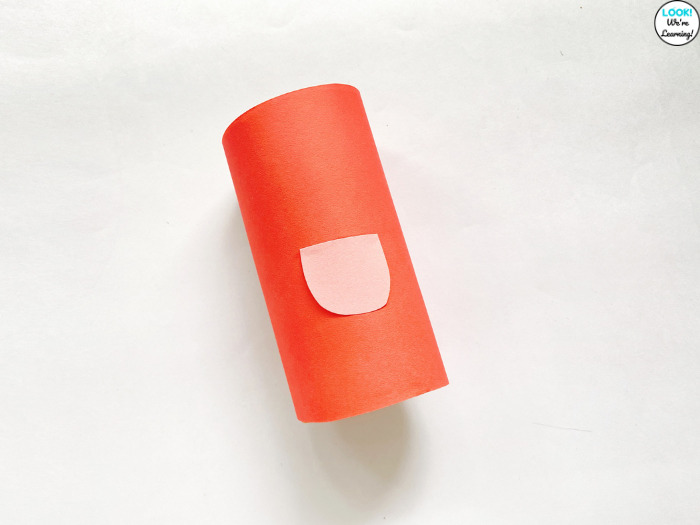
Glue the fox’s chest to the bottom center of the toilet paper roll.
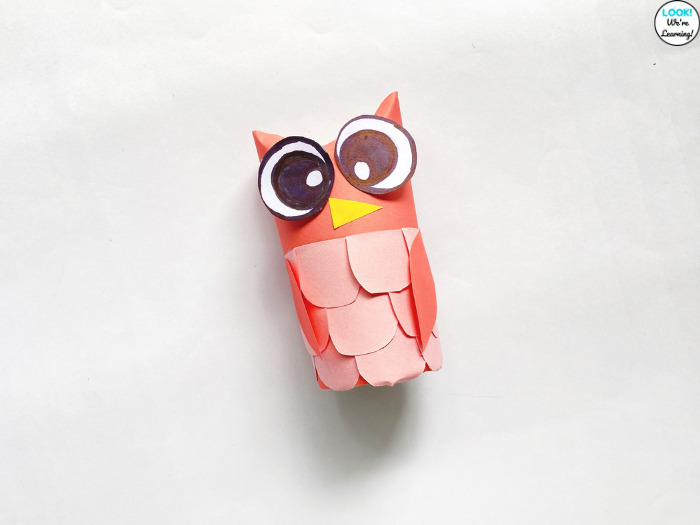
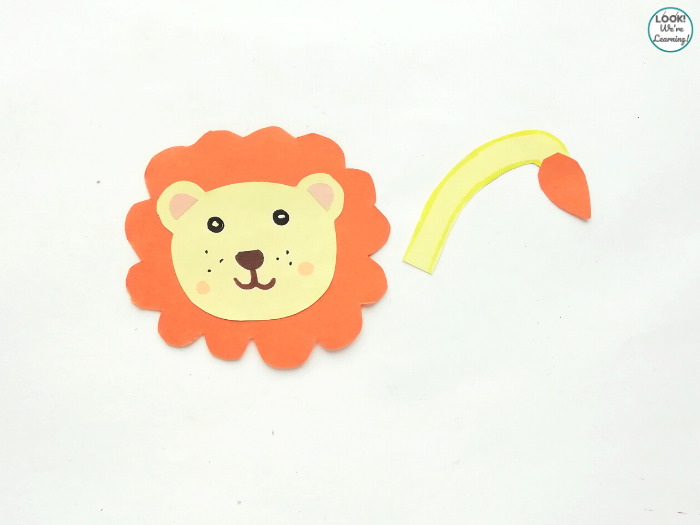
For the eyes, you can use the included eye template pieces.
But if kids find those too small to cut, you can simply use the eye outlines and let them draw the eyes on with markers.
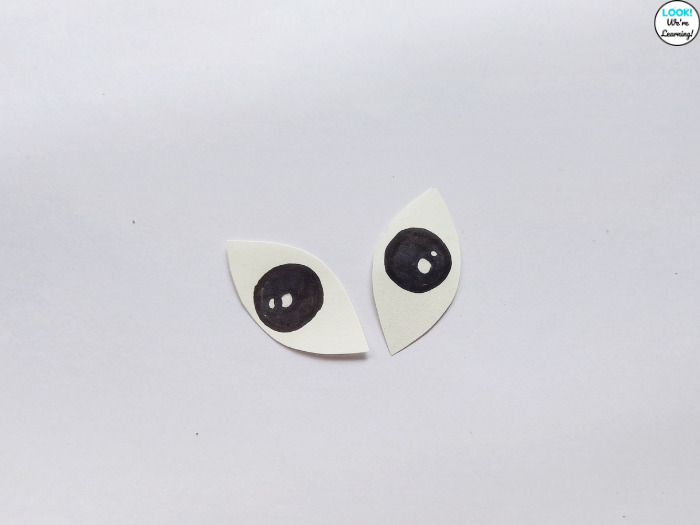
Glue the eyes onto the top of the fox – just under the ears.
Find the point where the eyes meet in the center and glue the fox’s nose there.

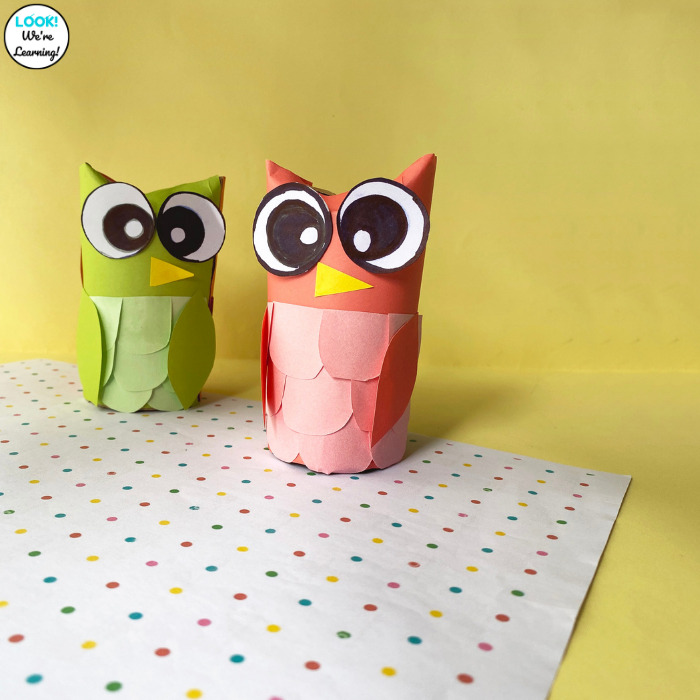
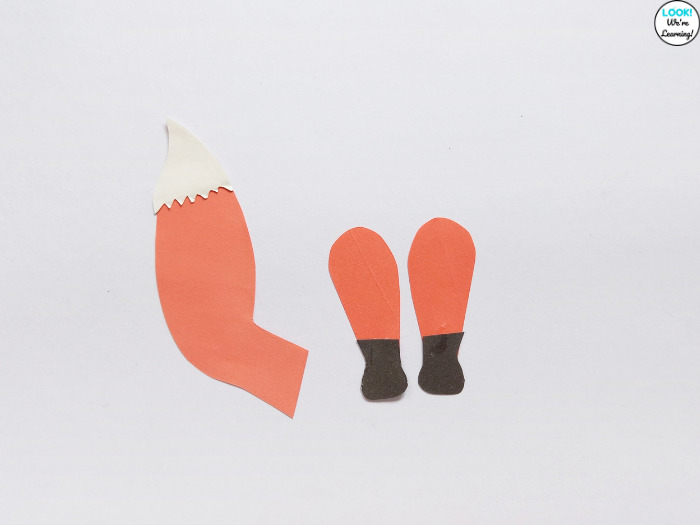
Now it’s time to add the legs and tail!
Start by gluing the brown feet onto the bottom of the leg pieces. Then glue the tufted tail onto the end of the tail piece.
Place one of the fox’s legs on either side of the chest. Glue them in place.
Make sure the brown feet are pointing downward.

Finally, use the glue stick to add the tail to the bottom of the fox.
Make sure to glue it on the backside and angle it upward so that the tail points up when seen from the front.
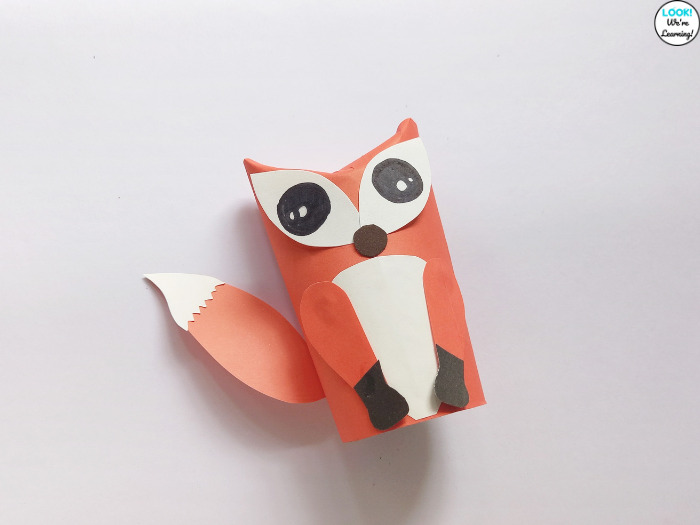
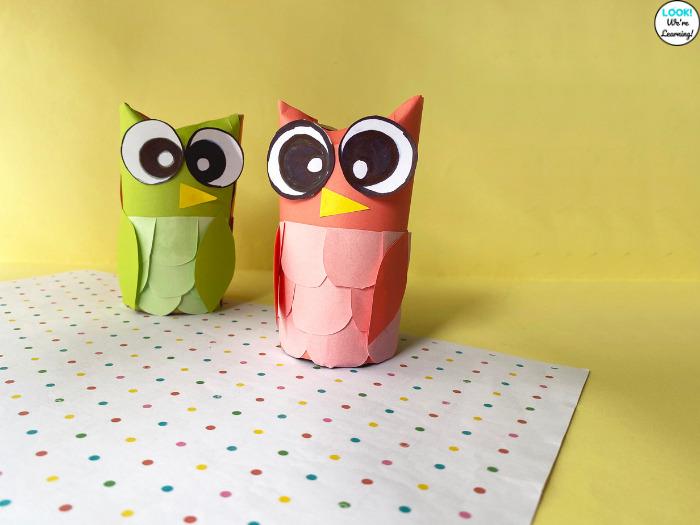
And we’re done!
Try a few other colors to make a family of foxes!
If this paper roll fox craft is a hit, be sure to try some of these other easy animal crafts for kids!