We’ll be making some HUGE changes to our educational focus this fall. (I’ll be sharing some of those with you in a few weeks.) But one of our major focuses will be foreign language. There’s no doubt that the world is getting “smaller” in a way, and we feel that our kids need to be aware of other cultures, comfortable with all kinds of people, and able to communicate freely in as many languages as they like.

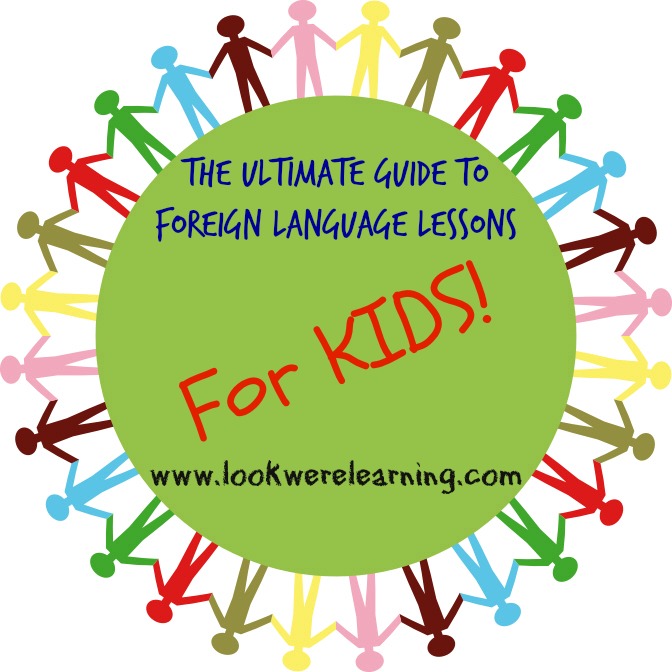
So…today I’m sharing my ultimate guide to foreign language lessons for kids! We already use ASL as a family and I’m currently learning Spanish, but both Jay and I are interested in several other languages. We plan on using these links to learn right along with our little ones next year! 🙂

Foreign Language Lessons for Kids
Chillola – Chillola offers basic words in several foreign languages, including German, Spanish, French, and Italian. To read the phrases in each language, just choose which one you’d like to learn, then scroll down to see them grouped by category.
Mango Languages – If your local library system participates in Mango Languages, then you have access to this resource absolutely free! Mango Languages offers structured online foreign language lessons for kids and adults in over 60 tongues! Sixty!
DuoLingo – DuoLingo, which is available both online and as an app, is an excellent foreign language resource for kids, because the lessons are very short. Since users have to listen and respond regularly, it’s almost impossible to get bored using it – a huge plus for learners with ADHD.
BBC Languages – There are 40 languages featured on the BBC Languages website, and the courses are very, very thorough with quizzes, videos, and pronunciation. It’s geared more toward older teens and adults, but you can still use it to introduce foreign language vocabulary to kids.
LiveMocha – LiveMocha offers free online foreign language lessons, resources, and conversation with native speakers. 35 languages are available.
Open Culture Free Language Lessons – This is an enormous list of free online foreign language resources with links for lots of languages, including Arabic, Lithuanian, Swahili, and Turkish. Links include free courses, printable foreign language lessons, and iTunes lectures. Most of these are geared toward middle grades, teens, and young adults.
Our fellow iHN blogger Angie Kauffman of Many Little Blessings and The Homeschool Classroom has written extensively about how to teach foreign language to kids. Here are a few of her resources about general foreign language lessons:
Fun Activities for Teaching a Foreign Language – There are plenty of great suggestions here for how to make foreign language learning fun for kids. Rather than sitting at a desk, you might want to try some of these suggestions, including read-alouds and dramatic play to teach foreign language.
Methods for Teaching a Foreign Language to Your Child – At Many Little Blessings, Angie shares tips about using movies, songs, and places to introduce kids to foreign language.
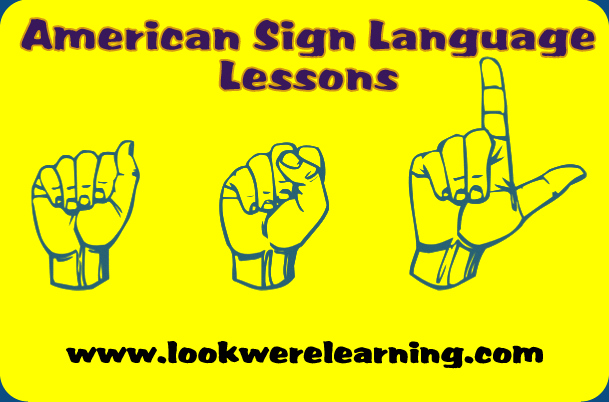
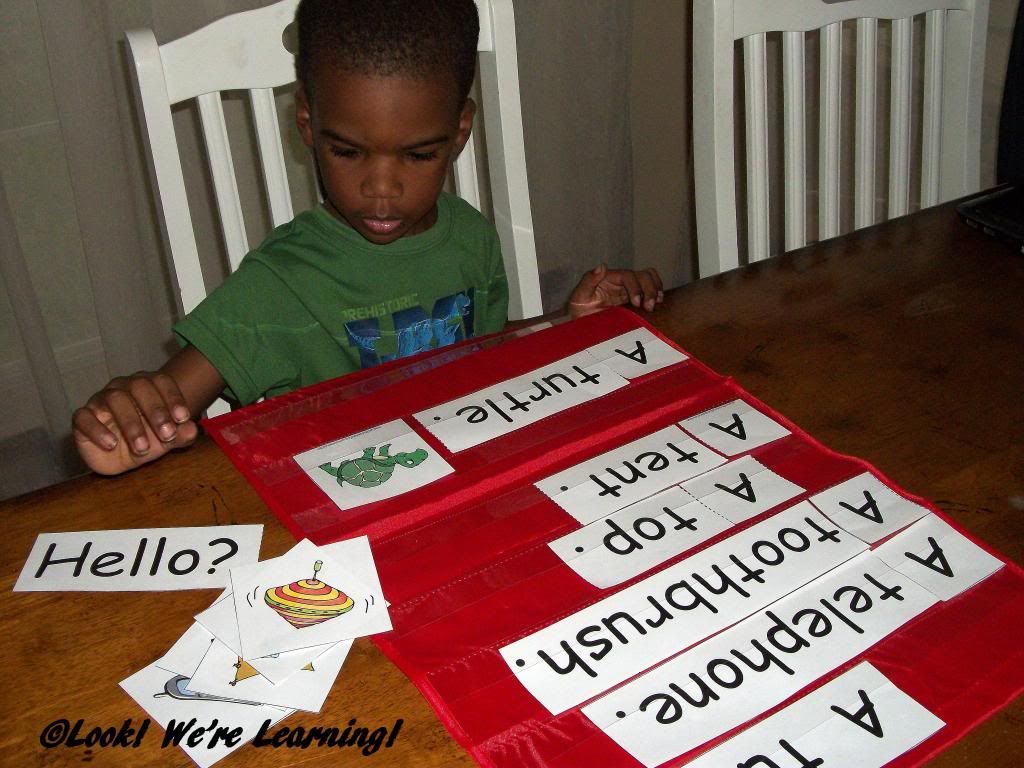
American Sign Language Lessons for Kids
Lifeprint – Created by Dr. Bill Vicars, Lifeprint is the premier online ASL resource. It’s completely free and it’s comprehensive. A good place to start is with the 100 Basic ASL signs section, because it covers several of the common ASL words and terms kids need to learn.
KidCourses ASL – This site has several free ASL printable worksheets, including cut and paste activities, coloring pages, and fingerspelling handouts.
Signing Time – Our kids used to enjoy watching Signing Time on television, and this is the show’s official website. Most of their products are available for a fee, but there are ASL songs and printables that you can view for free.
Signing Savvy – Signing Savvy is a massive online ASL dictionary. There are over 7,000 signs listed, and the website offers multiple signs for just about every term. That’s very helpful, because you’ll find that all deaf people do not use the same signs.
Sign Language for Dummies – Despite the name, this is a very smartly-designed website, and there are great resources for ASL kids lessons. There are even pictures of kids demonstrating signs. I use those as coloring sheets sometimes with young kids who are learning ASL.
ASL Video Lesson Series – Of course, we’re doing an ASL video lesson series of our own! You can view past tutorials on the blog or subscribe to our YouTube channel for more ASL vocabulary.
A few more great ASL resources from Angie Kauffman’s The Homeschool Classroom, courtesy of guest blogger Megan Spires:
Teaching American Sign Language to Children – A good place to start using ASL with kids is by teaching them the alphabet. There are excellent suggestions in this post for using the ASL alphabet in activities around the house.
5 Fun Activities for Teaching American Sign Language – ASL is a picture language, so learning it should be lots of fun for kids! This post offers some great tips to keep ASL fun, such as scavenger hunts, games, and field trips!
7 Creative Ways to Teach American Sign Language – While ASL was designed as a method of communication for deaf and hard-of-hearing individuals, it’s a great language for anyone to learn! In this ost, Megan explains how to include ASL in your everyday life with the kids.

Latin Lessons for Kids
Several of my fellow iHN bloggers have written great tips about teaching Latin for homeschoolers!
Visual Latin – Tricia Hodges, who blogs at Hodgepodge and The Curriculum Choice, shares her review of Visual Latin – a program that includes both free Latin lessons for kids and a deluxe program available for purchase.
Race to the Colosseum Latin Game – Pam Barnhill has created a board game for learning Latin called “Race to the Colosseum” that looks like so much fun! It would be perfect for young students or active learners, who need a little encouragement getting excited about Latin. You can learn more about the game and how to buy it on Pam’s blog Everyday Snapshots.
Song School Latin – Amy Maze features one of her favorite resources for teaching Latin to kids: Song School. Latin is a major component of the classical homeschooling method, so if you’re considering pursuing that style of teaching, you may want to visit Amy’s blog Living and Learning at Home to learn more about classical education and the Trivium.
Studying Latin in Elementary School – Angie Kauffman shares a post from Jen at Forever, For Always, No Matter What about how you can overcome early obstacles to teaching Latin in elementary grades.
Latin for the Average Mom – What if you don’t know Latin yourself? (Like me…lol) This is a great post about how you can implement a Latin education in your homeschool and learn it yourself in the process.


French Lessons for Kids
Little Explorers French Dictionary – Part of the Enchanted Learning website, the Little Explorers dictionary offers English-French words for all 26 letters of the alphabet. You can also print the entire PDF French dictionary if you want to use a paper version.
French Games – Instead of learning French from flashcards, the French Games website allows kids to learn through playing online French games! There are more than 100 different topics from which you can choose, including family, school, and food.
Alpha Buddies French – Alpha Buddies is the French alphabet section of DLTK, which has a ton of printable worksheets for early grades. This is a good resource for young kids who are new to French. You can print French alphabet coloring pages and let the kids color them.
Bonjour – Rocket Language operates this site, so you’ll see ads for its paid programs at the bottom of the page. But, the free introductory course is pretty good. There are sections with audio guides for French greetings, weather, and how to ask for help.
BBC French for Kids – On this site, kids can learn how to introduce themselves in French, spell in French, and use French numbers. Songs and free printable worksheets are also available for use with the program.
Resources for Studying French in Your Homeschool – 10 resources you can use to teach French in homeschool are listed in this post. As Angie Kauffman mentions, there really aren’t a lot of French resources available, so this is a great list!

Spanish Lessons for Kids
Spanish Town – The Spanish Town website features free online Spanish lessons for kids on topics such as food, time, animals, and grammar. You’ll also find free printable Spanish worksheets and videos that correspond to each lesson plan.
Language Guide: Spanish – Language Guide is a basic Spanish vocabulary resource that offers audio pronunciation guides for selected Spanish words such as greetings, articles of clothing, and food.
Word Dynamo Spanish – Part of the Word Dynamo section at Dictionary.com, the Word Dynamo Spanish area is a fun way to test Spanish vocabulary through flashcards, definitions, and crosswords. They’re grouped by topic, which is helpful, but they’re also very short activities, so they’re perfect for young learners! (I use these a lot to study for class.)
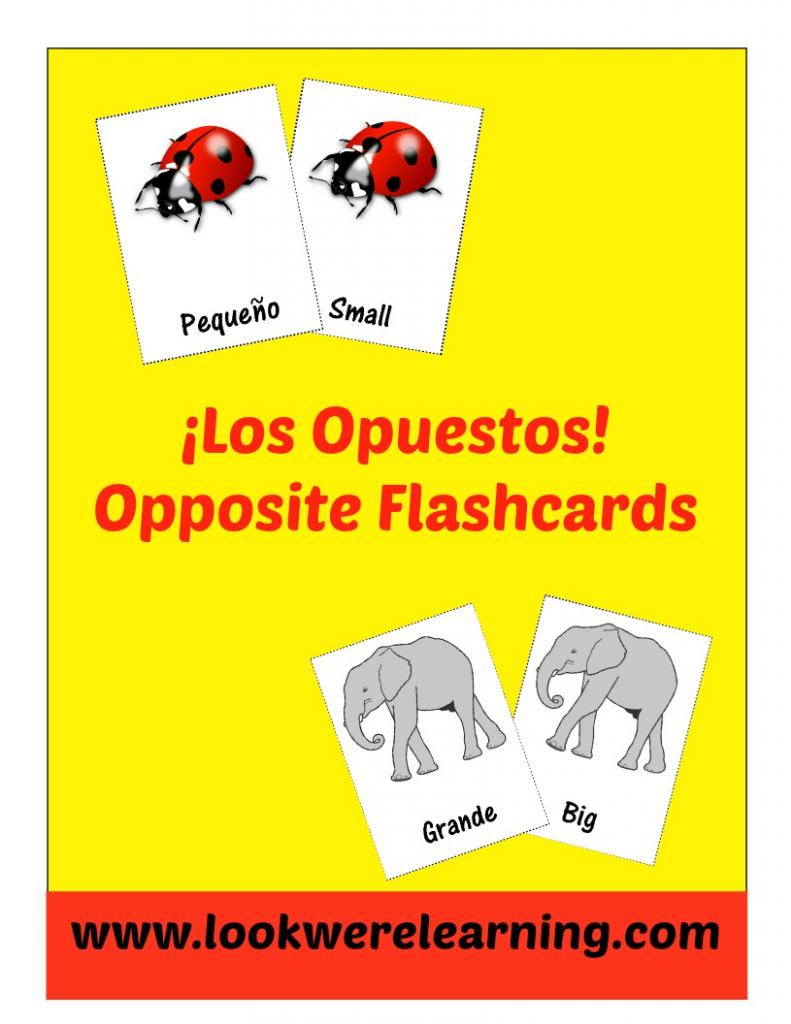
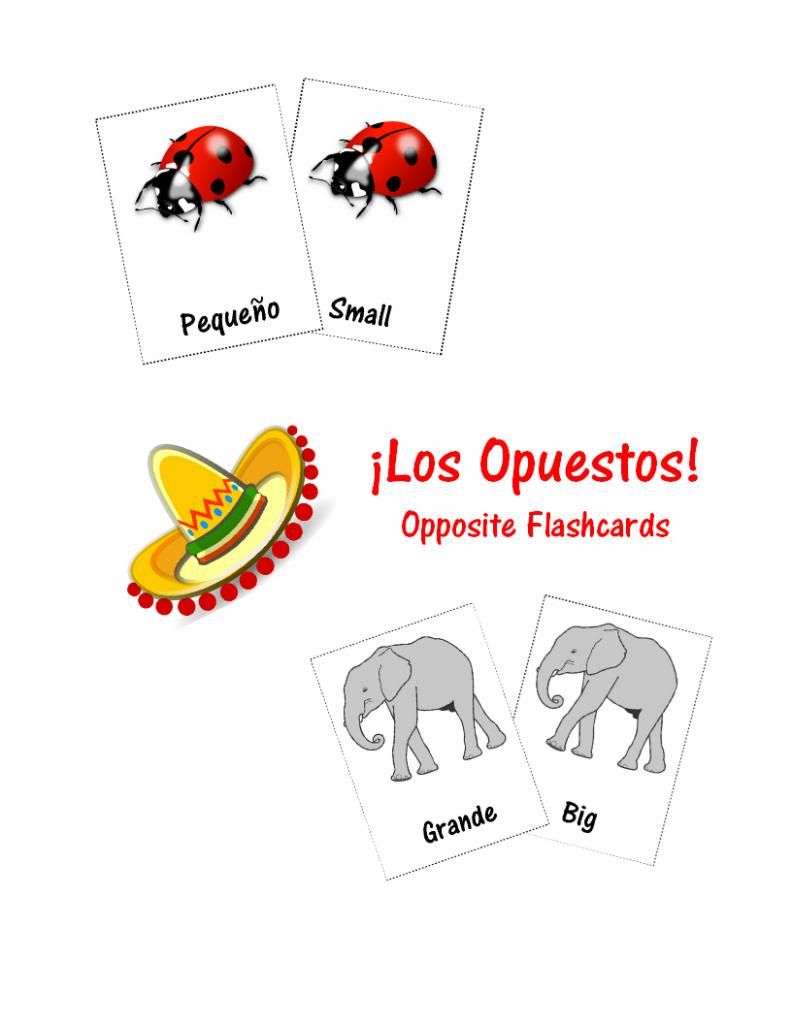
Los Opuestos Flashcards – Naturally, I can’t leave out our free Los Opuestos flashcards, which you can print and use to introduce Spanish opposite words to your kids!
Some of the iHN bloggers have written quite a bit about learning Spanish in homeschool. Here are some of the great resources they’ve shared:
Excelerate Spanish – Michelle Cannon of The Holistic Homeschooler shares a review of the Excelerate Spanish program – a multi-sensory Spanish curriculum that includes workbooks, lessons, and DVDs.
Learning Spanish at Home – Writing at The Homeschool Classroom, LaToya Edwards shares some of her favorite resources for teaching Spanish at home.
Homeschool Spanish Resources for Kids – Karyn Tripp of Teach Beside Me provides a super list of Spanish resources that are available online. She’s even included Mi Vida Loca, which is one of my personal favorites. It’s geared toward older teens and adults, and it sends you on a mission that allows you to learn Spanish along the way.
Speekee Spanish – In this post, Karyn reviews Speekee Spanish, an online Spanish video tutorial series for kids. The program carries a fee, but you can receive a free trial that includes access to all the videos and lessons.

Korean Lessons for Kids
Wikibooks: Basic Korean – These five Korean lessons are part of the WikiBooks project, so they’re subject to revisions. However, they are excellent (and free) introductions to the Korean alphabet, along with proper Korean pronunciation.
L-CEPS Korean – Once you’ve mastered the Korean alphabet, you may be ready to learn basic conversation in Korean. This website explains how to say greetings, common phrases, and numbers in Korean. It also contains a link to a free trial web app for learning Korean.
Linguanaut – Linguanaut is another basic Korean online tutorial resource. It features instructions in Korean greetings, Korean phrases, and “survival” phrases that you’ll need if you face a medical emergency in Korea.
Fellow iHN blogger Aadel Bussinger, who is currently living in South Korea, has experience in teaching Korean to kids and she’s shared some of her wisdom on her blog These Temporary Tents.
10 Great Apps for Learning Hangul – Aadel shares several great, inexpensive apps for learning Korean. These would be great for kinesthetic learners like Tigger!
Italki – In this post, Aadel reviews Italki, an online foreign language tutoring resource for kids that allows students to talk virtually with native speakers and work with a tutor.

Chinese Lessons for Kids
Miss Panda Chinese – Miss Panda Chinese is a Chinese program for children that features songs, videos, and a phonetic guide. If you don’t want to buy the program, you can view several of the videos and an explanation of Chinese tones and phonetics right on the website.
BBC Primary Mandarin – There are several videos and games for learning Mandarin on the BBC Primary Languages Mandarin site. Kids can learn how to talk about themselves, school, and food in Mandarin. There’s also a section about Chinese culture.
Chinese iLab – This site offers both paid Chinese lessons for kids, as well as 10 free introductory lessons about how to use Chinese tones and how to talk about basic subjects in Chinese. Each free lesson has both an mp3 file and a video slide presentation.
Semanda – If you want a simple way to introduce Chinese vocabulary to kids, you might like the free printable Chinese flashcards available from Semanda. You can choose from Chinese or Pinyin, and all of the terms include pictures and the English words to make learning easier.
Eva Varga, an iHN blogger, is teaching Mandarin to her children, even though she doesn’t speak it! She’s shared some great tips on her blog EvaVarga.net and on the webite Better Chinese.
How to Teach Mandarin – In this post, Eva explains how she teaches Mandarin in her homeschool, despite the fact that she doesn’t know the language. There are great suggestions here for Mandarin immersion through cultural experiences and conversation.
Chinese Pro – Eva reviews the iPad app Chinese Pro and how she uses to reinforce Chinese vocabulary with her kids.
Using Dubbed Movies to Learn Mandarin – Writing at Better Chinese, Eva discusses how watching dubbed movies is helping her kids to get a better grasp on Mandarin.
Whew! Those are the resources I’ve found so far, but I know there are a lot of other foreign language resources out there for kids. If you have any good ones, we’d love to hear about them in the comments!
This post is part of the Ultimate Guides linkup at iHomeschool Network! Stop by to read great in-depth learning guides from our fellow bloggers!